So last month you may have seen that I got to work with a professional organizer to get my closet under control! In addition to the closet, they also organized my pantry and kitchen which was amazing. Like I’ve said before, they were the service I never knew I needed! Today I wanted to share some tips from the professional organizers for pantry and kitchen organization, and I will link all items we used as well.
Okay, so for starters, here are the main steps that Allison from Reclaim (the organizing service we used) recommended when organizing the pantry:
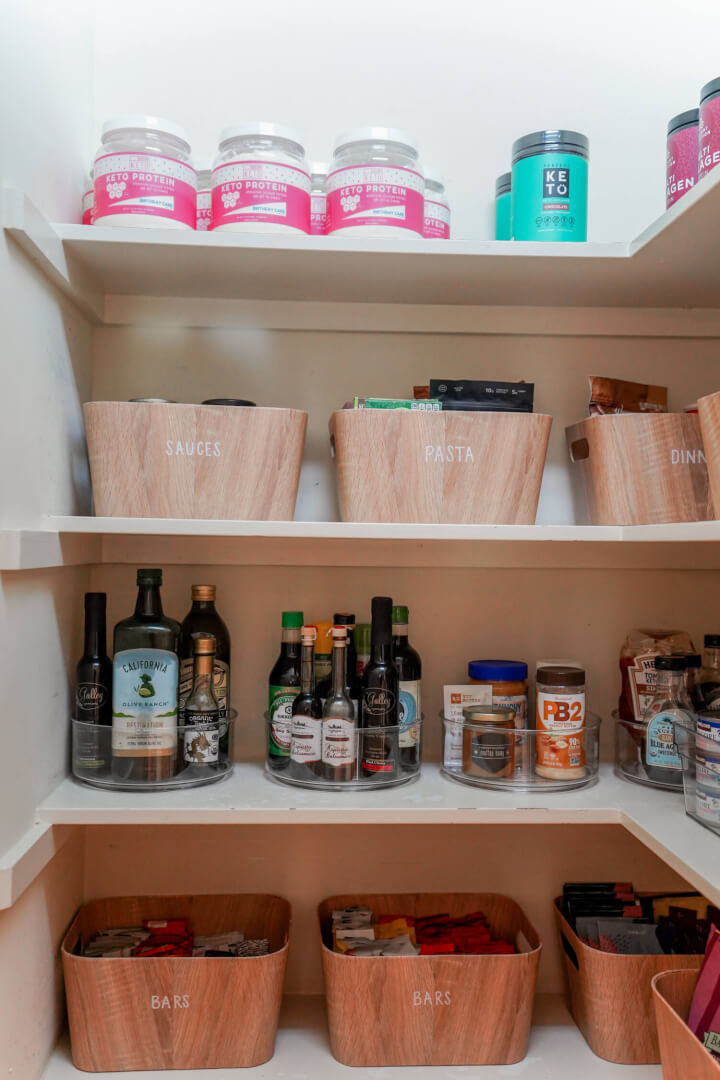
5. Label the containers (they recommended using a Sharpie oil-based paint pen. You can erase it with an alcohol swab and re-label containers at any point).
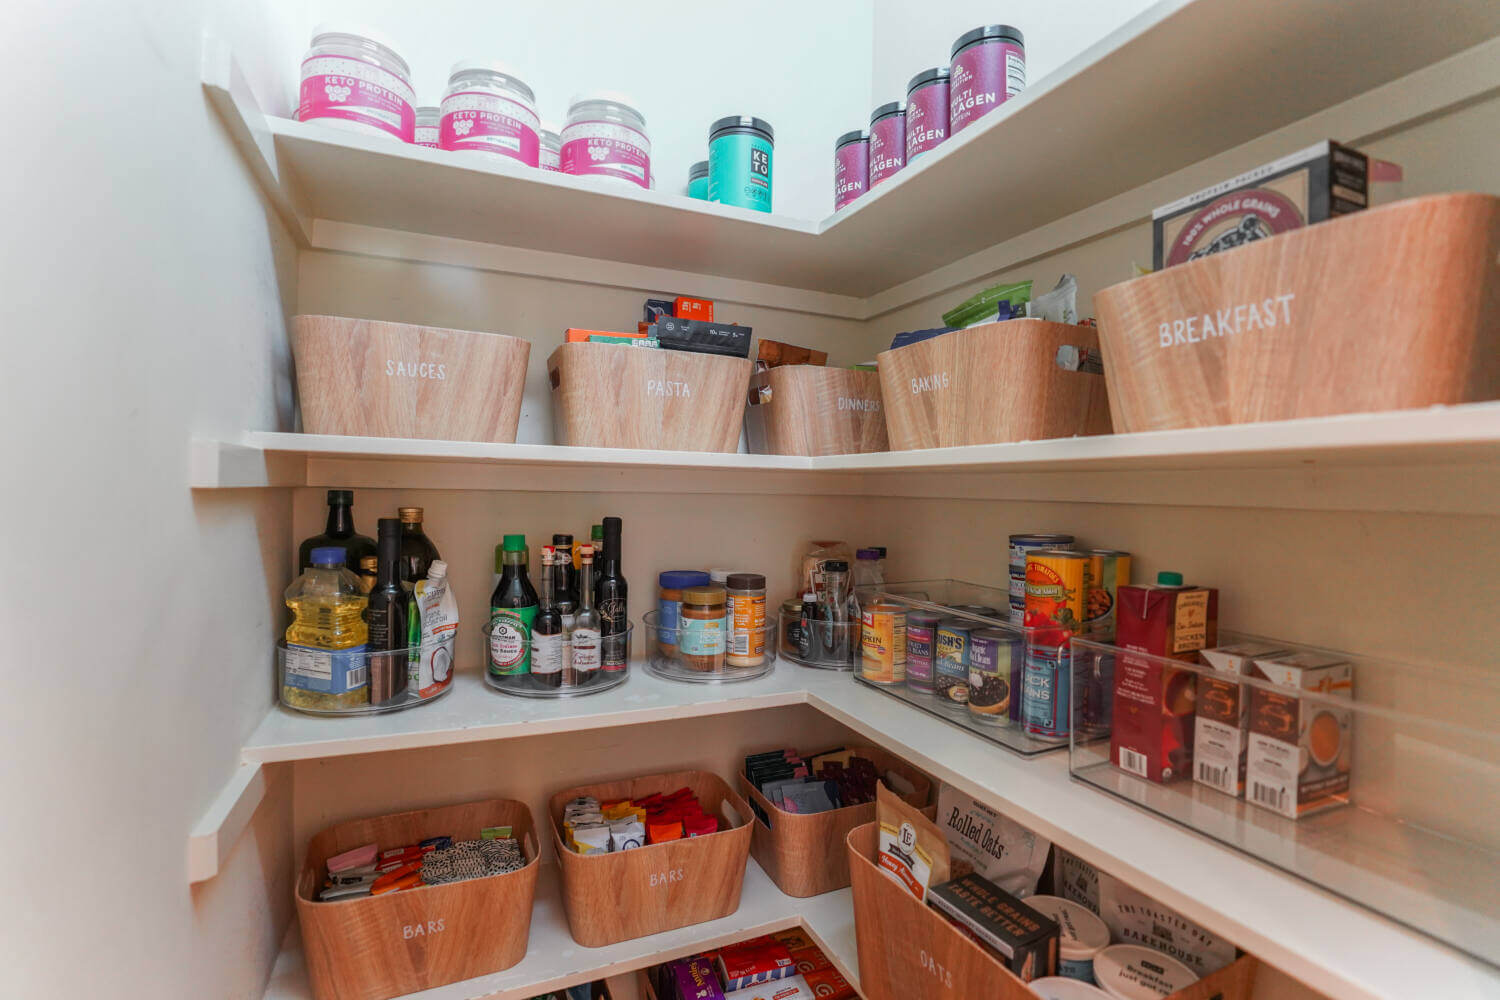
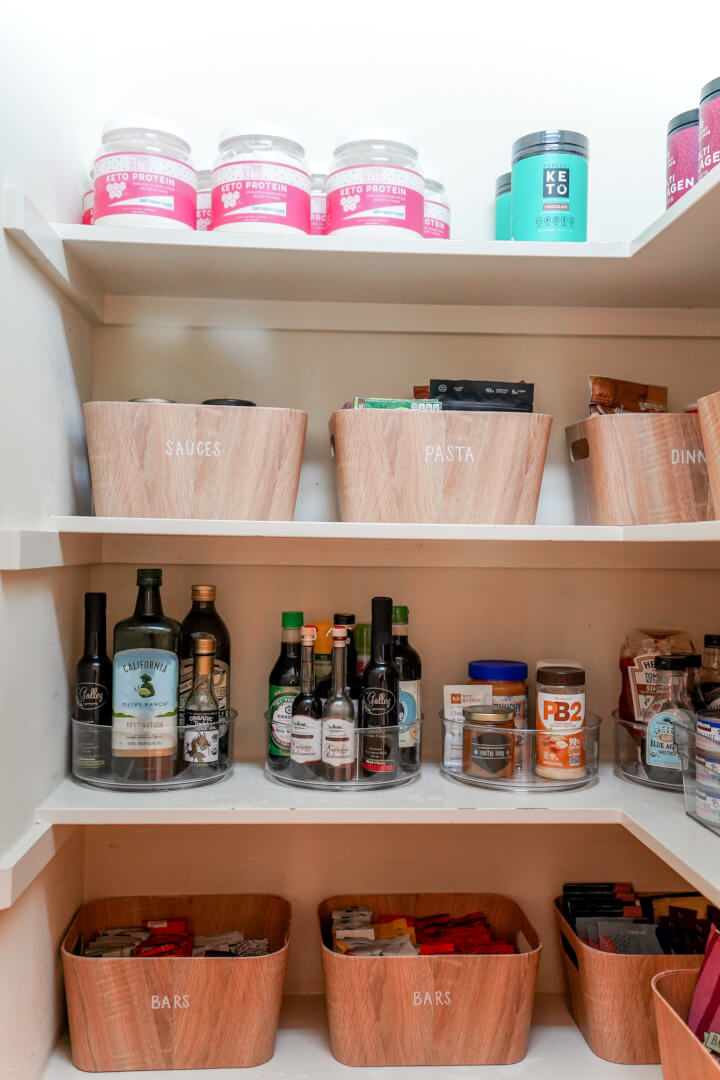
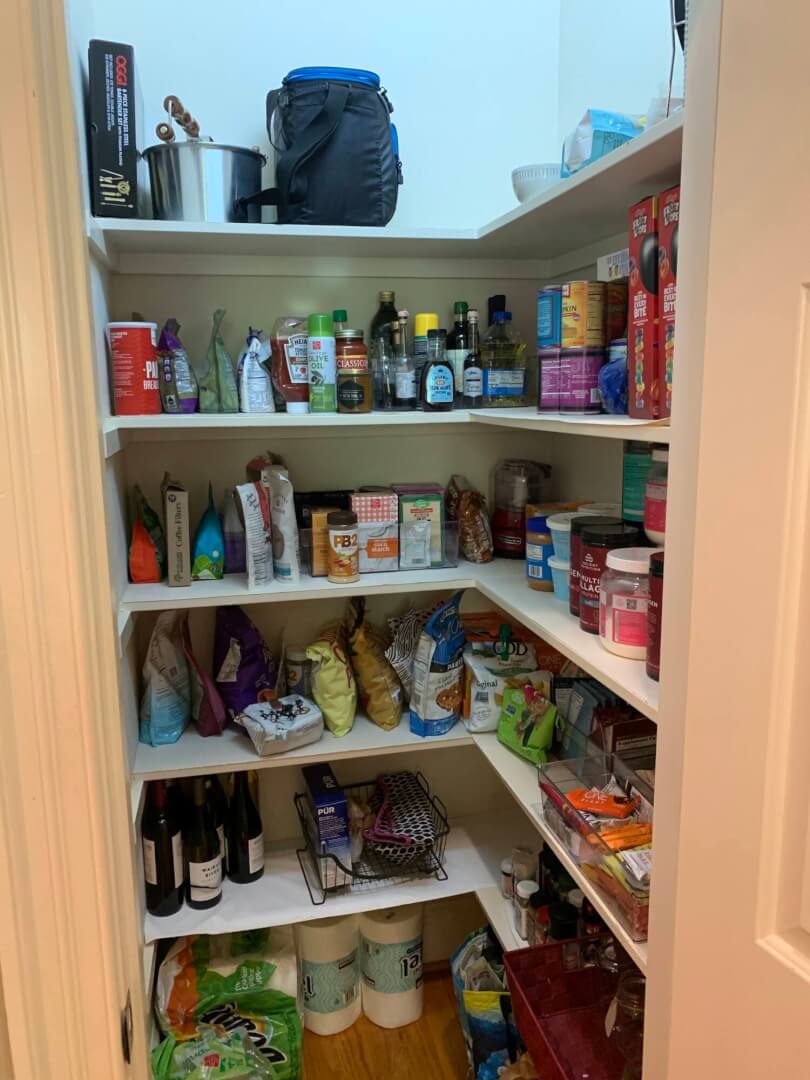
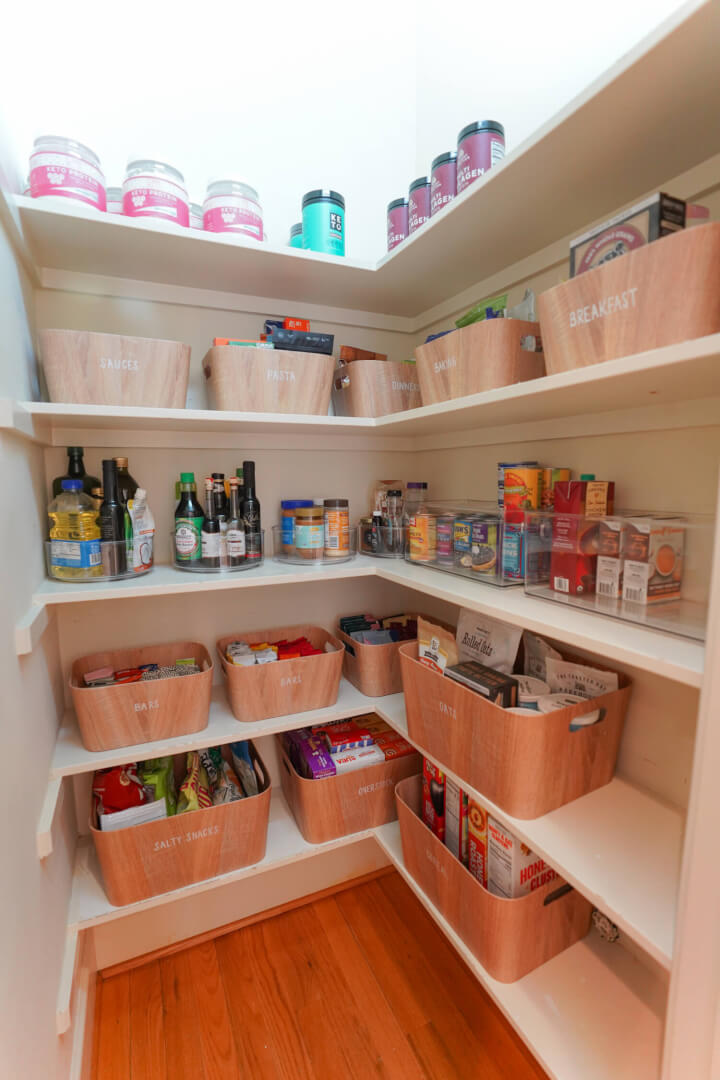
Below you can see what our pantry looked like before vs. after they organized it!
- Pantry Before
- Pantry After
As you can see, a BIG improvement! Aside from the steps above, here are some other things I learned:
-Take whatever out of it’s box/packaging if possible. For example, you can see that all of our bars were removed from the boxes they originally came in. Another example is taking sparkling water cans out of the box, paper towels out of the plastic etc. This looks better aesthetically but also makes it much easier/faster to just grab something when you need it.
-Avoid having any items on the floor. As you can see we used to keep items like paper towels on the bottom of the floor…well not anymore!
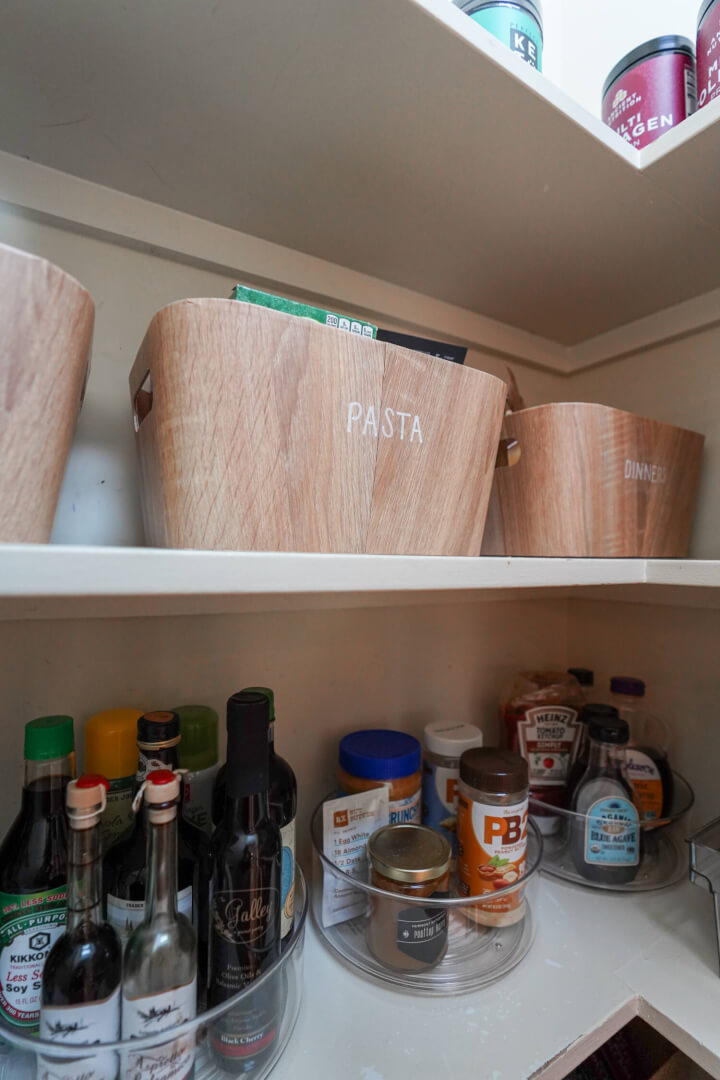
-Use a mix of containers depending on what fits your food/items best. We used these clear lazy Susans for things like sauces, oils, syrups, etc, and then these clear containers for things like cans of soup and beans. We then used the large and small wood grain bins for the rest of our items. These were all from mDesign.
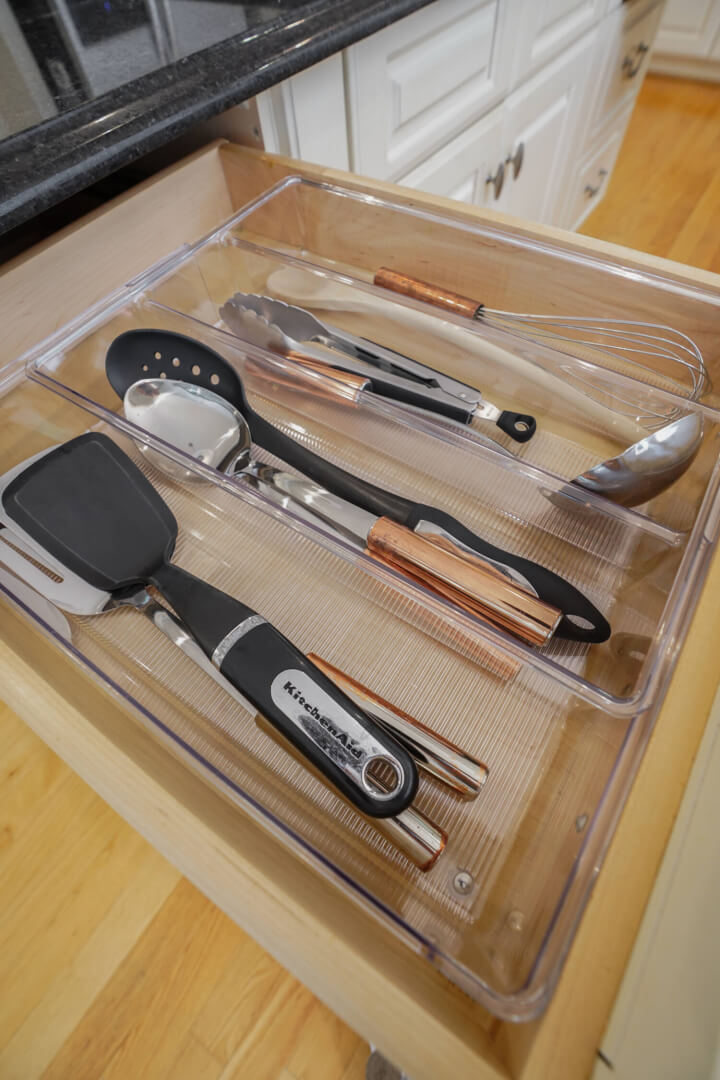
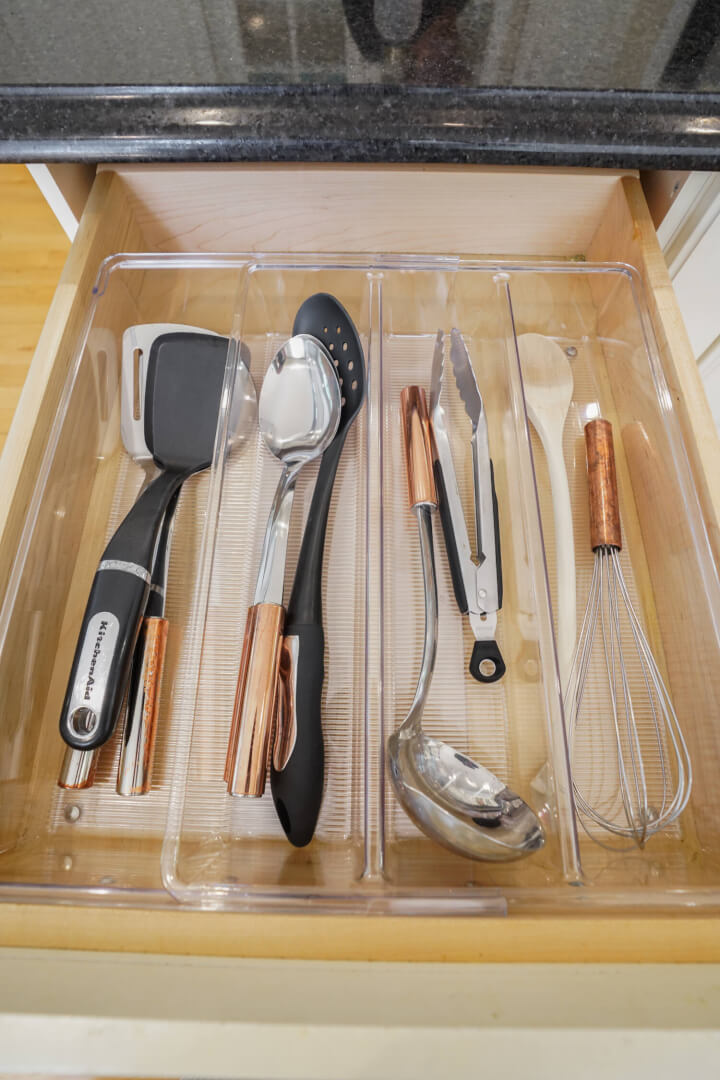
- Expandable Cutlery Drawer Organizer
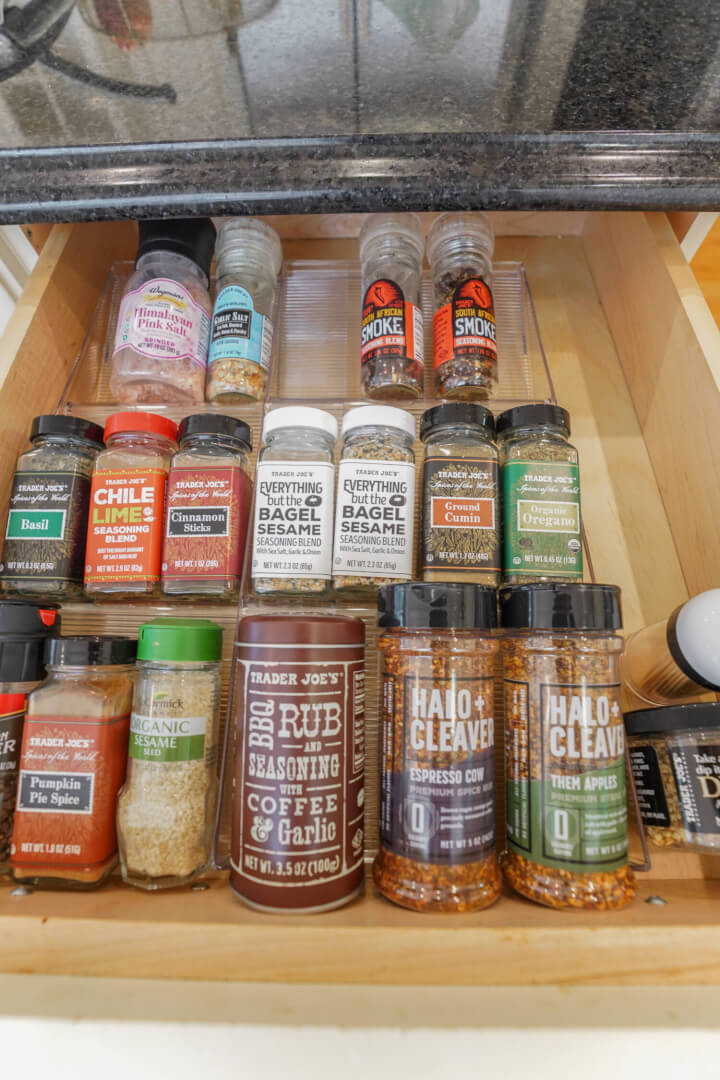
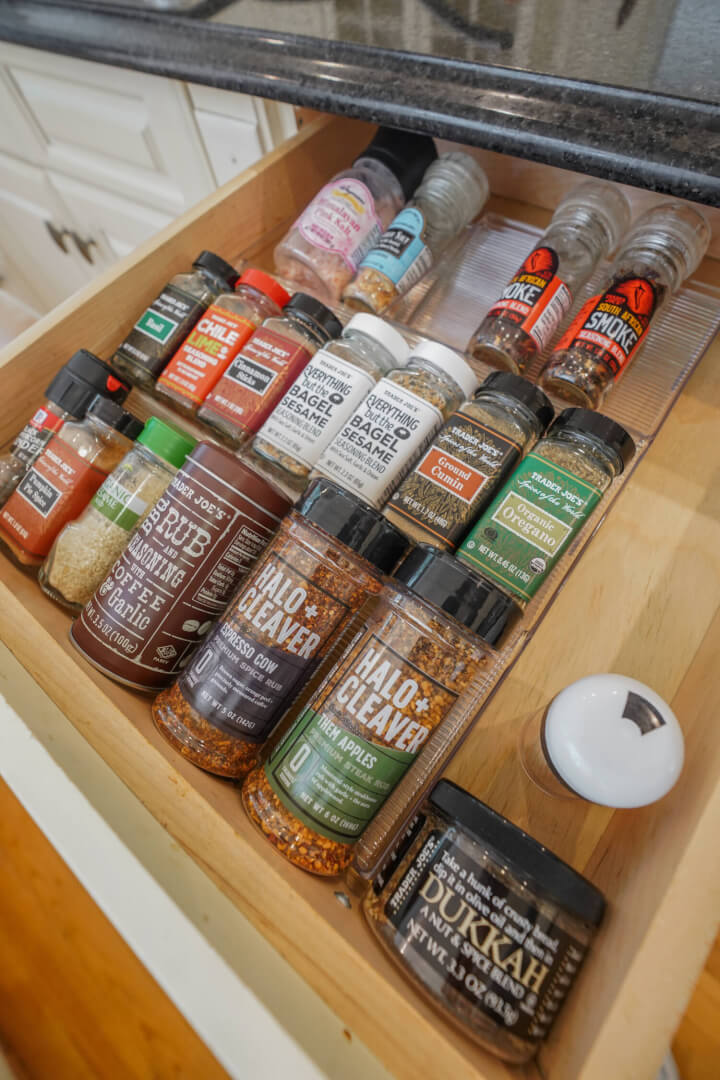
- Expandable Spice Rack Organizer
- Spices were organized by seasonings, rubs, salts, etc and then alphabetized
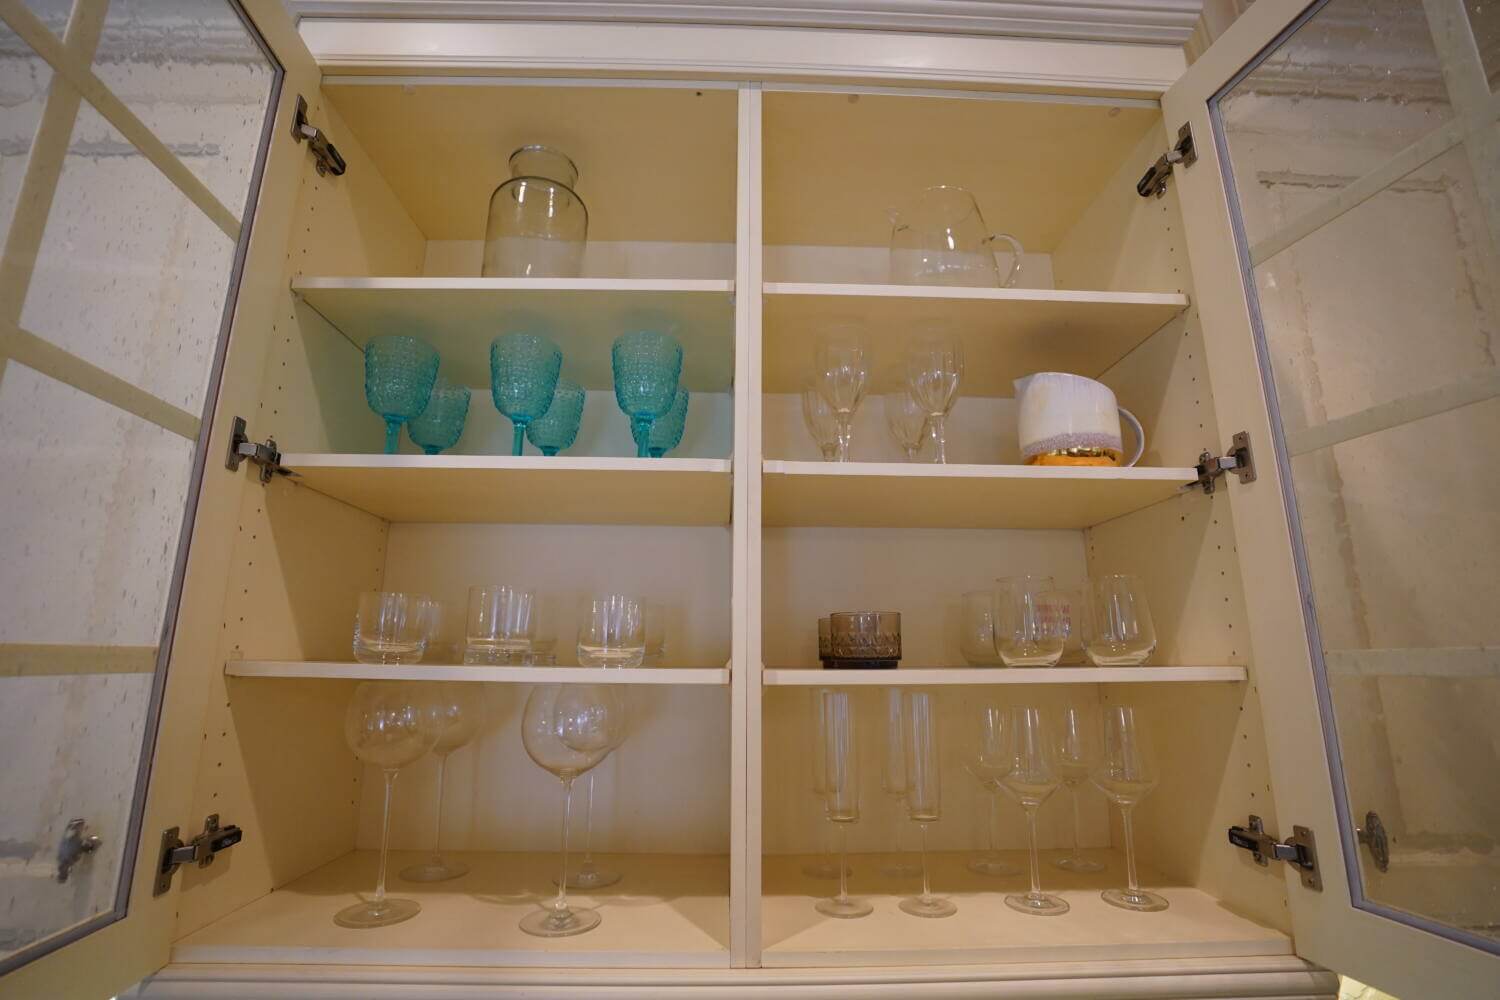
Alright guys, I hope this was helpful! Everything should be linked but let me know if I missed anything 🙂 xxC









comments +