Thank god fuller brows are a thing again – remember when it was cool to get them waxed into little caterpillars?! Yikes. Luckily I never had that look growing up but pretty sure I had close to a unibrow instead LOL. Let’s just say we’ve come a long way in the brow department.
A few years ago I got my eyebrows microbladed and have been so happy with that decision. Not only is it amazing not to fill in your brows ever again, but the perfectly shaped brows that fit your face is also a game changer. This year though, I started thinking of getting my brows laminated as well. I feel like this has become increasingly popular over the last year with fluffier, fuller brows making even more of a “comeback.” It felt like in the last few months every time I became obsessed with someone’s brows (that I saw on social), I would find out they had them laminated. I know the laminated look isn’t for everyone (I know some people feel it’s a little too “wild”/dramatic) but I personally love it. So that being said, earlier this year I went ahead and bought some brow freeze to get a look and feel for how laminated brows would look on me and if I would get tired of it. So basically for the last several months, I brushed my brows up with some brow freeze and needless to say, months later I was still loving it so decided to get a more permanent and official laminated look! If you’re on the fence like I was, getting a brow freeze (or even a gel that has a strong hold) will let you play around with the look and see if it’s something you’re interested in doing longer term.
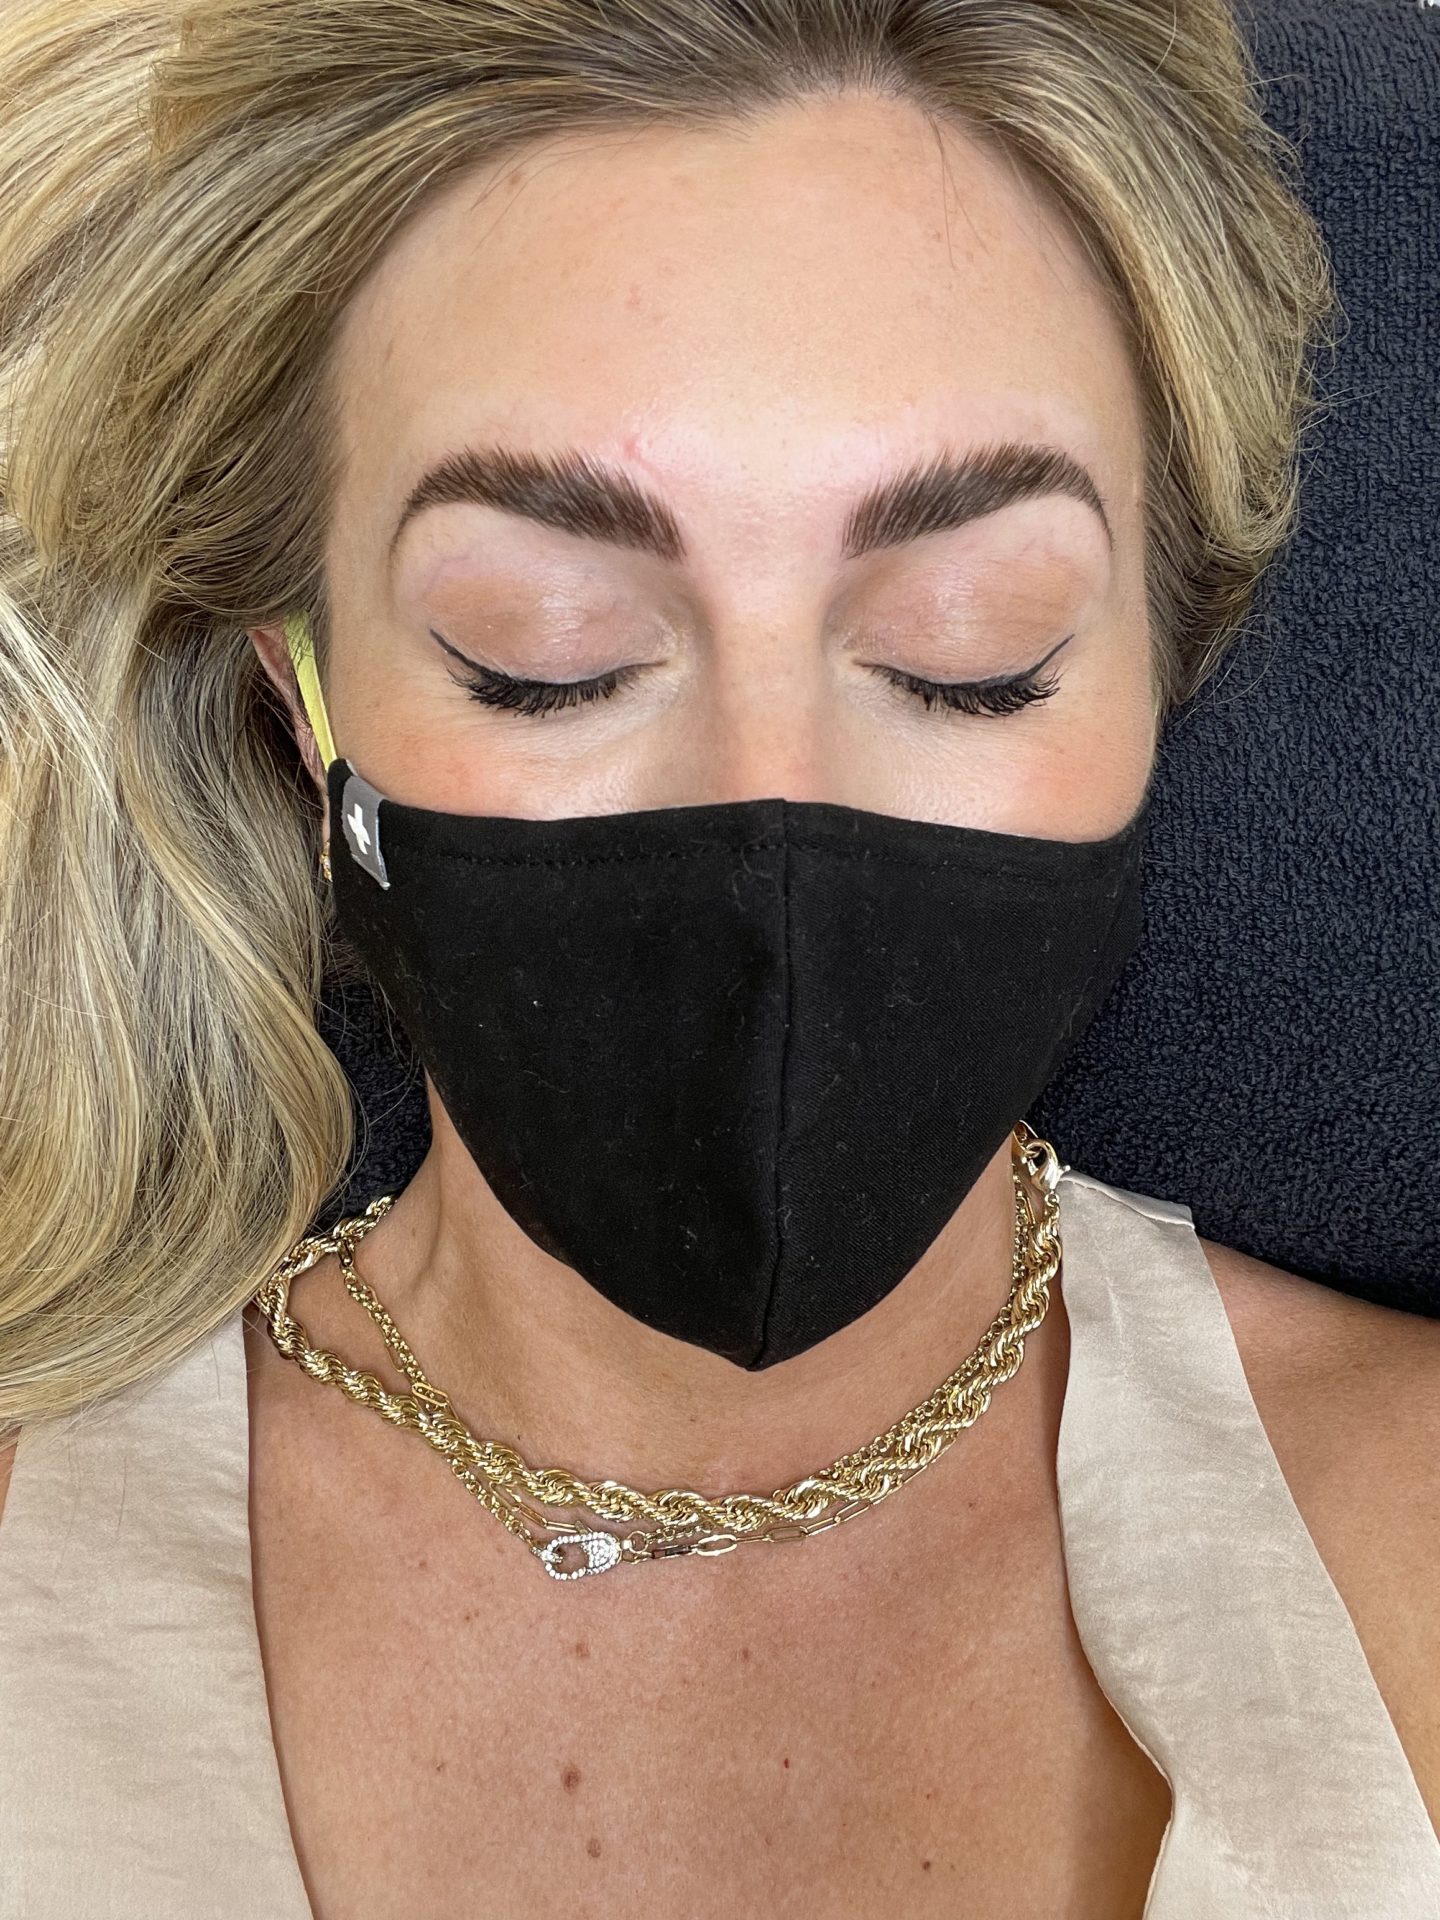
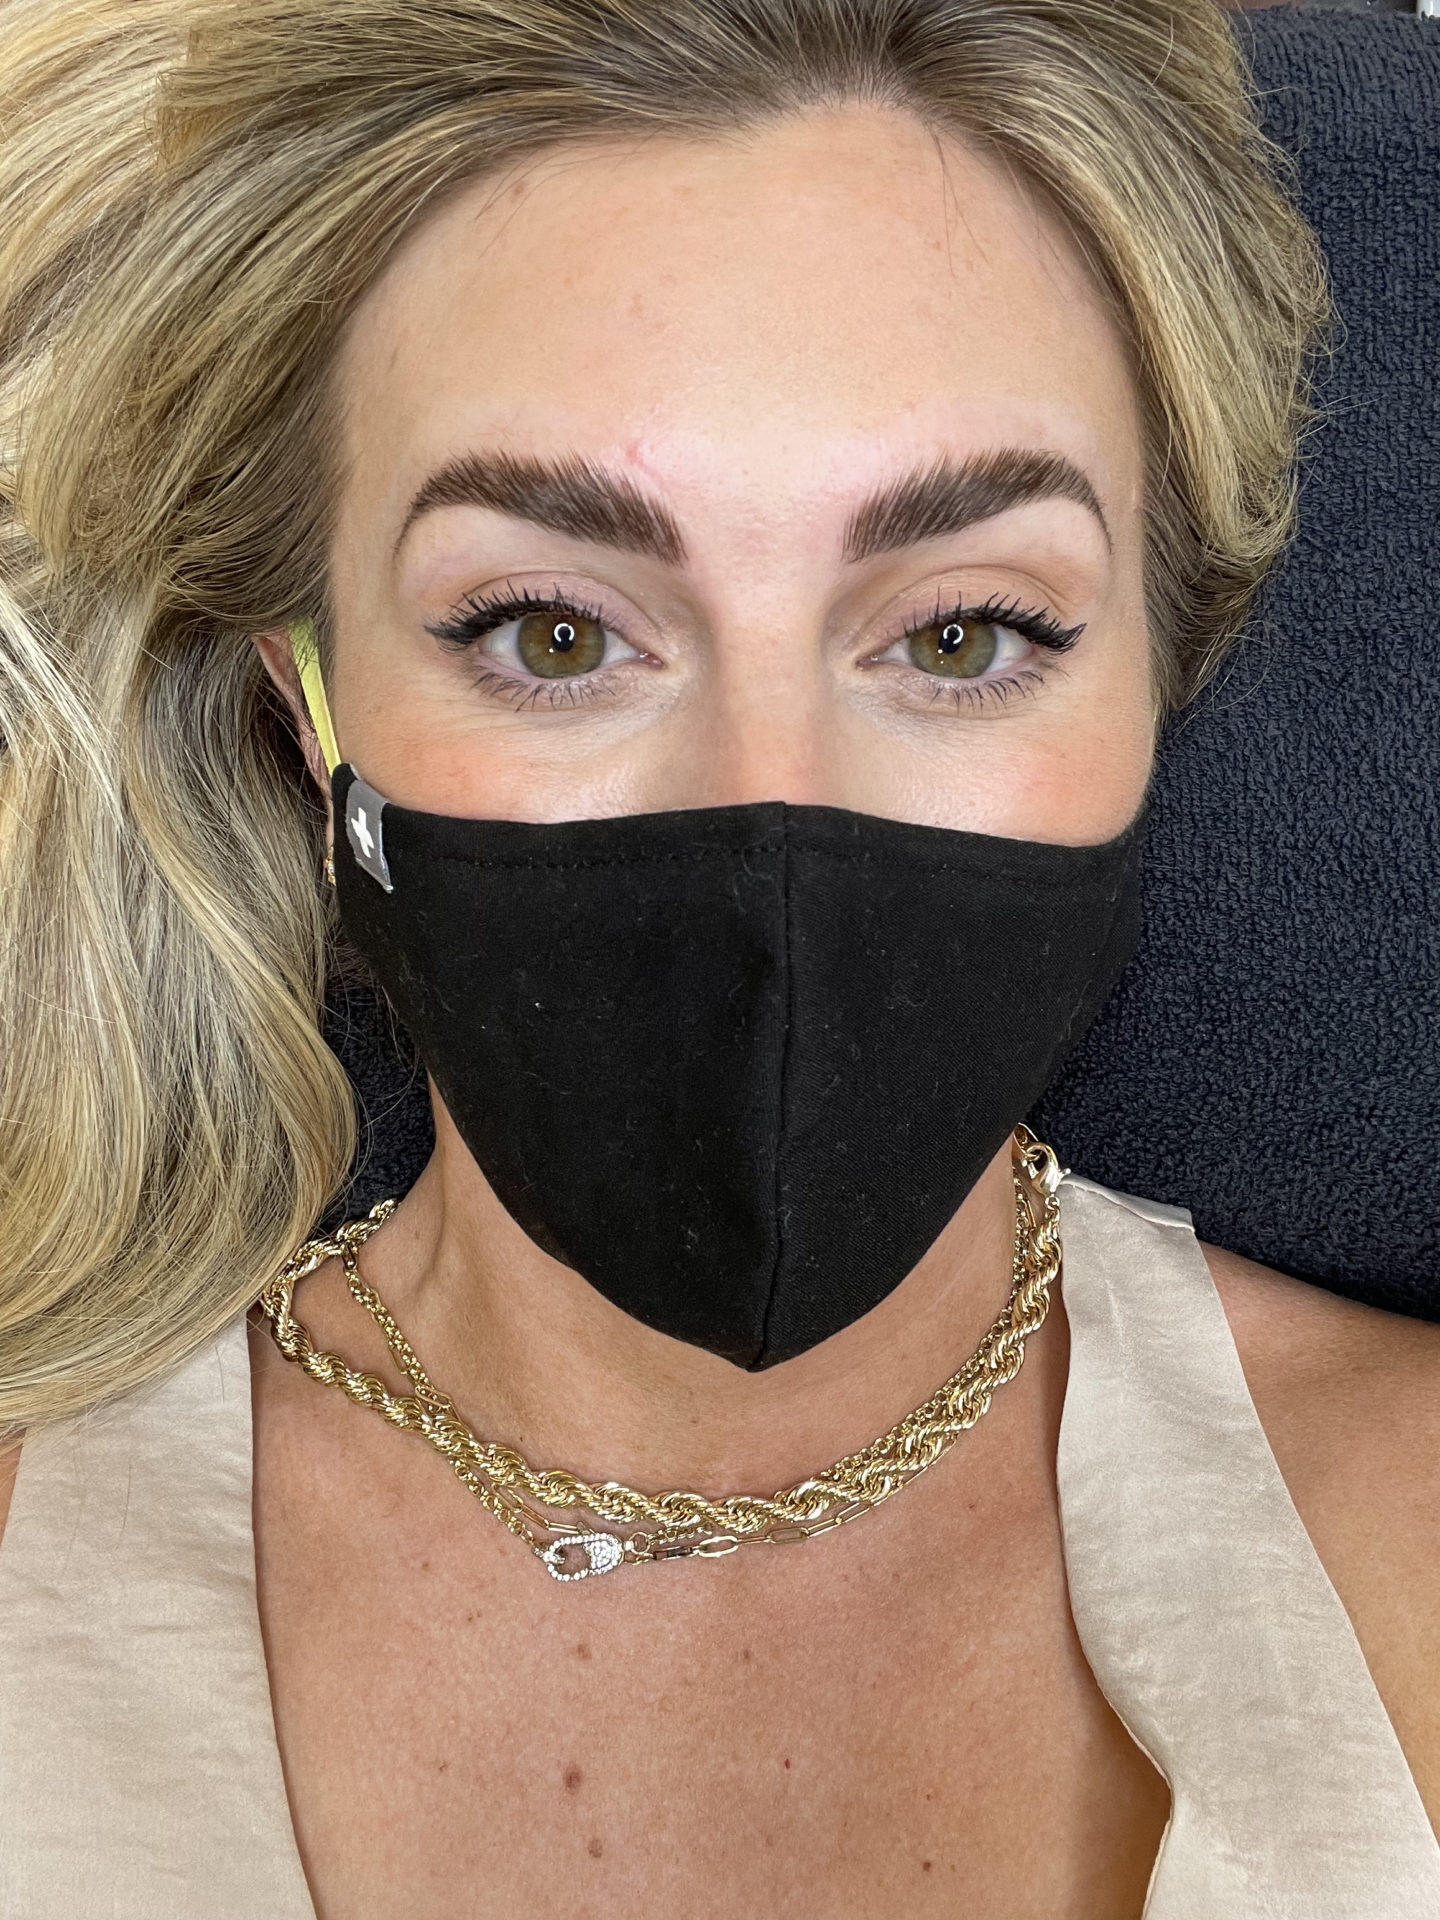
I went to see Amy at Arch & Edge (who also did my lash lift & tint, use my name as a referral for 10% off any service) and overall am super happy with my results! The whole treatment took about 45 minutes. Below are some photos of the process. After cleansing the area, a lifting lotion is added, followed by a setting lotion, and then I ended with a keratin treatment. Results last 6-8 weeks!
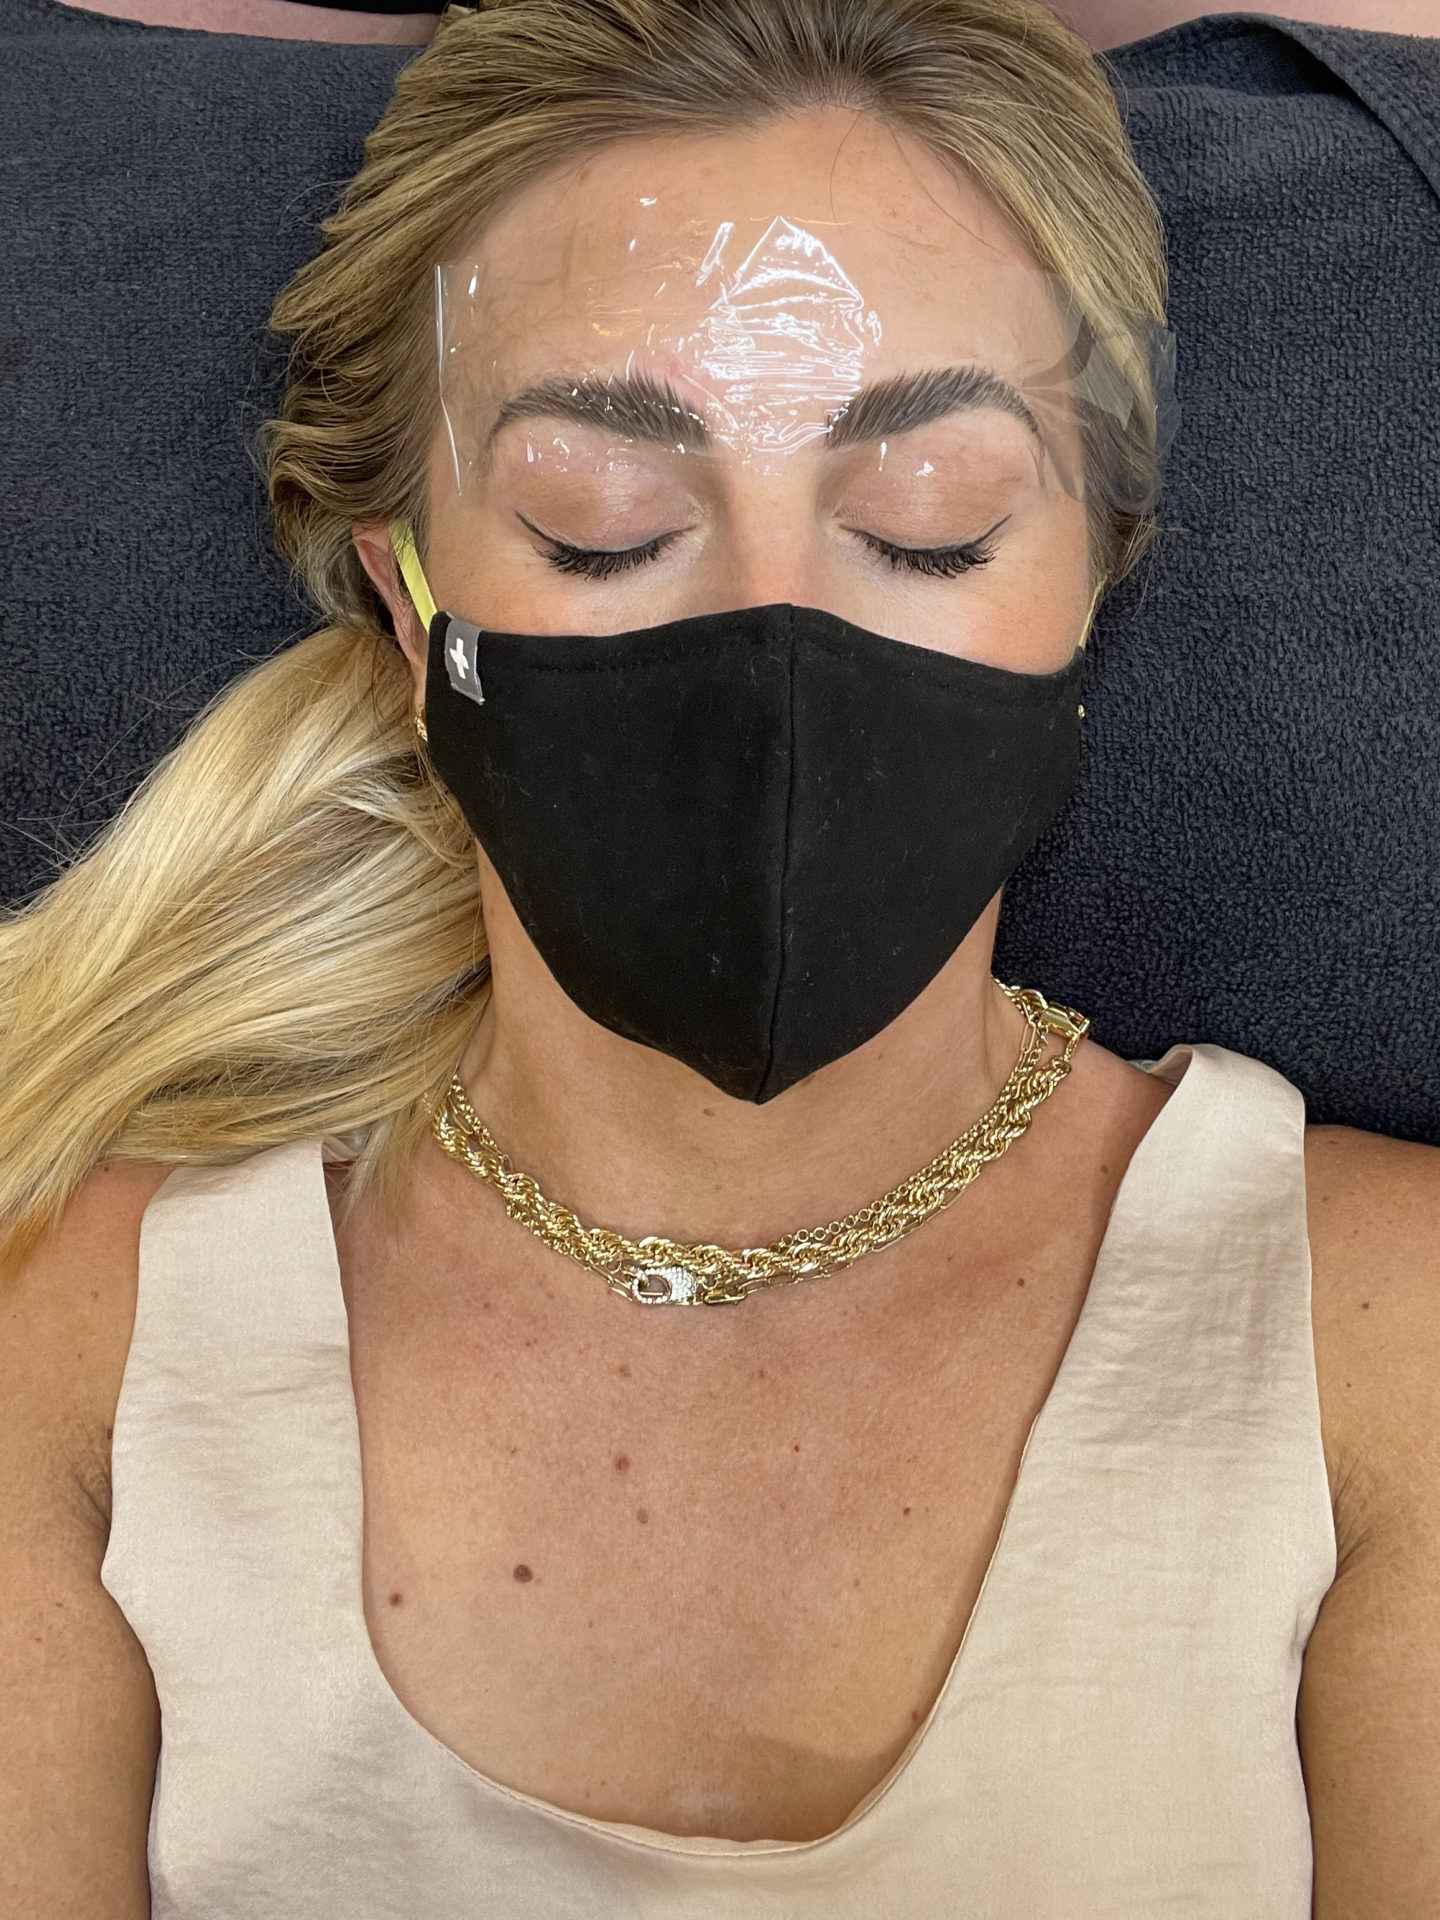
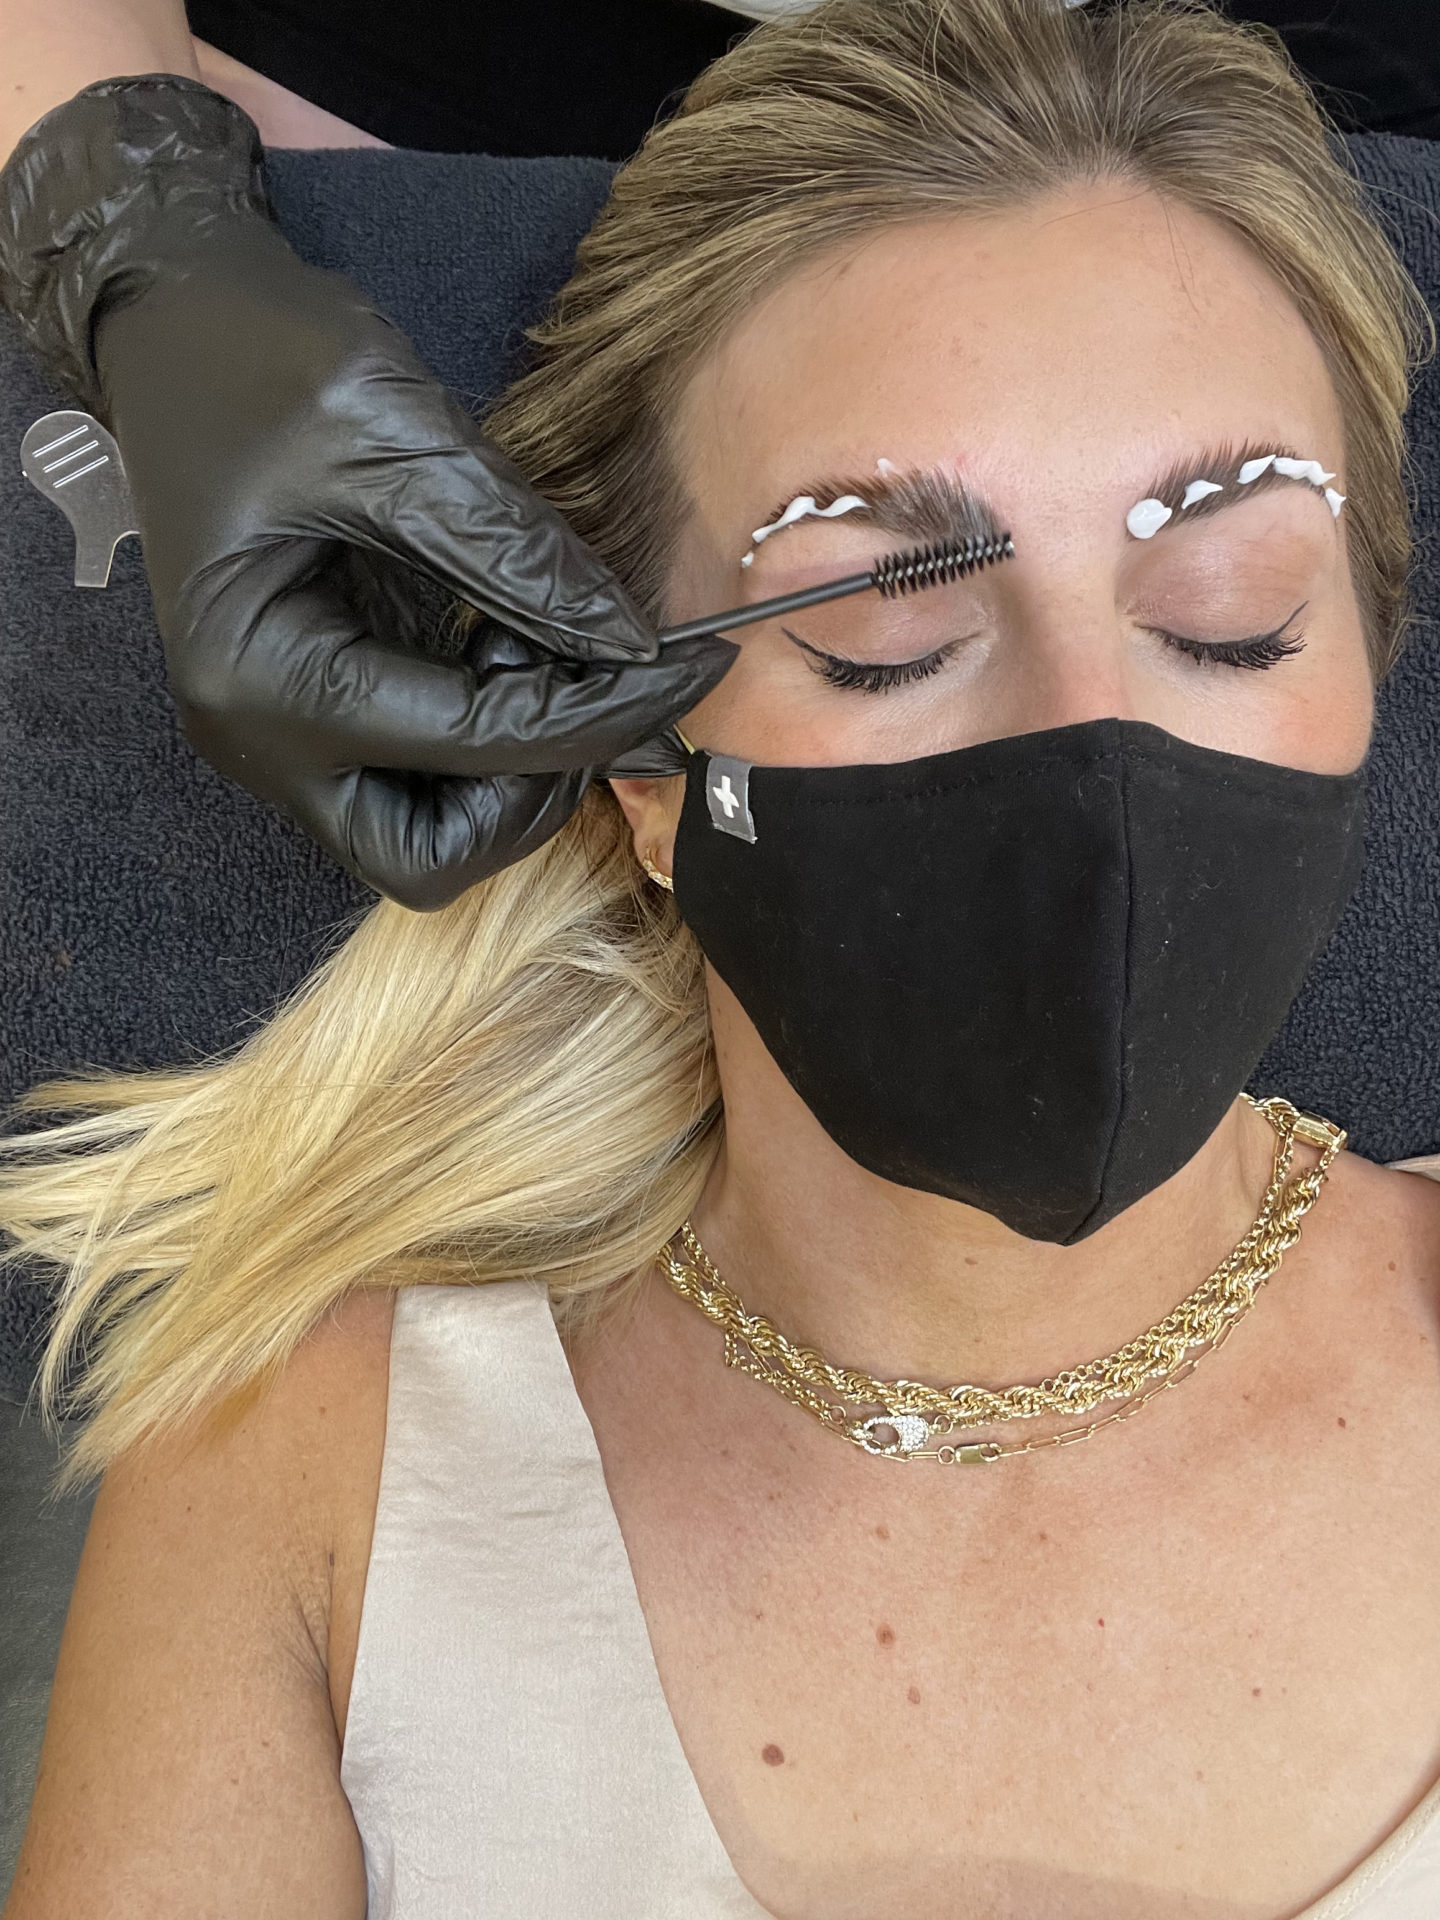
Steps with setting lotion application 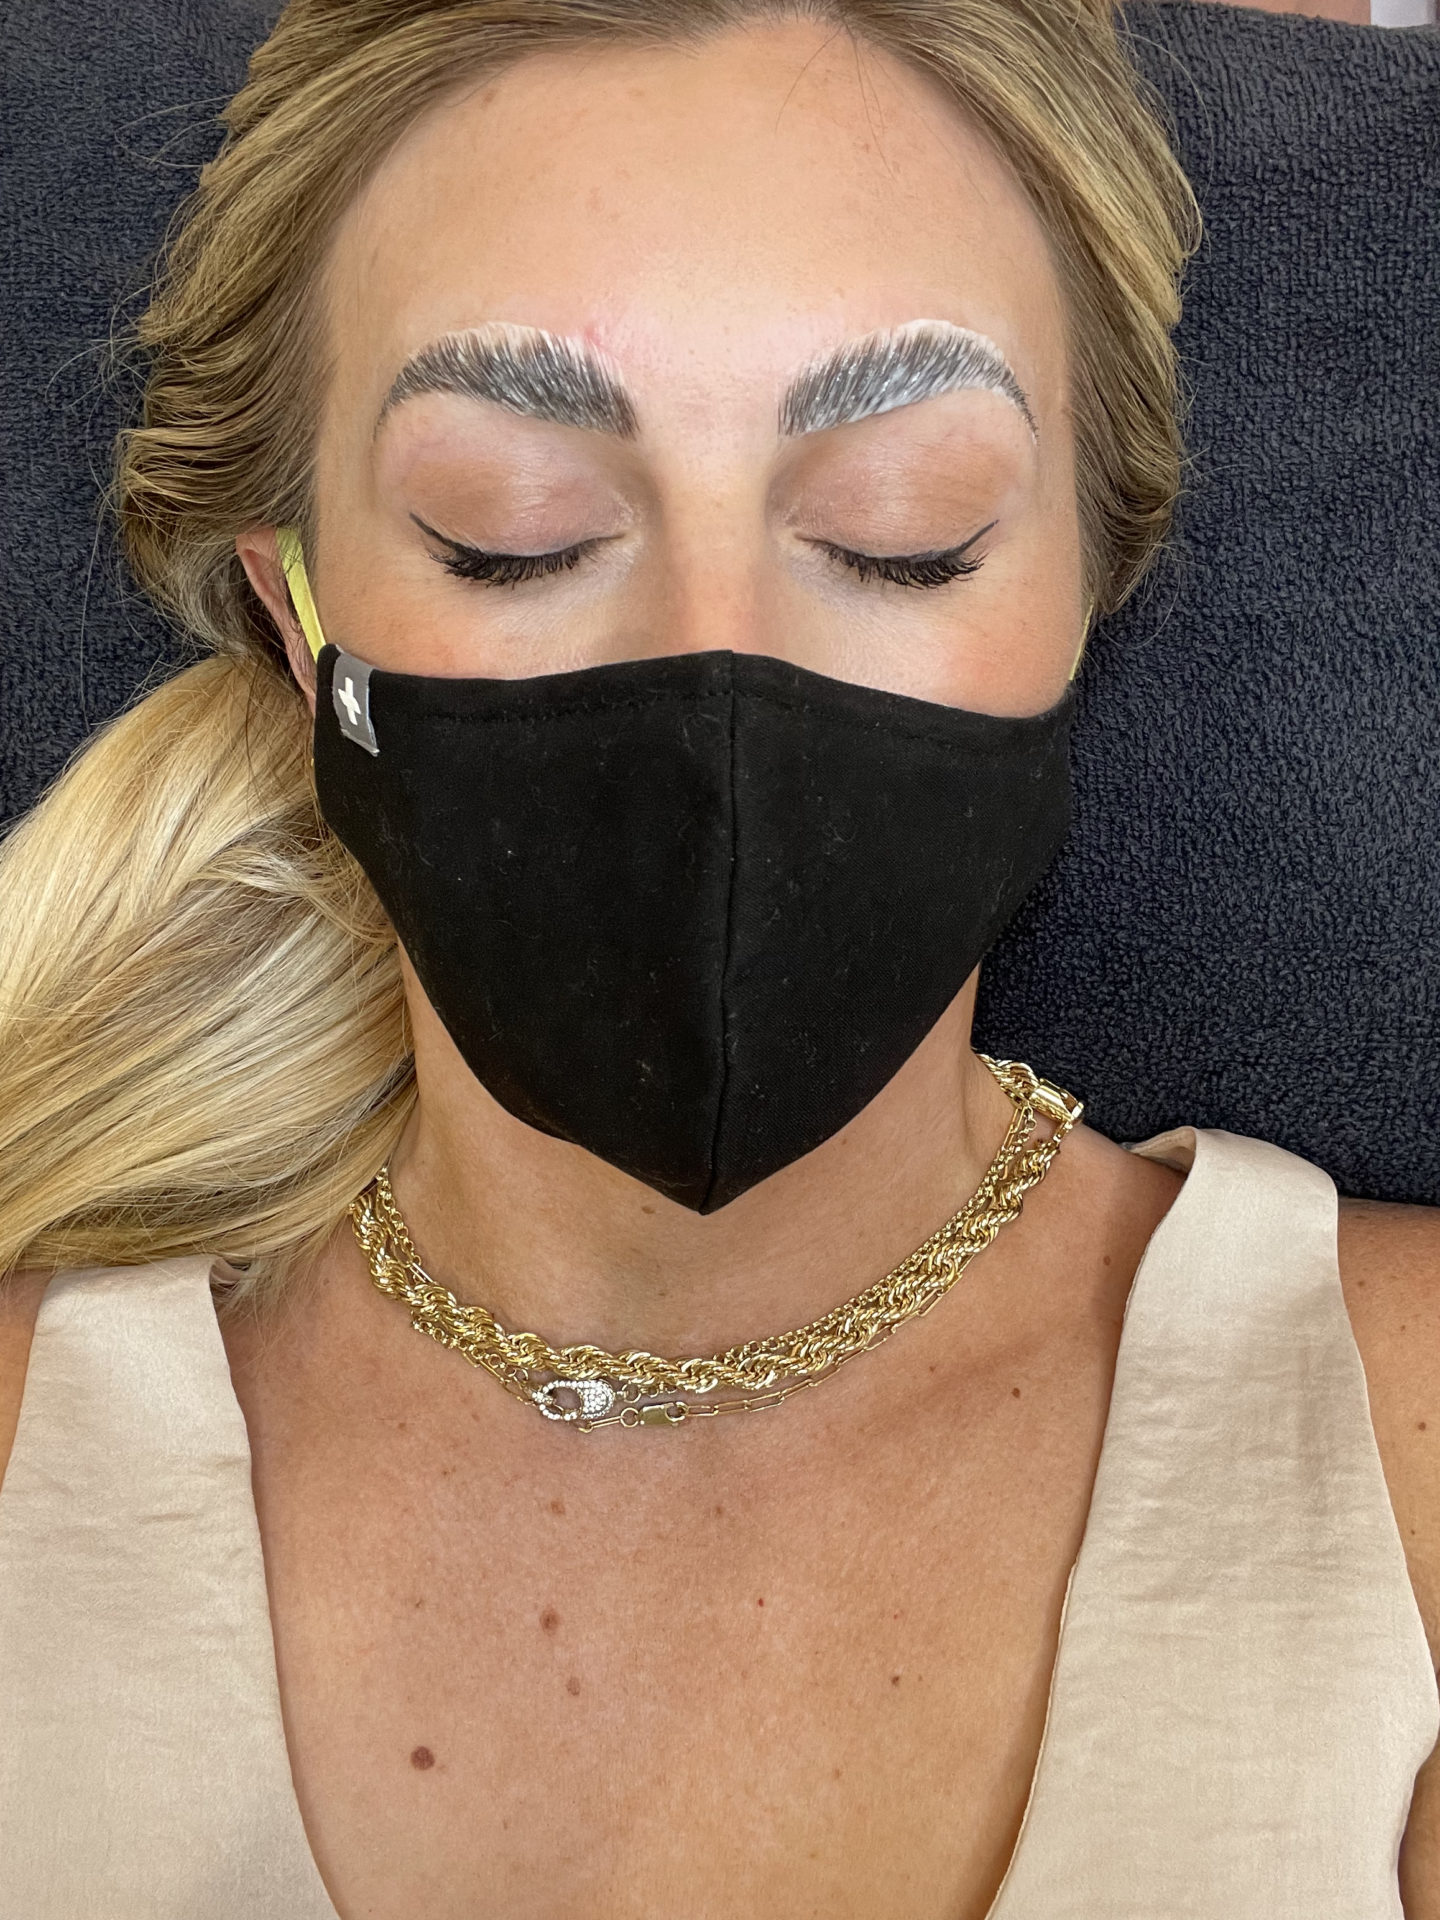

Below are results right after treatment!
For the first 24 hours after treatment, you don’t want to get them wet or apply any product. After that, you can apply any product(s) like normal. Since my brows are microbladed too, I really don’t need to apply anything to them. I pretty much just brush them up the morning and some days I’ll add just a *tiny* bit of brow gel (this one from Refy) if I want to enhance the laminated look even more.
Below are some photos of what my brows looked like before lamination and after (no filter/edits). Also these after photos were taken after being outside for several hours running around in 100 degrees so please forgive my face/makeup LOL.

Before lamination 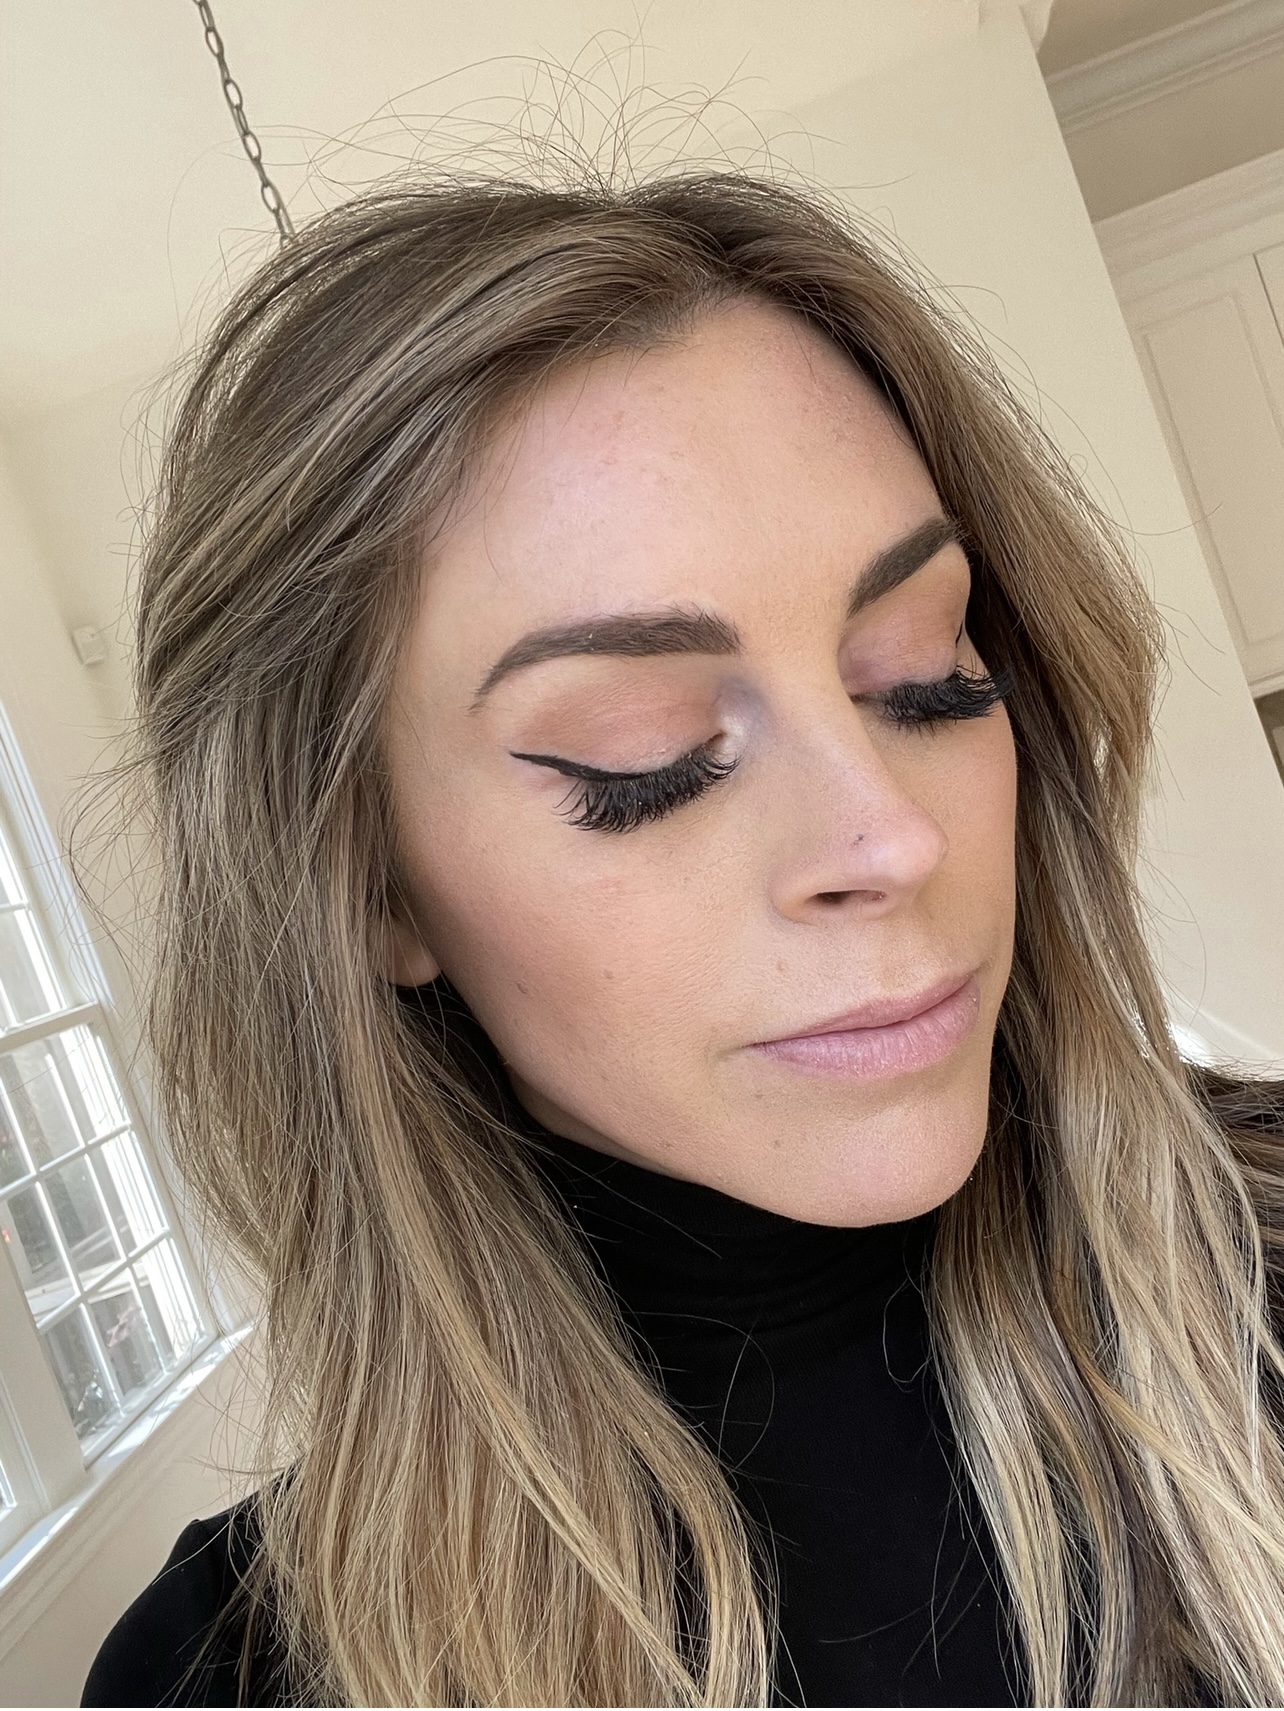
Before lamination

After lamination 
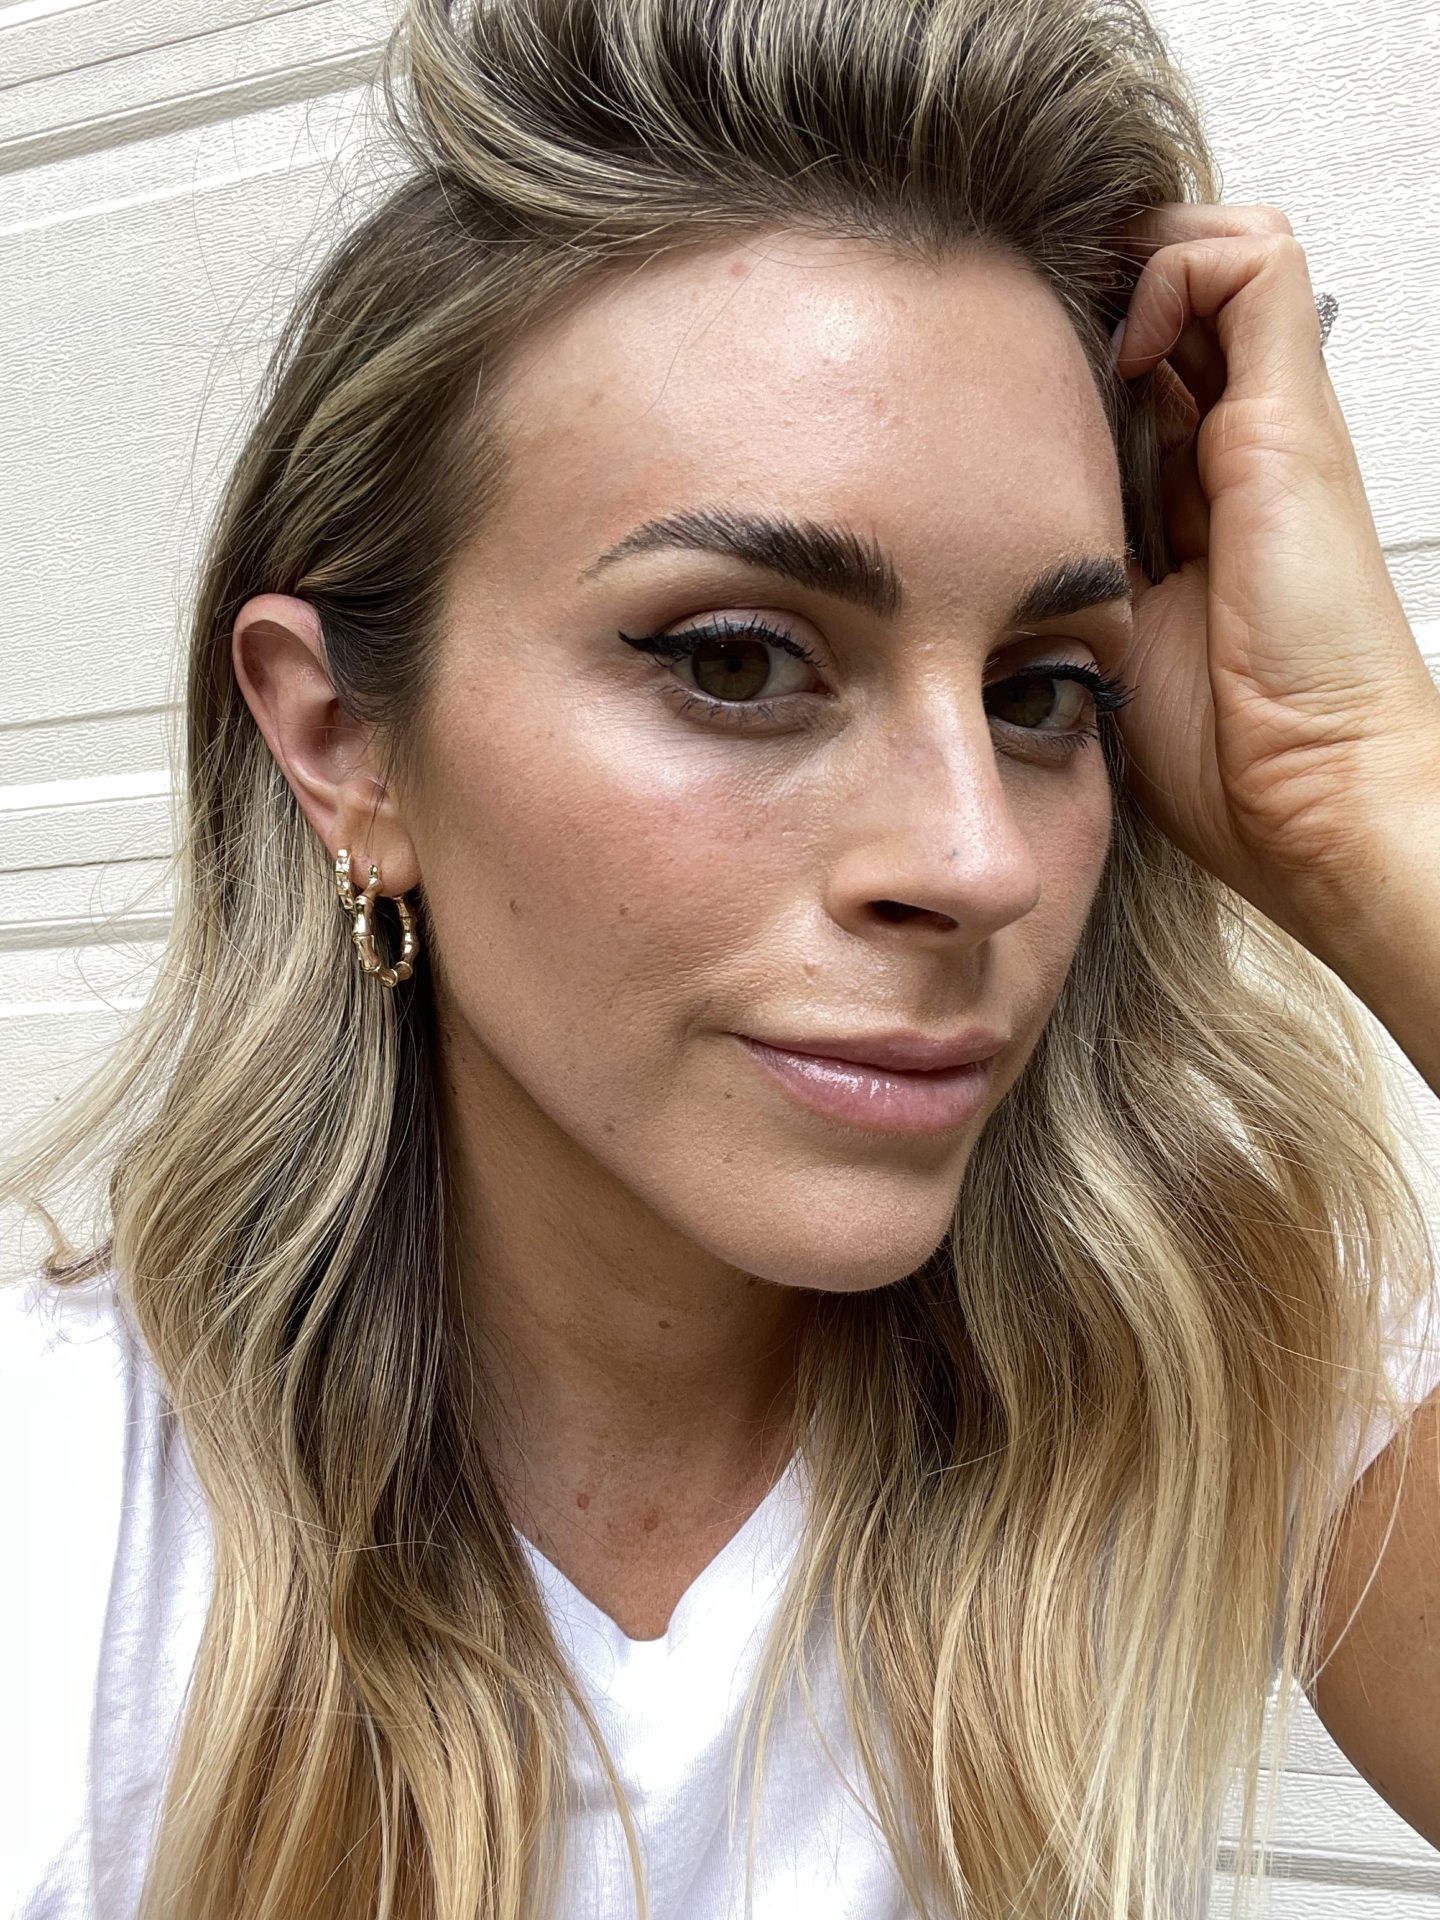
After lamination 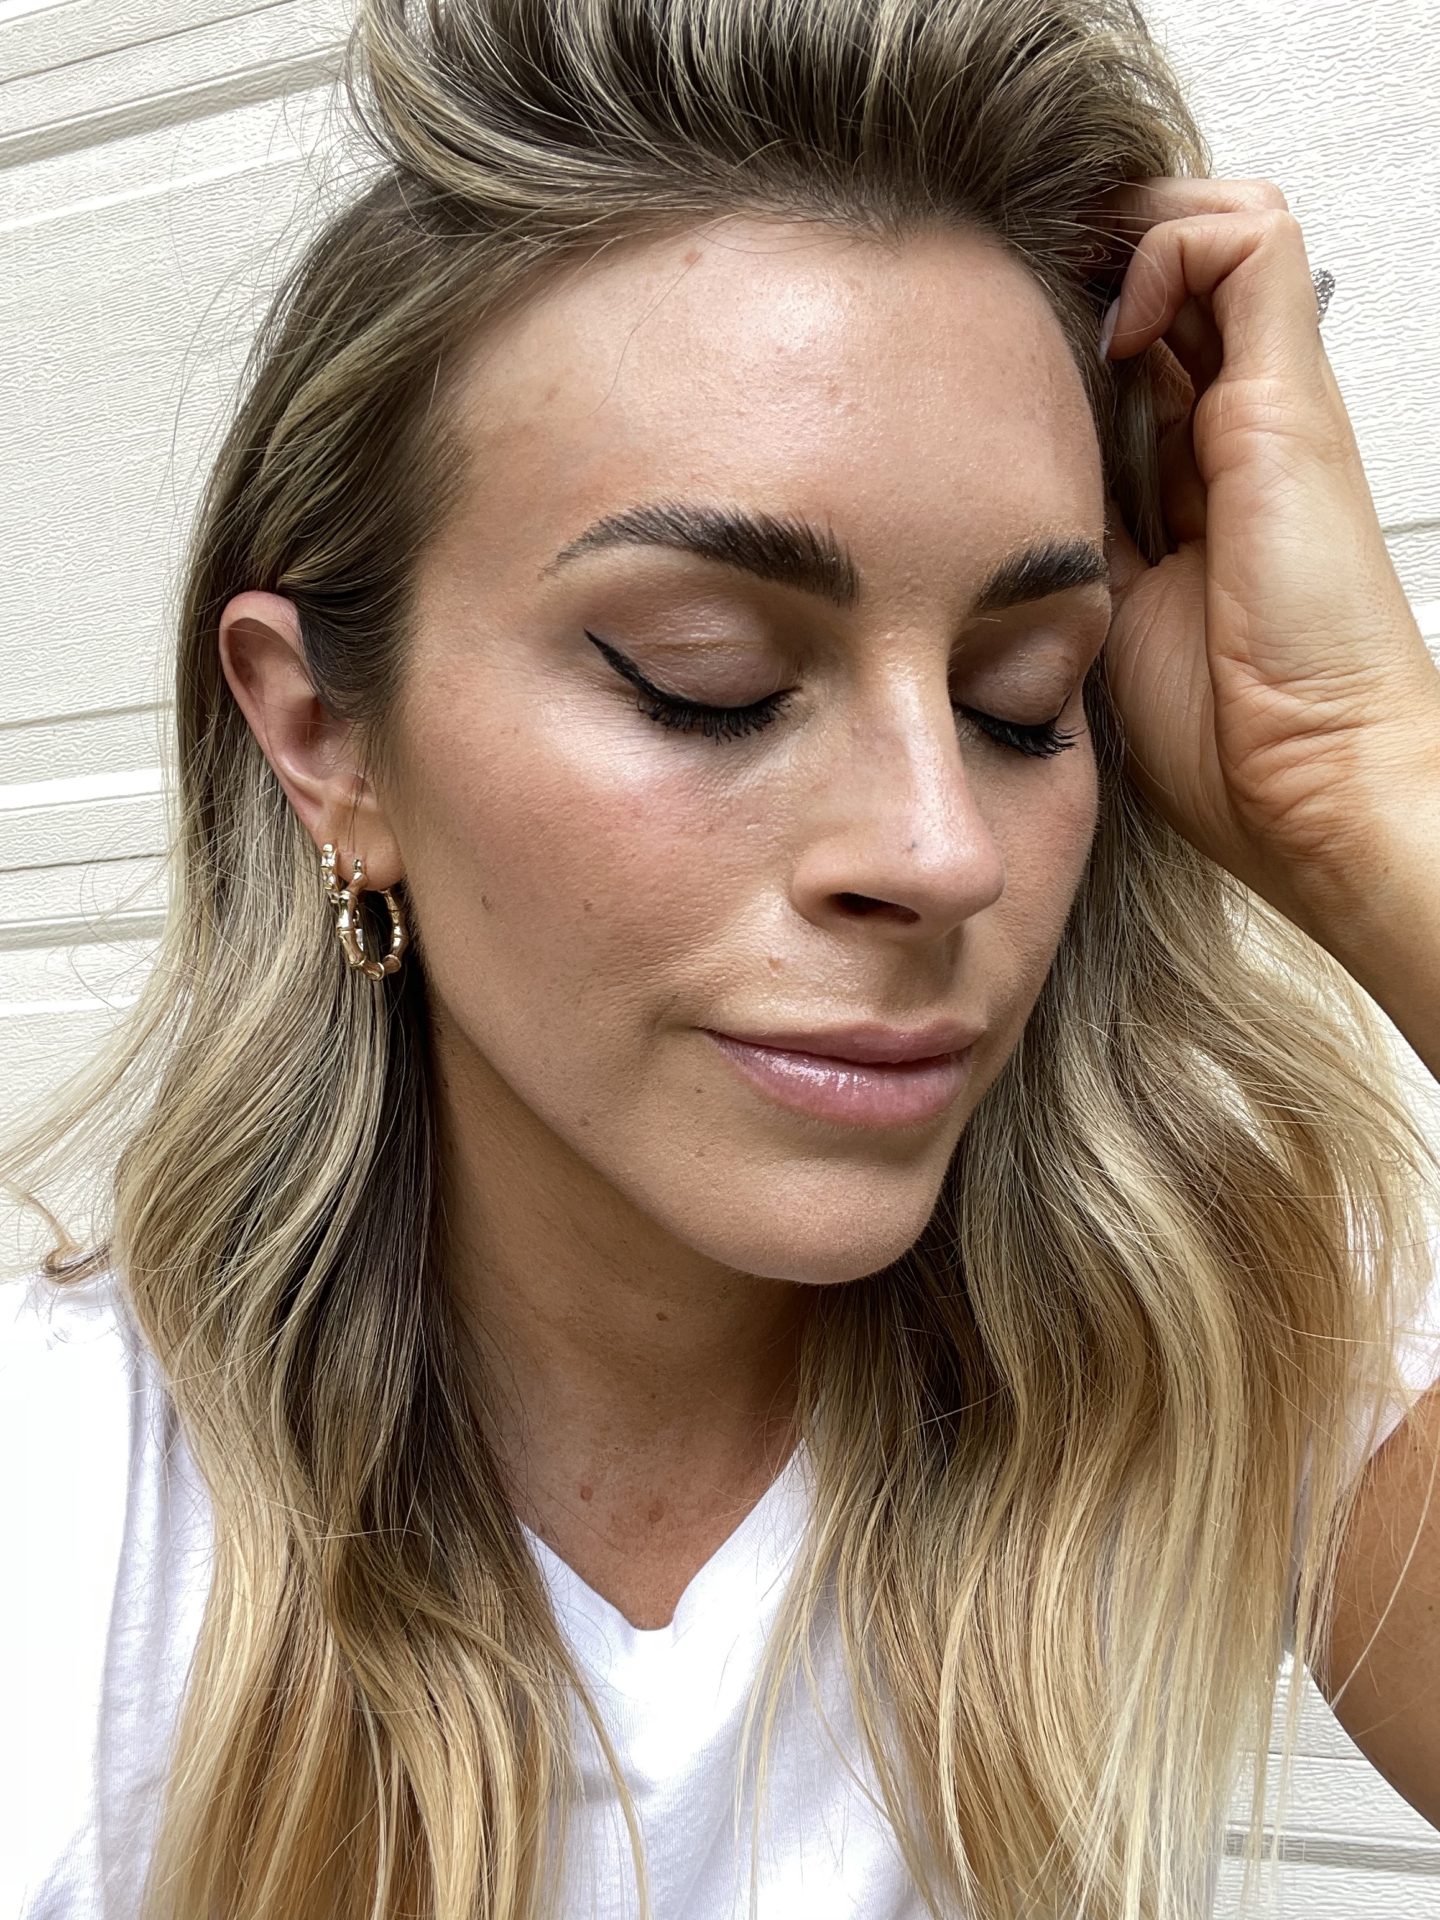
Hopefully this post helped if you’ve been thinking of jumping on the brow lamination train! If I missed anything and you have any questions, please ask below! Also, curious if y’all are into this look or if it’s too much for you? I won’t be offended! Lol.






comments +