


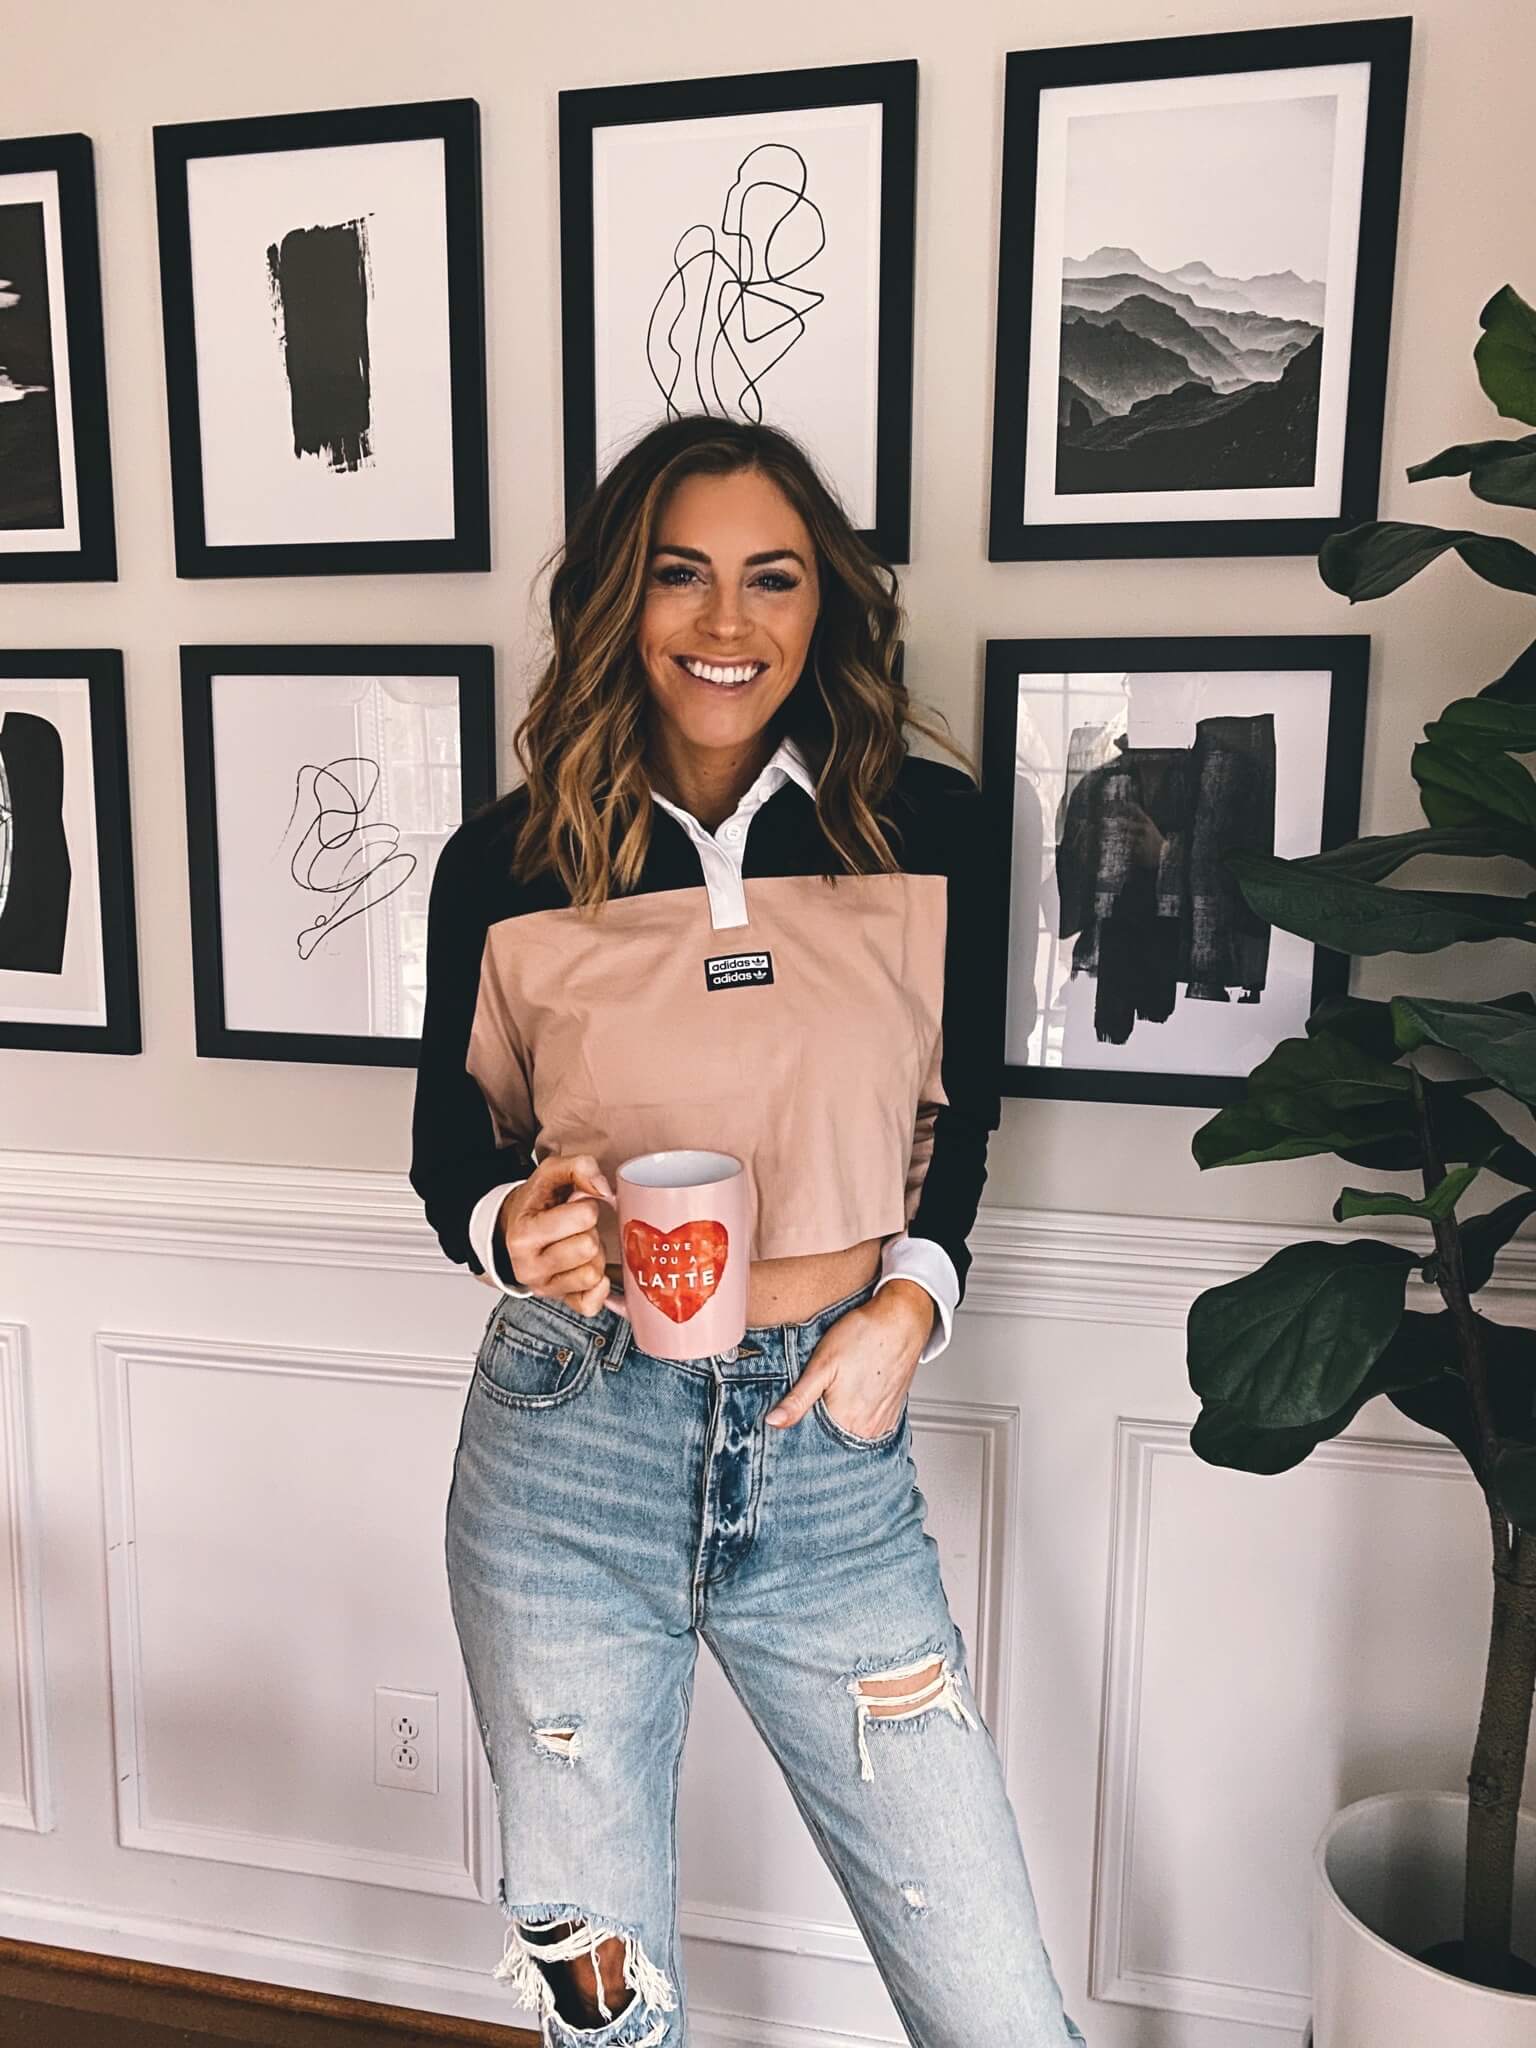
Hi guys! So I’m super excited for today’s blog post because we have a special guest 🙂 One of my dearest friends, Nora, who is also an interior stylist is sharing her best tips on how to hang and style a gallery wall. I’m going to let her dive in as she is the expert, but at the end of this post you’ll find links to the frames and individual prints that we used for my gallery wall above. All these prints are from Desenio. This is a company I’ve used before and they have so many great prints to choose from. A huge variety, and prices are super reasonable. Would definitely recommend them if you’re looking for an easy way to upgrade your home space 🙂 For frames, I found mine at Michaels (they always have really good sales so be sure you check for a coupon online). Alright, here’s Nora!
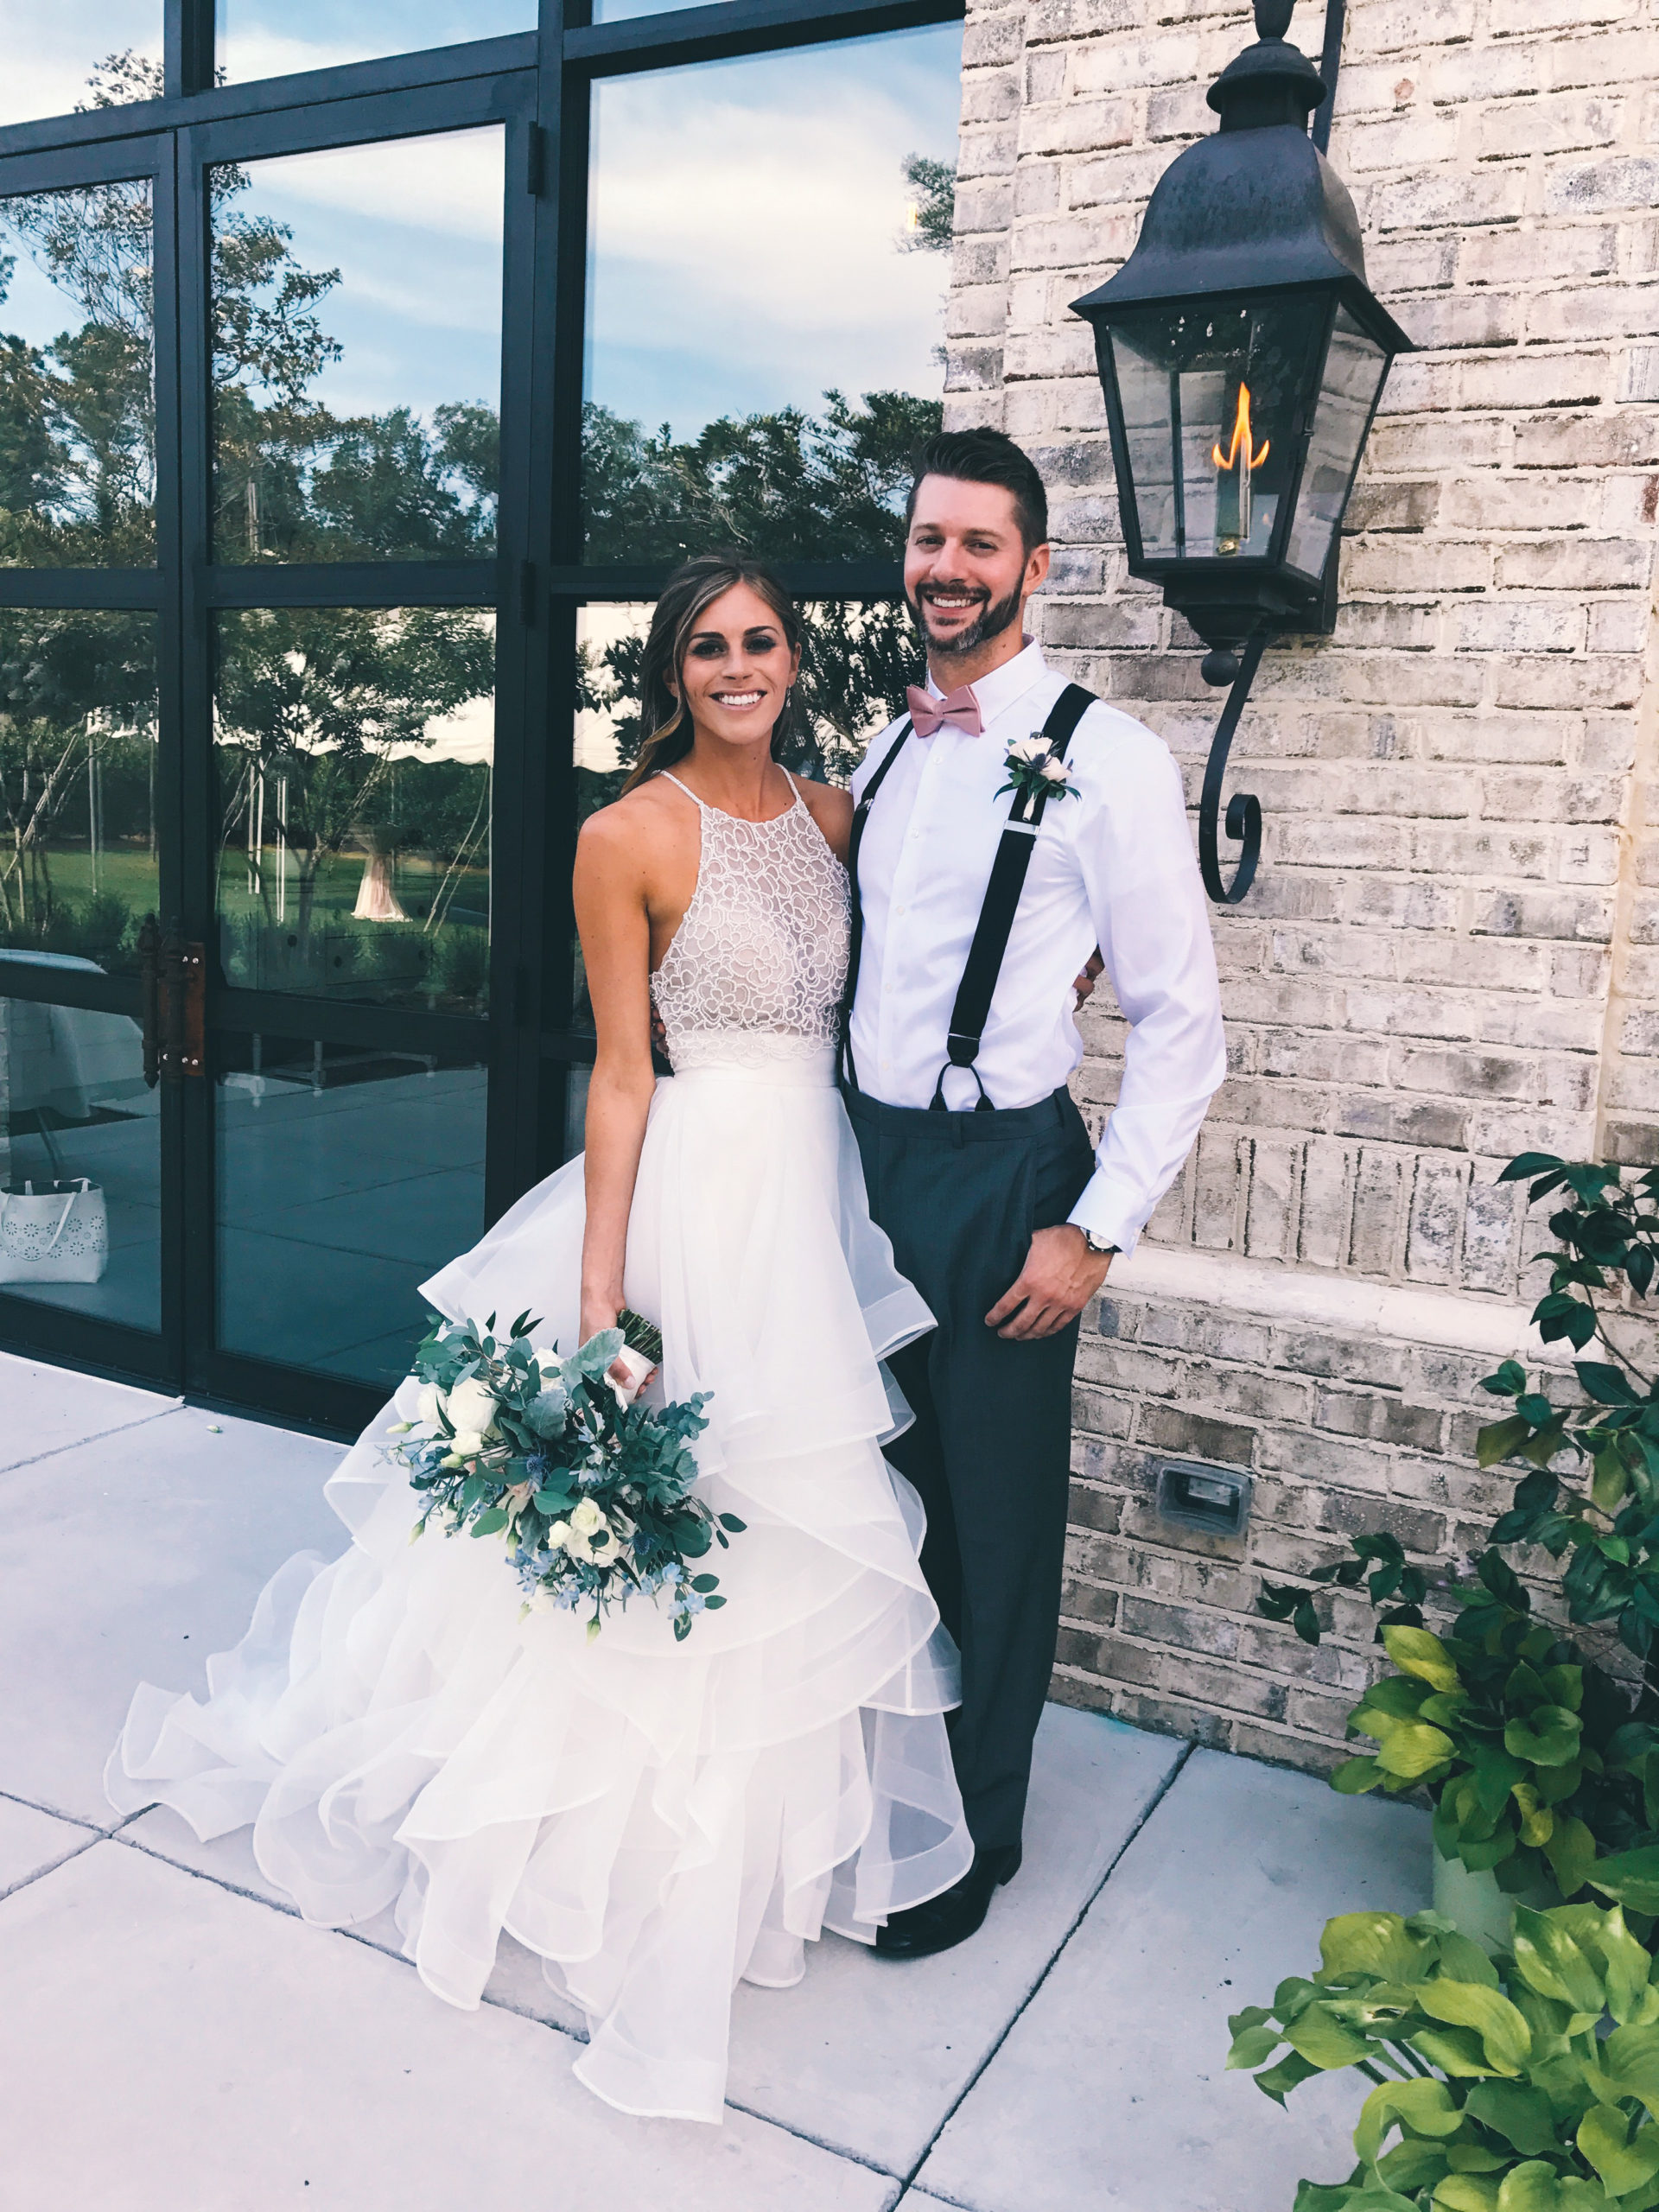
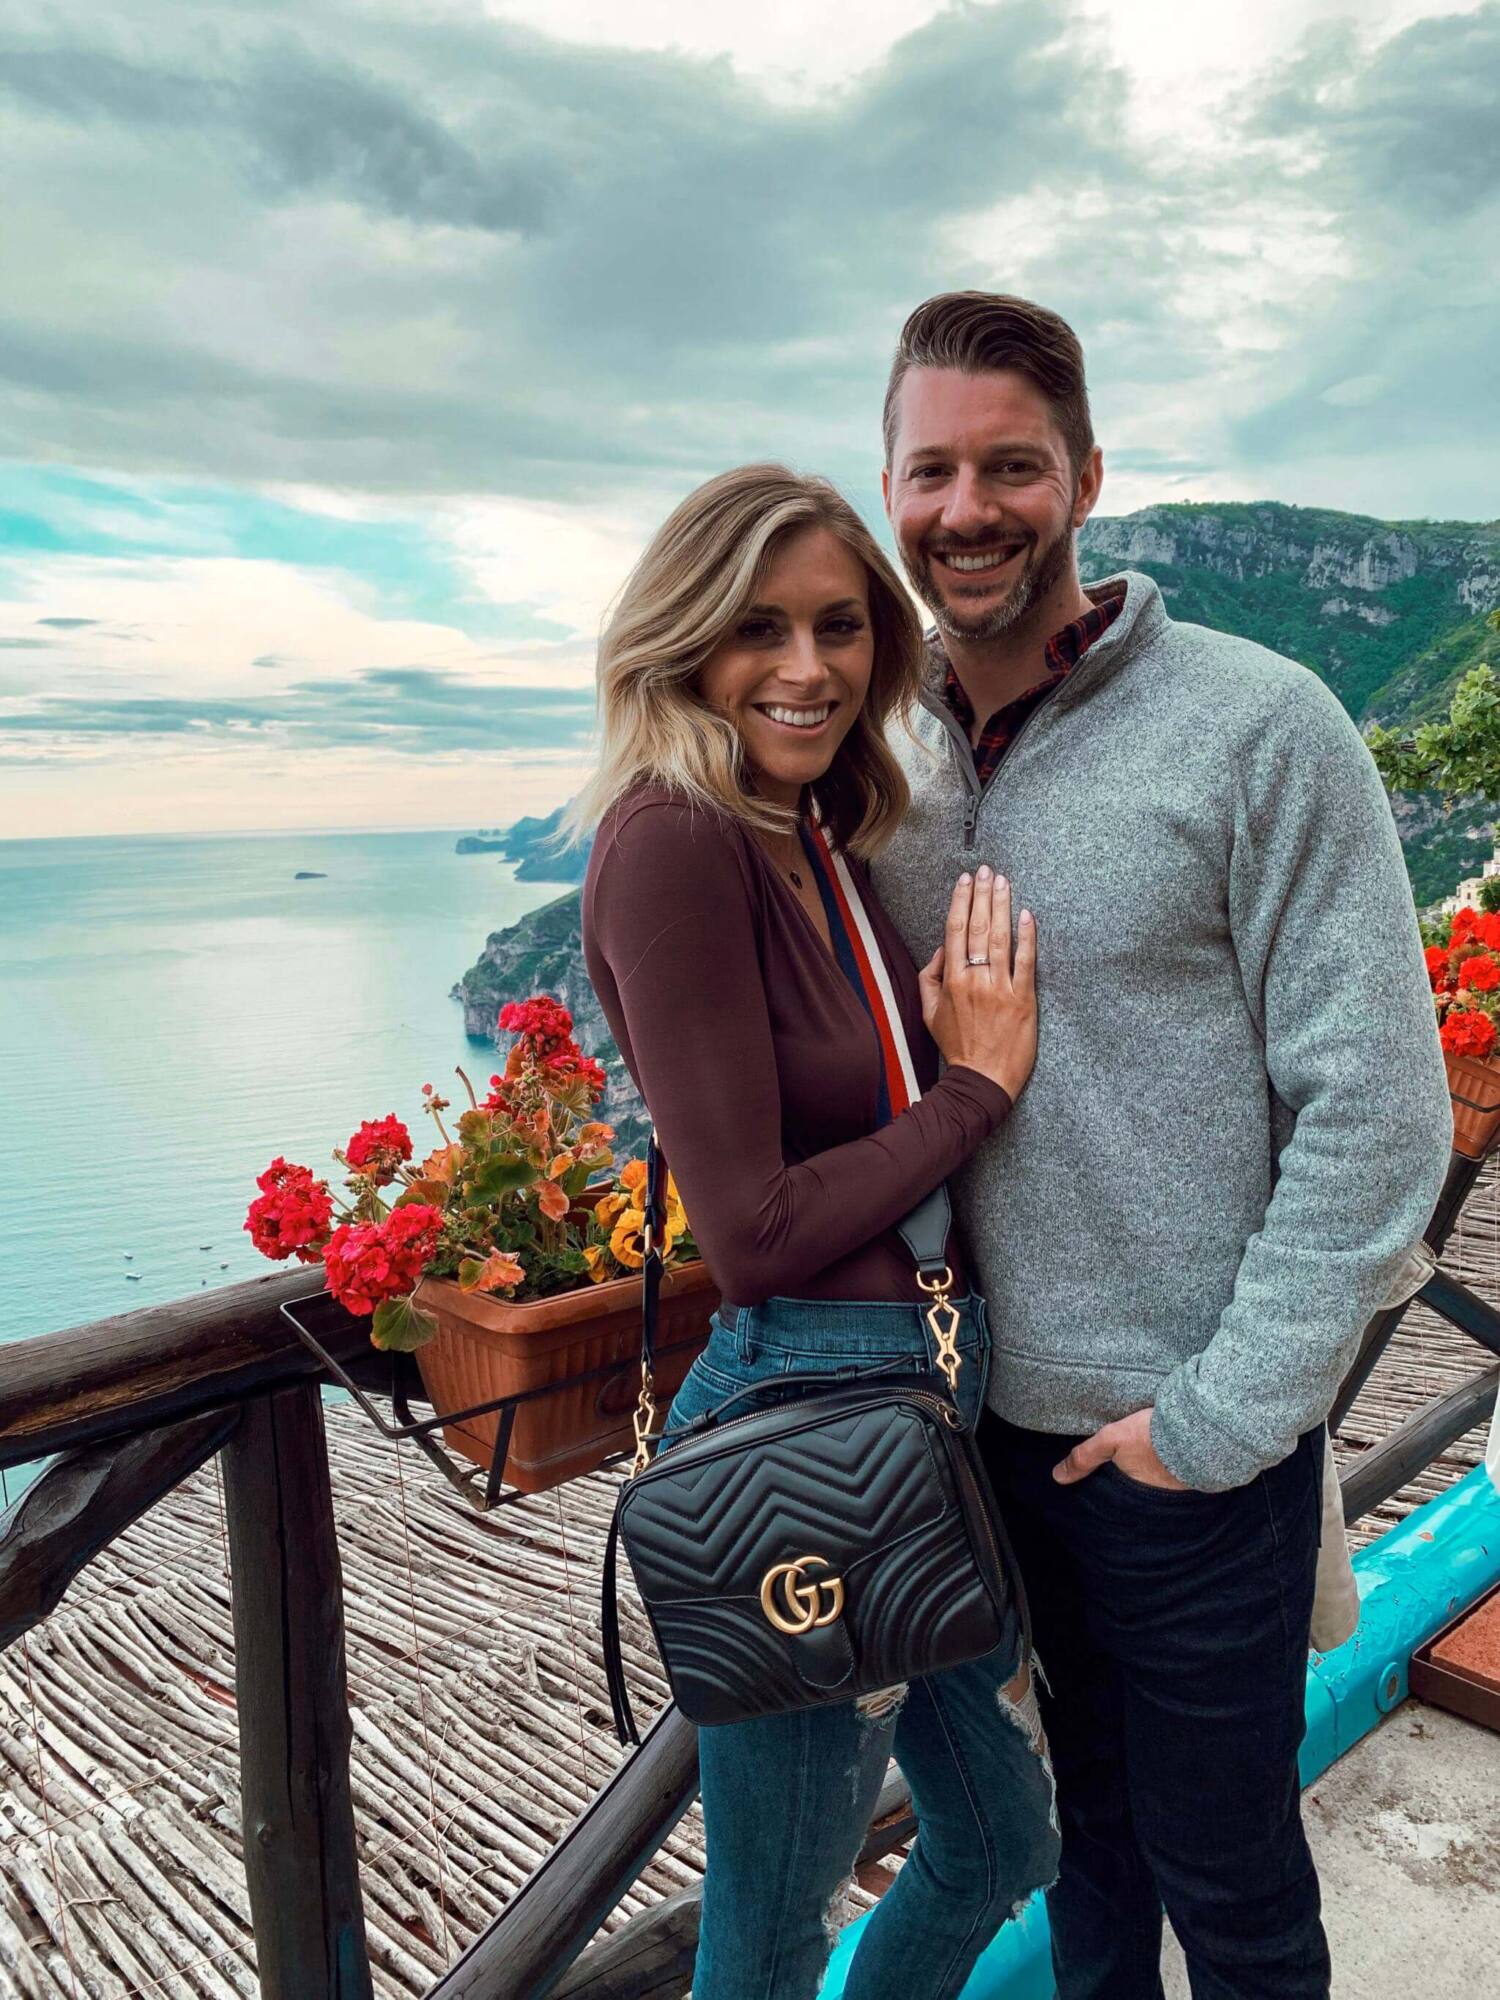
Hey all! I’m so excited to be a guest blogger for Claire. We have been friends for over a decade, so getting the chance to help her design her and Stephen’s new home has been an incredible new dynamic in our relationship. I’ll be providing some of my insight into adding art into your space, whether that’s in the form of a gallery wall or a single statement piece. If you’re still wondering about something, please feel free to reach out to me with your design questions on Instagram or through my website!
First and foremost, art is the most personal choice when designing a space. It should evoke emotion, and since my clients are the ones looking at it everyday, I try my best to steer clear of choosing art for them.
HOWEVER, I do take a front seat when advising clients on how and where to hang art. The most significant rule that I stick to is: symmetry and scale are key. Whether you’re hanging one piece of art or ten, the art should hang symmetrically either on the wall as a whole or in relation to the furniture sitting against the wall. For example, if you have a console in your living room, I would place one large piece of art symmetrically in the middle above the console. If you have two pieces of art, I would hang them symmetrically in the middle between the console side-by-side and at the same heights if they are the same dimensions.
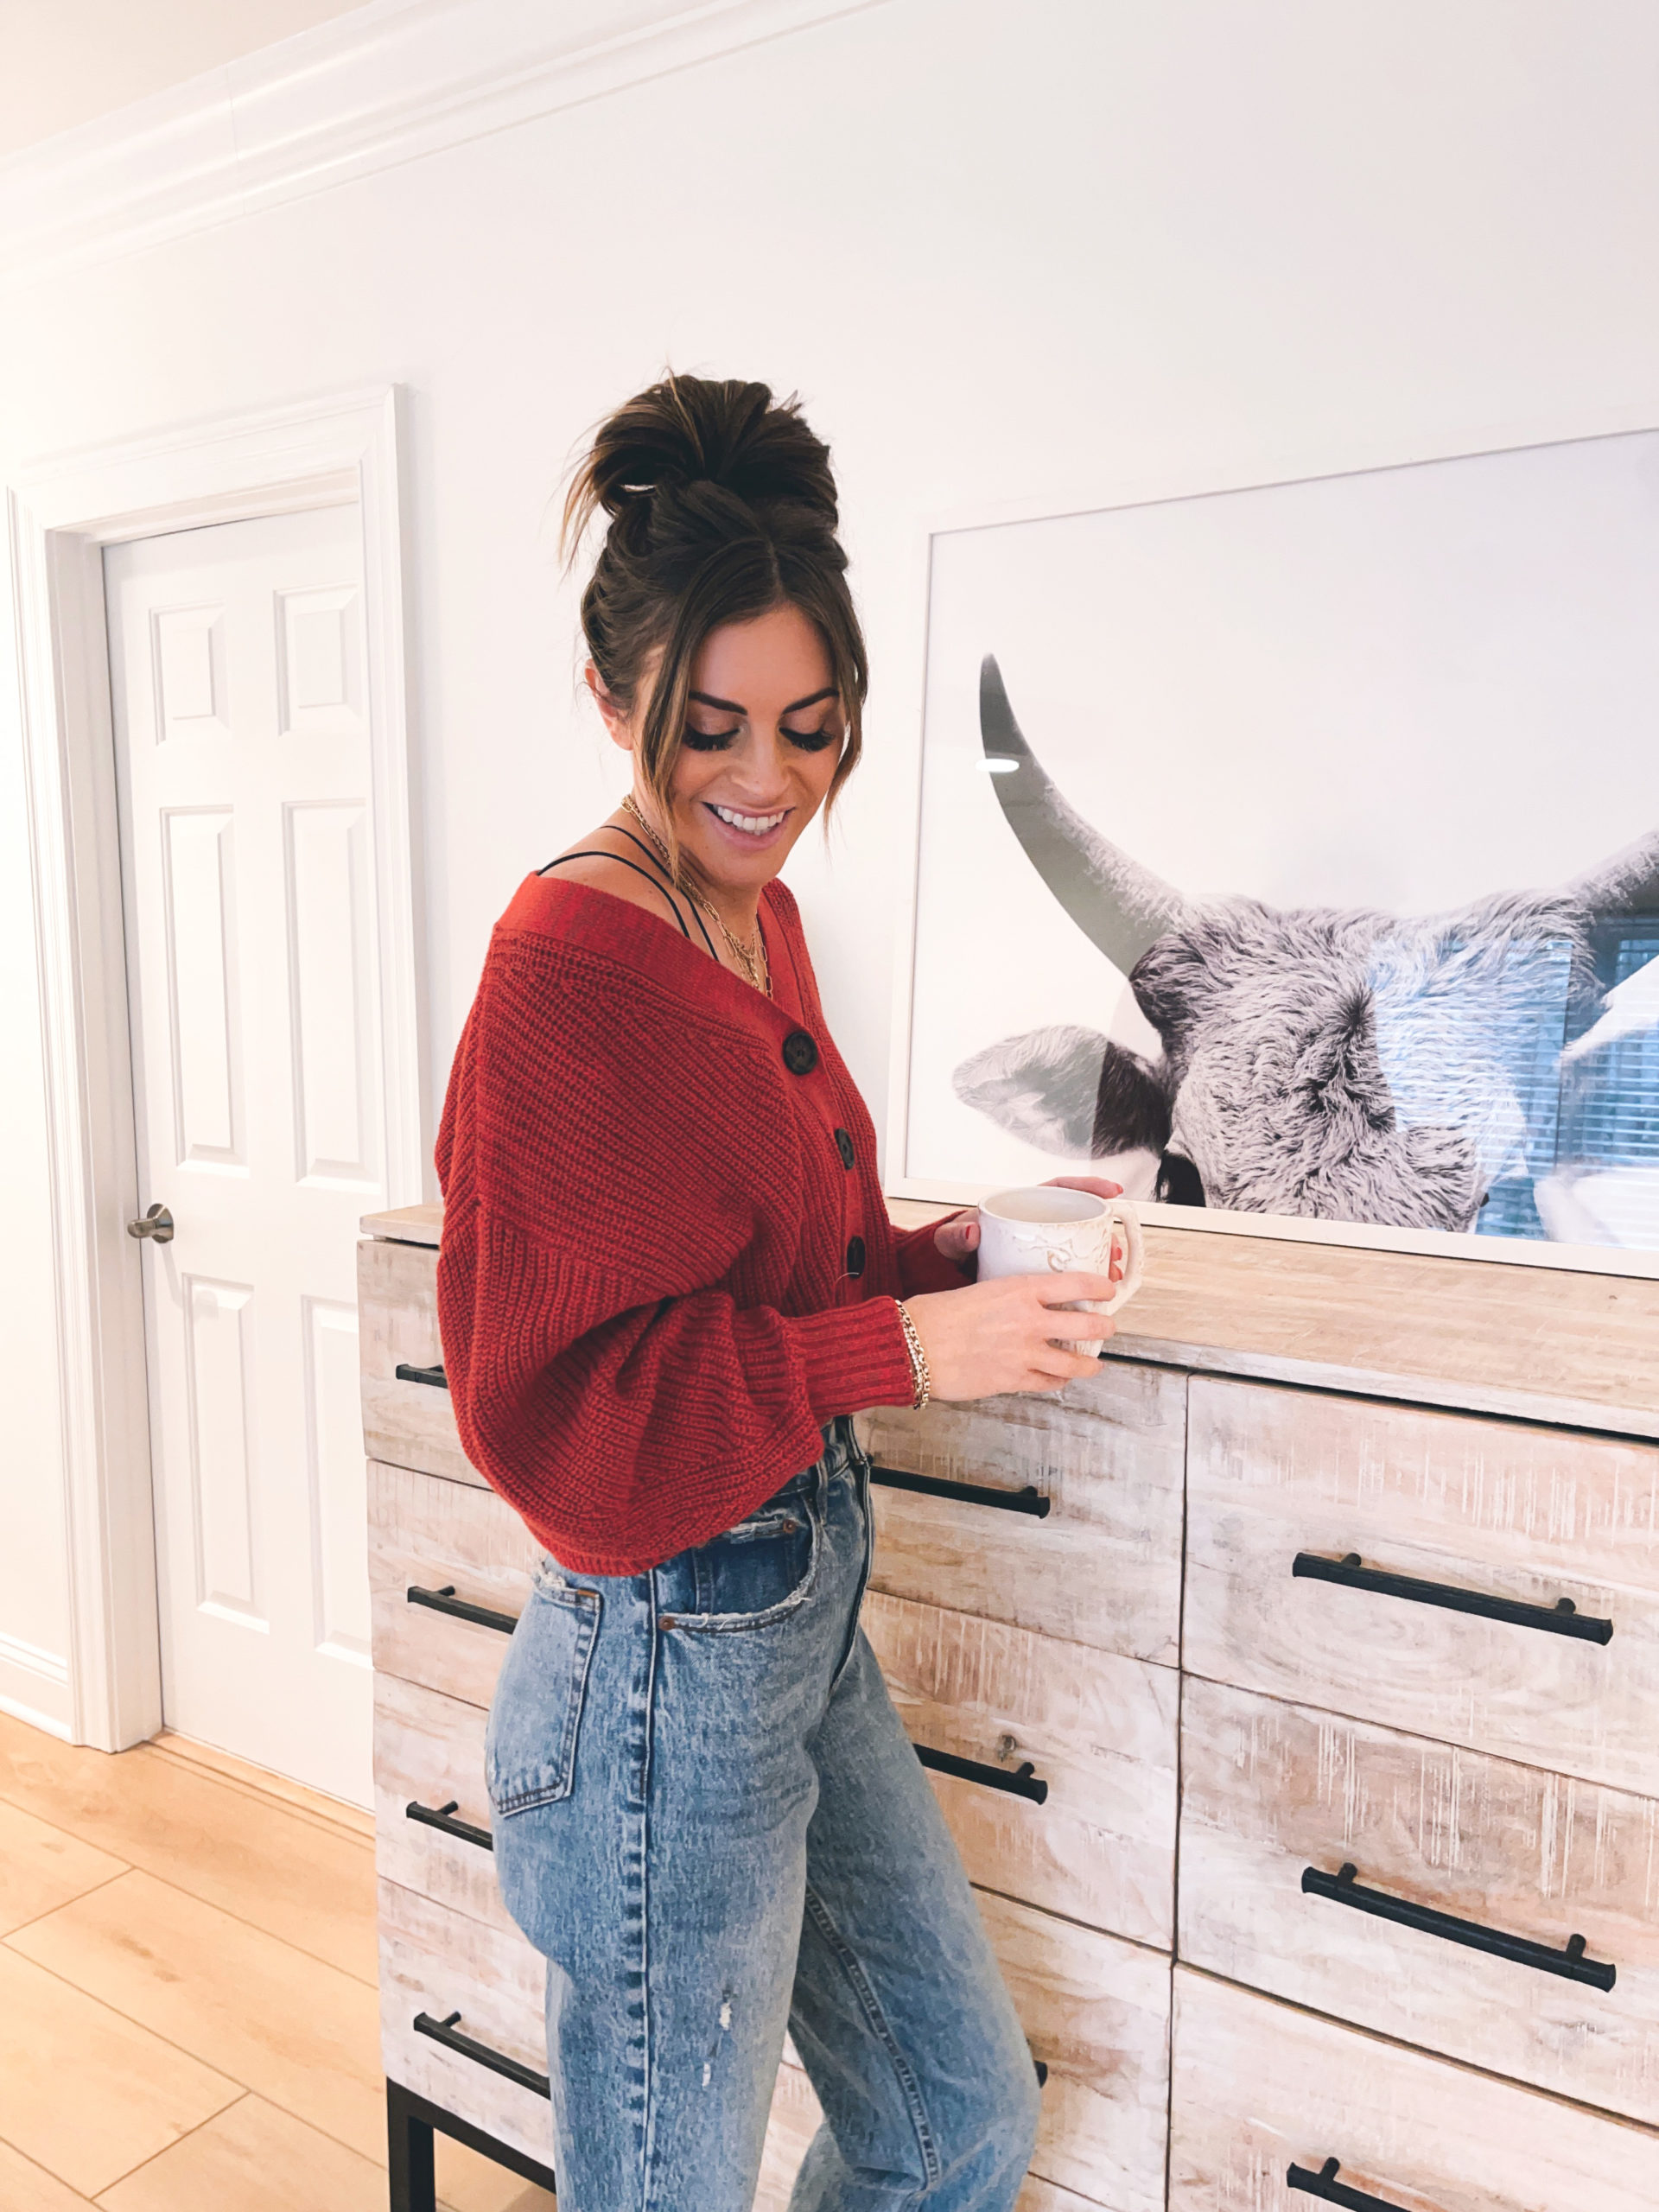
As for scale, I definitely advise clients to choose pieces of art that are in proportion with the size of their space. For example, in Claire’s living room, we decided to hang one very large piece of art on the wall behind her sofa. The size of this piece is in perfect proportion to the size of the wall, as well as the size of her sectional. If Claire wanted to hang one piece of small art on that wall, I would have advised her to collect 2-3 more pieces of the same size to span the same area as the one large piece does.
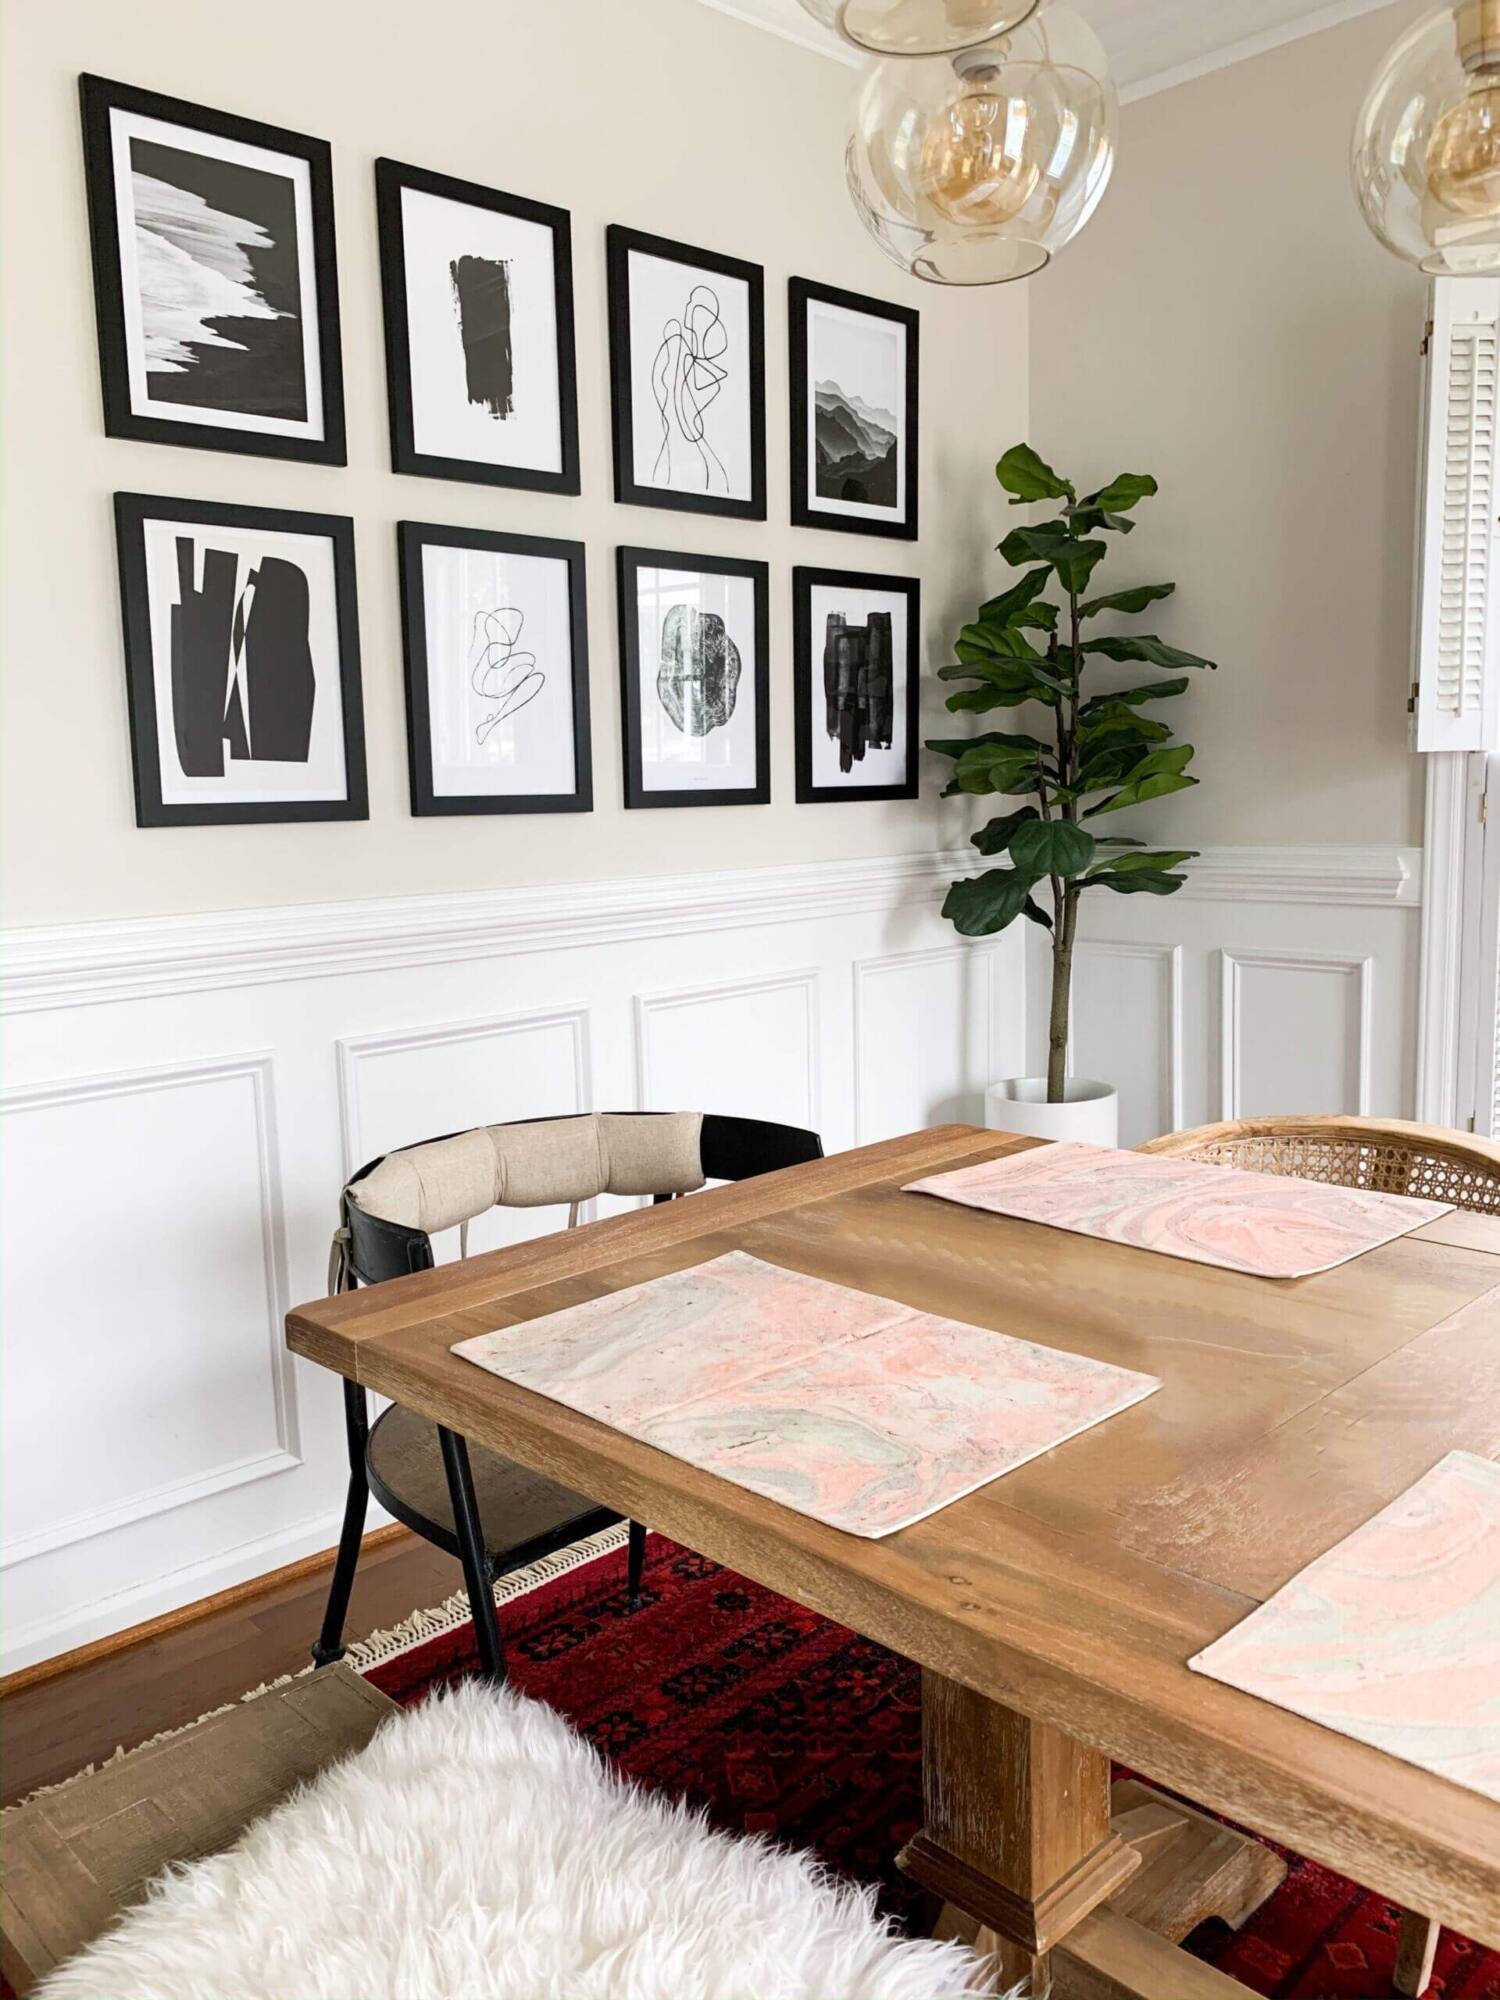
As you could see in Claire‘s dining room, we created a gallery wall using eight pieces of art. When creating gallery walls, I strive for symmetry as well as cohesion. The one exception I make to this is stairways, since it is much more challenging to create (or even see) symmetry on a slant.
For Claire’s gallery wall, I began by asking her what she wanted the overall theme to be. After deciding on black and white and abstract as the two themes, we narrowed down our selection to eight pieces of art. Deciding on a theme helps to create cohesion as well as a statement.
After choosing the art, we decided on the tone and style of frames that would suit the art best. Since the mattes surrounding the art were all white, we chose black frames to make the pieces pop even more. Going with the abstract theme, we stuck to frames with thick, simple constructions (as opposed to ornate, vintage ones).
Before Claire hung her pieces of art, I advised her to draw out where they would hang using painters tape beforehand. This is a tip that I learned while interning, and it’s stuck with me ever since. Prior to knowing this simple trick, I would lose my mind over hanging pieces using my eyes alone because that meant having to rehang them multiple times to get them right. Who wants six extra holes in their wall—no one.
Using tape beforehand works for one piece, and is especially helpful when hanging a gallery wall. When planning out your gallery wall, measure the wall’s width and height first. Sketch those dimensions on a piece of paper with a pencil. After that, decide on the size of the frame(s) that you want to use, and input those dimensions into your drawing of the wall. I usually leave about 3 inches between each frame, so make sure to factor in that spacing as well. I advise drawing out the plan beforehand because it helps to understand about how many frame will fit nicely on the wall.
After sketching out your wall, use the painters tape to create your “frames” on the wall. For the first one, I would recommend using a level to make sure that it is straight. Moving forward, you can feel confident that the frames will all be straight based off of your first tape layout.
I have seen gallery walls where there is no space between the frames. It’s a dramatic look, but it also requires the pieces of art to be especially cohesive. Don’t forget the extra amount of patience it will take when hanging them all at the same exact height!
After hanging your pieces of art, take a step back and see how they feel against one another. When Claire first hung all of the pieces up, we ended up swapping two and found that they all flowed so much more nicely. Once again, art is about evoking emotion, so make sure that where your art hangs makes you feel something!
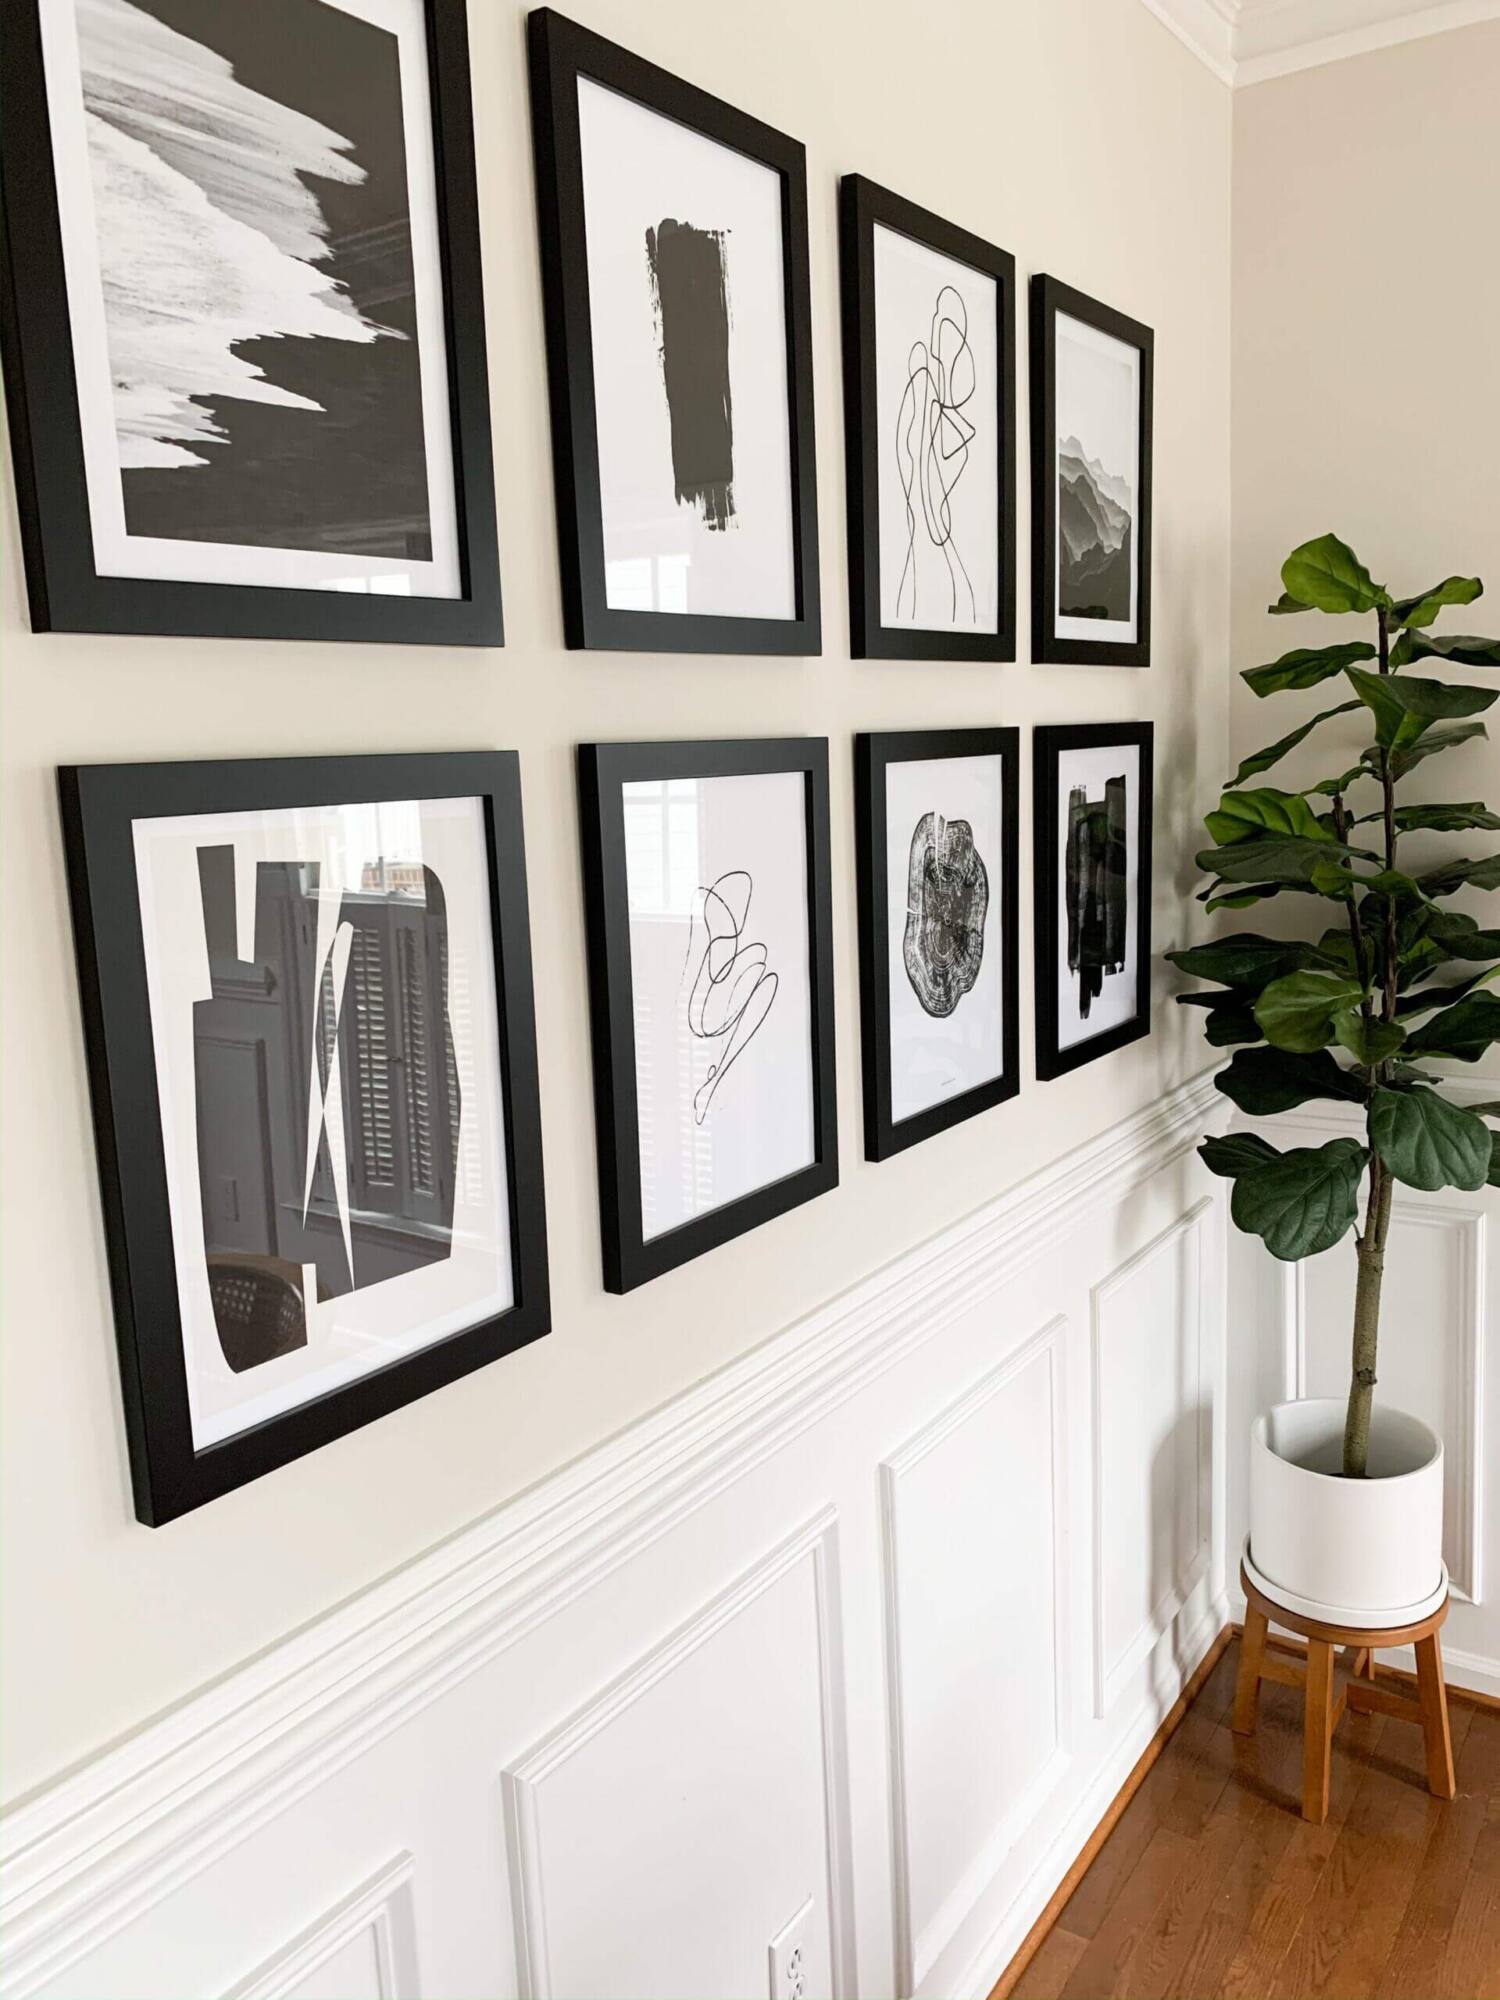
Pieces From Claire’s Gallery Wall (all in 30×40 cm)
Figuratone
Geometric Face No2
Brush Black
Black Rocky Mountains
Beach B&W
Ink Texture
Black Wood
Abstract Nudes No1


")


comments +