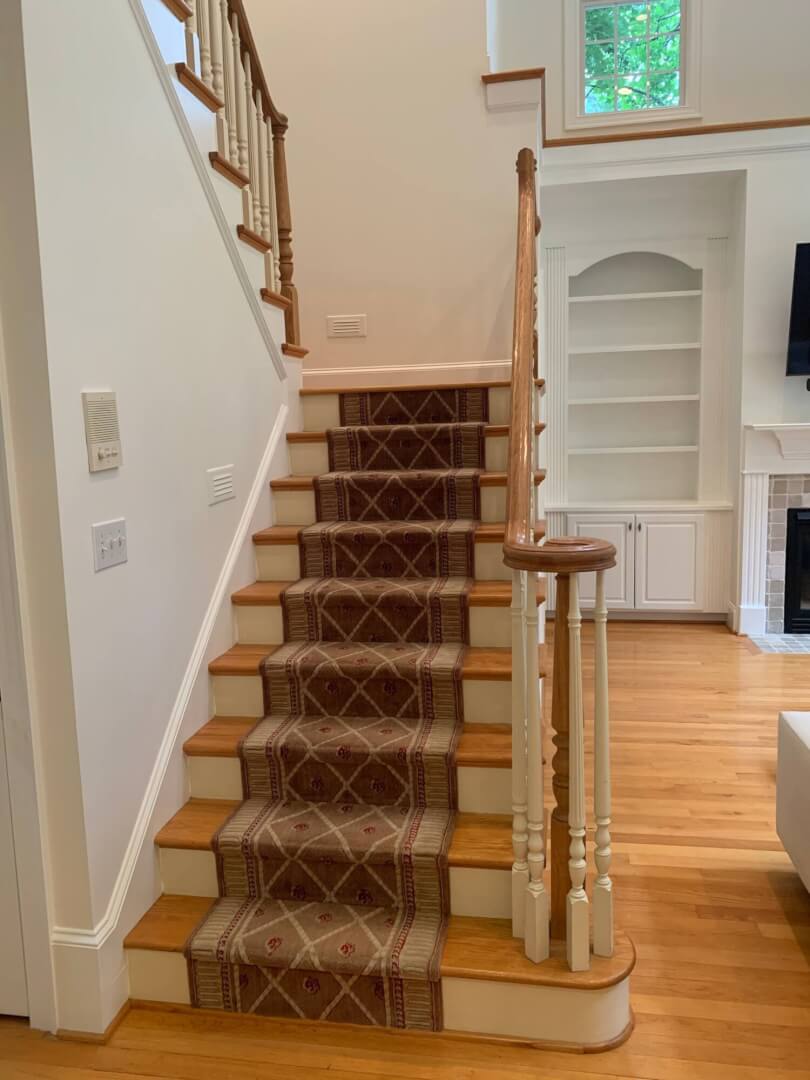
I’ll be honest, remodeling a staircase isn’t exactly what I have in mind when I think of making house updates. I mean, I usually think of things like: upgrading the kitchen or bathroom, refinishing the hardwoods, repainting, etc. You know, the obvious things. When we first bought the house and I started thinking of the updates I wanted to do, and the staircase was definitely included but it wasn’t necessarily at the top of the list. I mean, things like the kitchen seemed like a much bigger priority. After all, it’s a main room in the house where you’re spending a lot of time! But as we repainted and moved in our furniture, the staircase just started to feel really out of place. I hated it every time I looked at it LOL. It just felt like a huge eye sore! #nondramatic. Anyway. I decided that if it wasn’t too expensive, that the staircase had to be remodeled sooner than later.
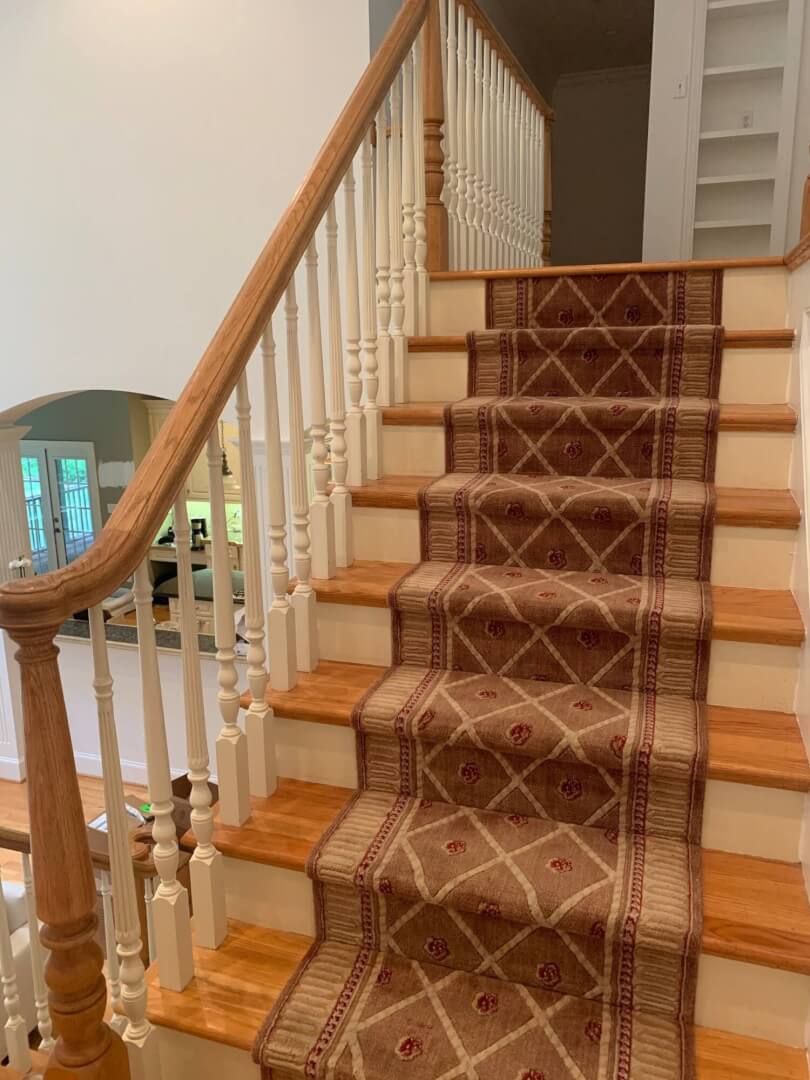
Before photos
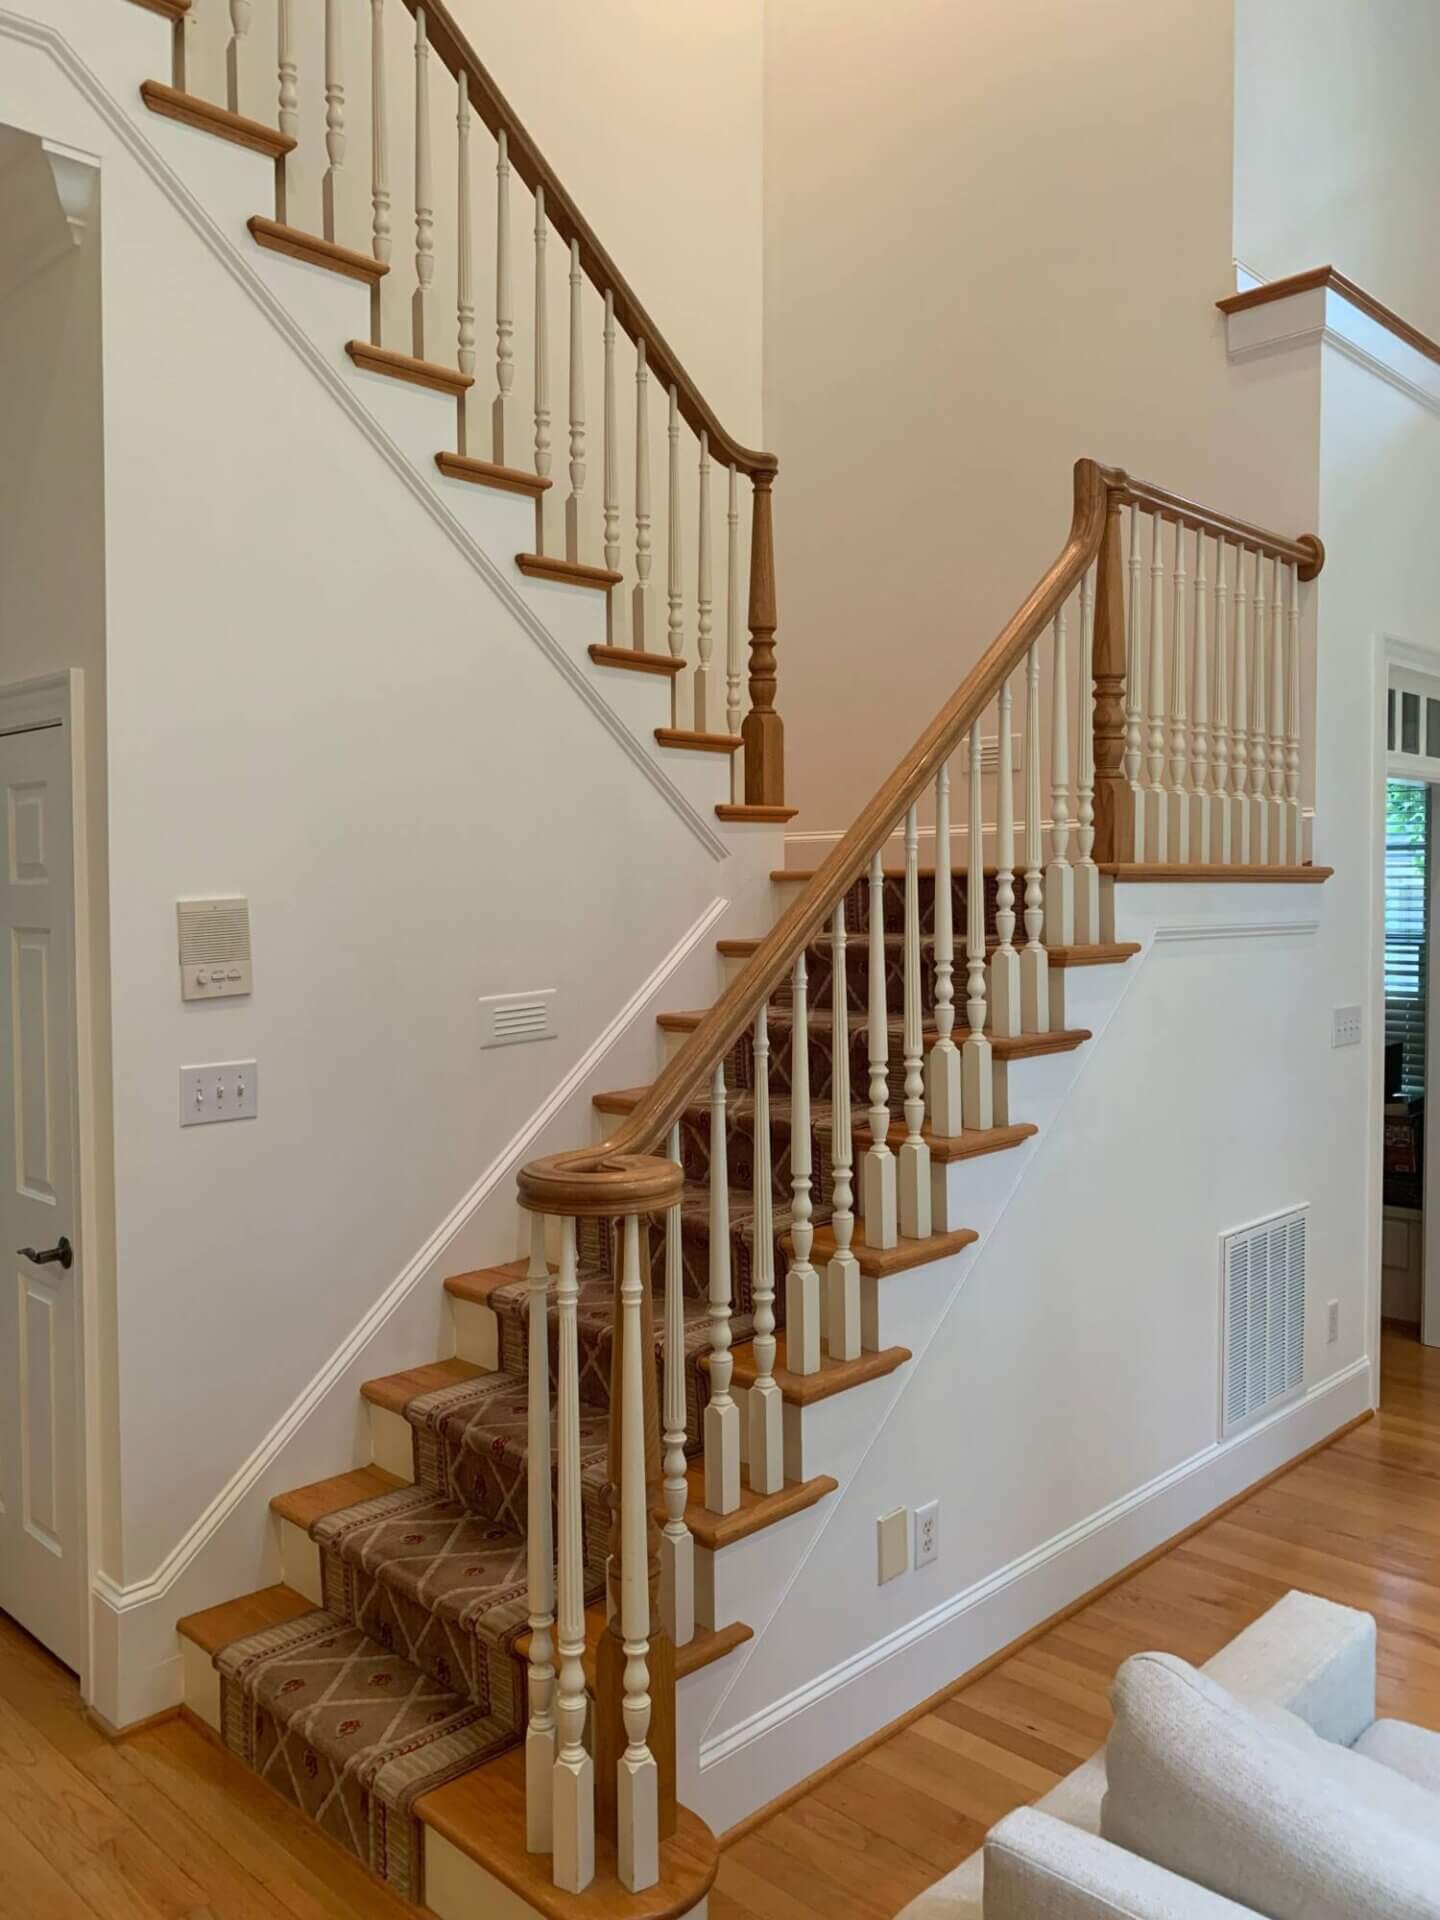
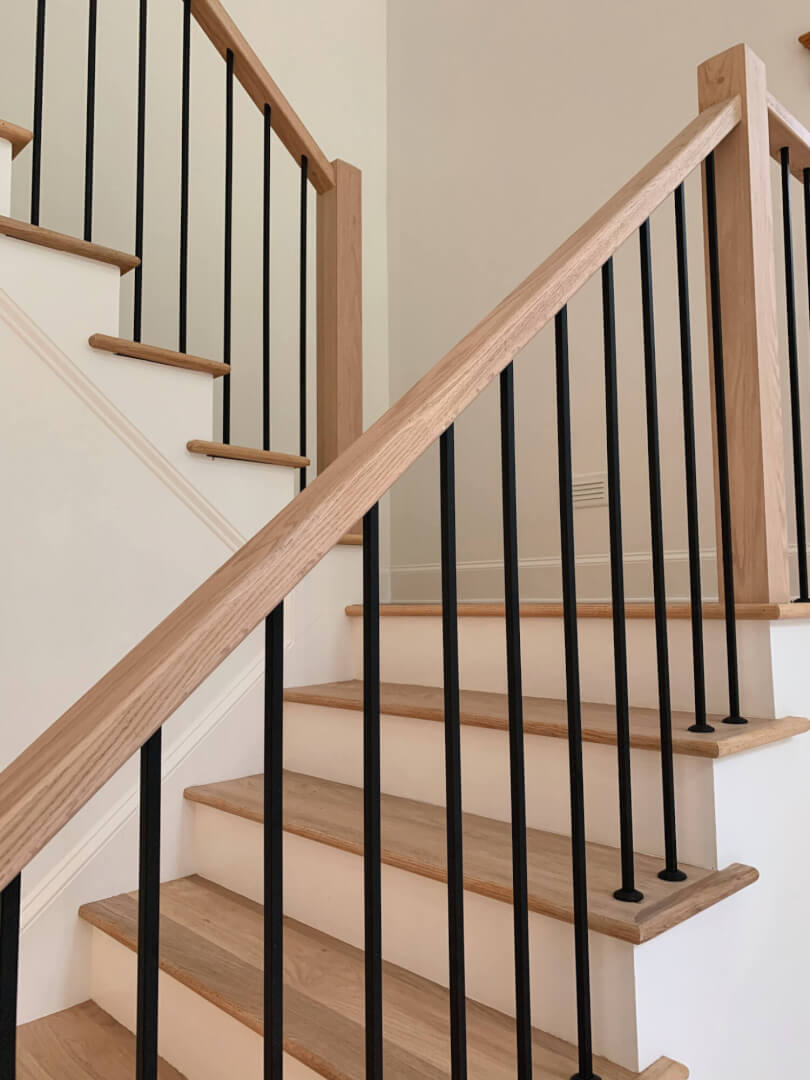
The first thing I did was find inspiration photos for what I wanted the end result to be. This is important so you know what overall look you’re going for (because otherwise they will just send you links to look at with different balusters, railings, posts, etc. and it’s hard to know what to pick individually when you don’t have an overall vision). One thing to think about is even though you’re updating your staircase, what updates will still blend with your home’s features? For example, this is our friend’s staircase. While I love it and it works great in their house, it’s just too modern compared to the features in our house. You can upgrade and update a house all you want, but unless you’re totally gutting/renovating it, it’s foundational features (ie. crown molding, etc) are still going to be present. So something to think about when you’re looking for inspiration photos! So basically once I scoured Pinterest and home decor blogs and found the type of staircase I was looking for from the posts, the balusters and and the railings, I then reached out to various companies in the area and sent them my inspiration photo along with photos of my current staircase. Heads up: in addition to photos of your current staircase, they will also probably ask you how many balusters you have (if it’s hard to count them from the photo alone).
Once I got several prices (and trust me, you’ll want to get several quotes like with anything because there can be a big range!), I ended up choosing Royal Railings. They had a great website, before and after photos, were very responsive and helpful during our initial calls and emails, and their price was the most reasonable. For those wondering, the total cost for parts and labor was $3300 (but some places quoted me over $5K). But overall the process is pretty simple. You send them your inspiration photos, photos of your current staircase and then they send you a quote. A few other things they may ask you (as we ran into this) is changing out the bottom tread (stair) to a different shape/size. Our old staircase had a round bottom step and we decided to switch it out to square in order to help make the staircase look a little more modern.
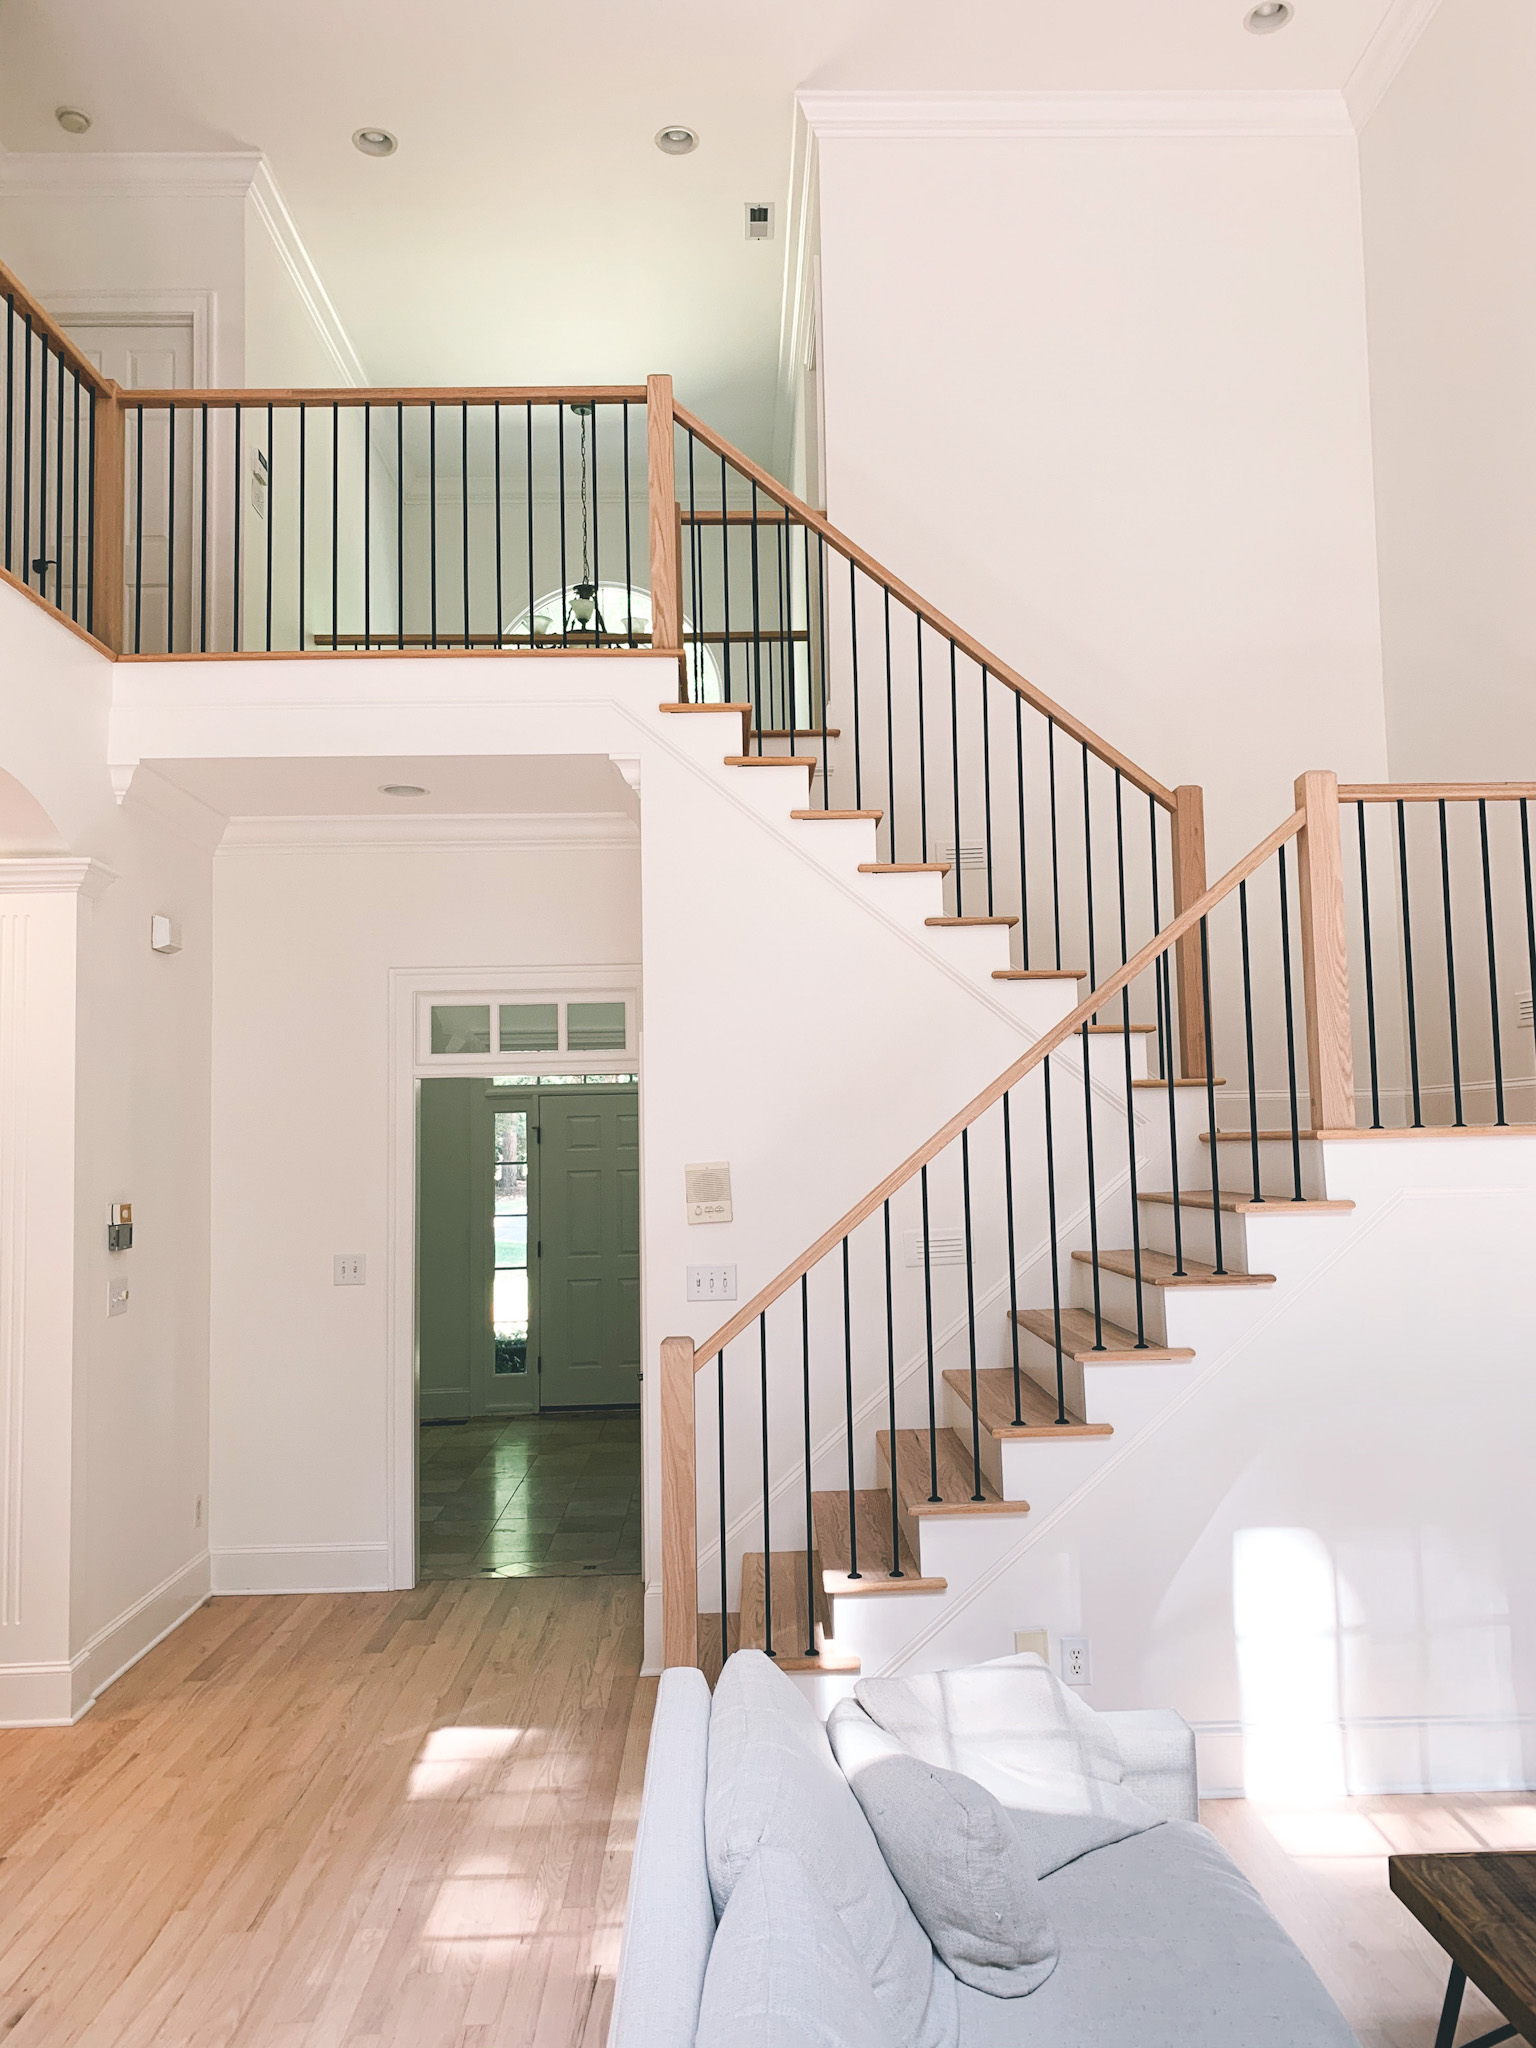
After photos
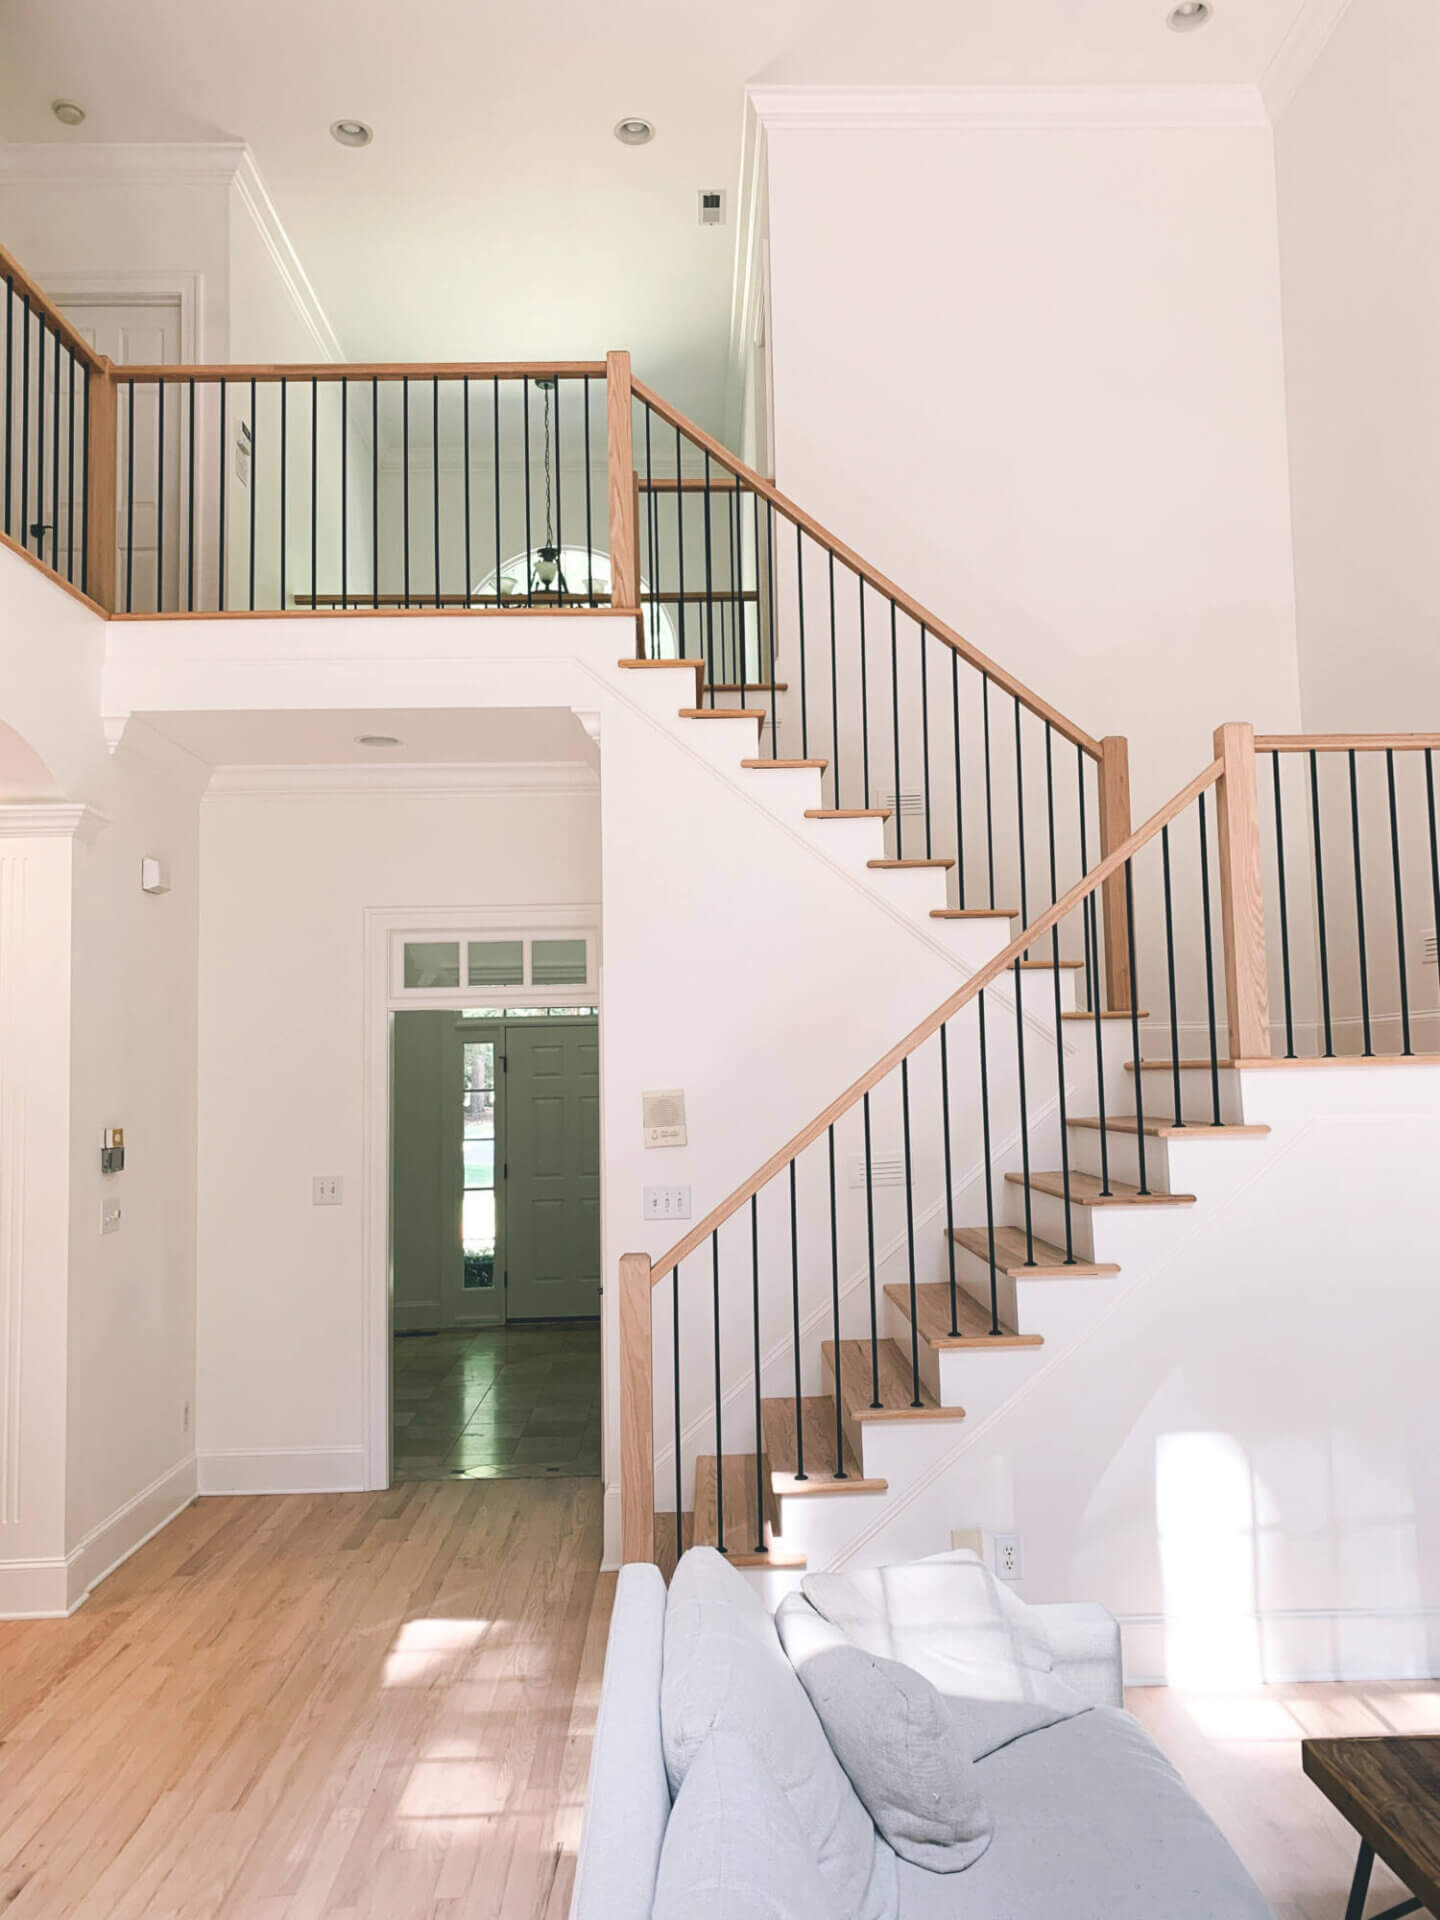
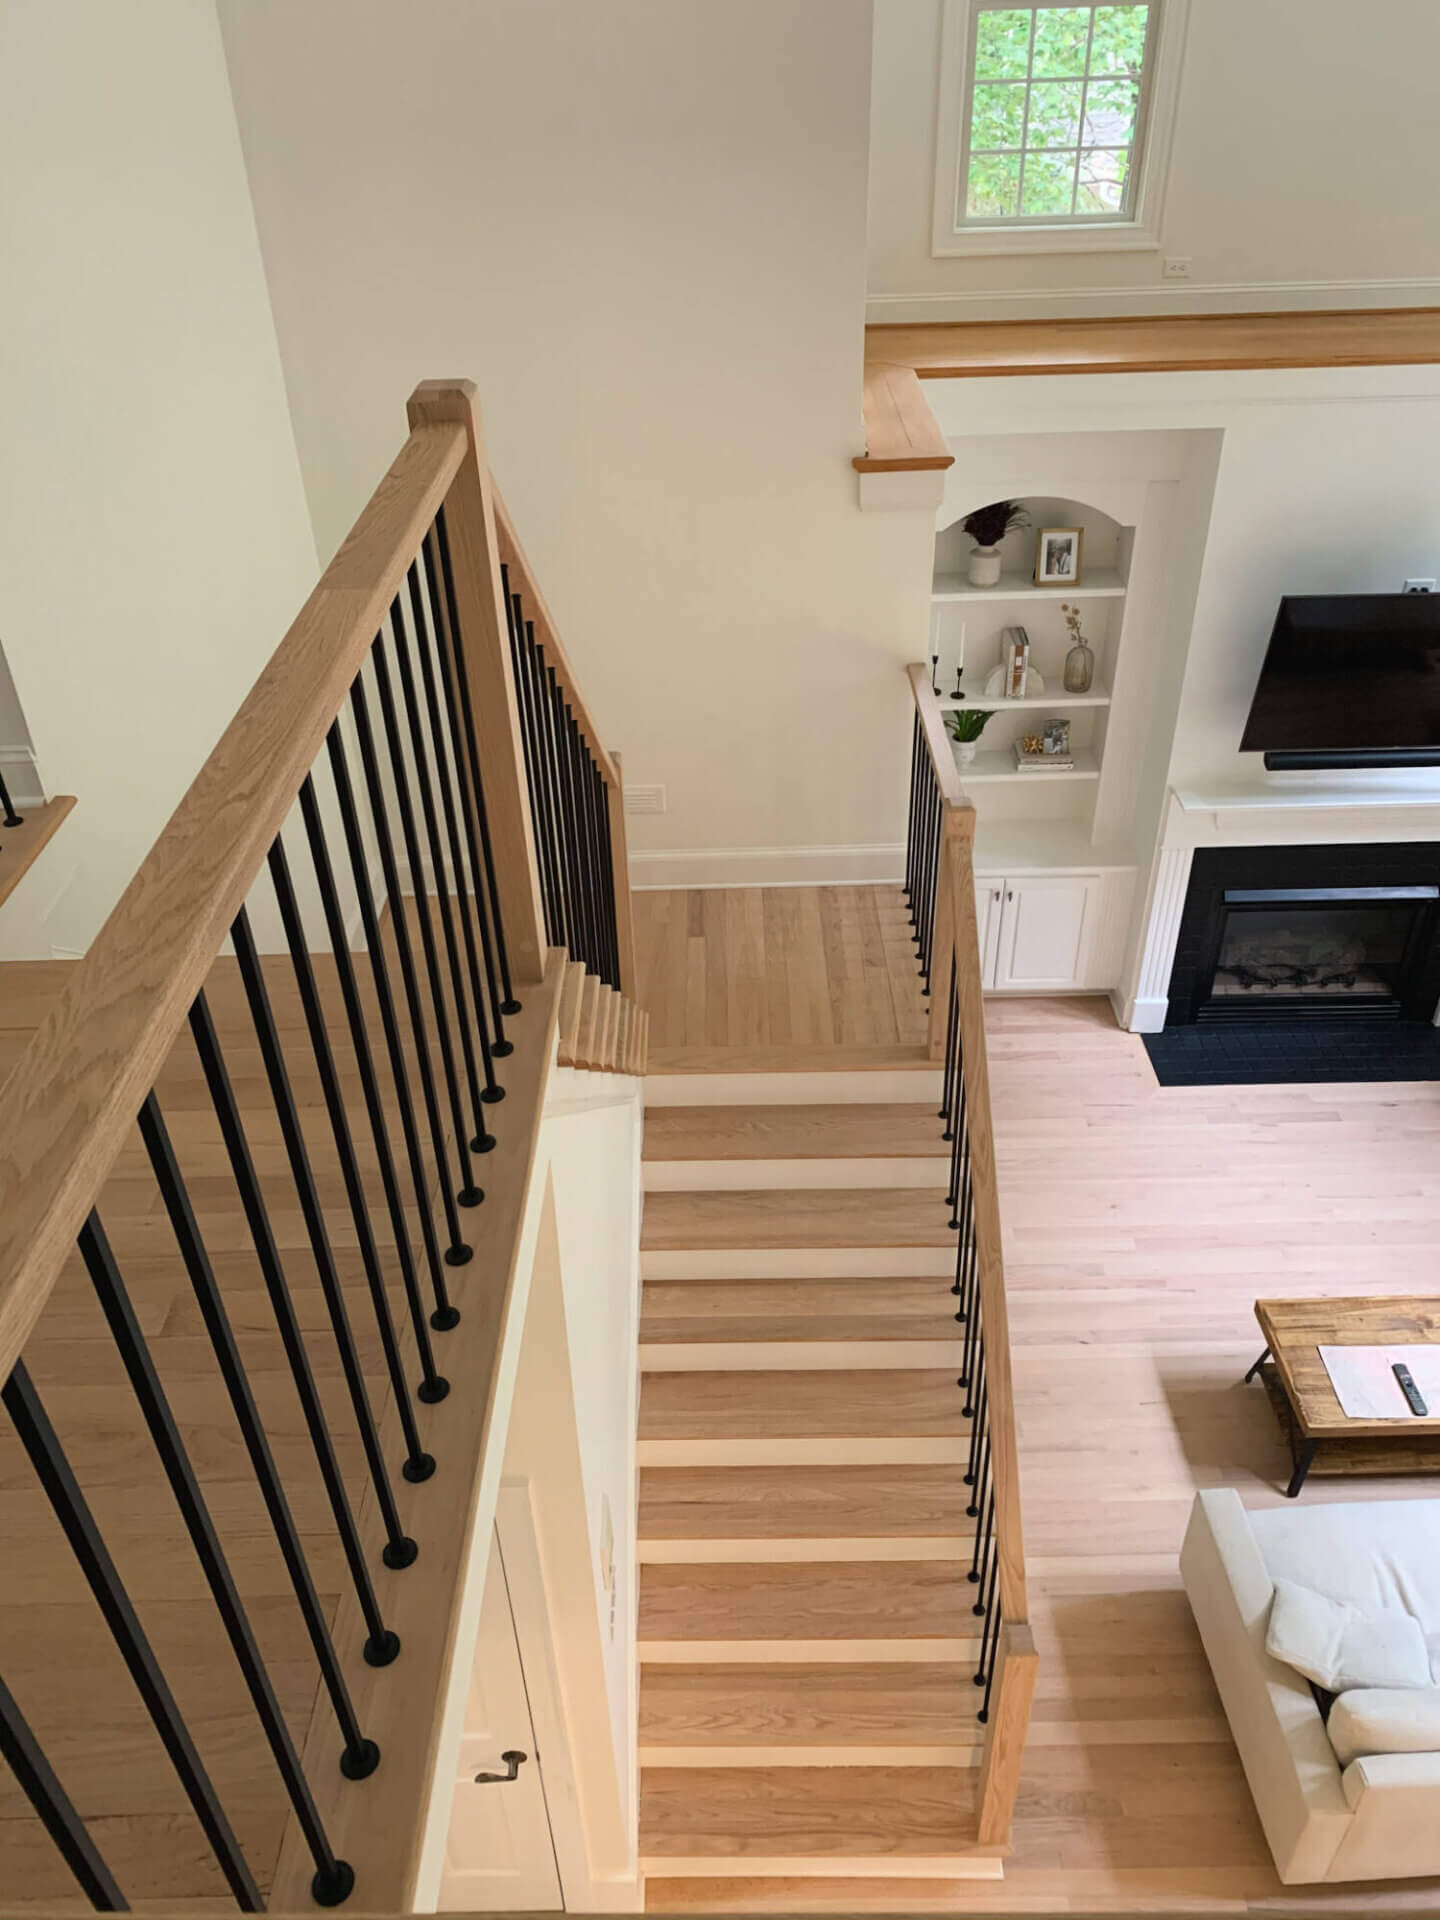
In terms of the actual process, ours took 2 days to complete. I felt like this was reasonable given the size of our staircase, but I know we’ve had friends where there’s have taken longer. When the project was being completed, I took the dogs to Wilmington to stay at my parents house because I didn’t trust them going up and down the stairs without a railing–eek! But Stephen worked from home during the entire project and it said it wasn’t incredibly loud or inconvenient. Point being, if you don’t have dogs, I think it’s a pretty easy project to have completed while you’re at home. Or if you do have dogs, maybe yours are just more intelligent than ours and you don’t worry about them going off the side of the steps 😉
Overall, I am super glad we moved forward with the staircase sooner than later. It’s such a large part of the room and it really is a big focal point so now that it goes with the rest of the updates, I feel like it really helps transform the house! But let me know if you have any questions or if I missed anything–happy to help! xxC


Did they use all new wood on the stairs or did they sand/refinish the existing?
Ugly
This is exactly what I’m looking to do…it seems you treated the wood (looks lighter) or did you go all new? Can’t seem to find those details. TY!!
May look great but the handrails don’t meet the building codes for a Type II profile graspable handrail. Check the IRC code;you didn’t do your homework. If someone fell, breaks an arm and decides to sue, then the lawyers show up and start taking photos.