


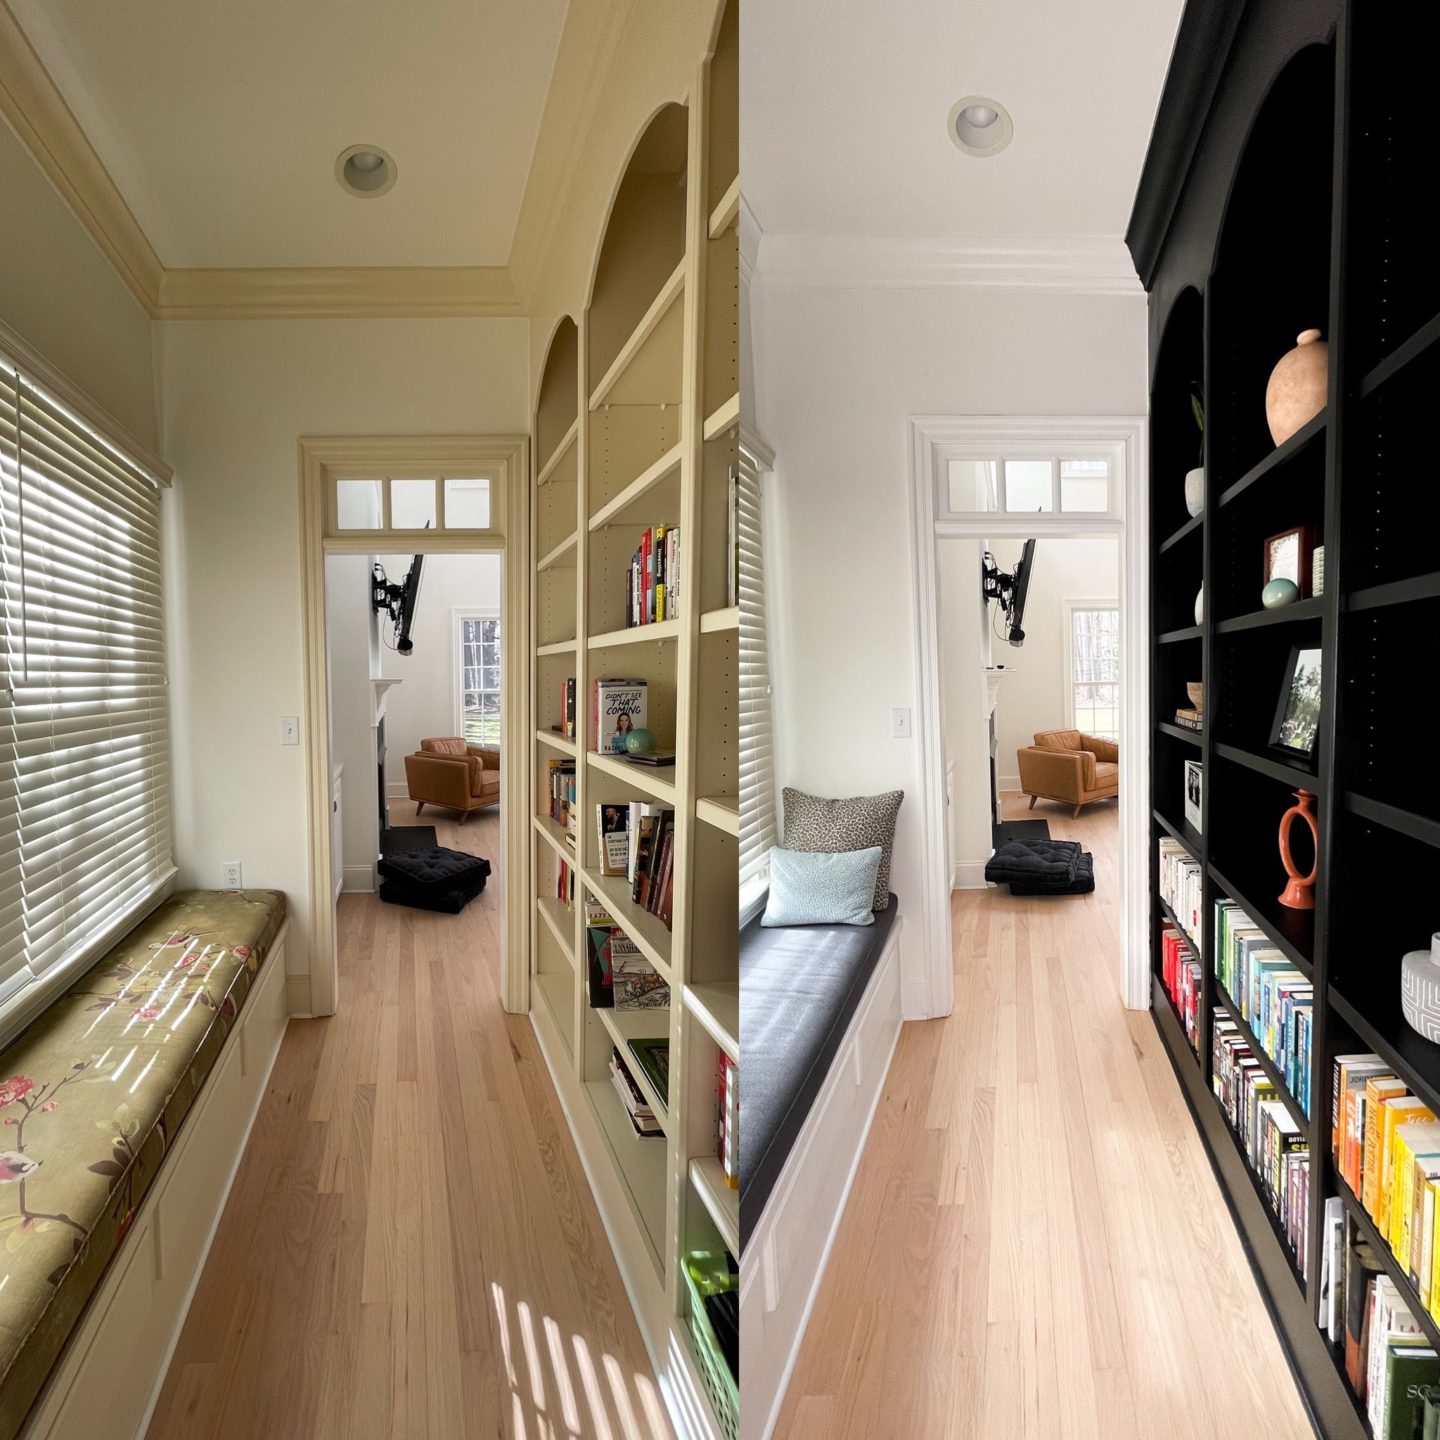
Hi guys! Today I am excited to share the before and after of our bookshelves and nook/window seat area! I’m also diving into the process that went into repainting the space, what we did to refresh the space as a whole, and the total cost.
If you’re anything like me, DIY home projects can be a little intimidating. I remember when I first repainted our fireplace I was so nervous how it was going to turn out but it ended up being really easy and totally transforming our living room. So when it came to the bookshelves, I knew it would be a little bit of a bigger project to tackle but it still felt feasible! I’m here to tell you that there are a lot of DIY home projects (especially when it comes to painting) that are definitely do-able, budget friendly, and can totally transform your space as a result. After all, we spend so much time in our homes they should be a place we absolutely love! Hopefully this post helps inspire you to start thinking of some places in your home that could use a little refresh while showing you it doesn’t have to be super costly either!
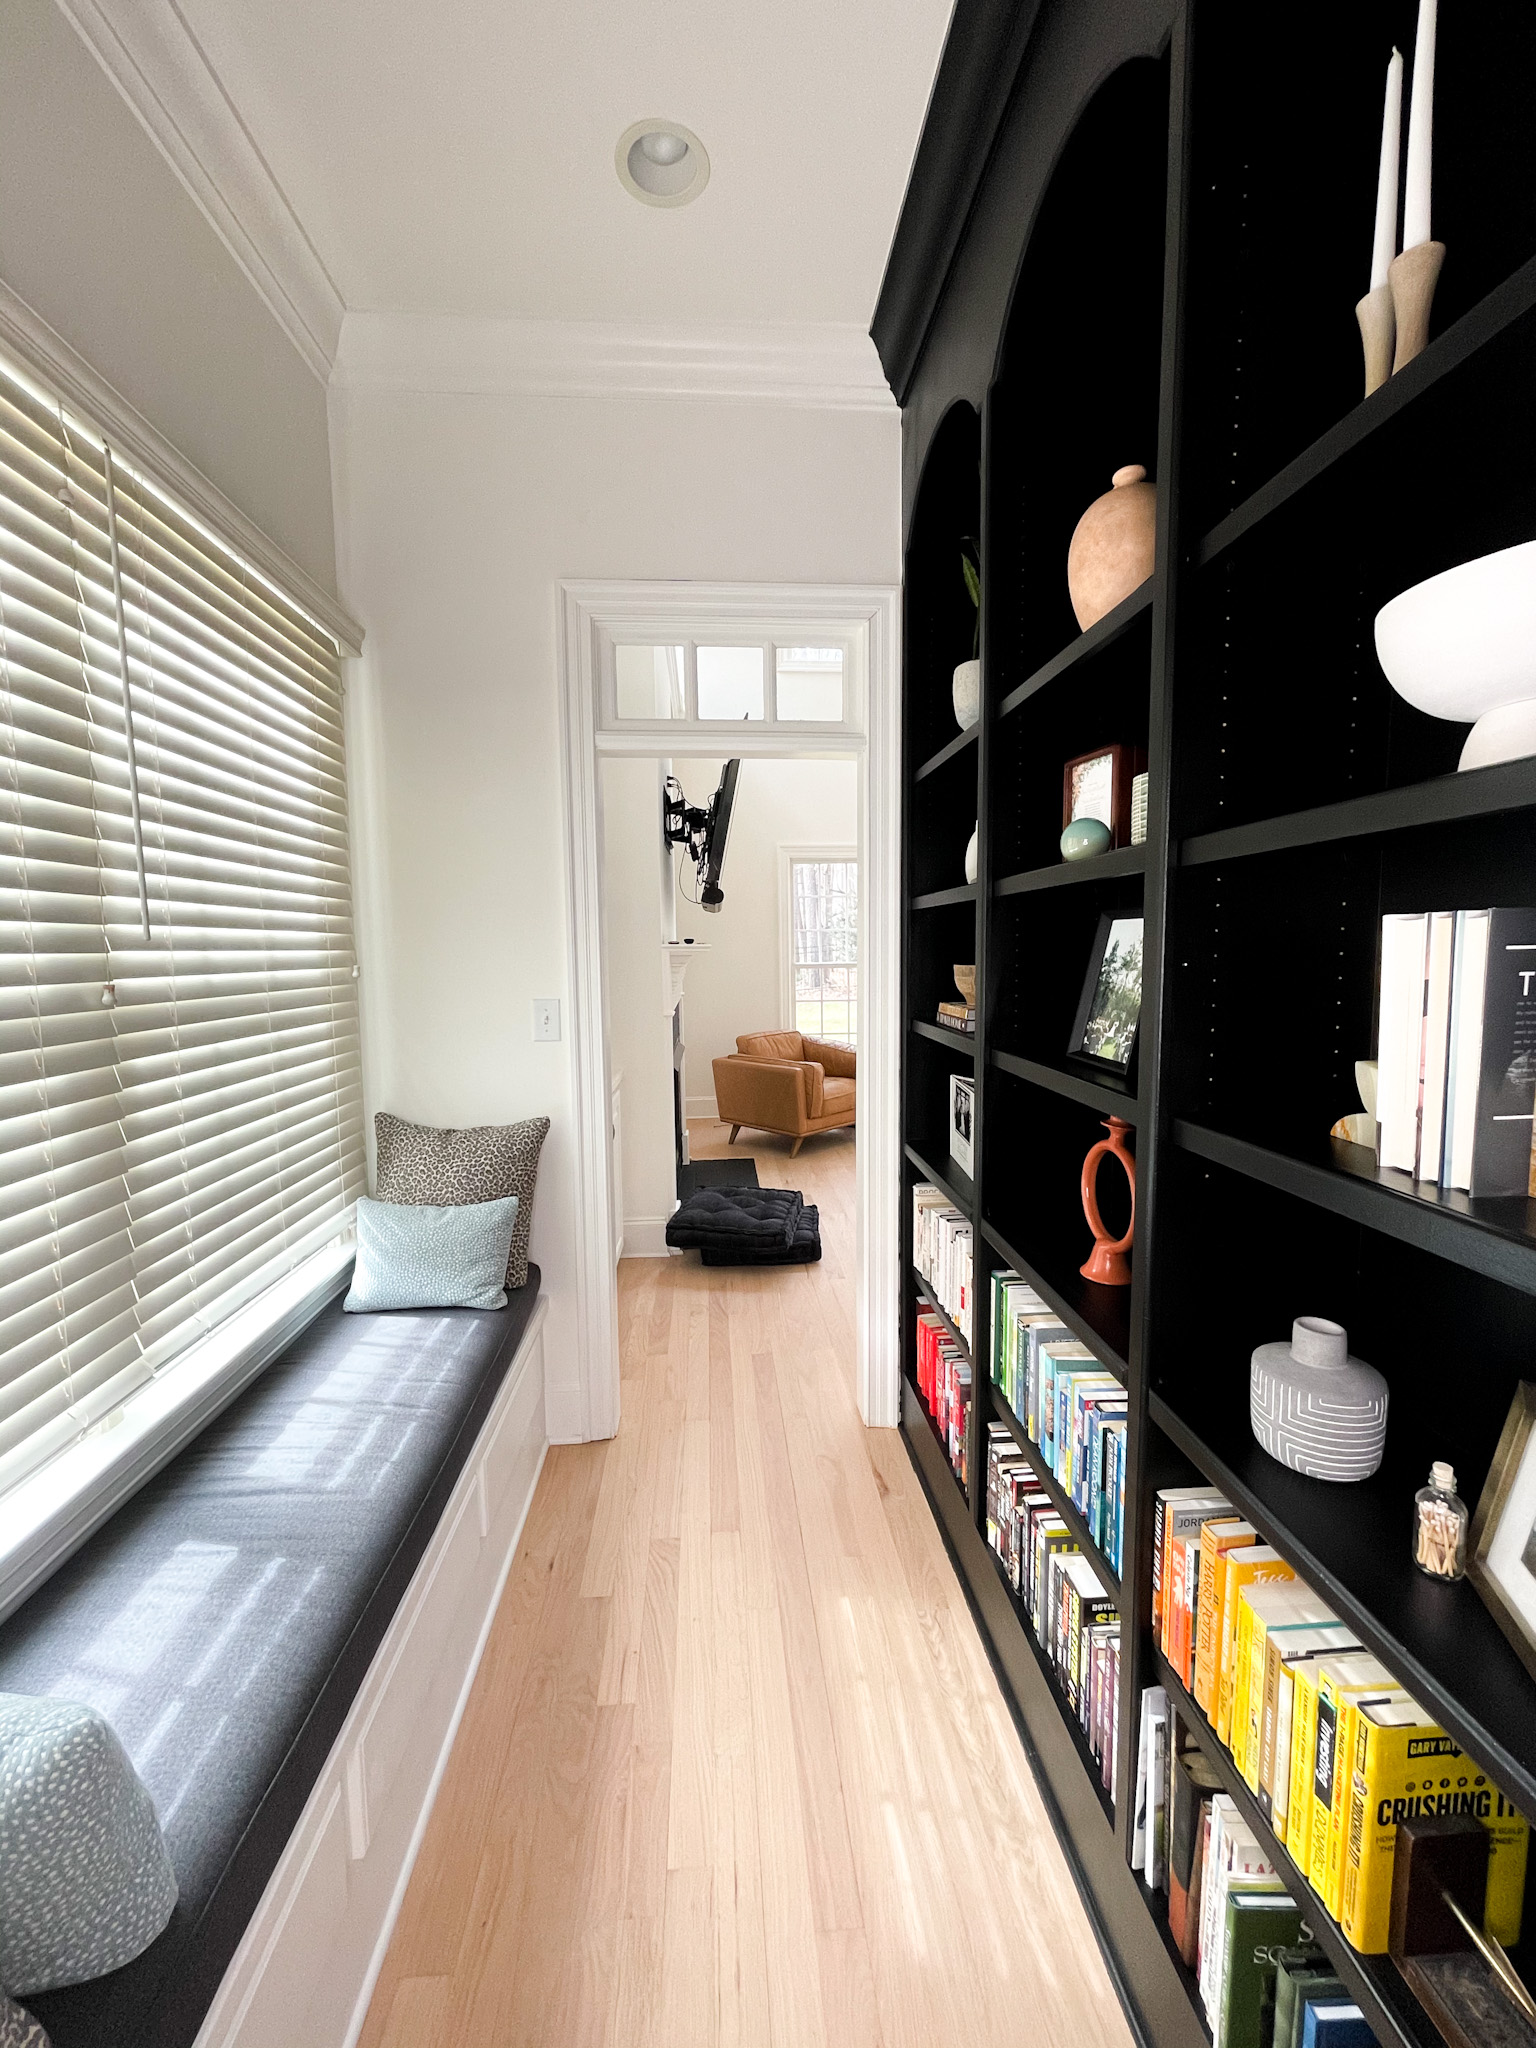
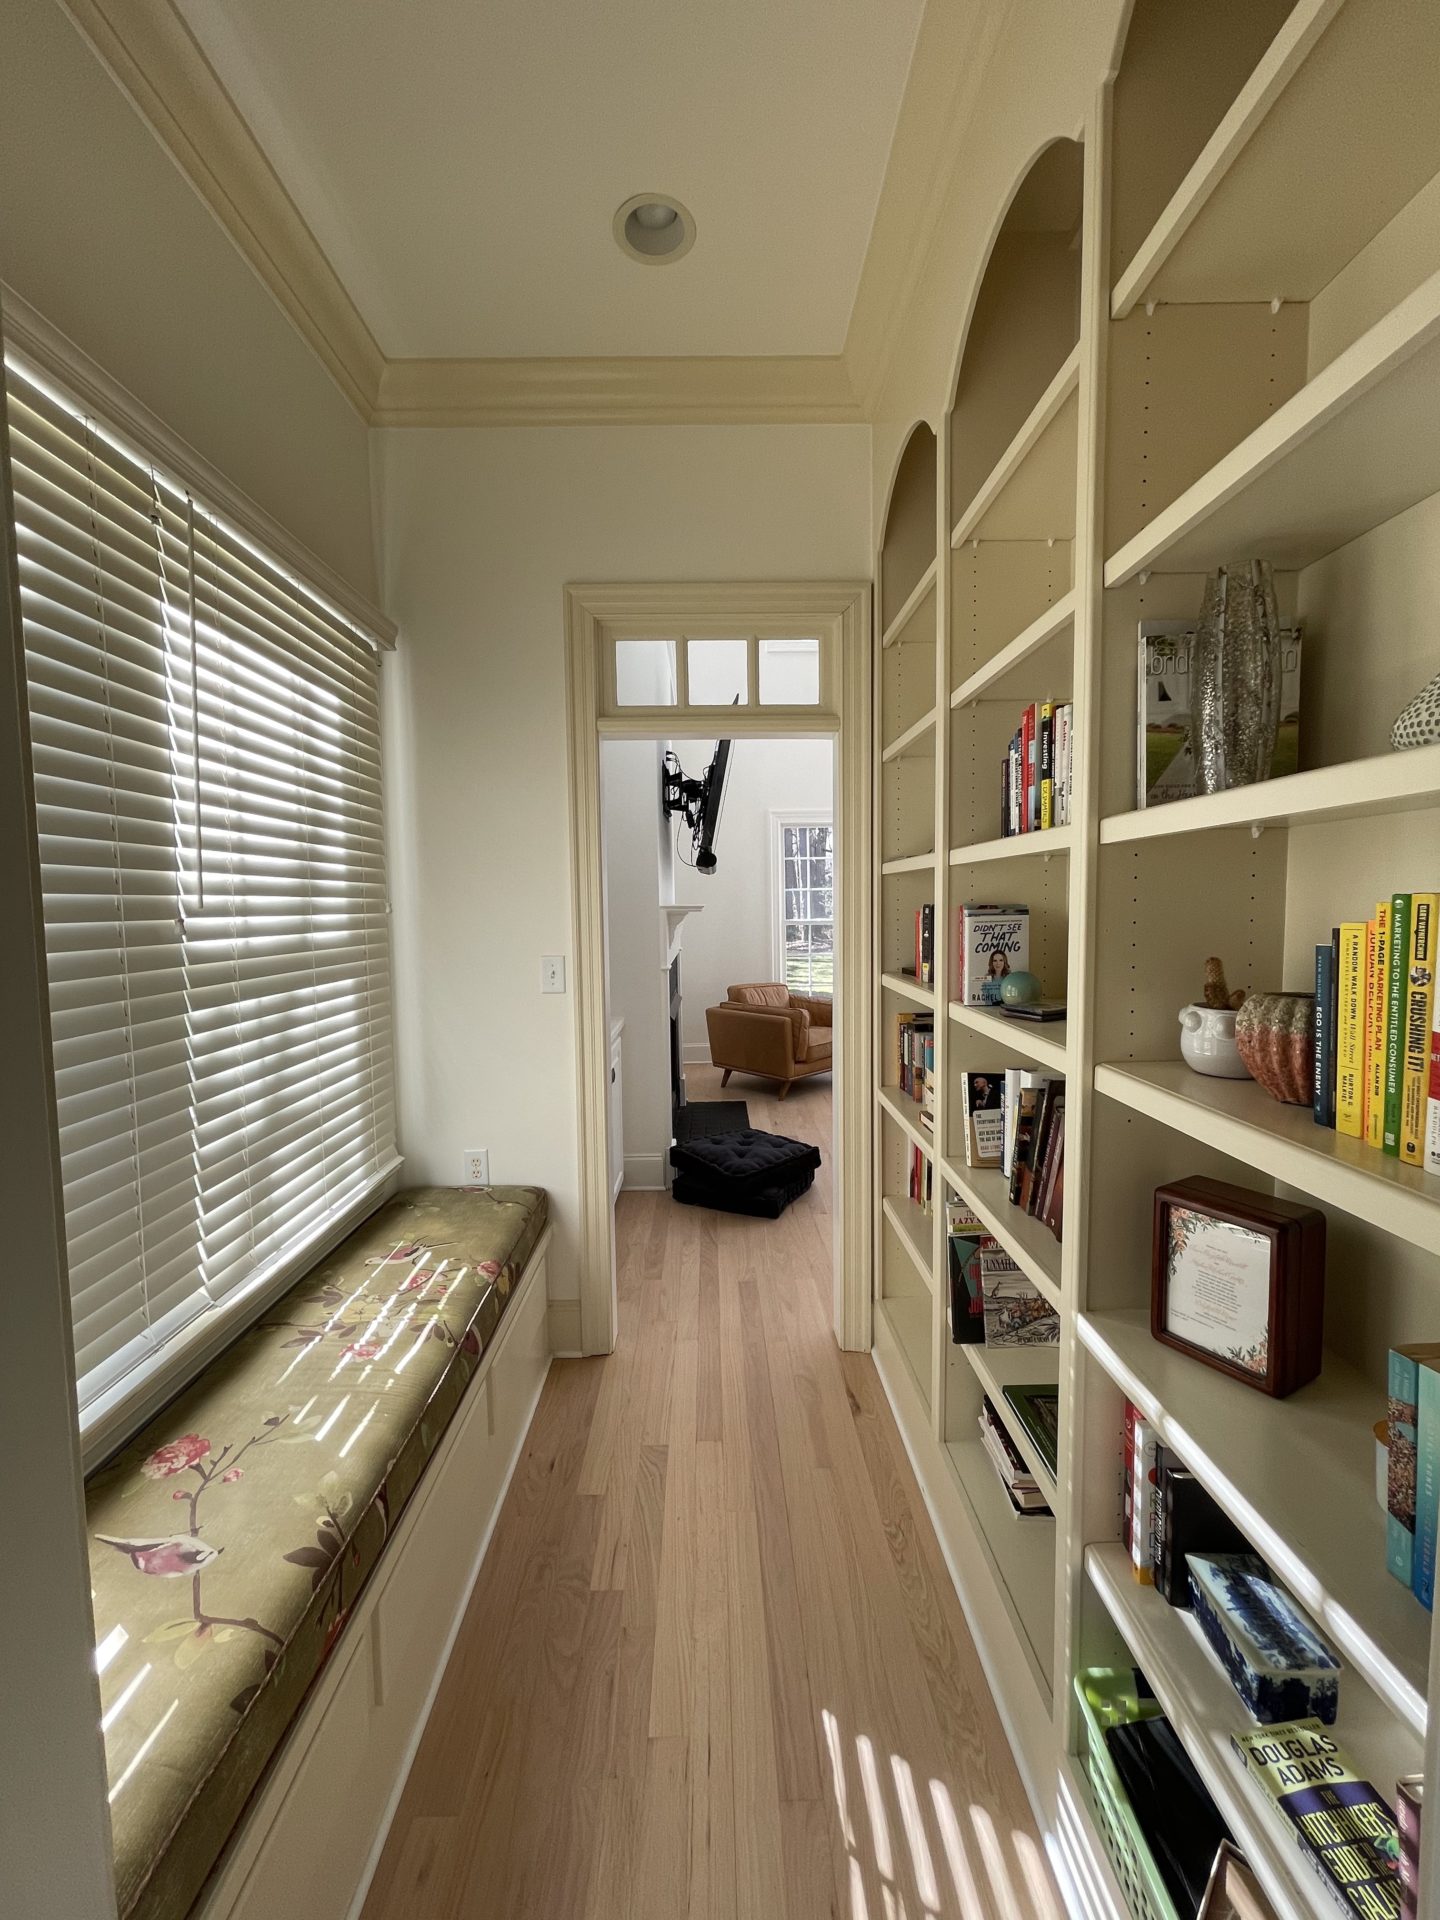
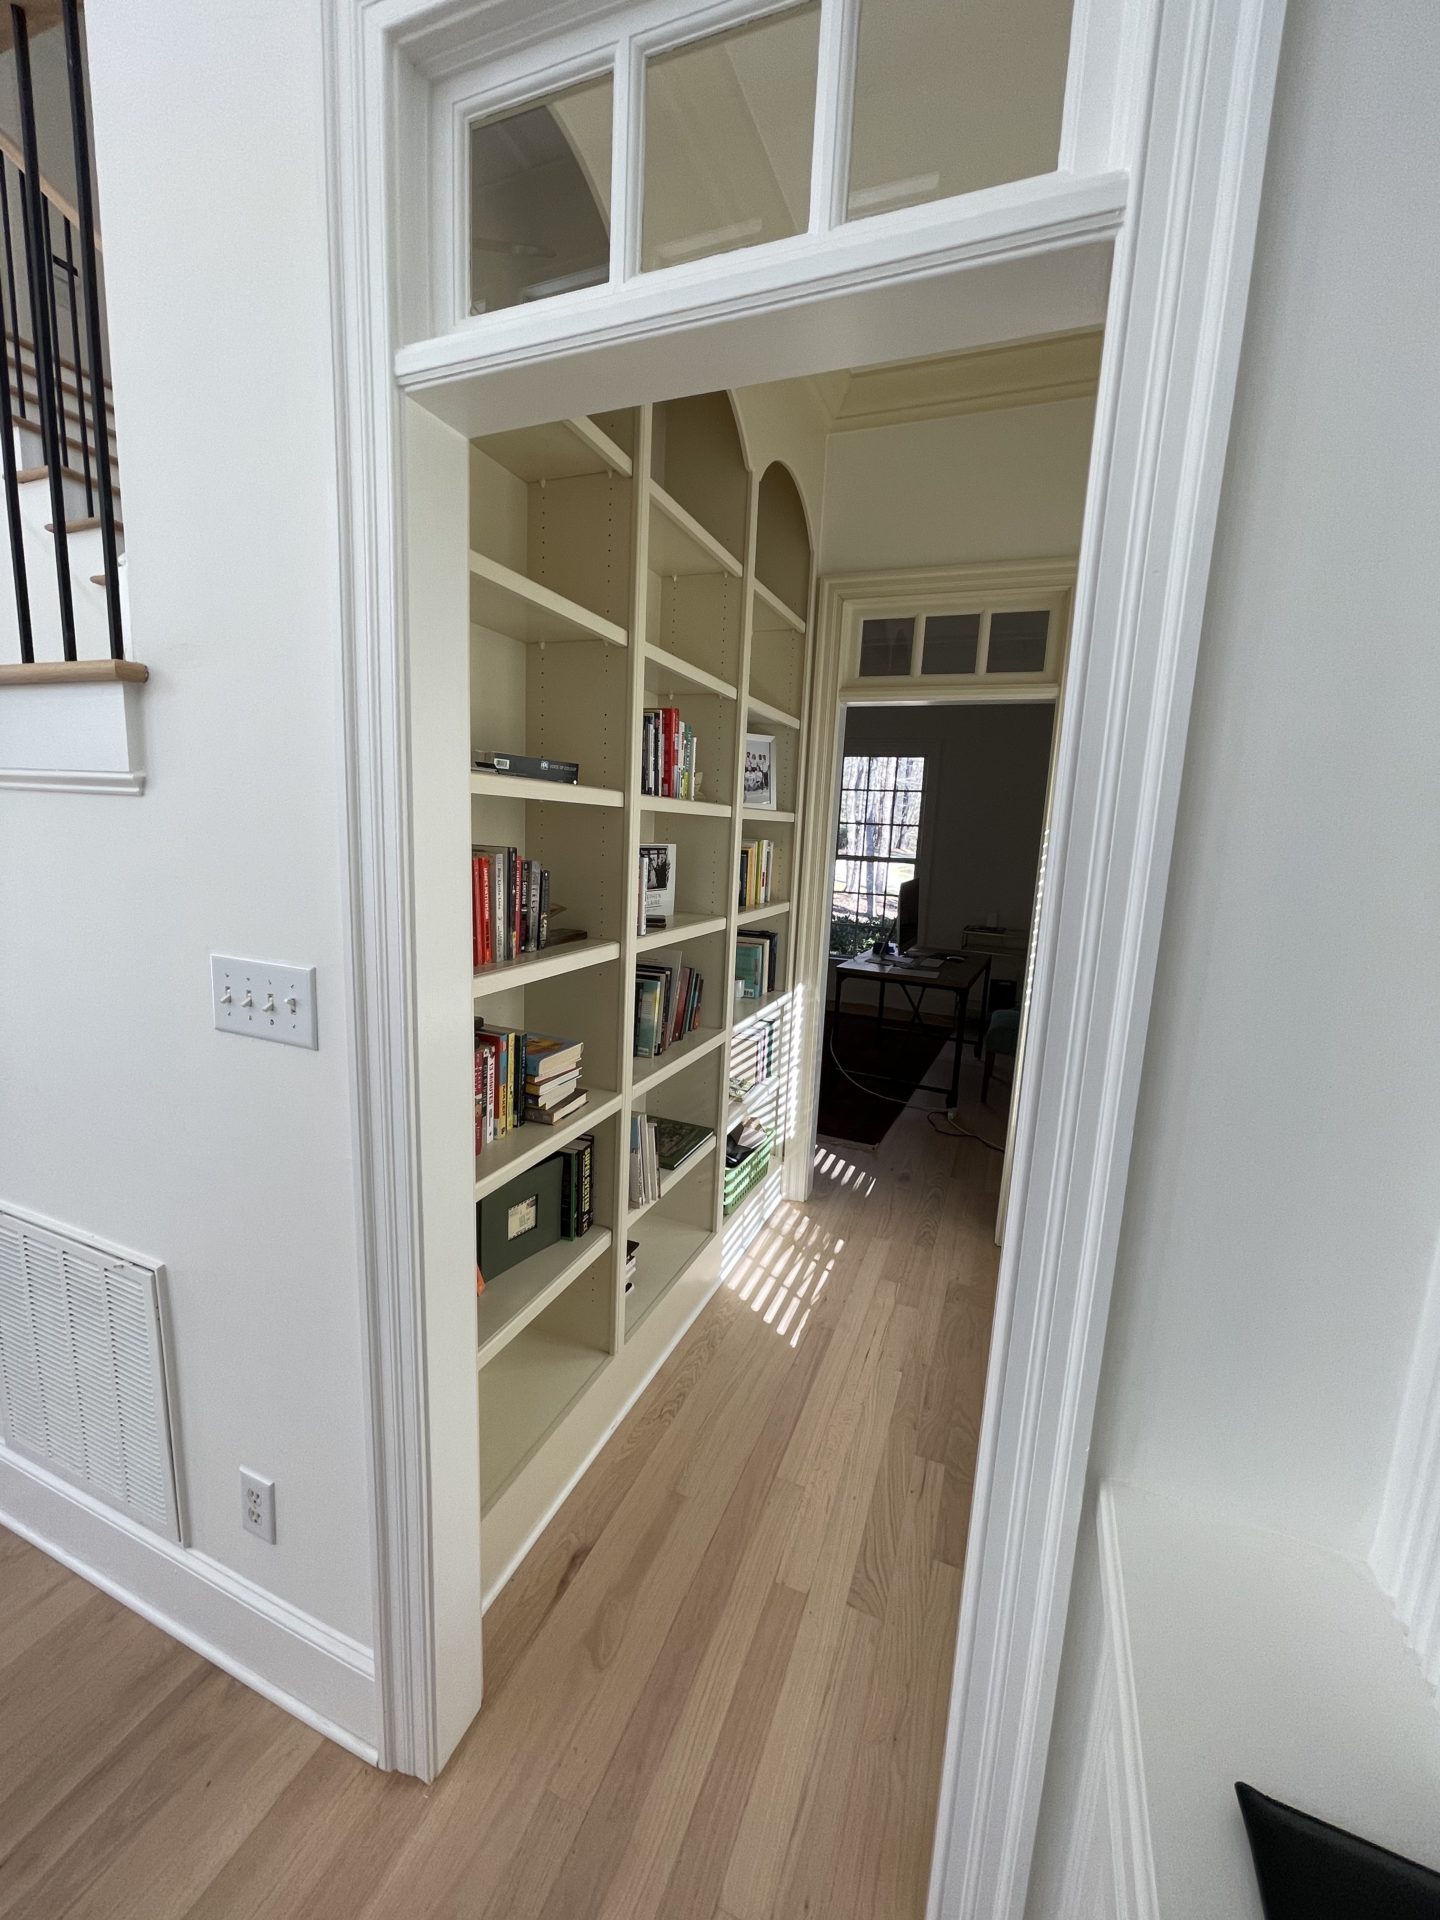
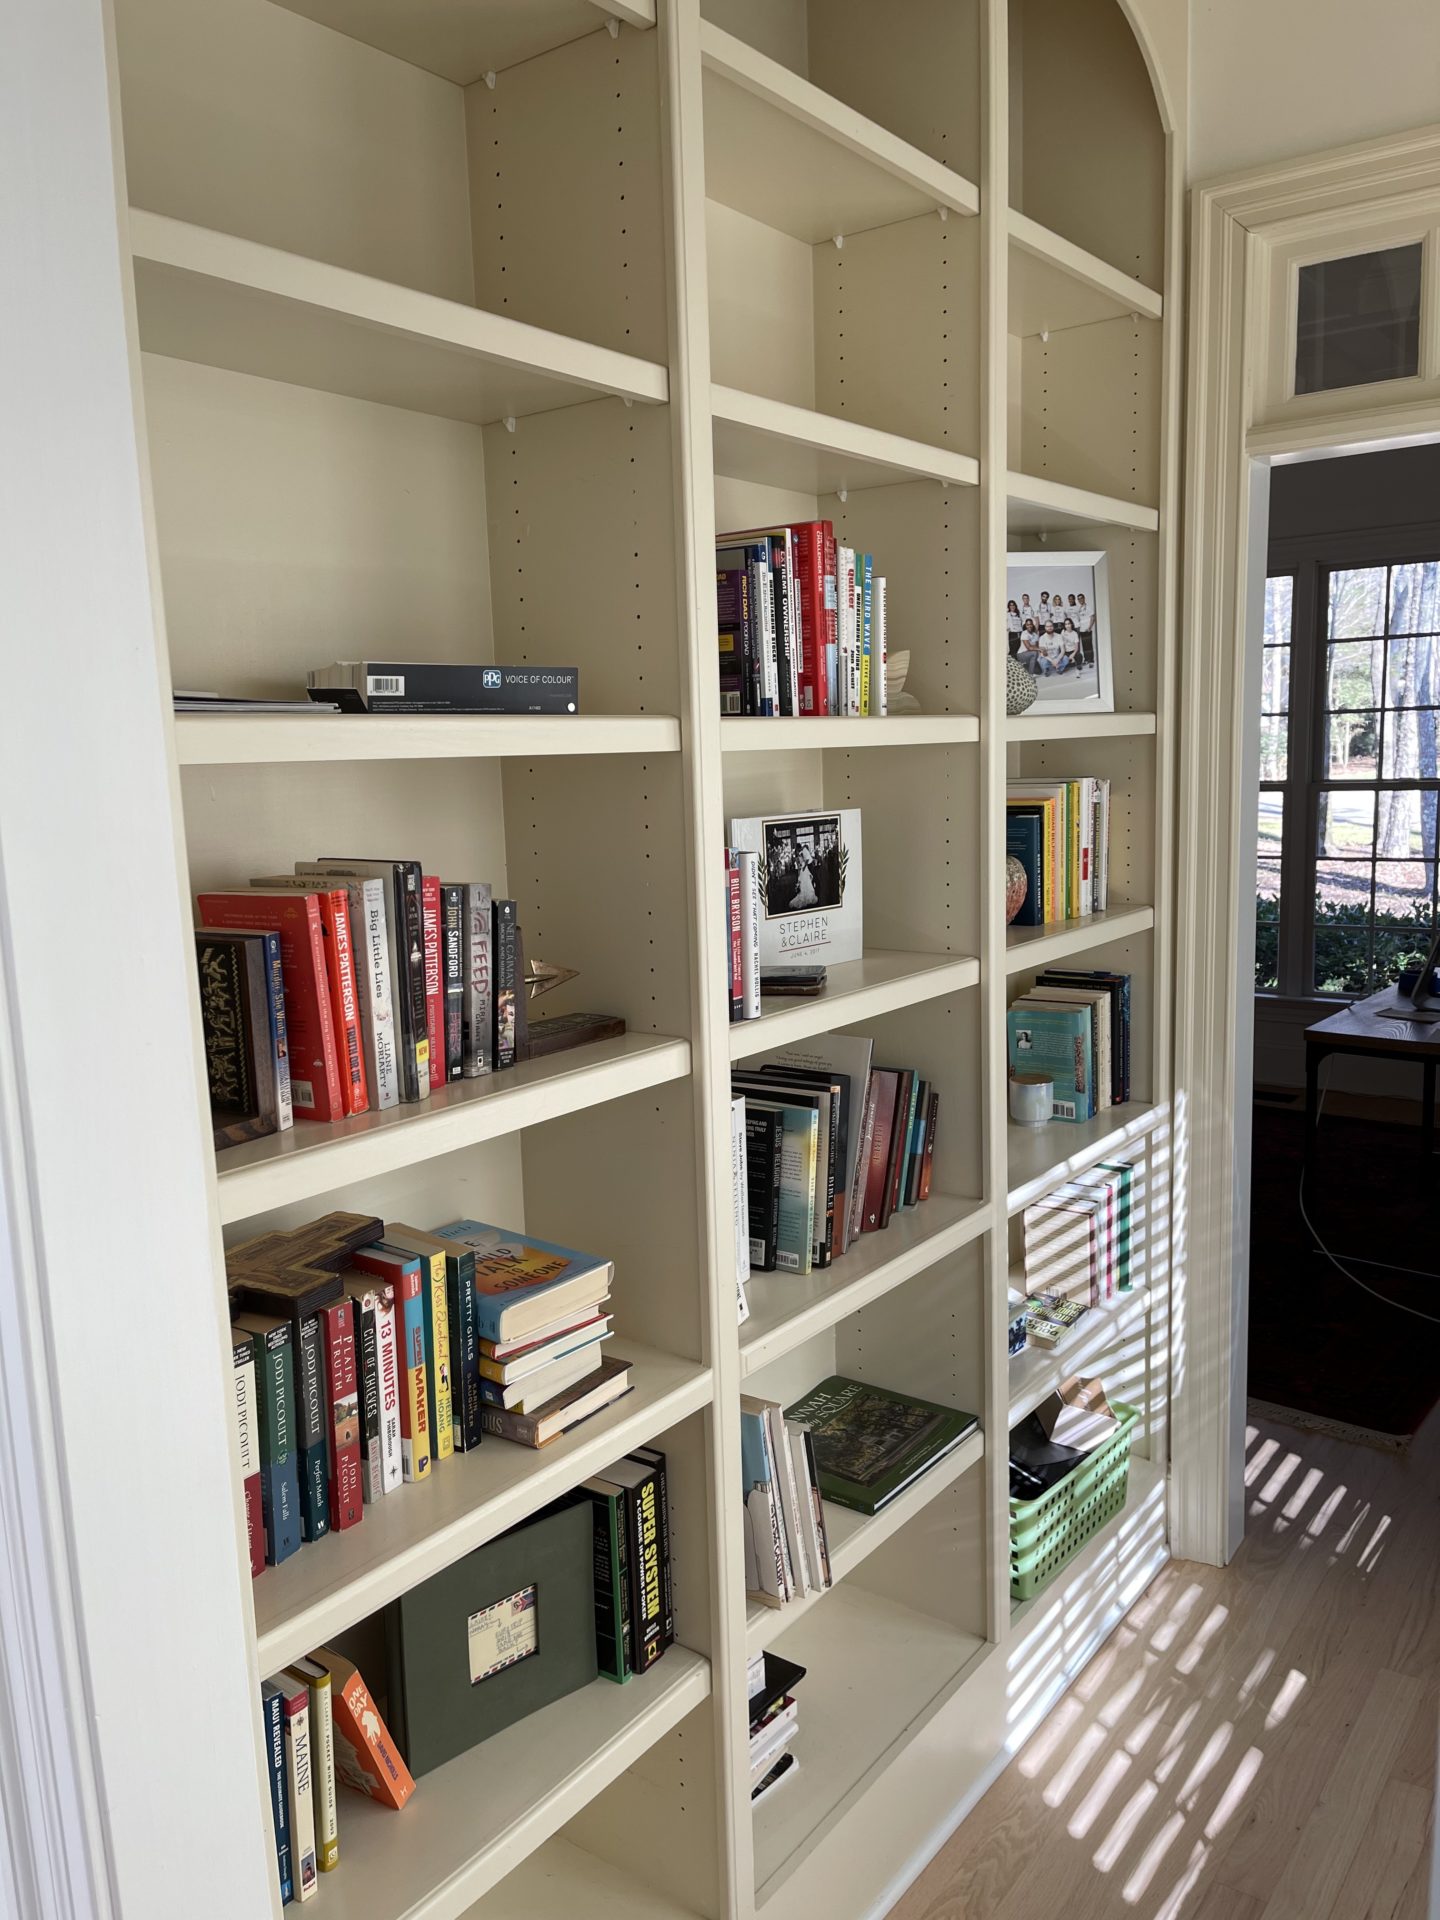
When we moved into this house last summer, I loved this bookshelf and window seat area but I wasn’t really sure what I wanted to do with it. Fast forward 6 months of living in the house and getting more comfortable with a paint brush lol, I decided it was time for a refresh. This space is located in between my office (well, what will be my office once it is properly furnished haha) and the living room. Since both those rooms (and the rest of the house) are very light and neutral, I wanted to bring in some contrast with color and prints to this space. I wanted it to feel like it’s own little area versus just a hallway connecting the two rooms.
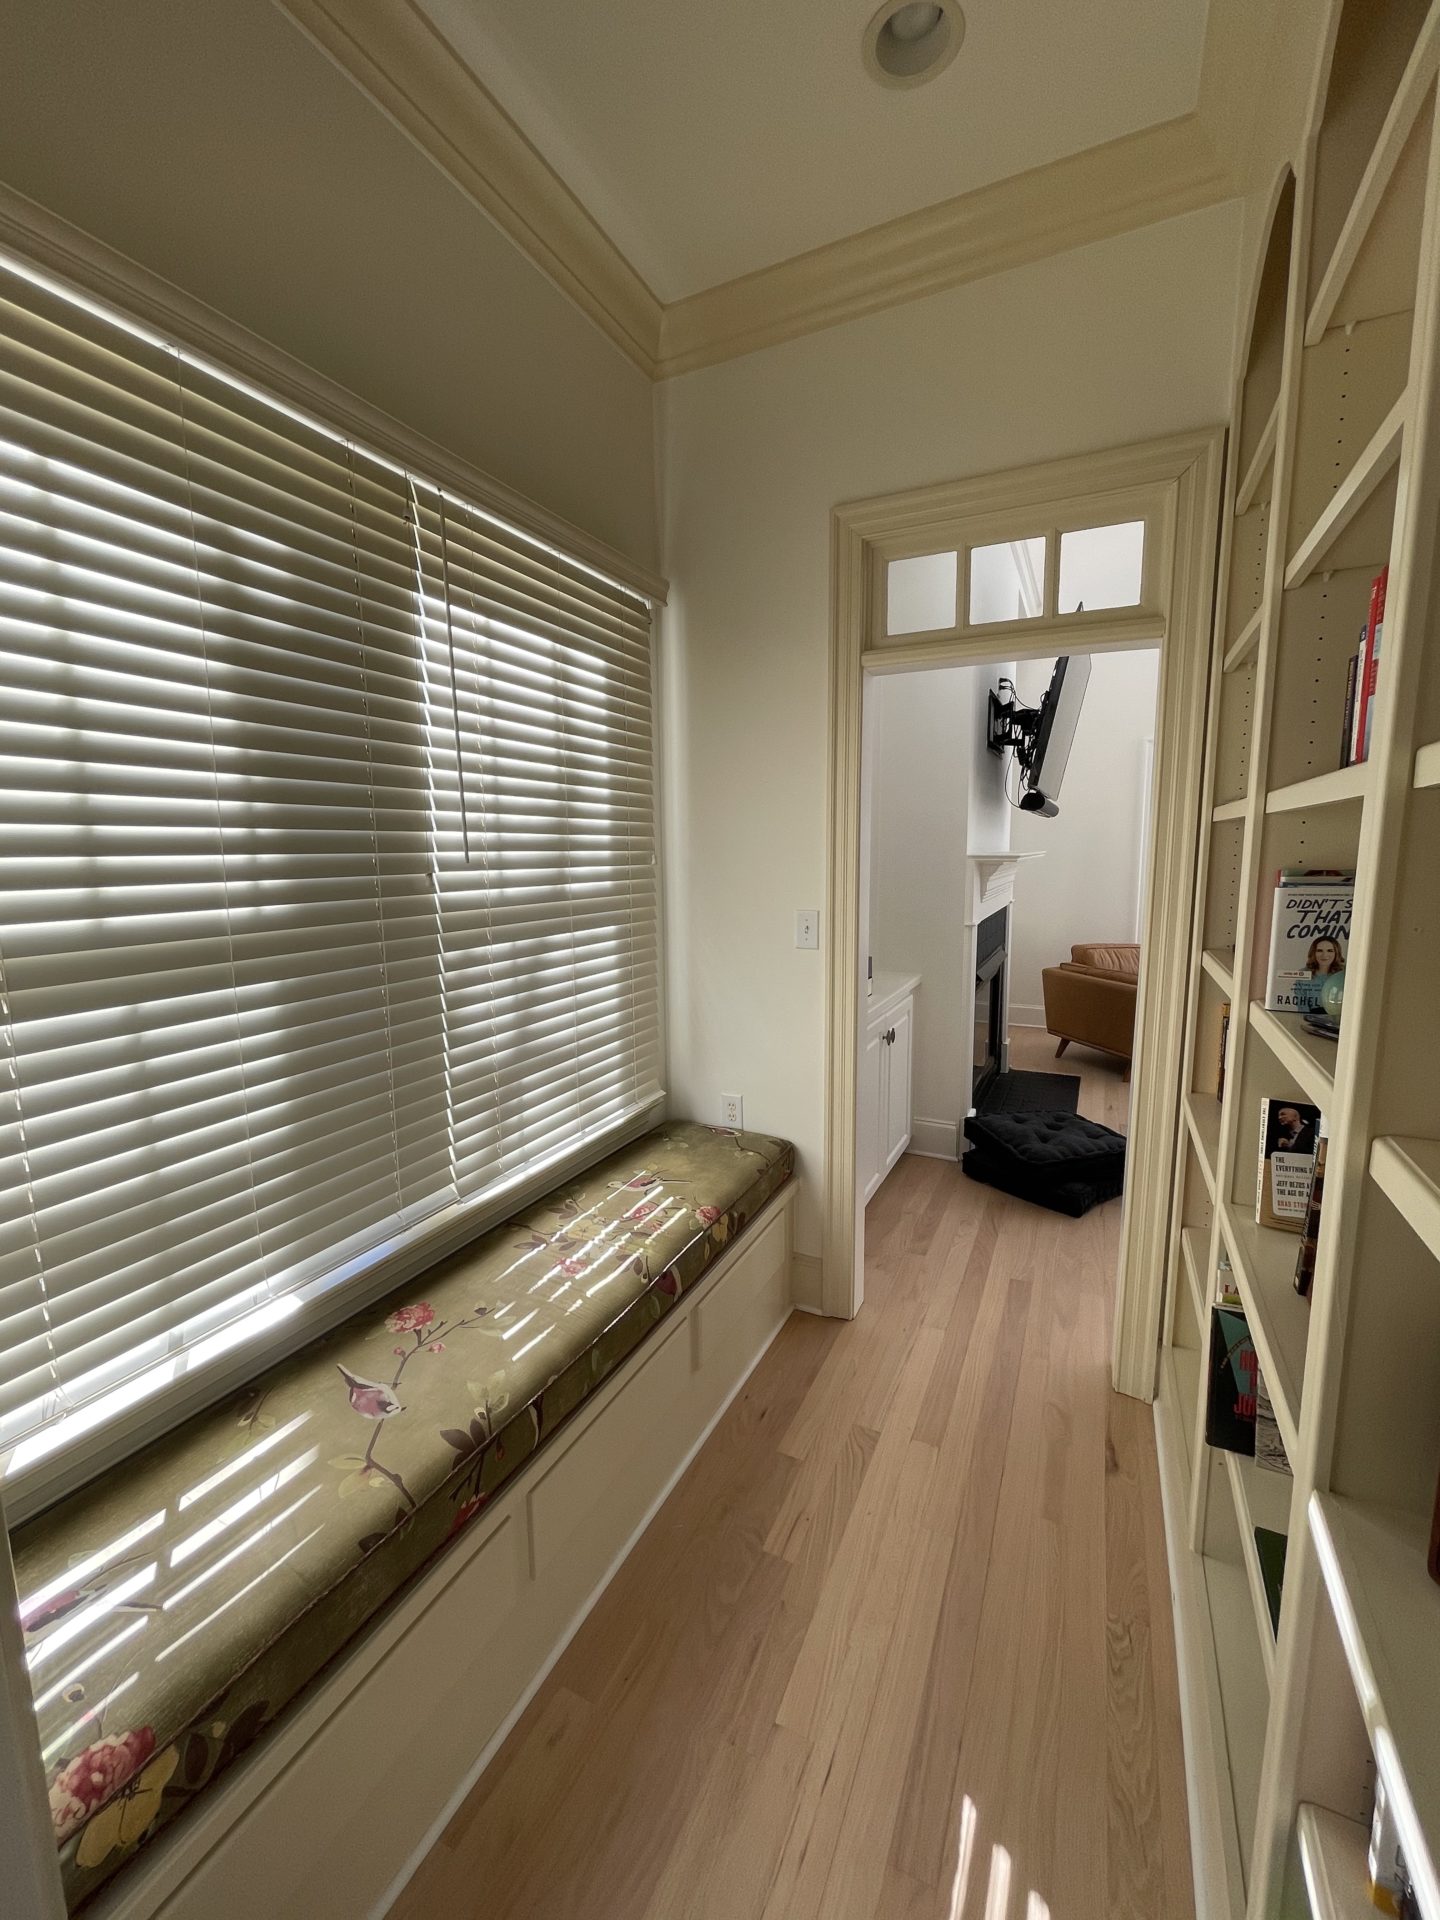
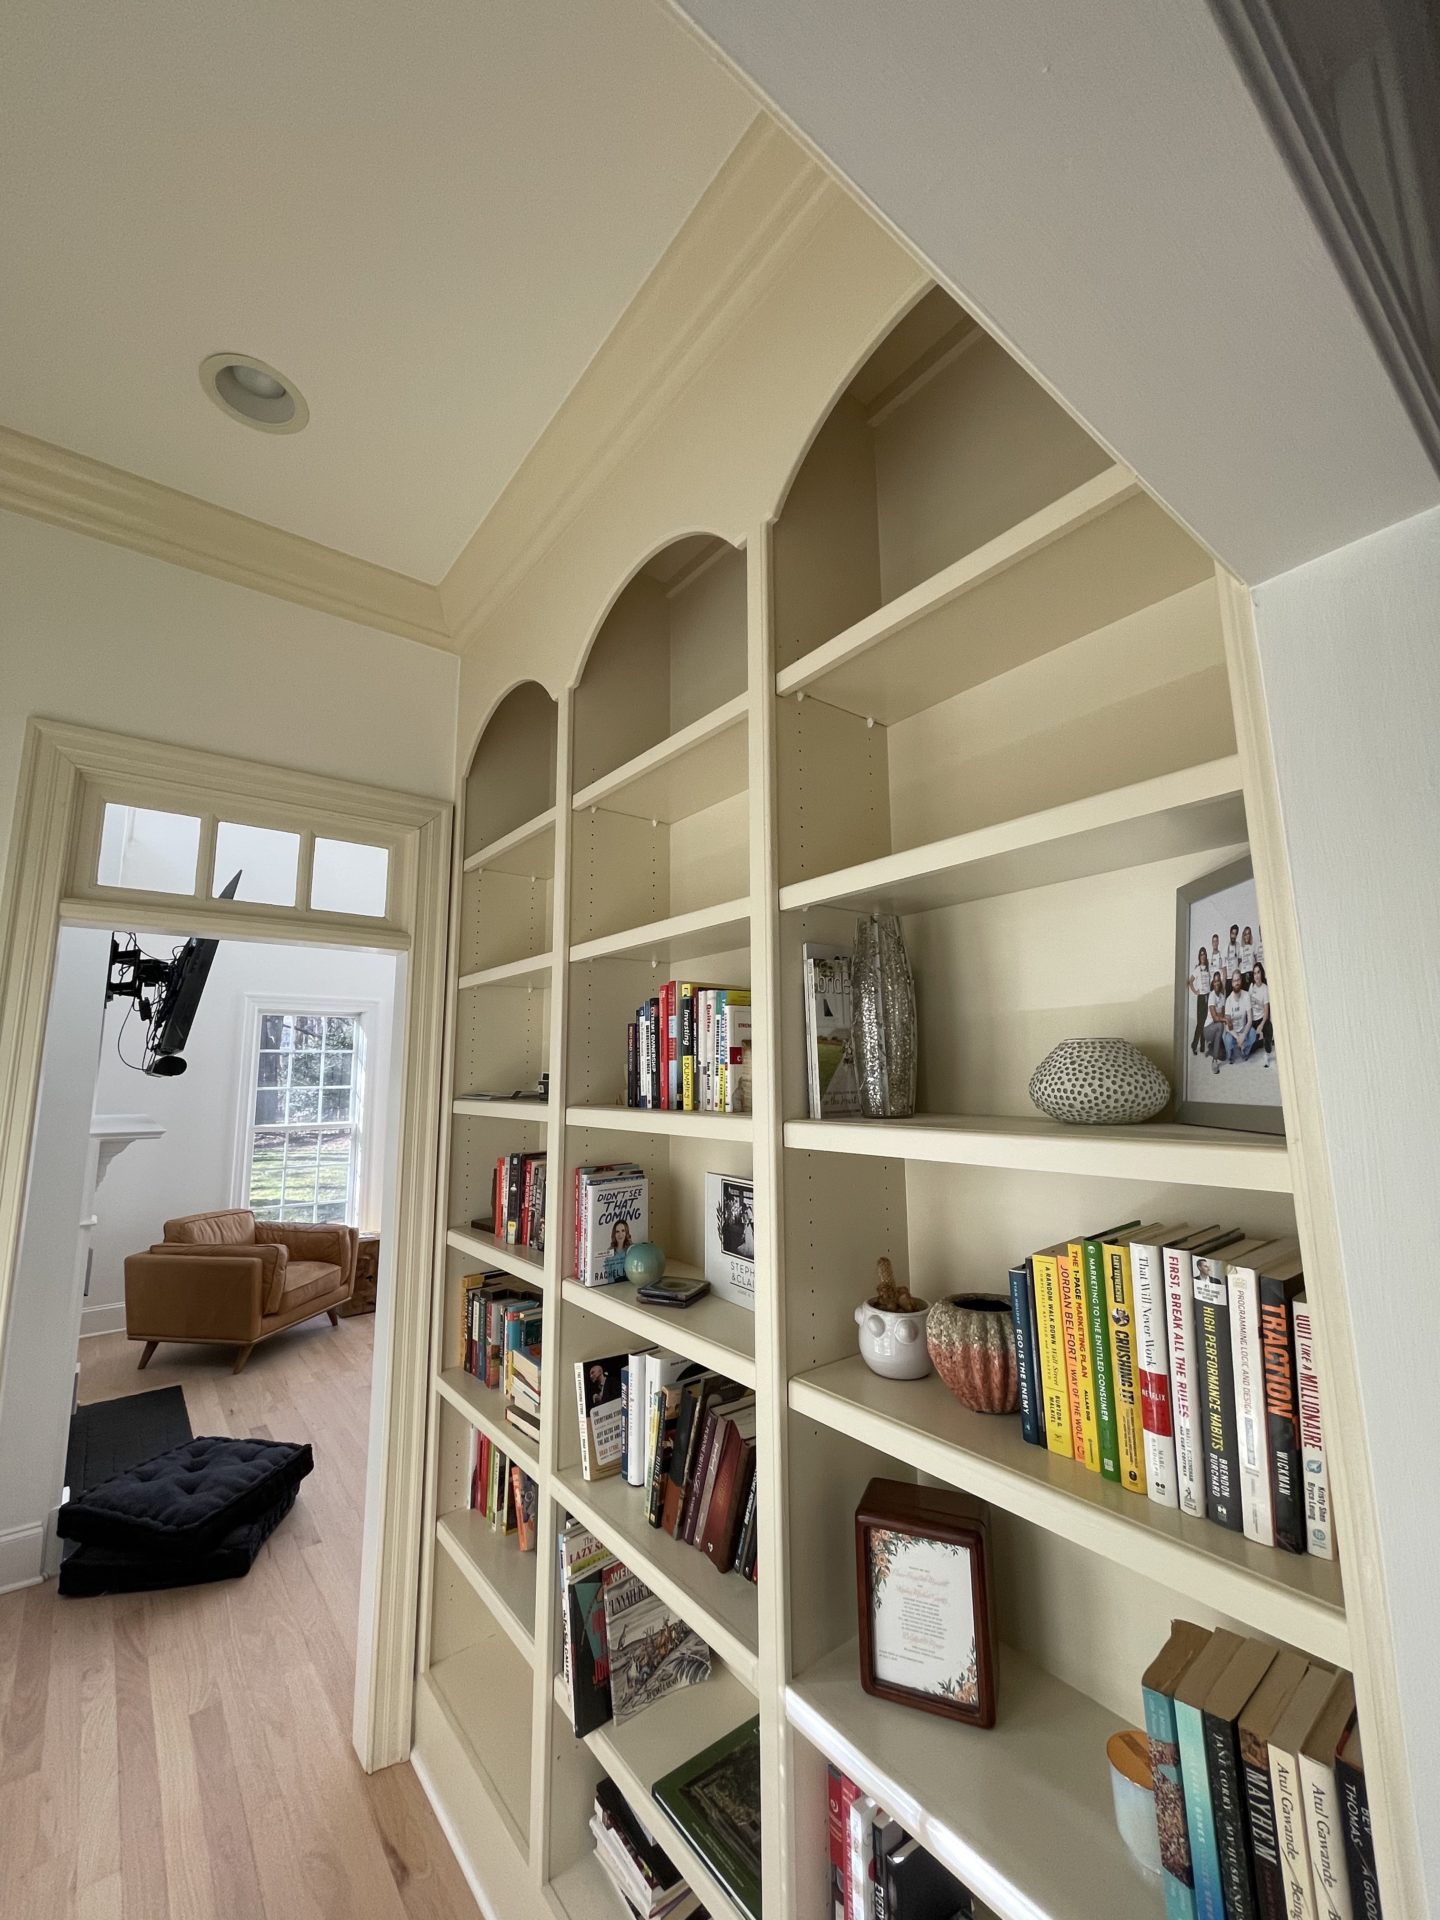
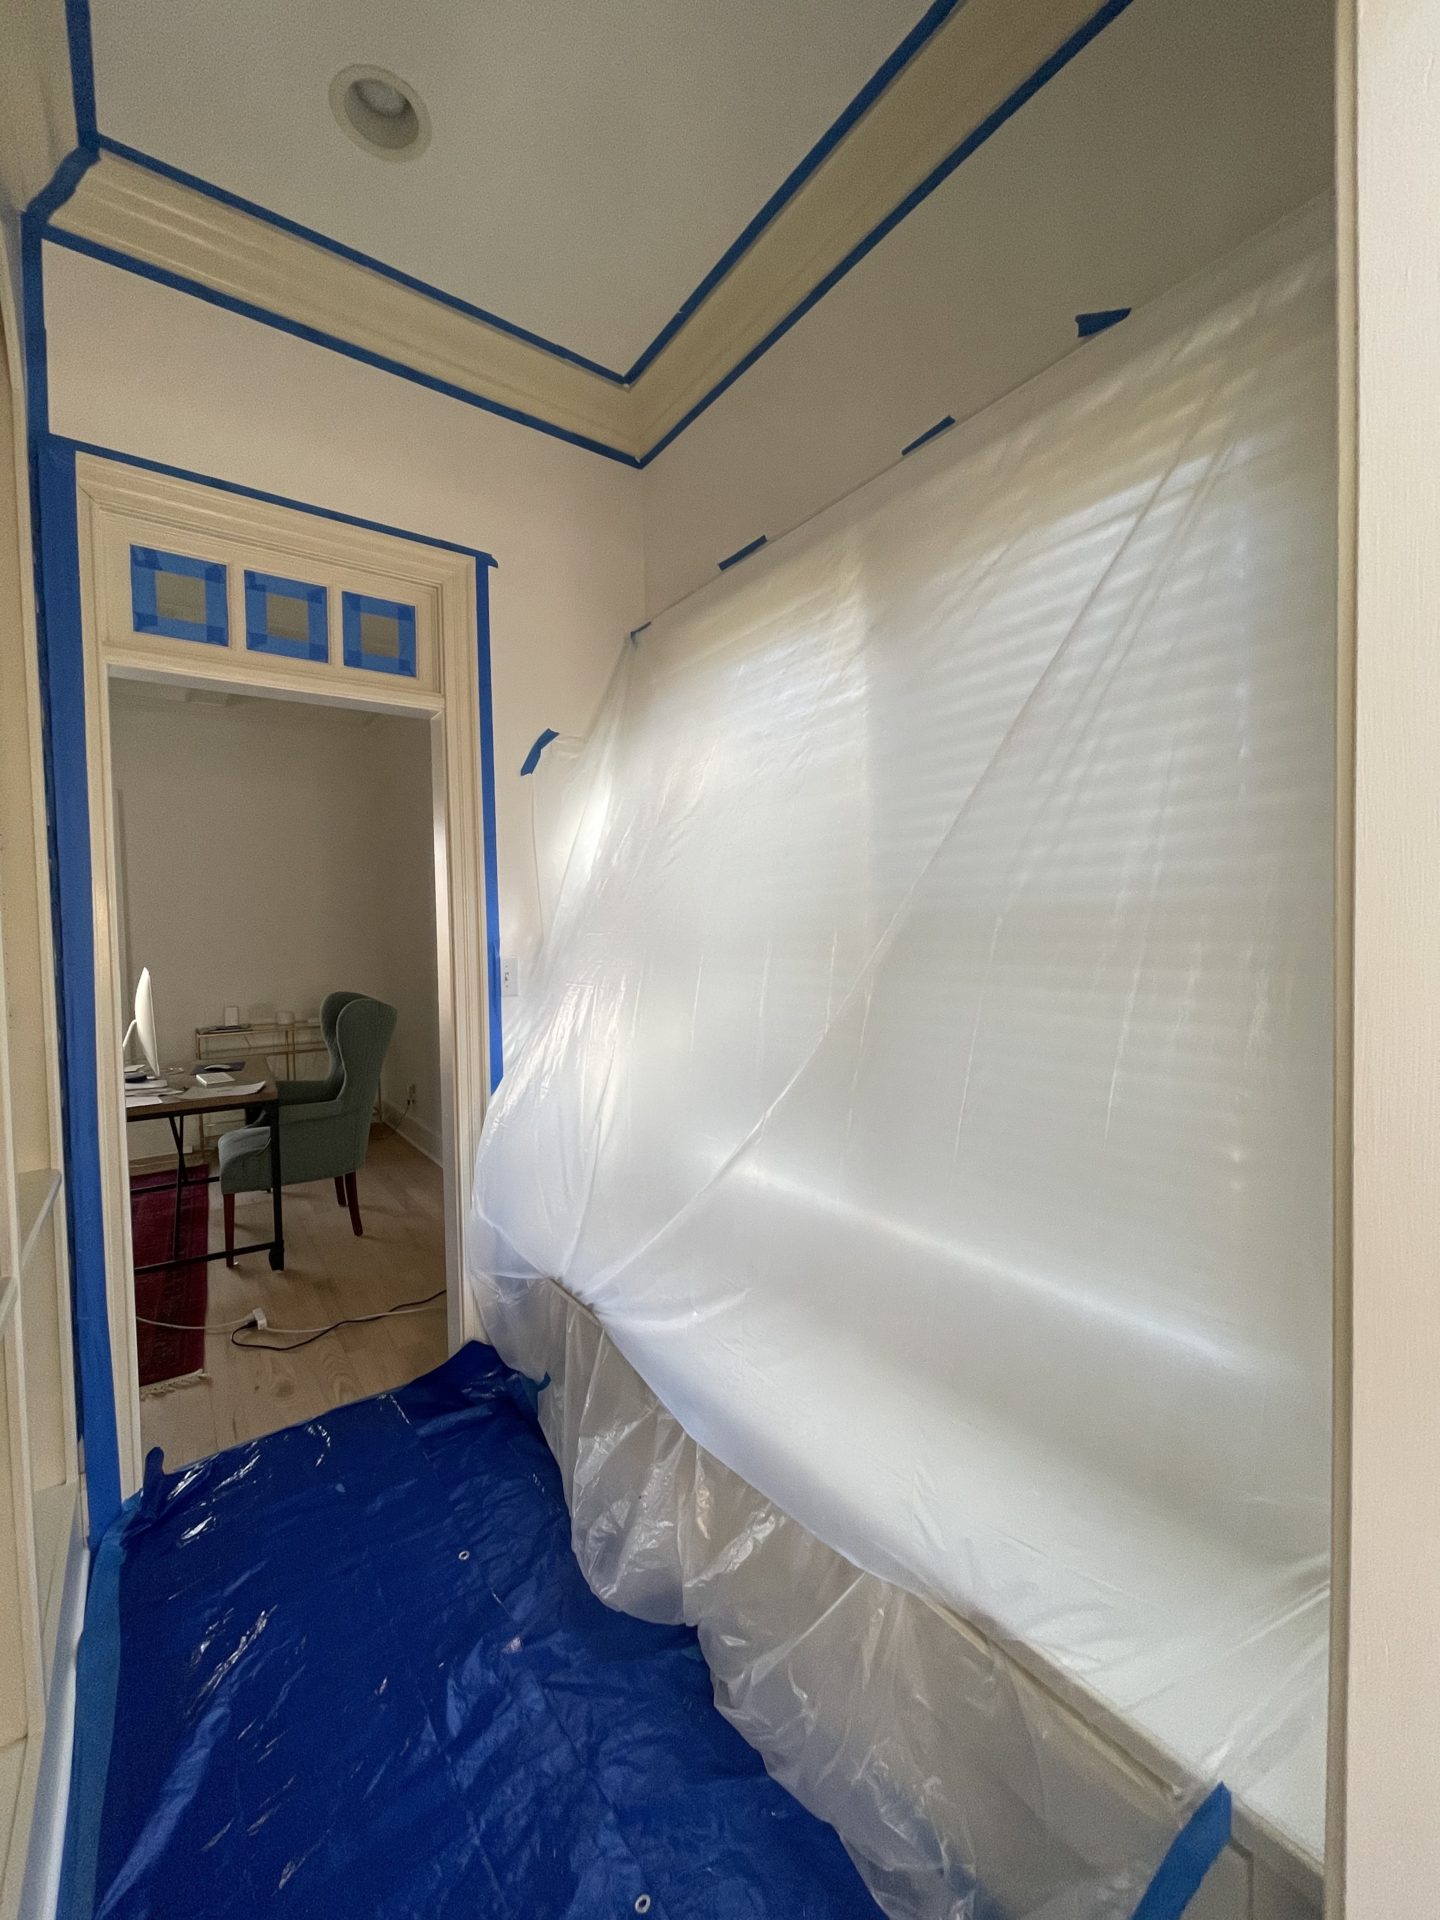
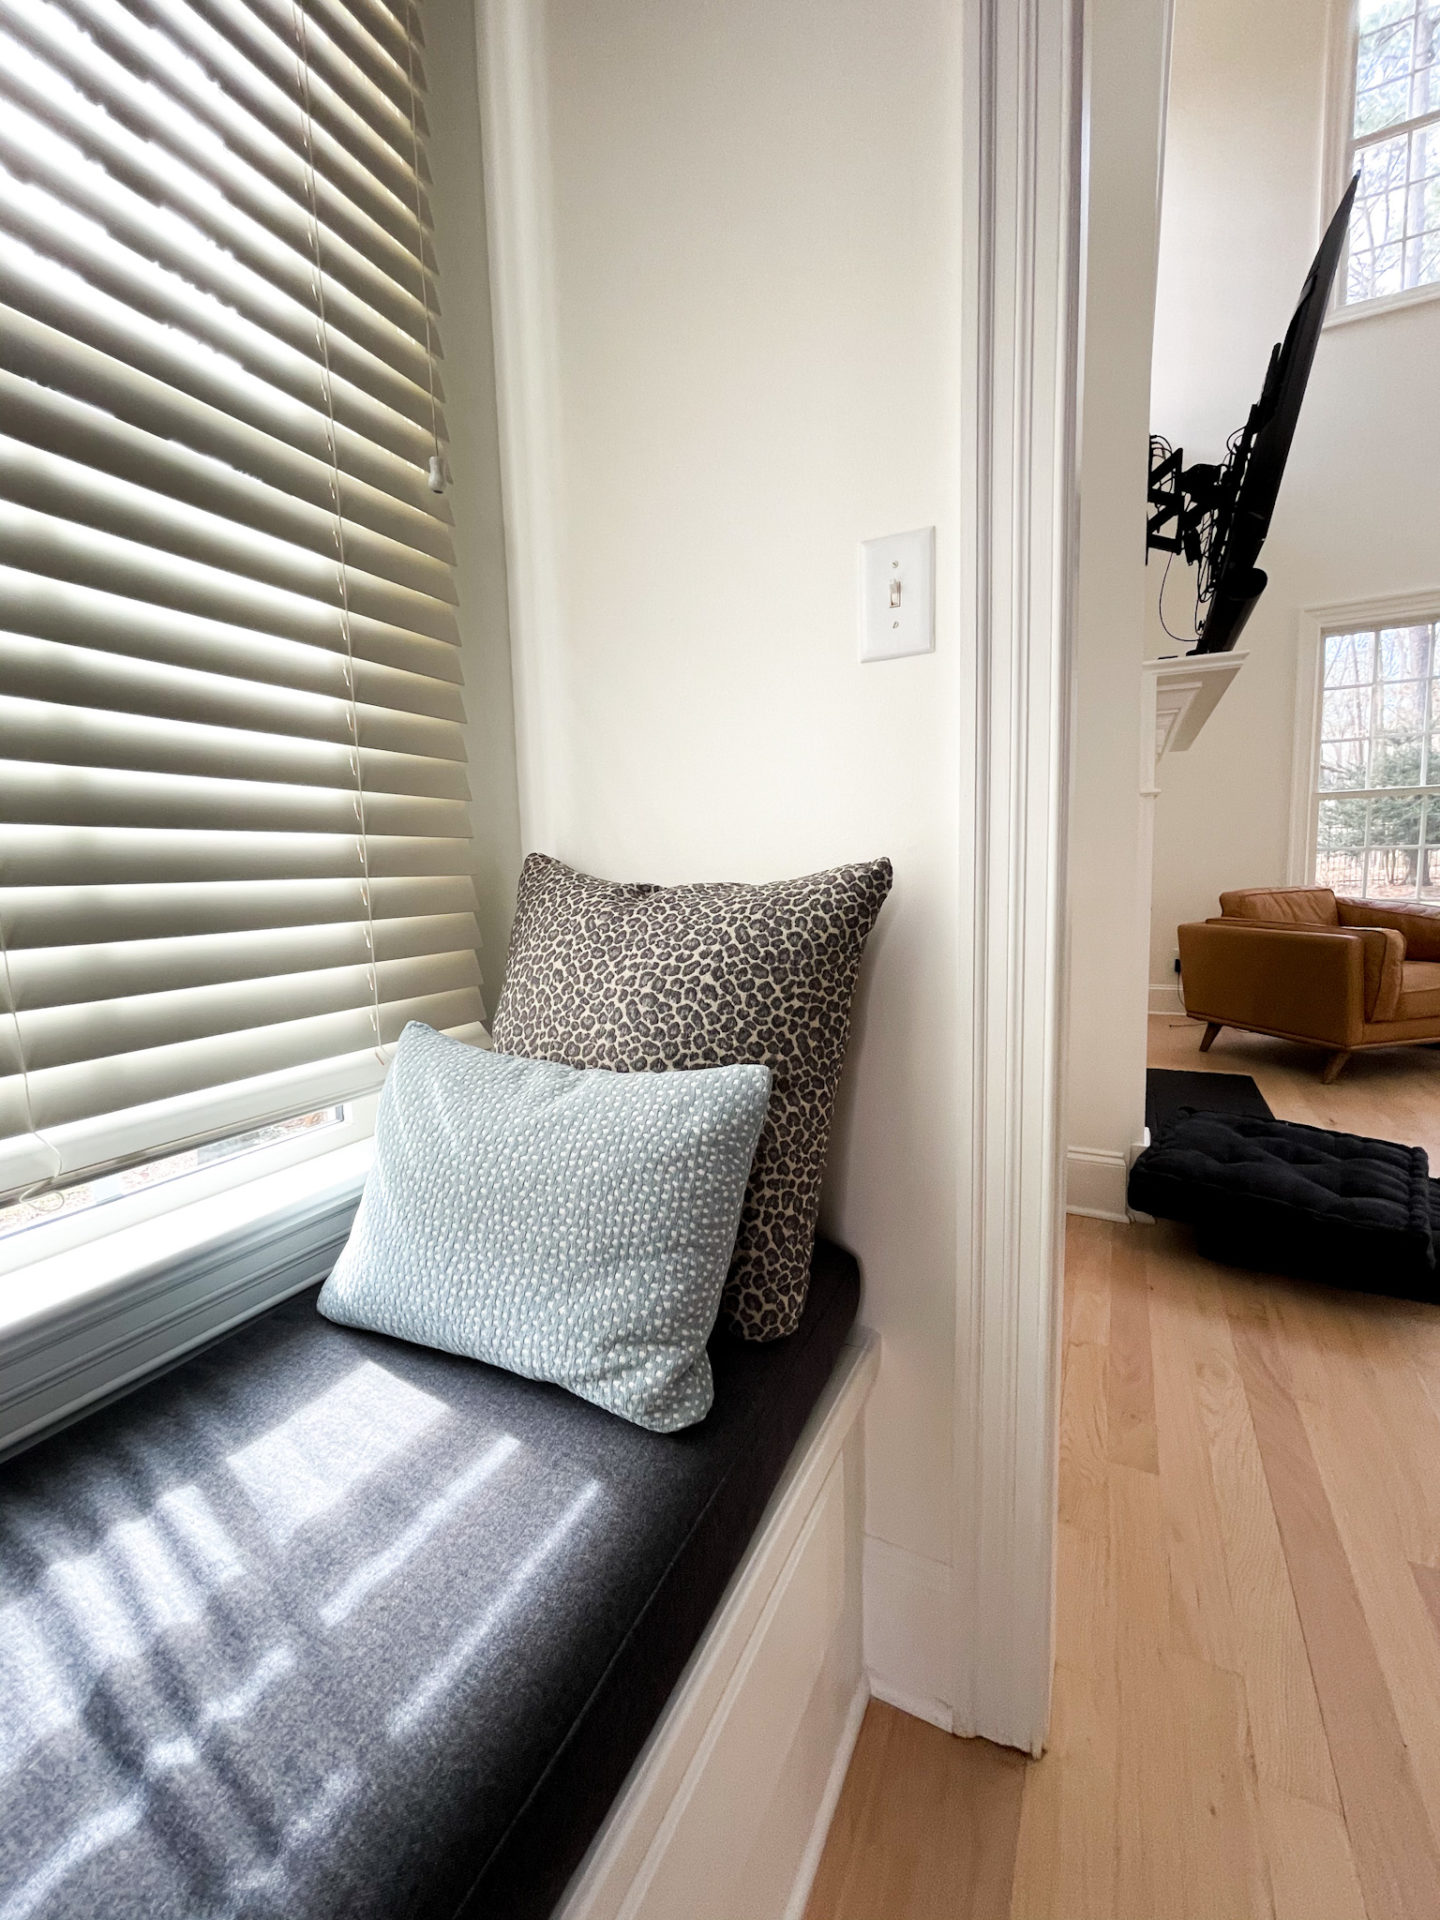
Here are some before photos of the bookshelves/window seat:
The first thing we decided on and really built everything else around was the color of the bookshelves. We partnered with PPG on this project as their paints are budget friendly (less than $40 a can), incredibly stain-resistant, and also washable. The durability and washability factor is especially important if you’re wanting to go with a lighter color. You don’t have to be as concerned about permanent marks or scuffs, which is a huge plus!
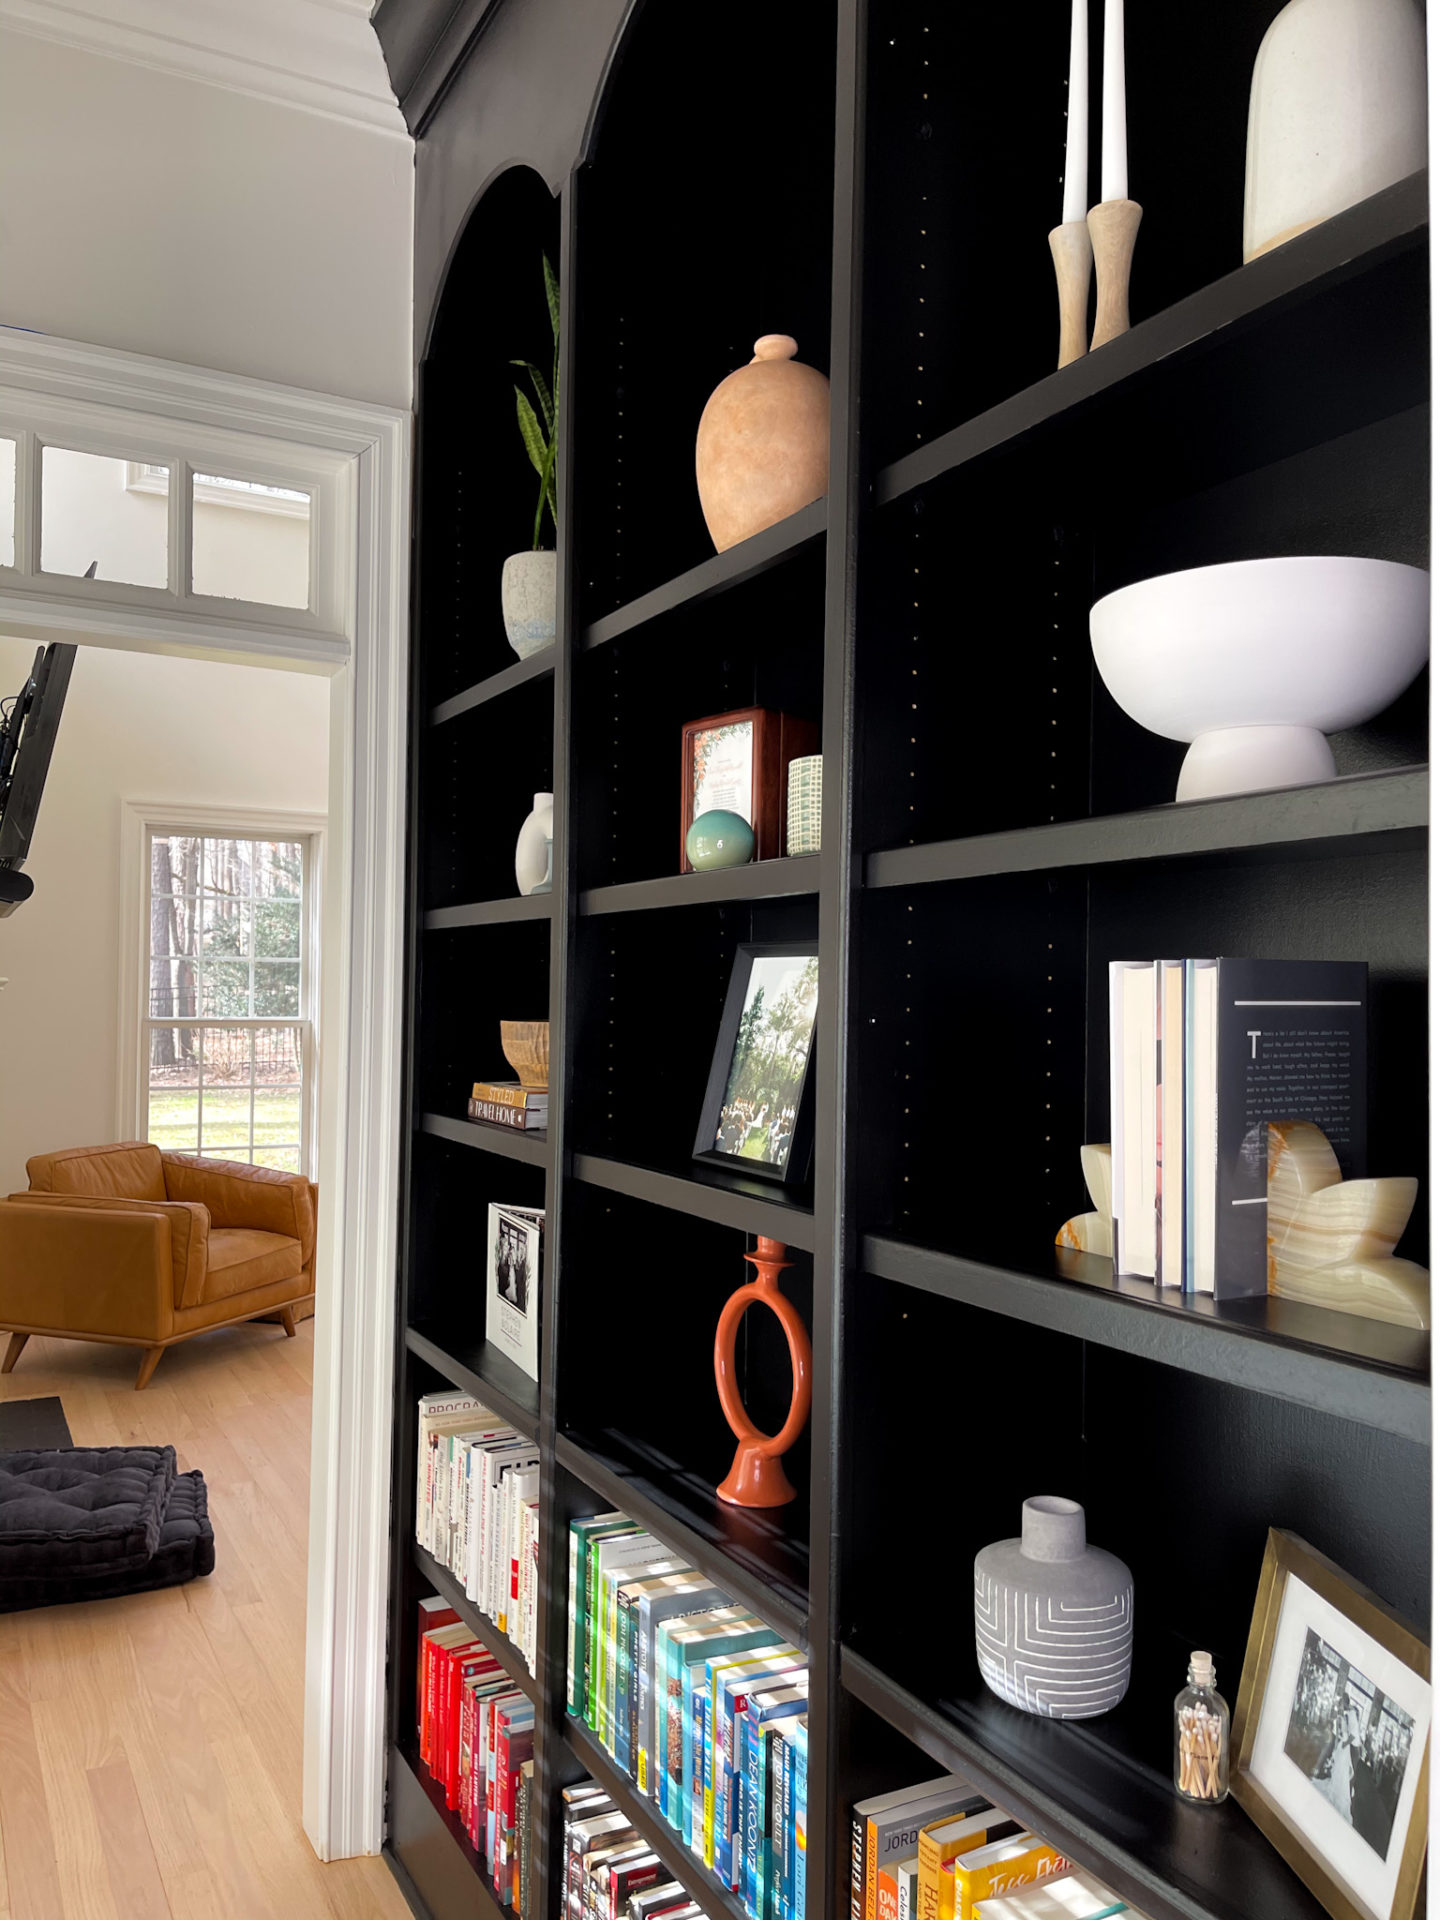
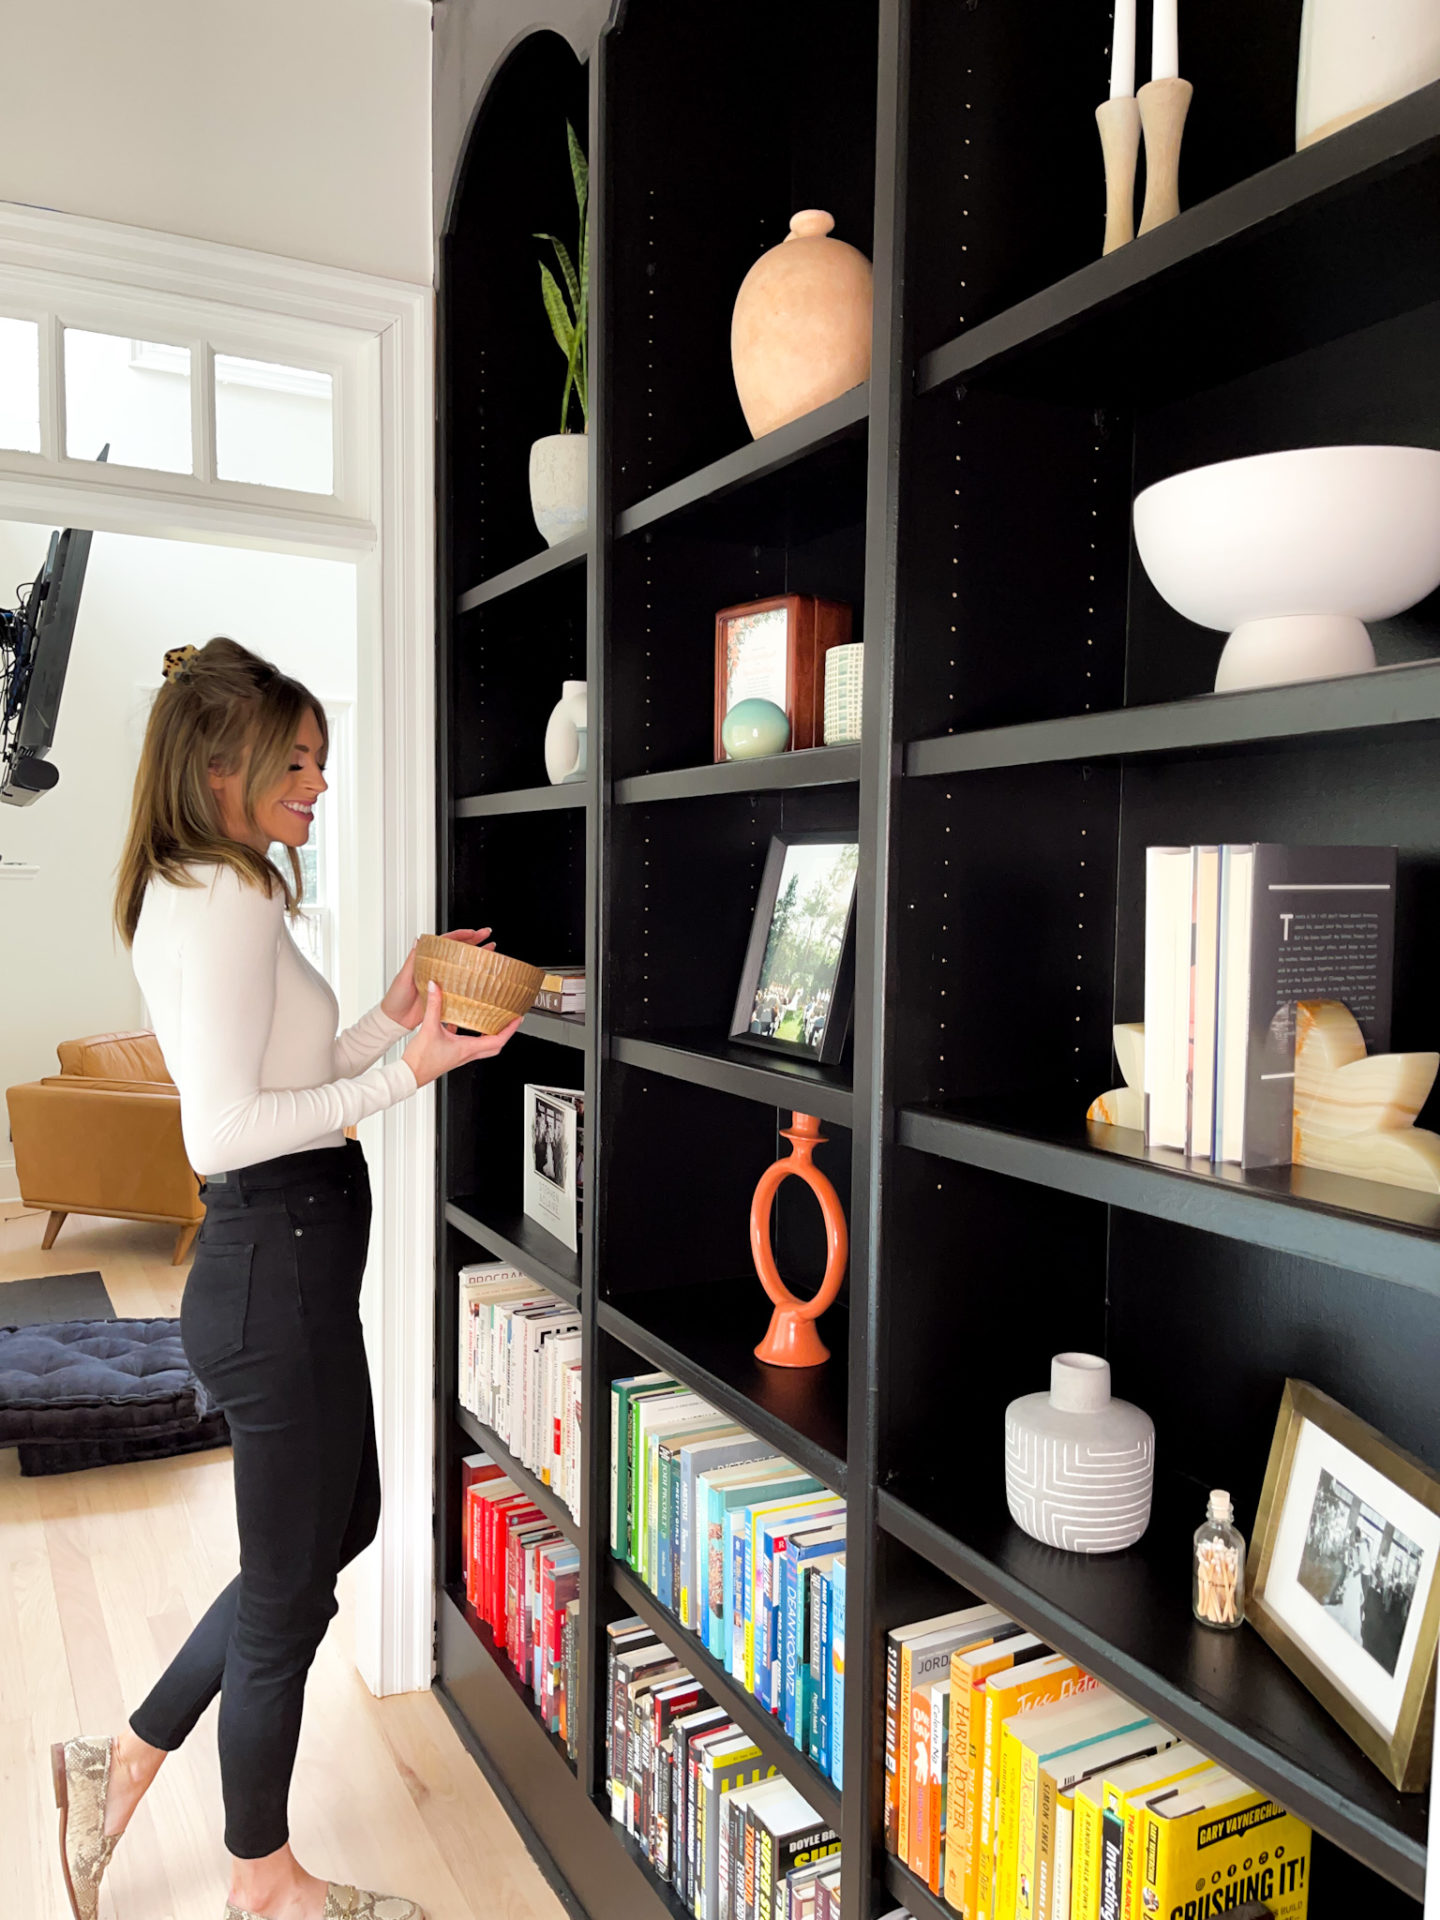
When it came to us choosing our color, it was a little difficult at first. PPG has a huge variety of paint colors which is awesome, but it can also be hard to narrow down the color with so many options! I did know though that I wanted something darker and bolder, so something that helped was going on PPG’s website and looking at the various colors in different spaces (also once you decide on a color you can put in the dimensions of your space and it will tell you how many gallons you need, etc). This helped me narrow it down to a few of the blacks and grey tones. I ultimately went with the color “Starless Sky” (PPG-0995-7) in a satin finish. I felt like it was the truest black, and that it would compliment our already black fireplace. I also went with the satin finish because I feel like it works best with shelving or cabinets. Stephen was very into PPG’s color “Suddenly Sapphire” and while I can appreciate him wanting to be involved, I didn’t think that bright of a color would go with the rest of our house’s interior style lol. I did tell him though that he could eventually pick whatever color for his man cave/office upstairs 😉
So, when it came time to actually paint here are the supplies we needed and what I would recommend getting if you’re painting!
-Tarp. I would recommend getting something thicker than just a plastic drop cloth. The plastic drop cloths are great if you’re covering up a piece of furniture, or a window (like we did), but for the floor I personally think they are too flimsy and tear too easily. You don’t want something that can tear and result with you accidentally getting paint on your wood floors or carpet.
-Paint brushes and rollers. Depending on your space, you will probably want both. Rollers will help expedite the process, especially if you have a larger or taller space and the paint brushes are great for getting closer to the edges or into smaller areas. Most brushes and rollers will designate what kind of paint they work best with (matte, satin, etc).
-Paint roller trays. Always get a few extra of these (along with paint brushes or rollers). I’ve found that I’m always glad I had an extra one on hand vs. having to run back to the store mid-project!
-Gloves. Make sure you get some disposable gloves– it’s a lot easier to get paint on your hands than you might think haha. It comes off but gloves just make it easier (especially if you have a nice manicure ;)).
-Painters tape. When you’re taping, I always like to do a few layers of painters tape when it comes to taping between the wall and the floor. That way, if any paint drips down there is no chance of it getting on your floors. After that, I then tape the tarp on top of it for another layer of protection.
-Paint. Last but not least, don’t forget the paint! We ended up ordering 1 gallon of PPG primer for the space, and 2 gallons of “Starless Sky” (it doesn’t hurt to round up when it comes to paint as it’s better to have a little more than not enough, IMO!) Below is a photo of the primer and paint we used from PPG (sorry it’s not a clean can–I’m a bad blogger and forgot to take the before photo lol. But you get the gist of what we used ;))
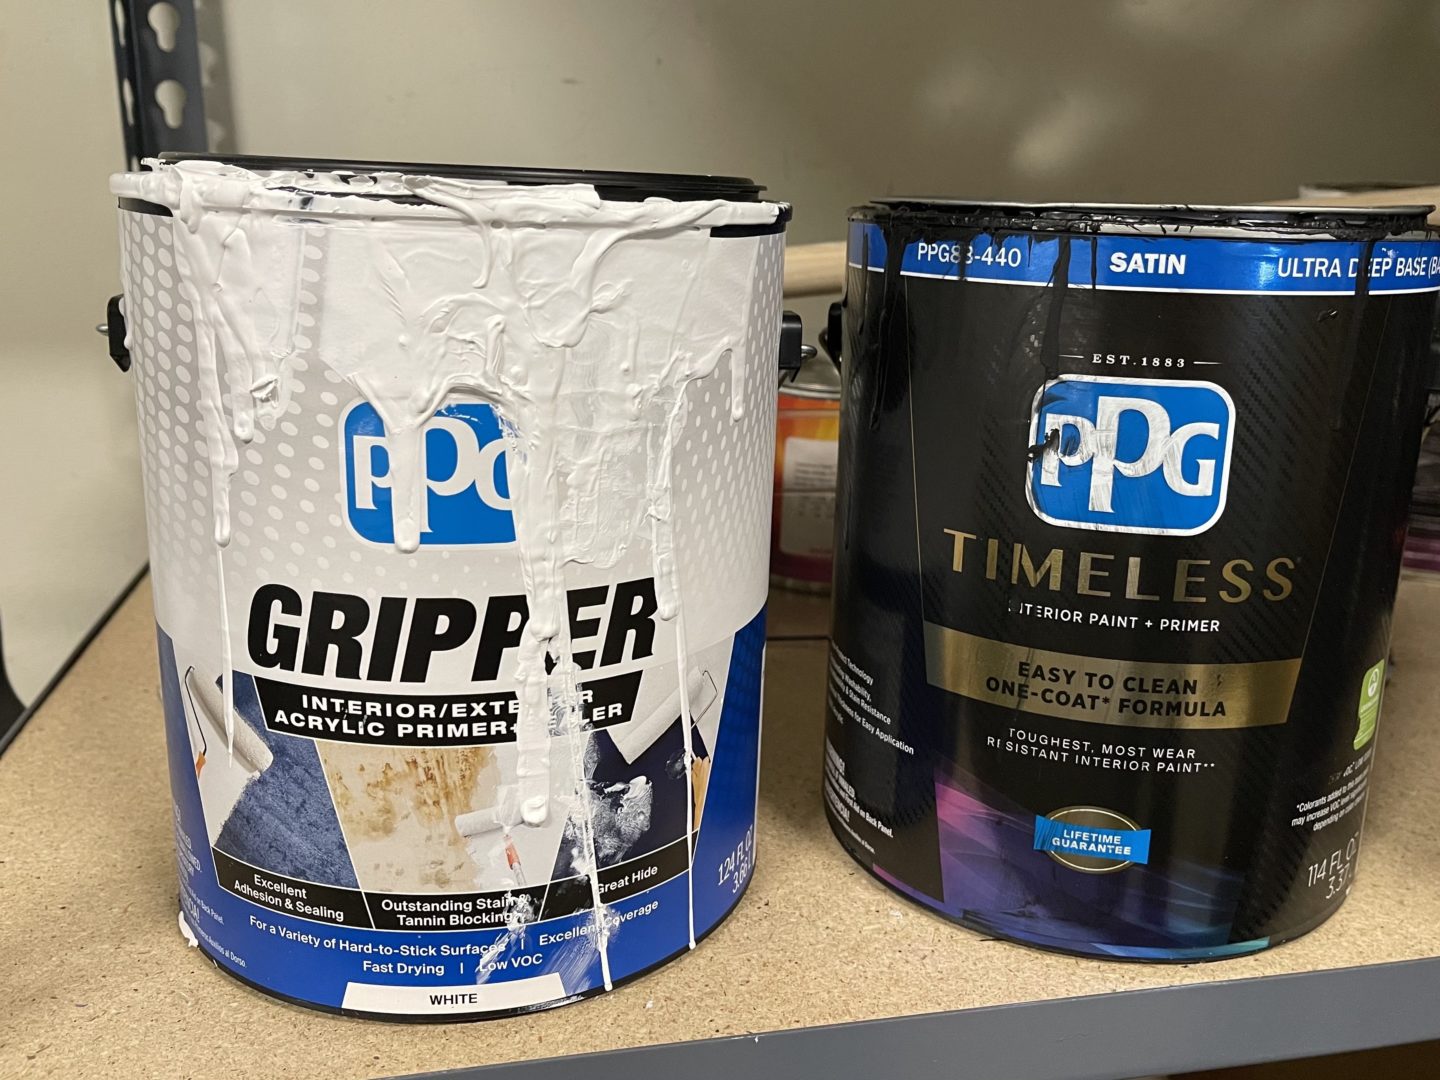
You can get all of this at Home Depot, which is where we got our PPG paint as well. They also have a contactless pickup option too.
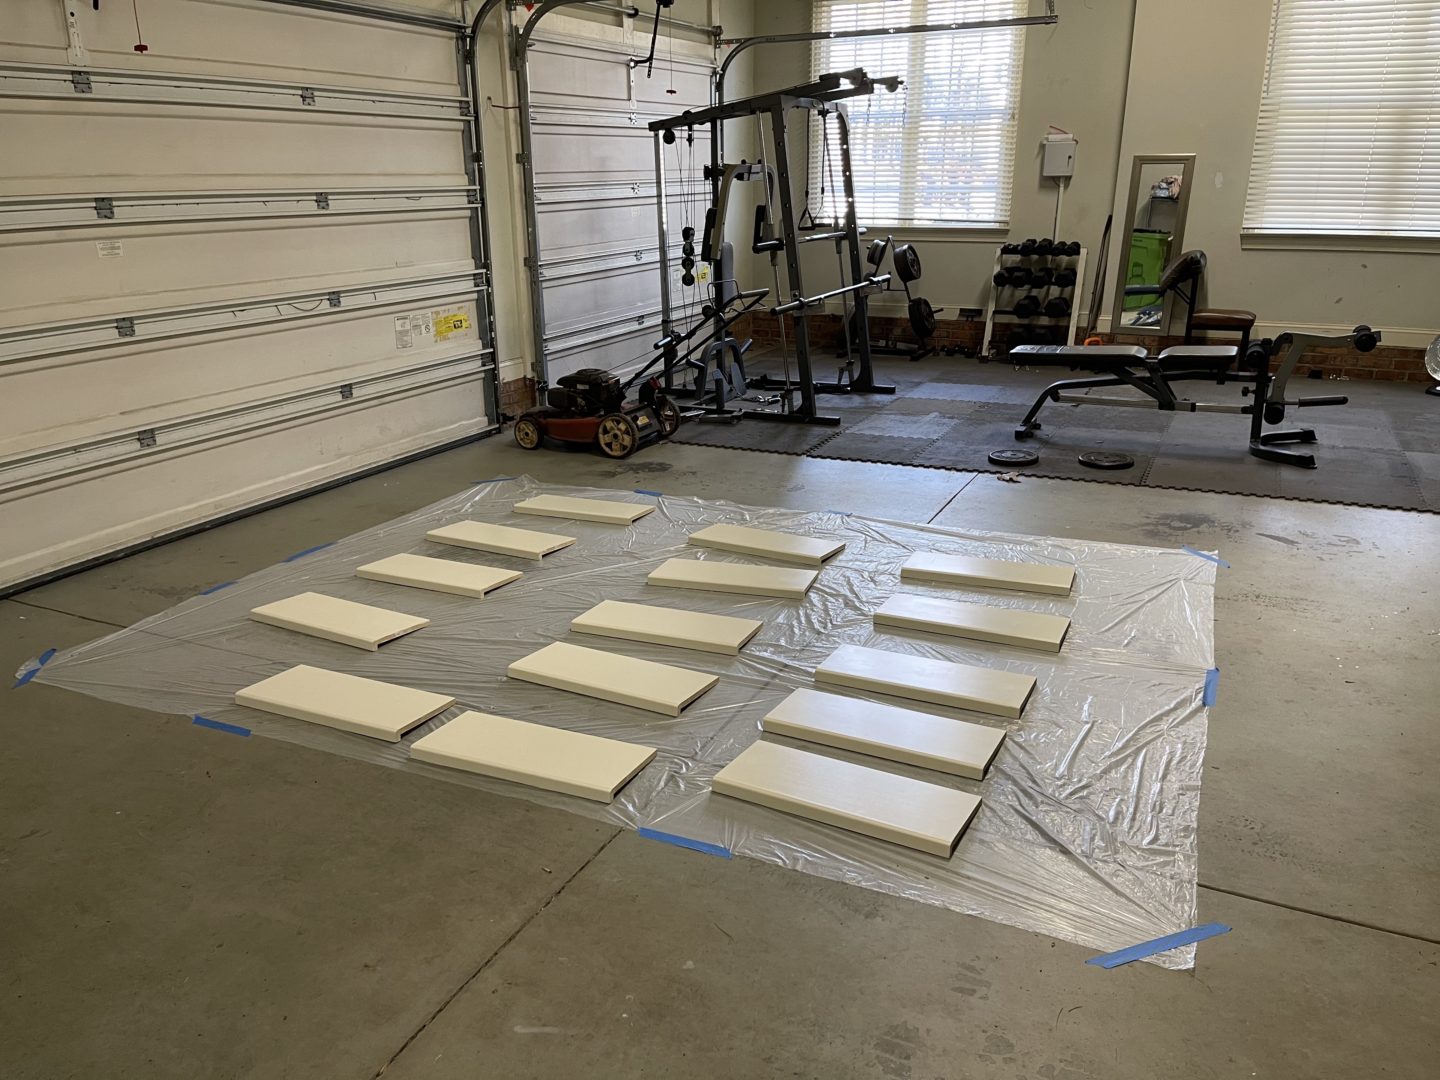
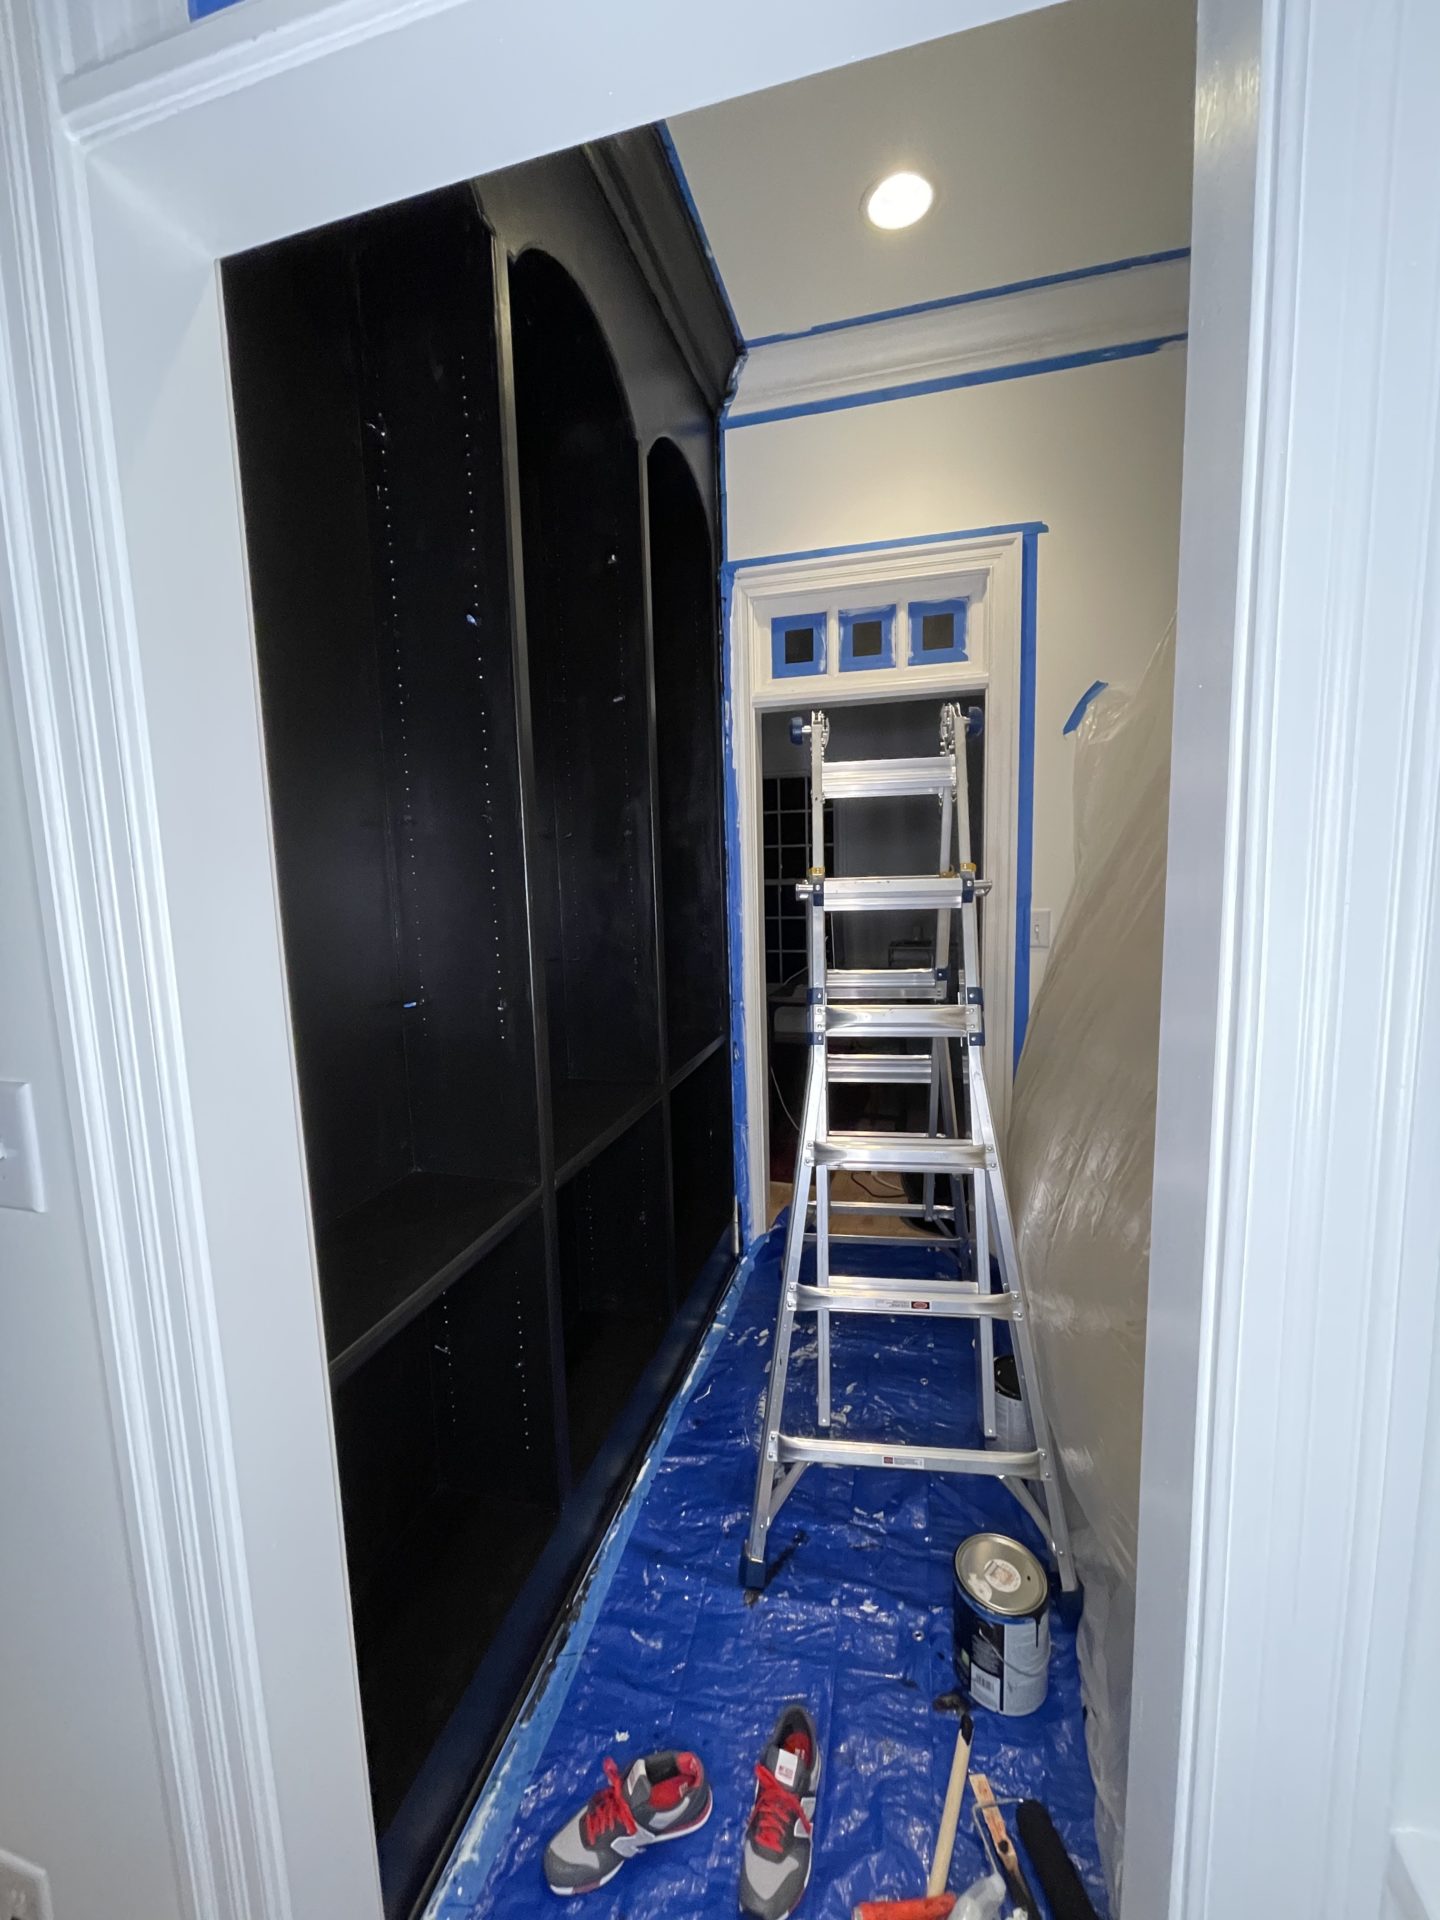
Below are some photos of the painting process. Of course every space is a little different but if you’re painting shelves, you want to remove them and paint them separately. We first taped everything, and then wiped down/cleaned the area. I suggest just warm water or a gentle cleaning spray.
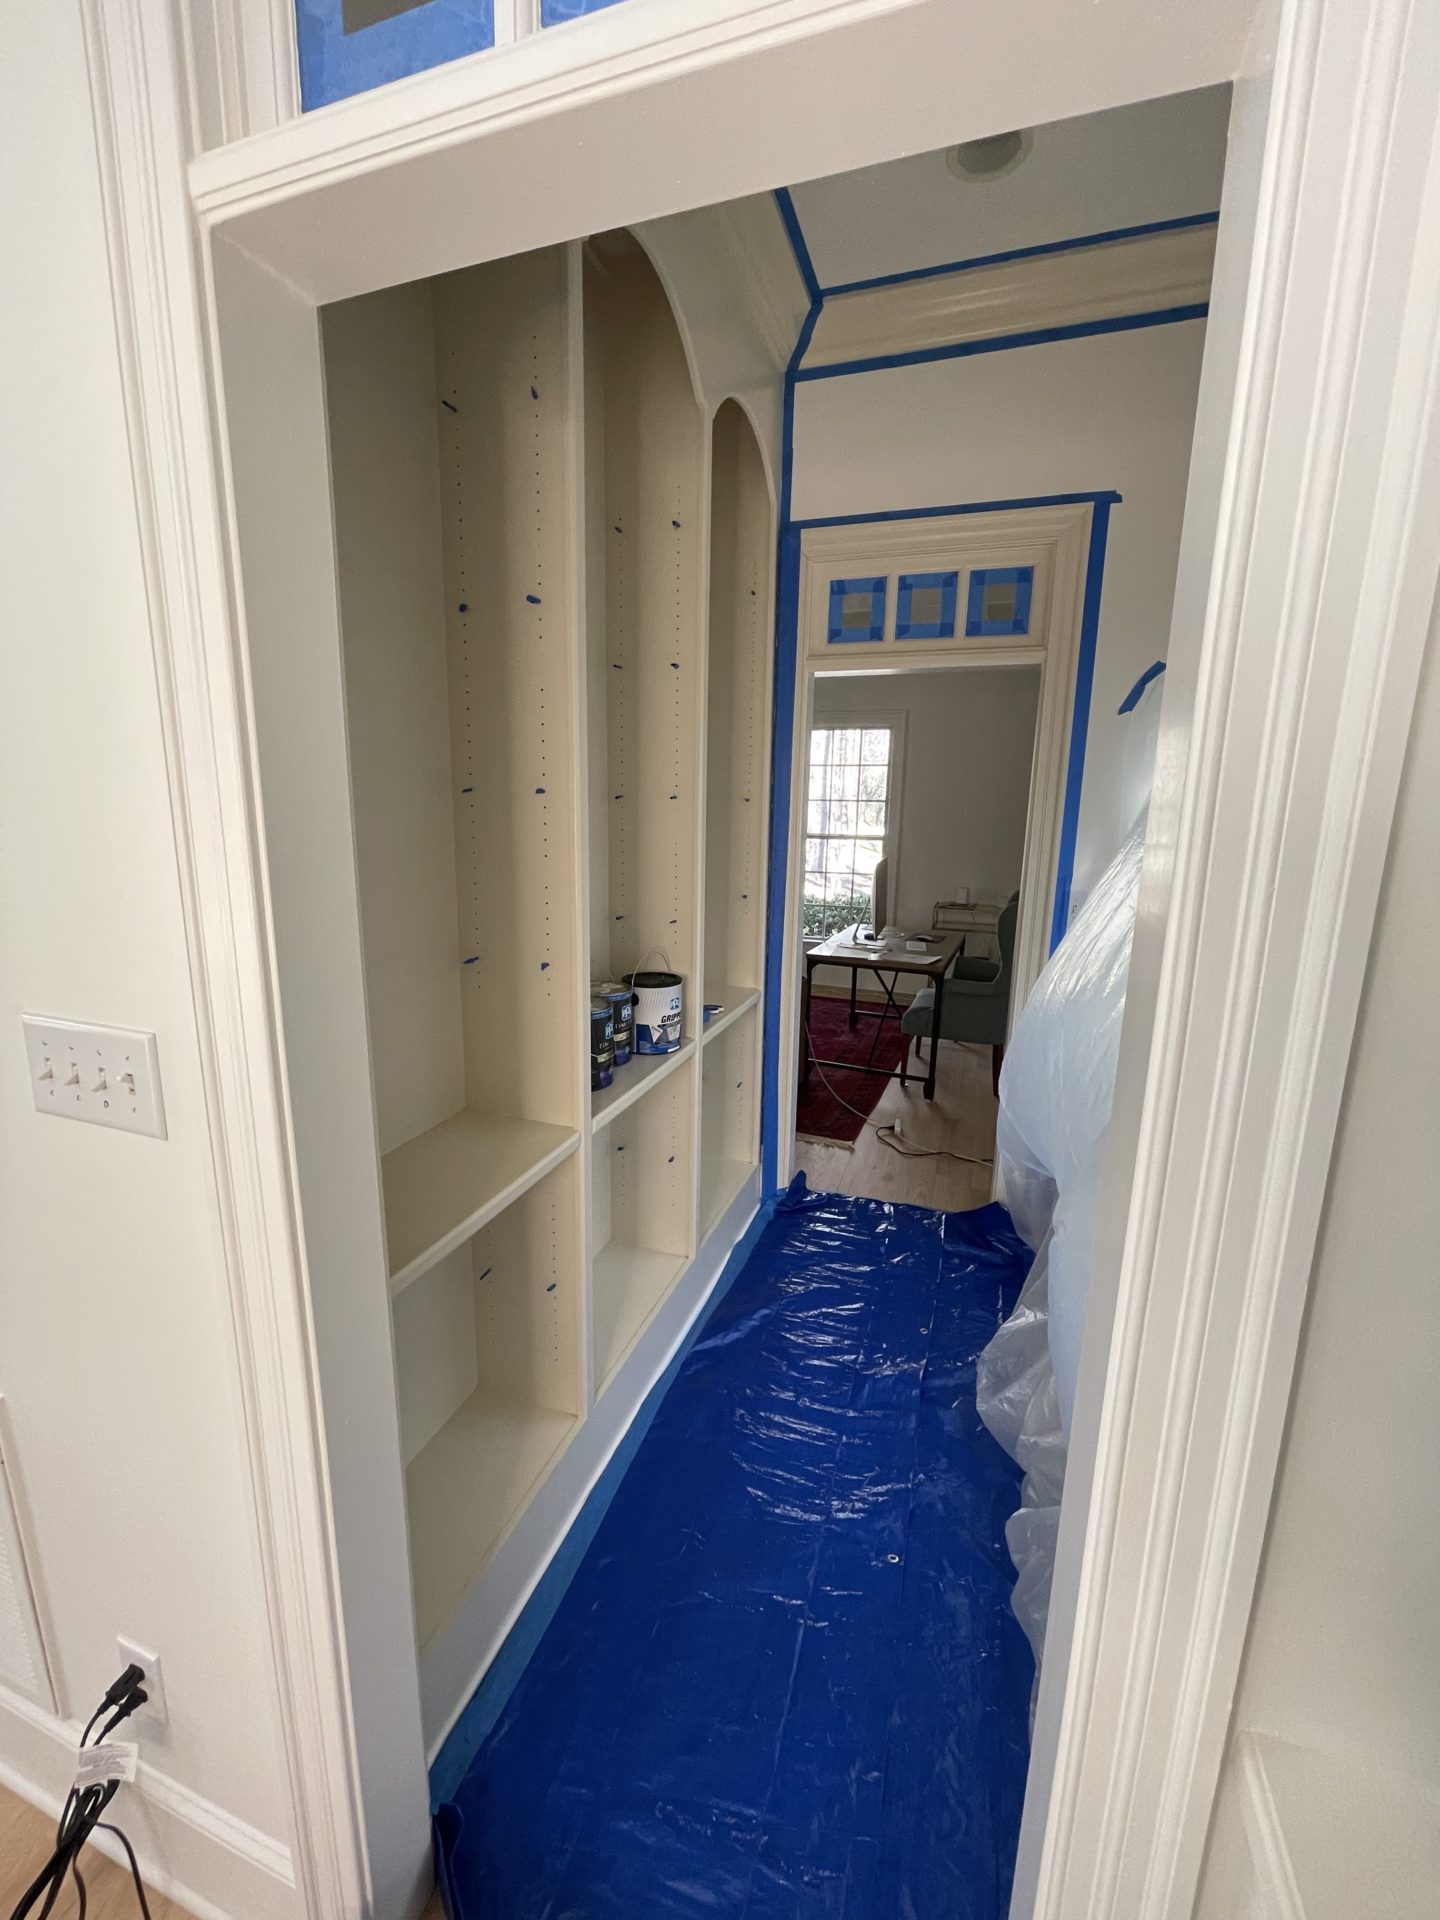
Next up was the primer followed by two coats of PPG Starless Sky. In general, primer dries pretty quickly so we primed the area and then painted just a couple hours later. We let that first coat dry overnight, and then went over everything with one last coat the next day. Once that second coat dried, we touched up any areas that we missed! Last step is to then remove all of the painters tape. You may need to touch up some smaller spots where the tape was, but that’s about it!
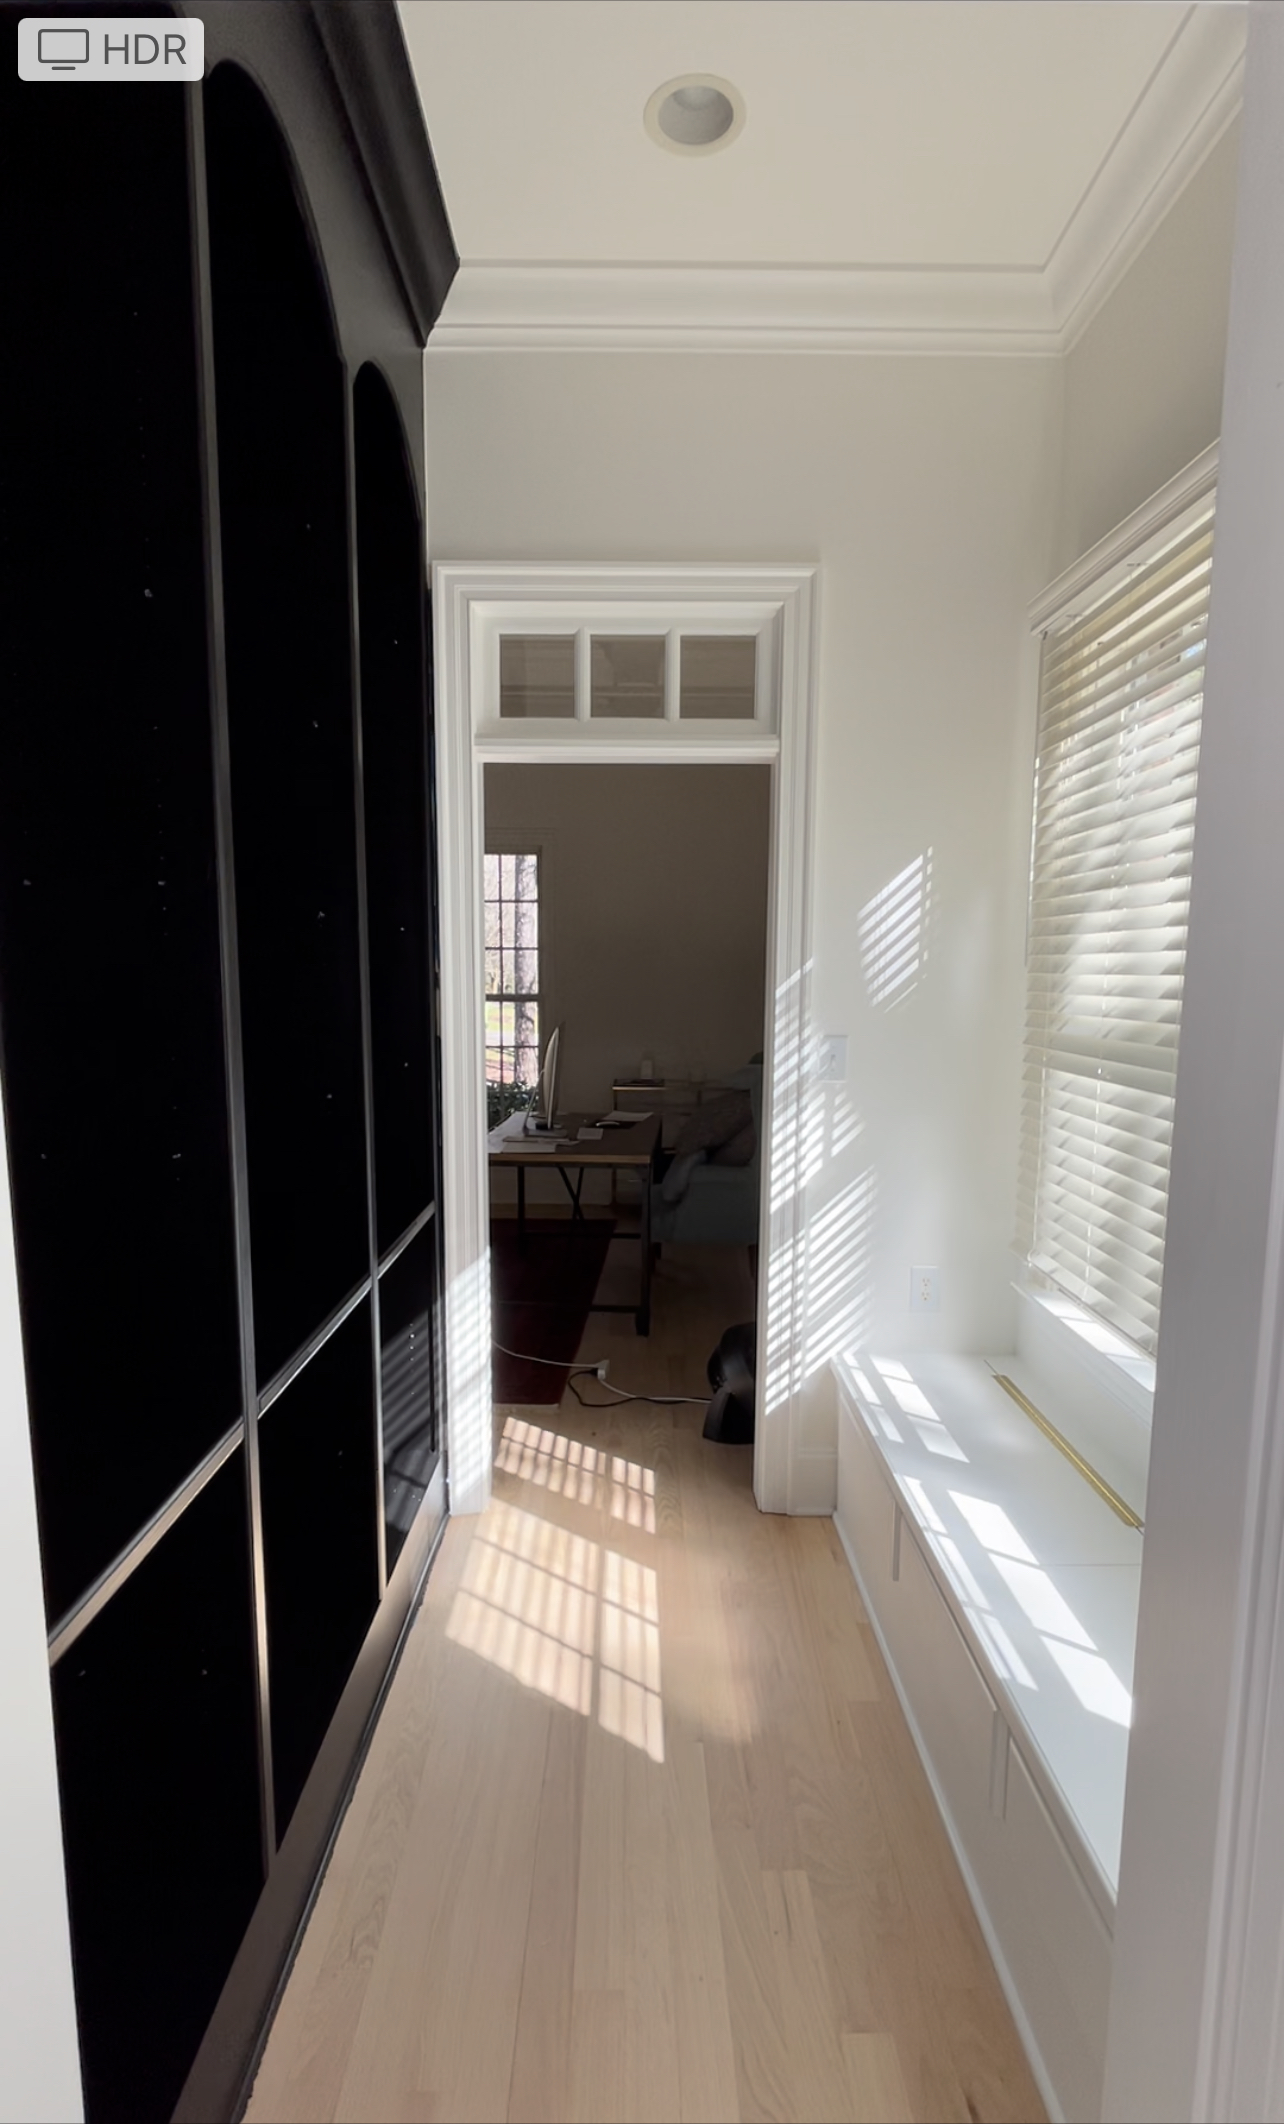
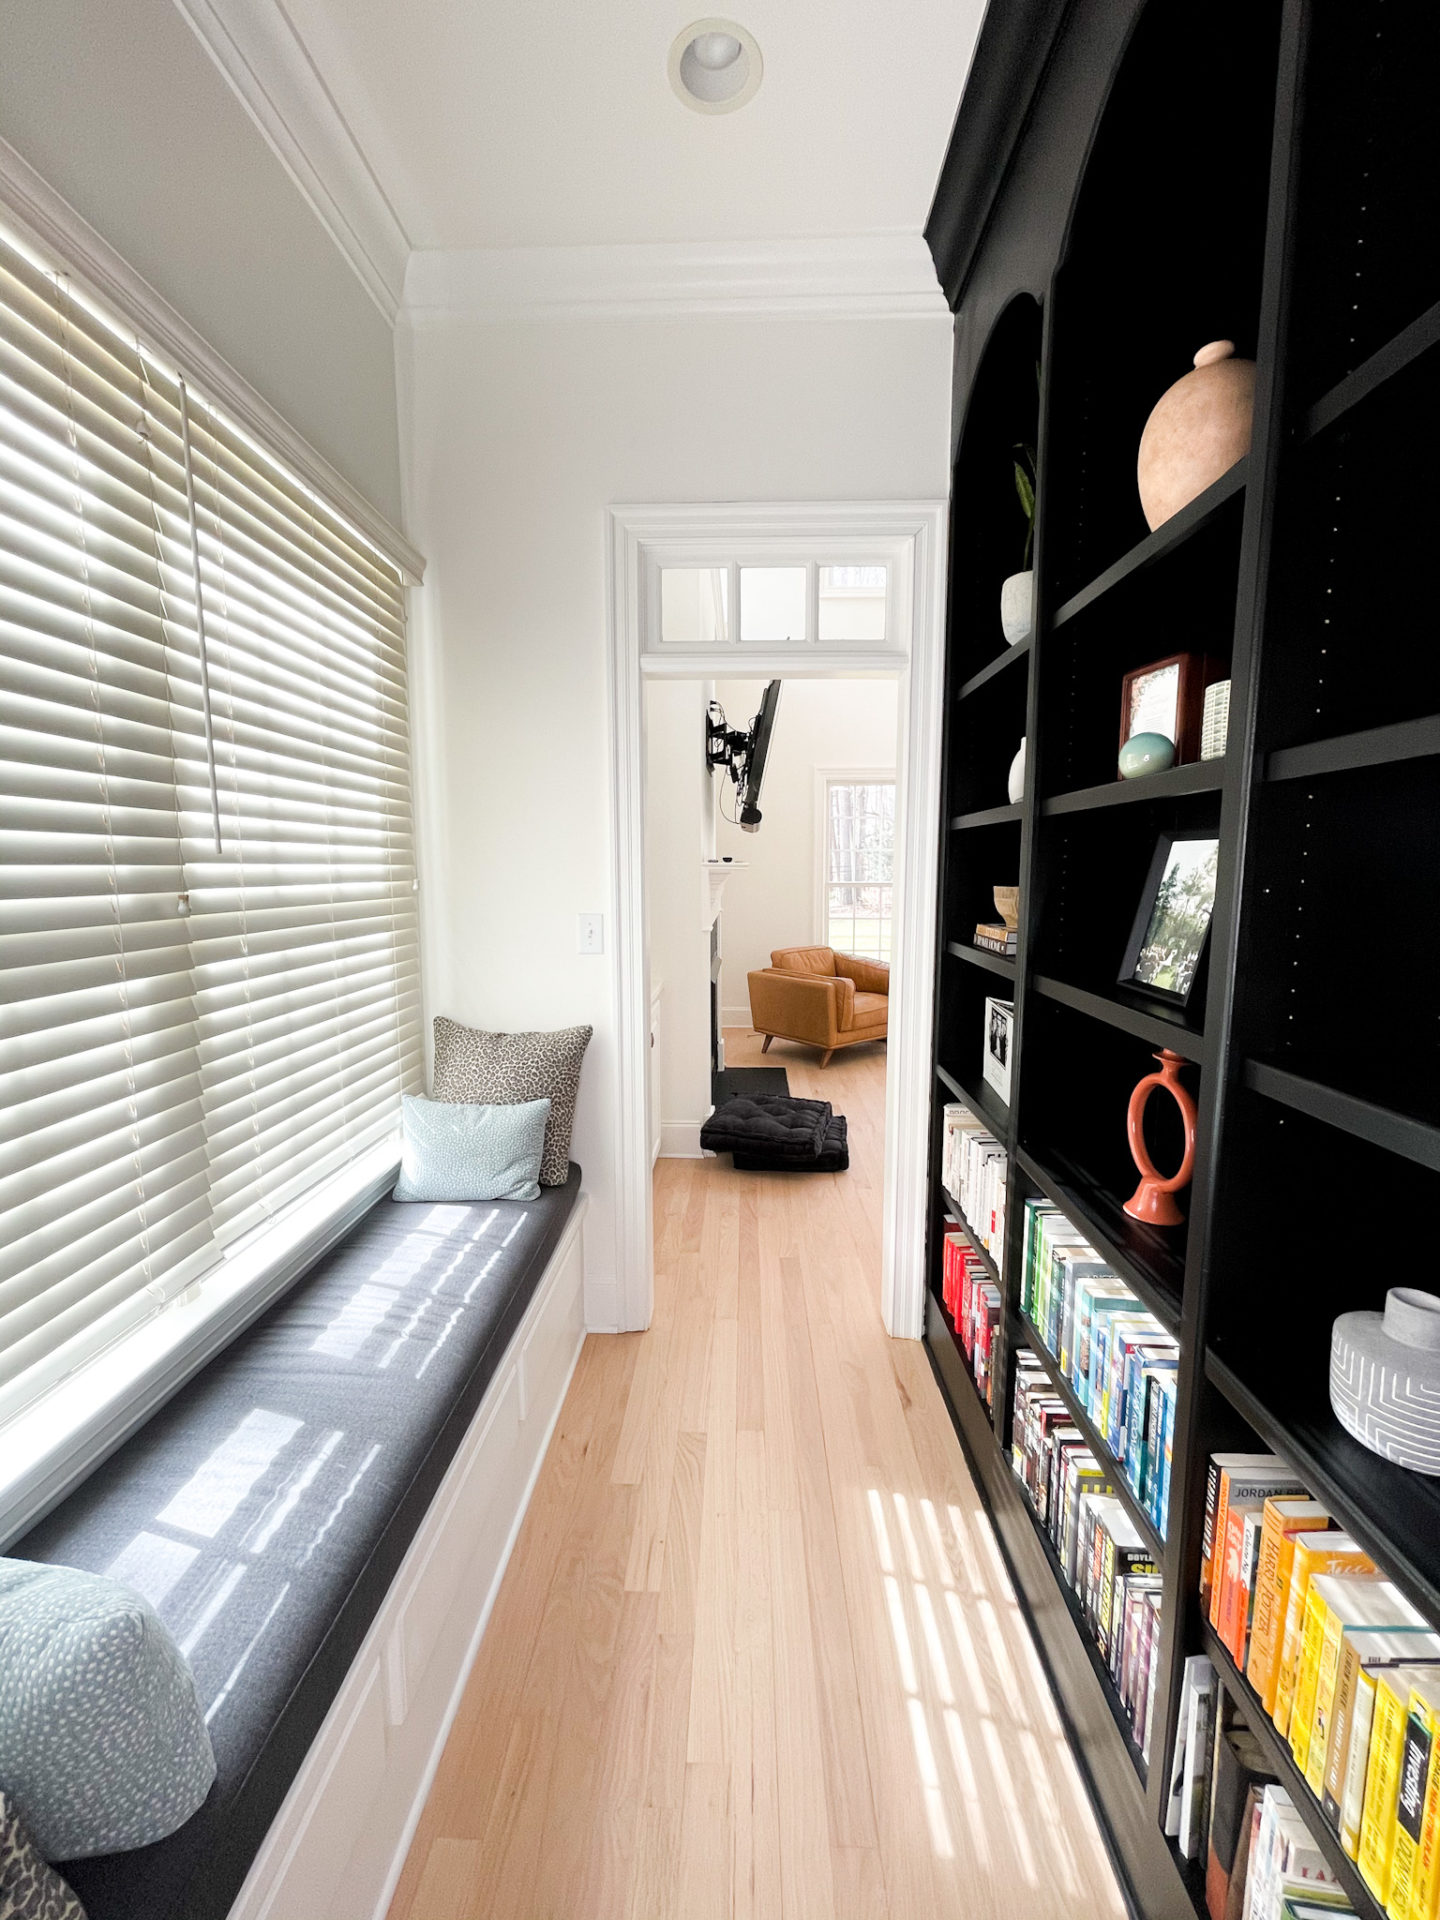
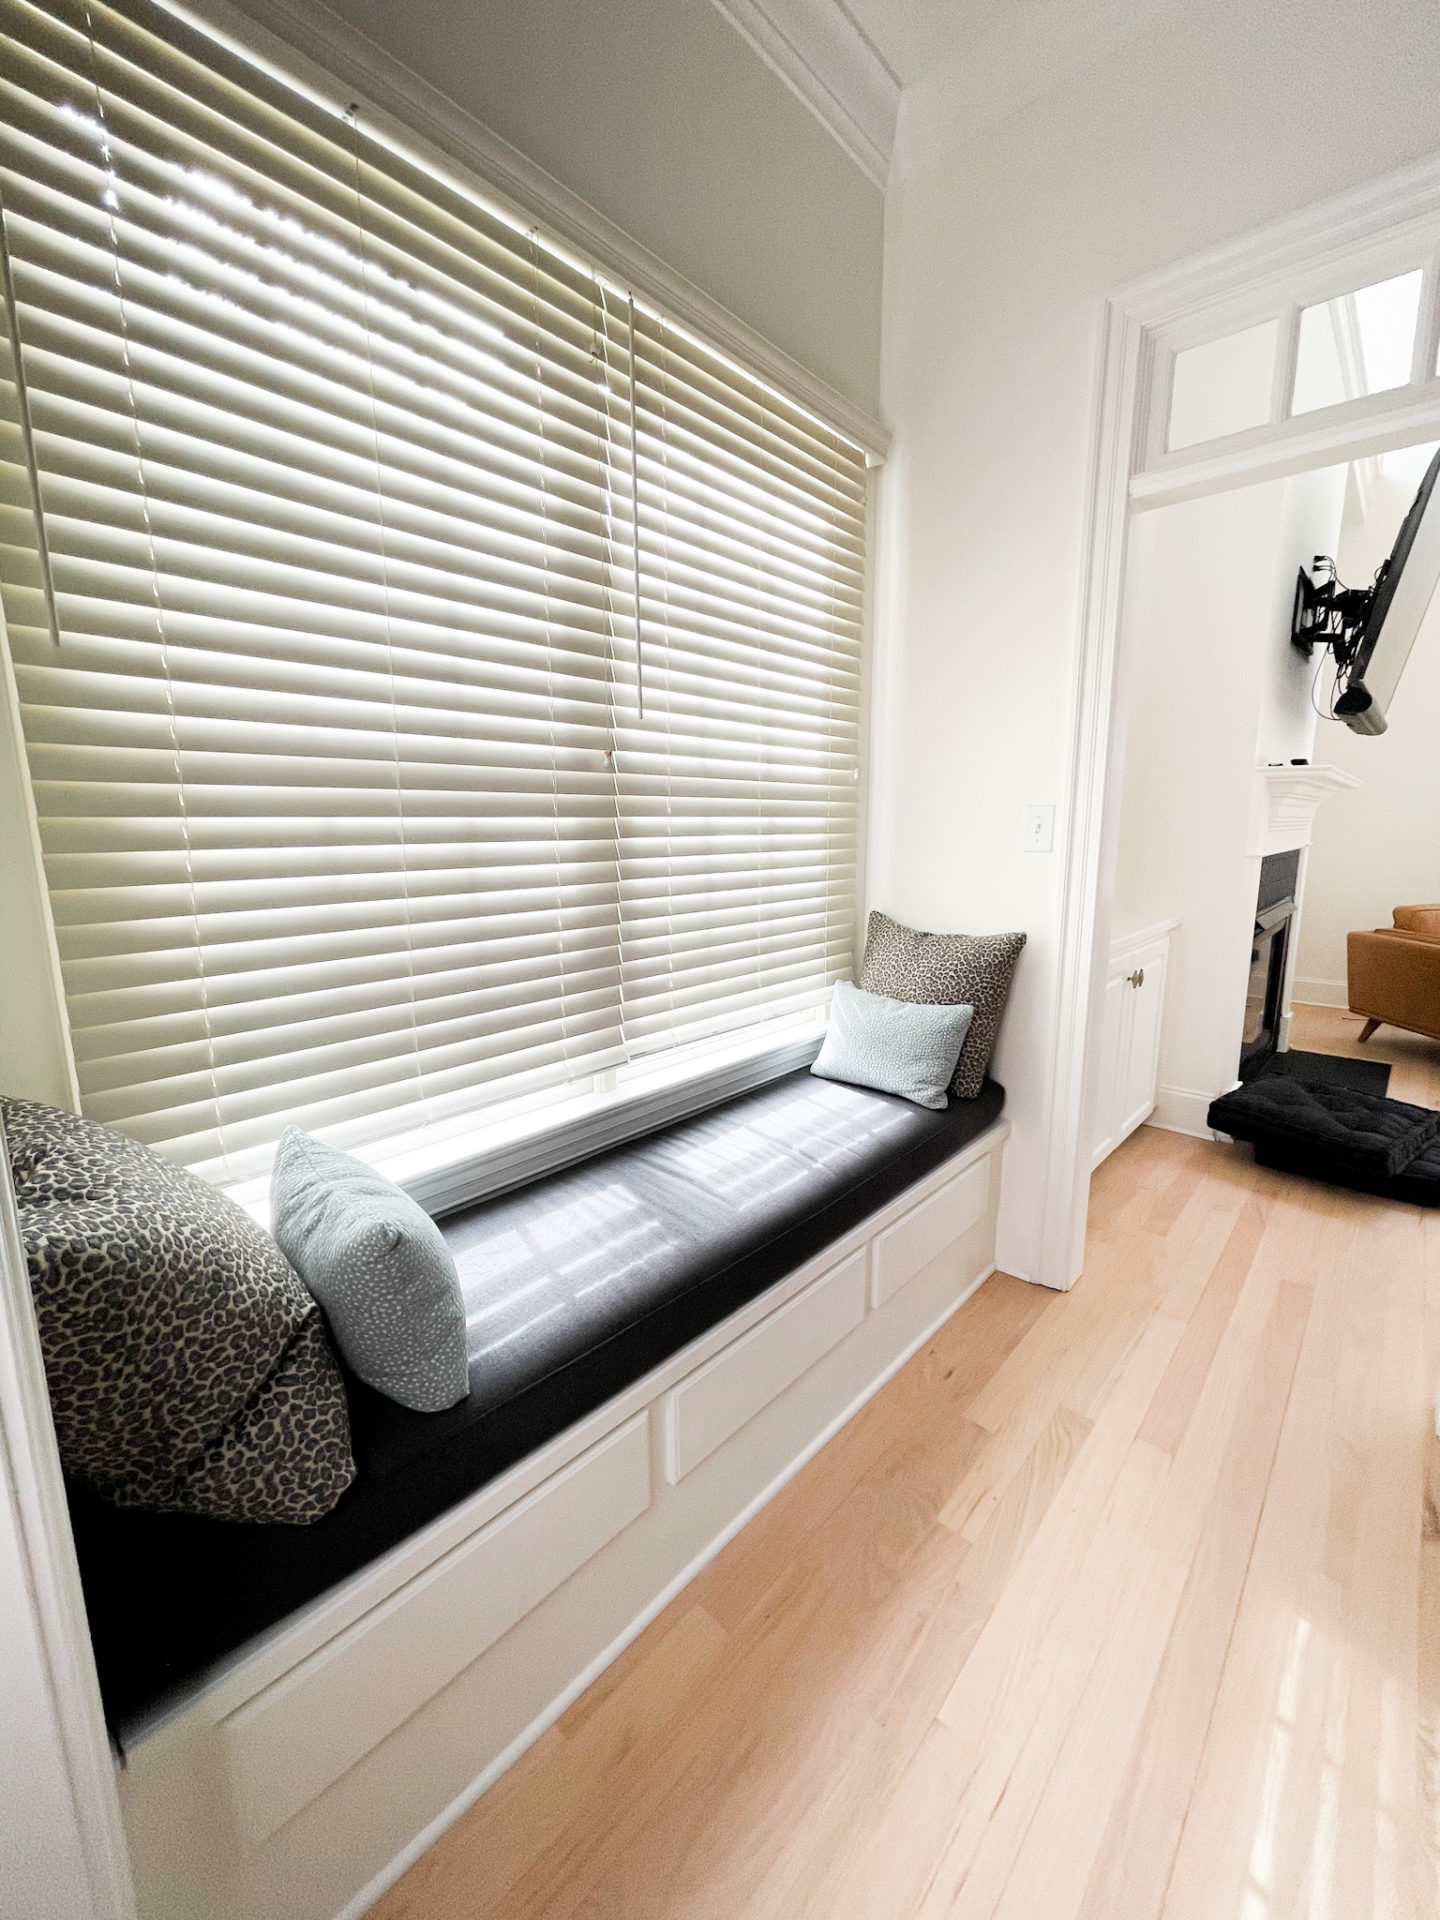
The last step was to bring in the newly upholstered window seat and pillows! Like I mentioned above, since our whole house is pretty neutral I thought this would be a good place to incorporate some more color and patterns. At first I was going to do a patterned fabric for the window seat but some of y’all suggested doing a solid fabric with the window seat and then patterned pillows since the pillows are easier to switch up if you get sick of the pattern, or want to alternate during different seasons, etc. I thought this was a great idea so I went with a solid, charcoal color for the window seat itself, which I feel like helps balance out the darker bookshelves. And then went with some fun patterns for the pillows! For anyone in the Raleigh area, I got the fabric and pillows at Mill Outlet Village, and then ABZ Upholstery did the actual upholstering. They were really reasonable– it was about $240 for the window seat and 4 pillows and they had them upholstered in less than 2 weeks!

So as you can see, this whole project was super budget friendly. The paint and primer, plus supplies was around $150, and the fabric and upholstery was about $450. That being said, in my opinion, the paint is what makes the biggest difference and that alone was about $150 (including other supplies)! Point being, you can really transform the whole look of a space with just a coat of paint and other little updates.
Also as a reminder, you don’t have to re-do an entire space all at once. When we moved into this house for example, I knew we couldn’t afford to buy new furniture all at one time, but I knew what a big difference fresh paint would make. So, we decide to paint first and then slowly add new pieces of furniture and other updates as time passed. And if you’re looking for some inspiration, Pinterest is also a great place to start! It was what made me originally realize that our bookshelves/window seat area could really be transformed into something. Also, if you want to start smaller, just painting an accent wall in one room of your house can make a huge difference! Just throwing out ideas here 😉
If y’all are thinking of re-doing any spaces, painting a piece of furniture, etc. I’d love to hear about it! And if I missed anything on this DIY project, feel free to leave any questions below.
Also a huge thanks for PPG for sponsoring this post! I loved partnering with them on this and am so in love with our new space. And as always, all thoughts and opinions are my own 🙂


")


Claire, I look the bookshelf and I love that you painted it black. So nice!
thanks Kiara!!
Love the bookcase color, but would love to know what’s the paint color or the walls and woodwork. Thanks!
Hi Kris! It’s simply white in Benjamin Moore. We used a matte finish for the walls, and a satin finish for the trim.