


As some of you may have seen on IG, I (I guess I’ll say *we* because Stephen did help some haha), decided to update our kitchen! When we first moved in, the kitchen wasn’t outdated by any means but it just wasn’t my personal style. That being said, I wanted to make a few updates but also didn’t want to spend a lot on a renovation (still trying to recoup moving costs and adjusting to a higher mortgage). Also, with how busy things have been I didn’t have time to do a full reno (picking out tile, hiring a contractor, etc). And lastly, I wanted to try something a little different with this kitchen (the darker backsplash) so I figured a temporary solution would let me try it out, and then I could commit to it if I liked it. Hence, I went with the peel-and-stick route for the countertops, and backsplash, and then switched out the hardware (you can shop everything here btw). So before I give a few tips on how we went about this project, here are some before and after photos!
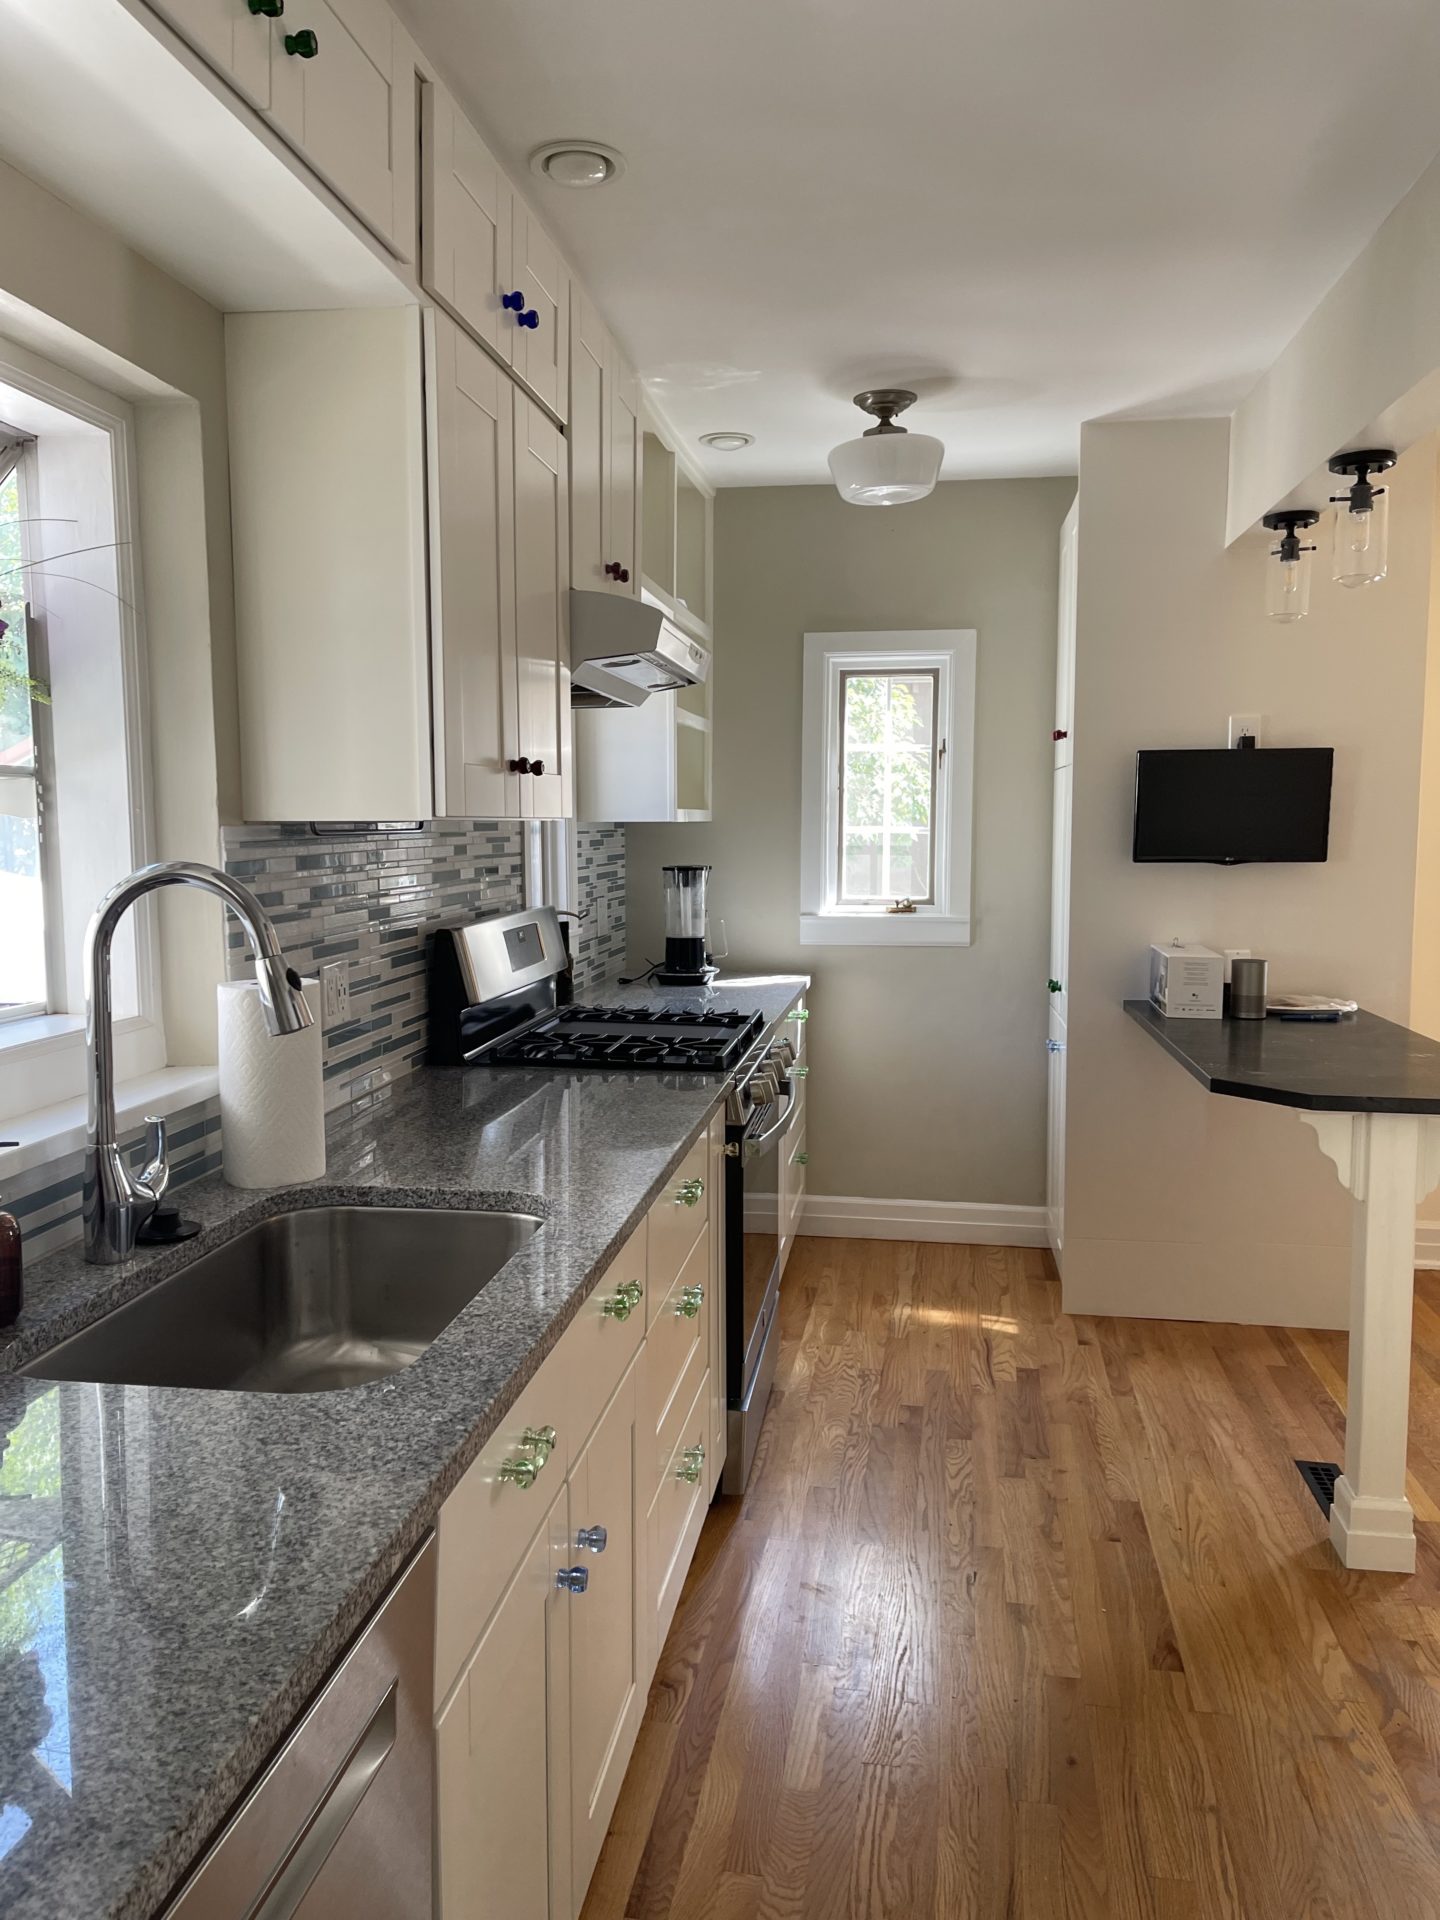
Before

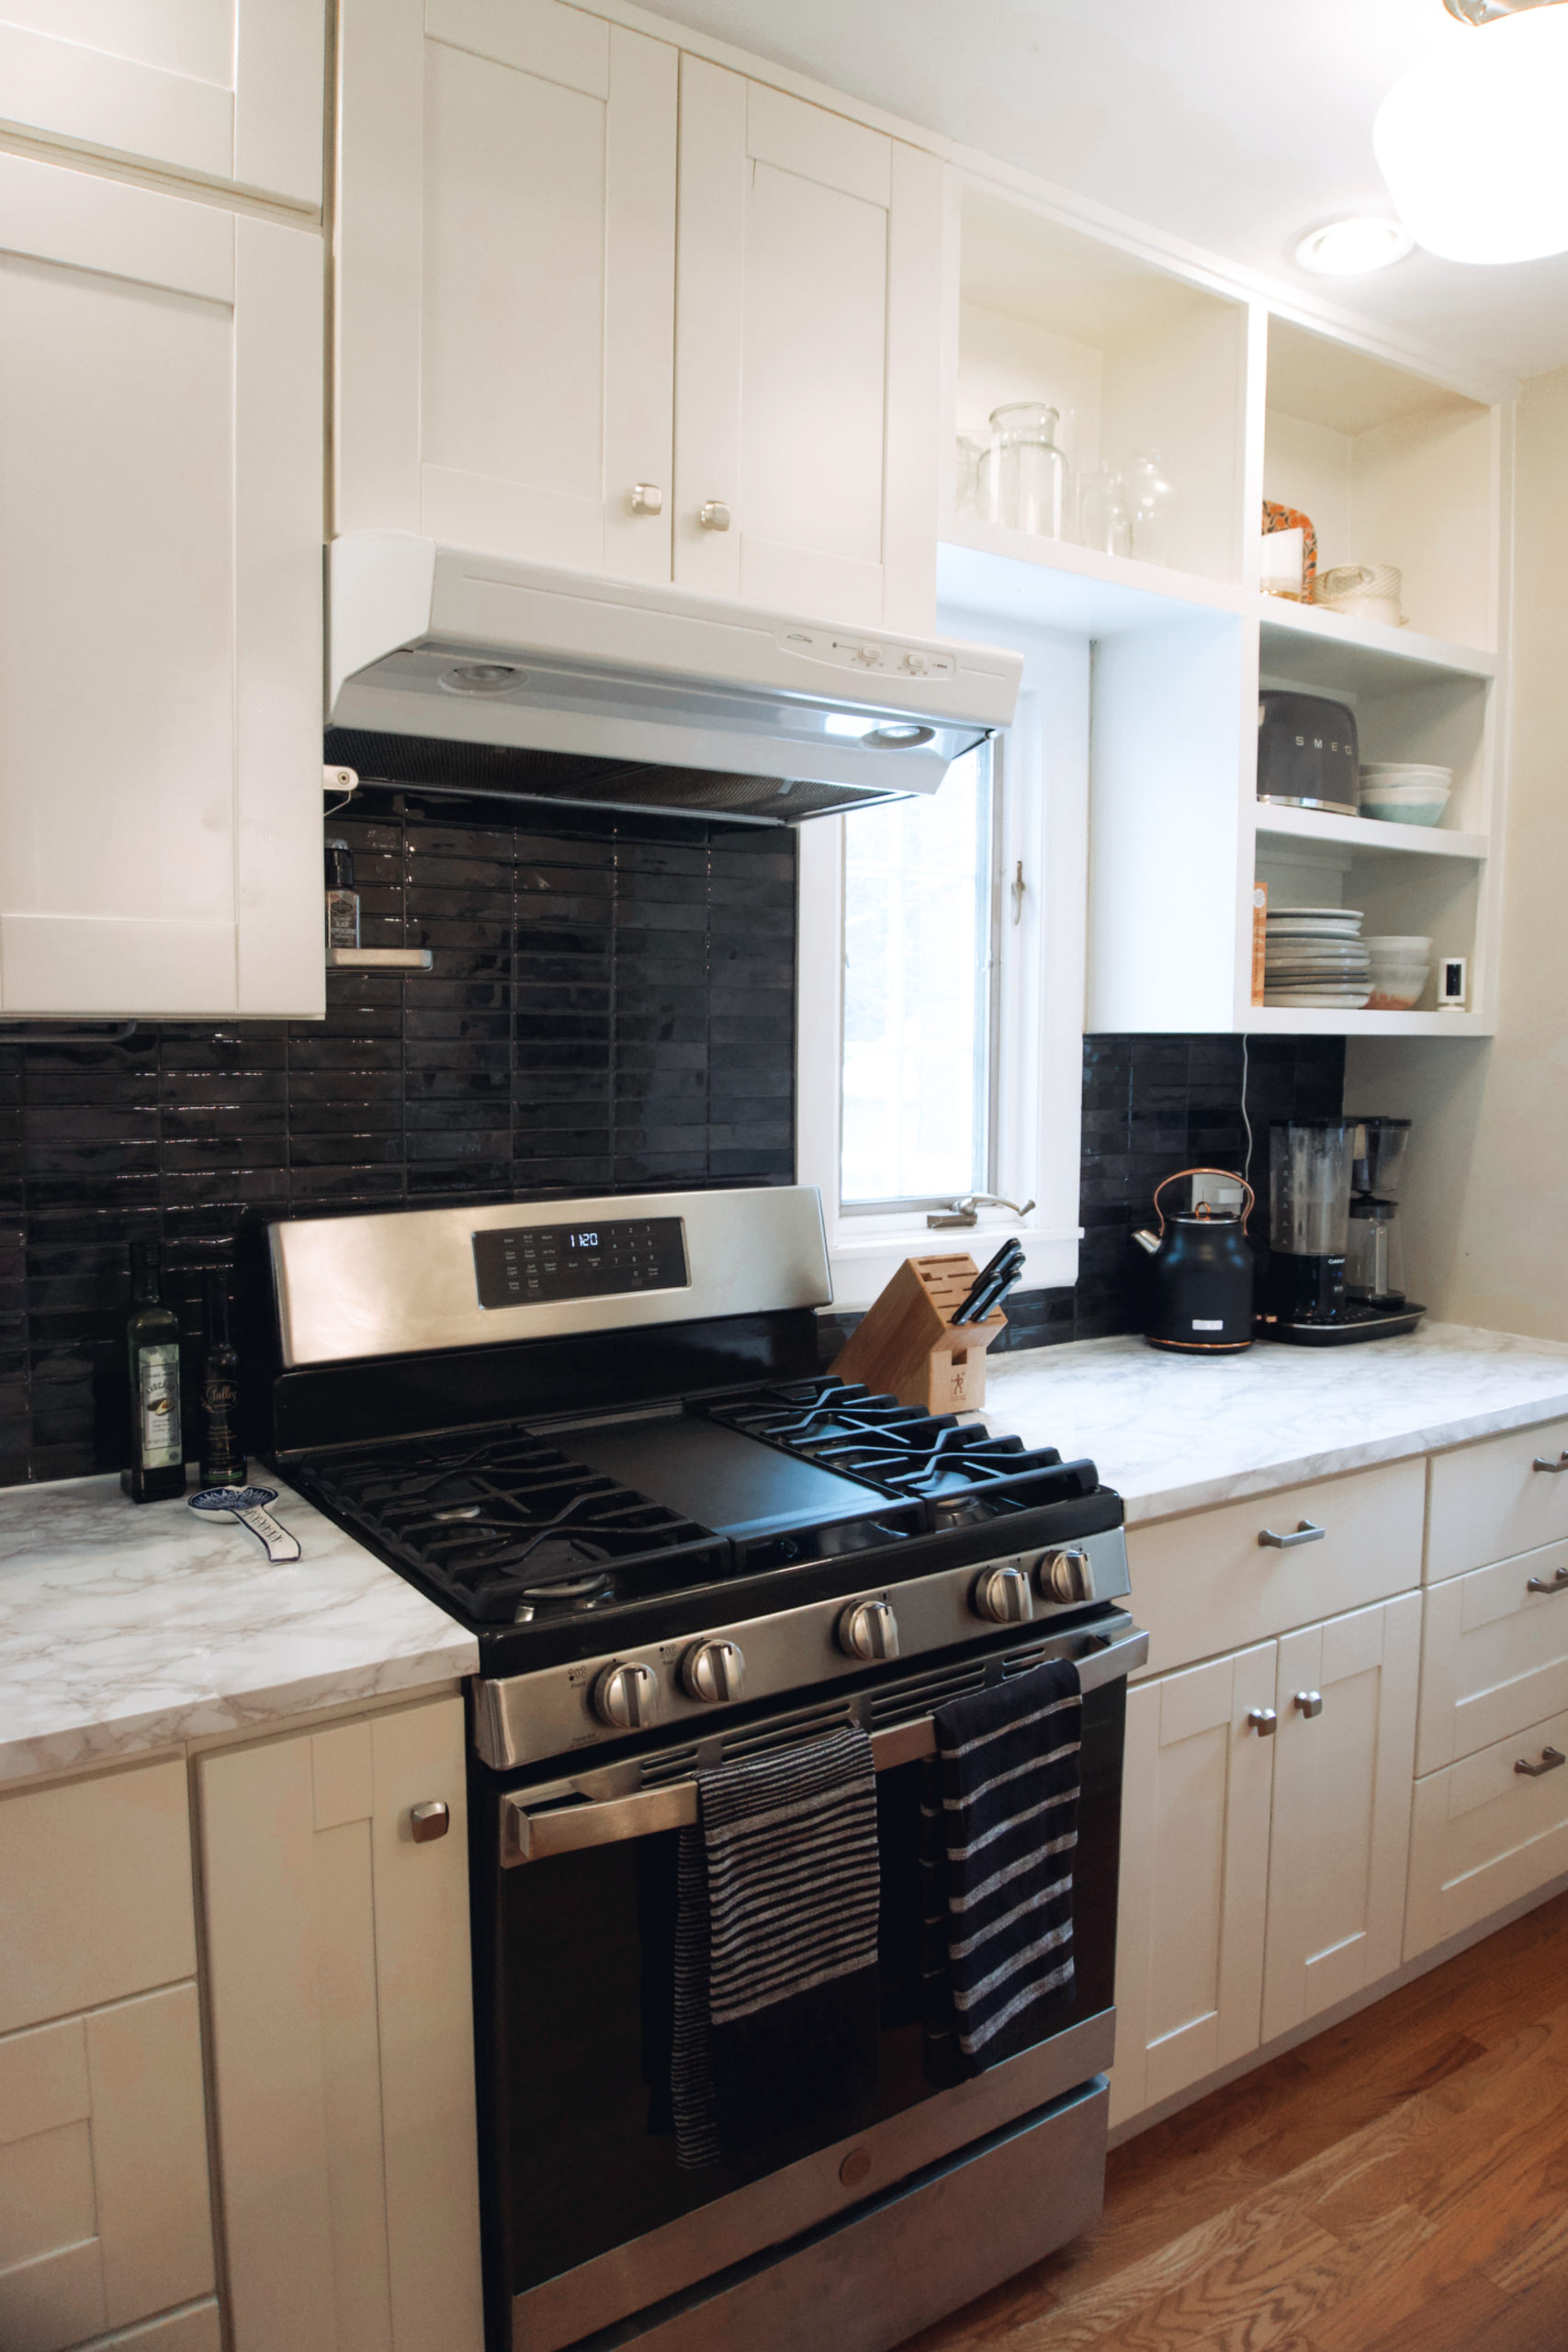
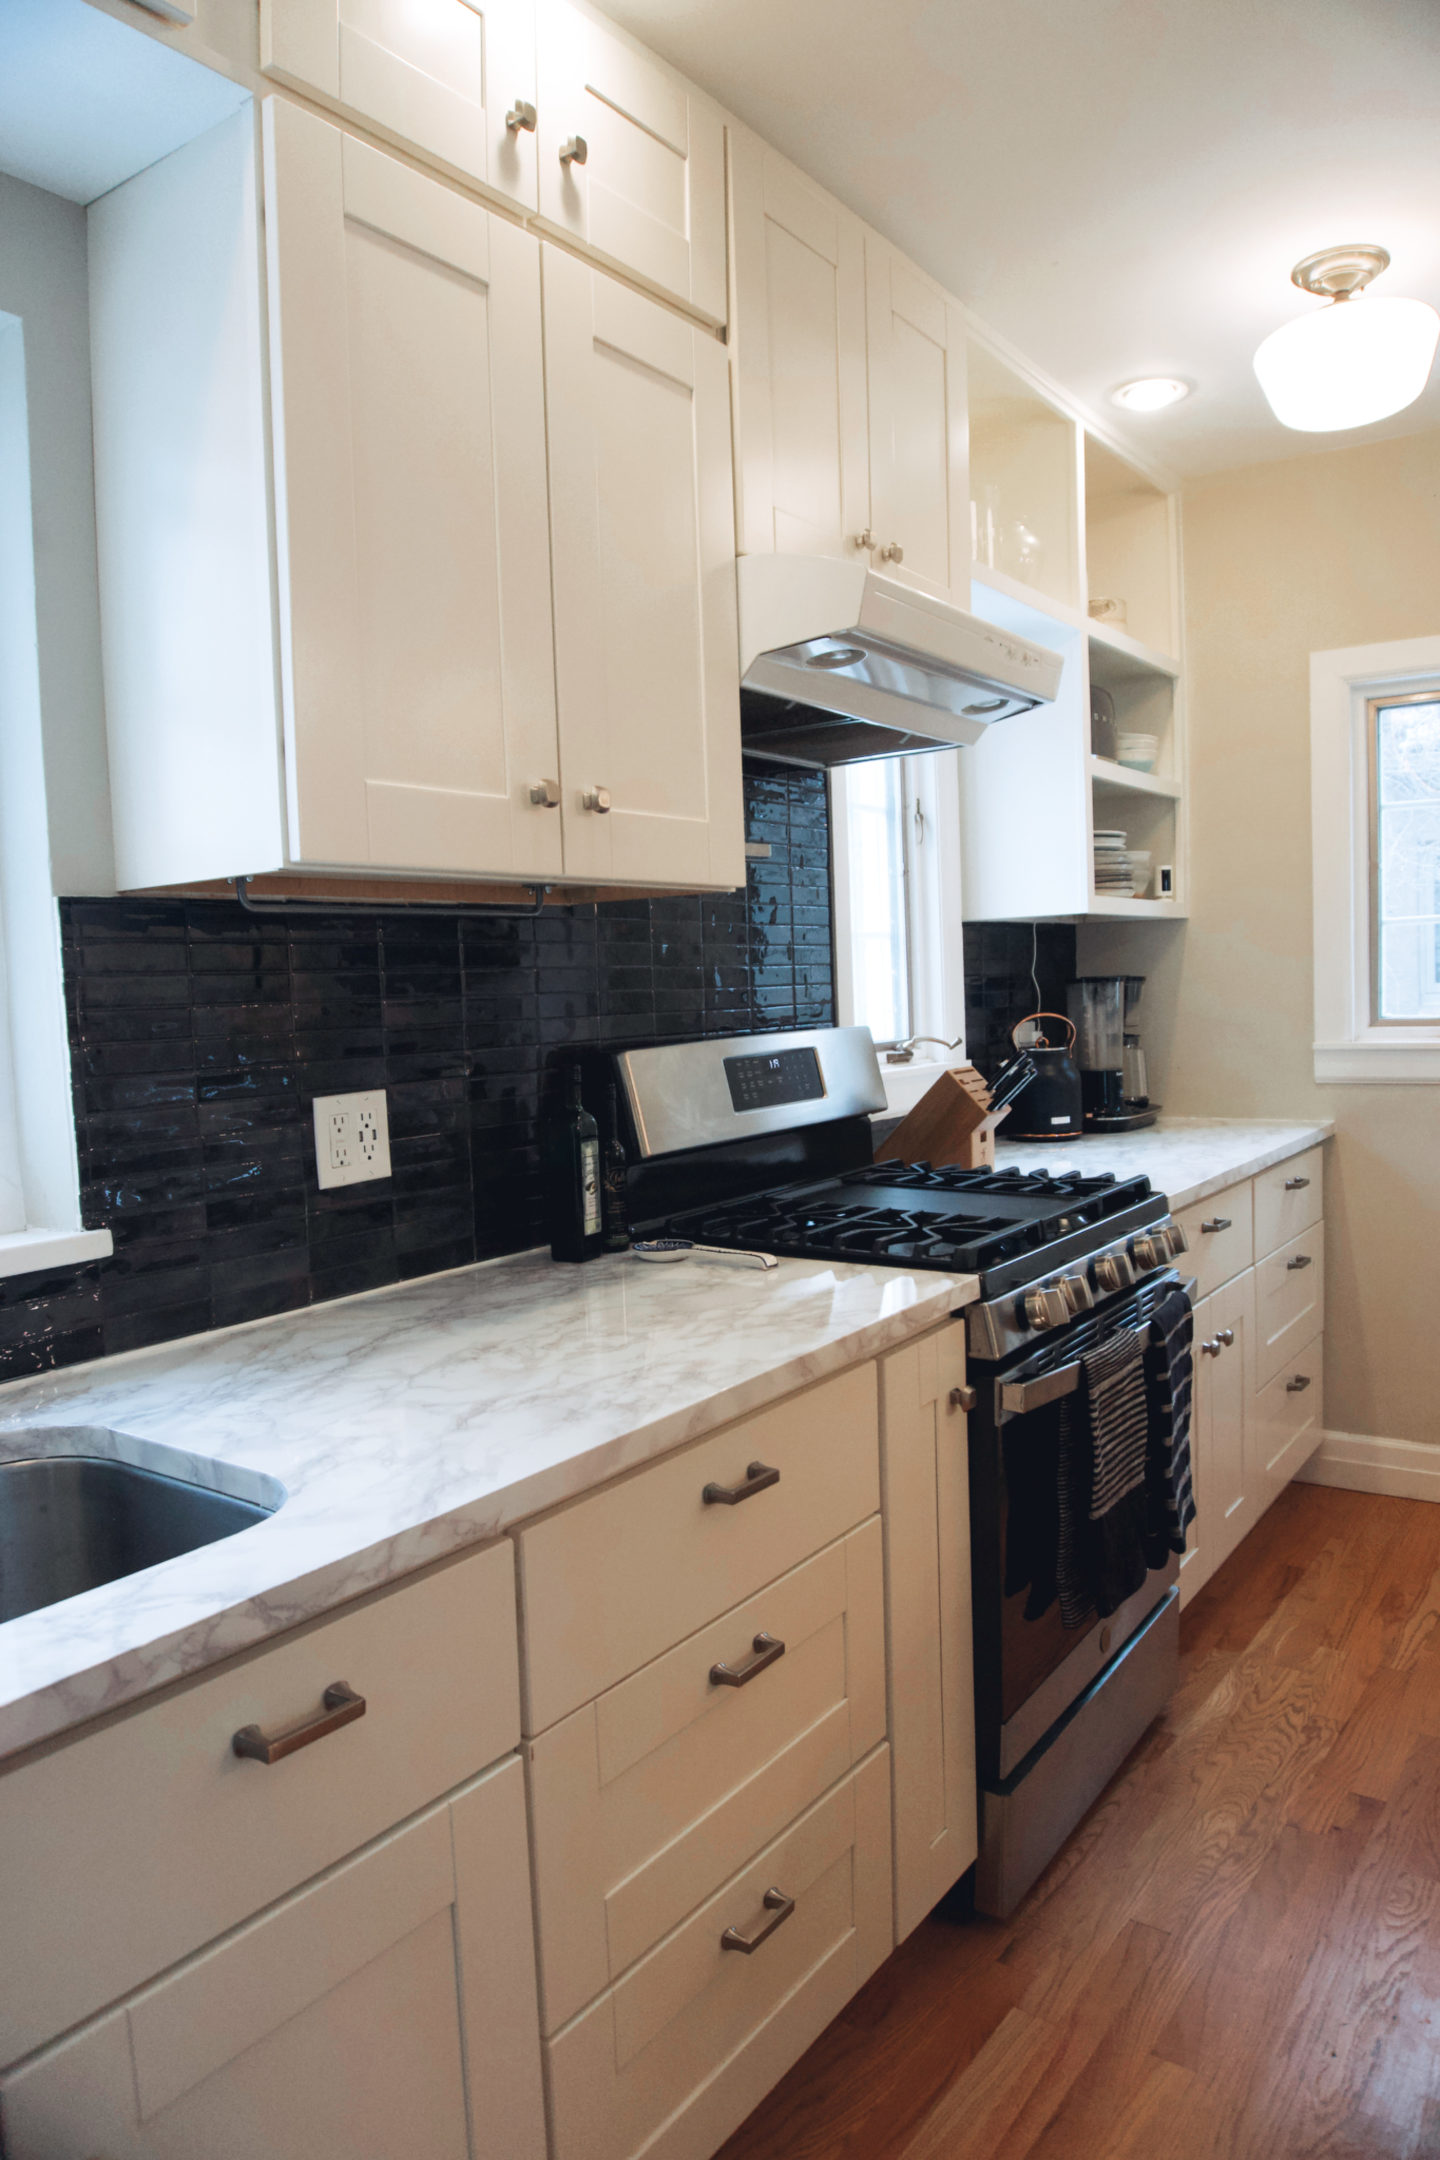
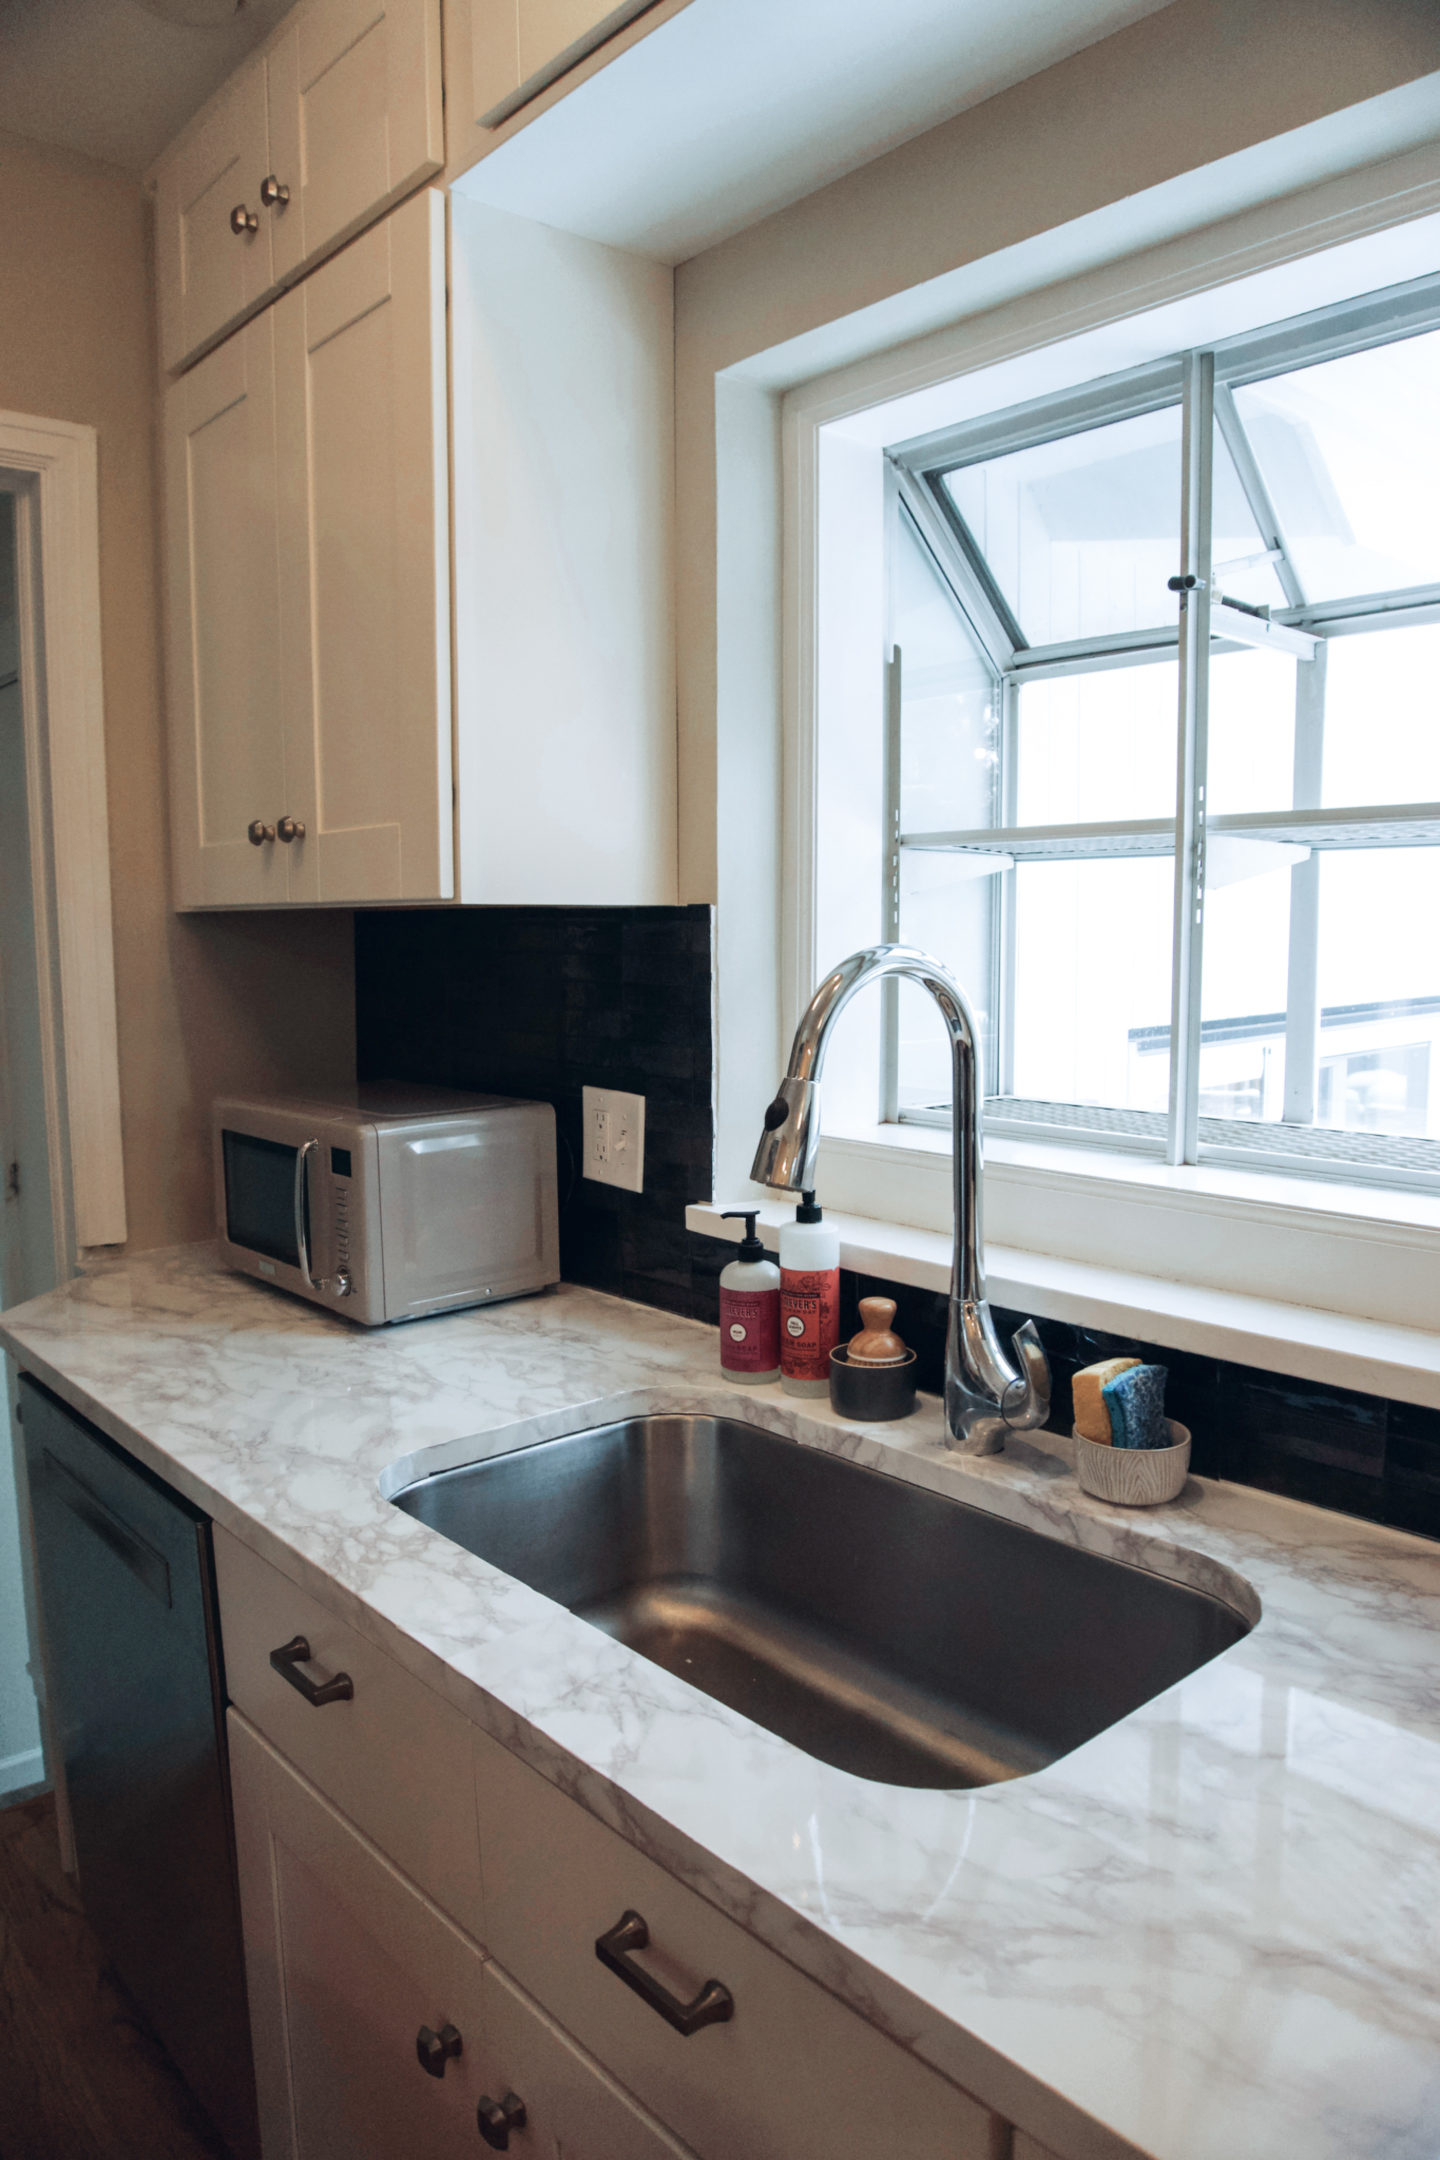
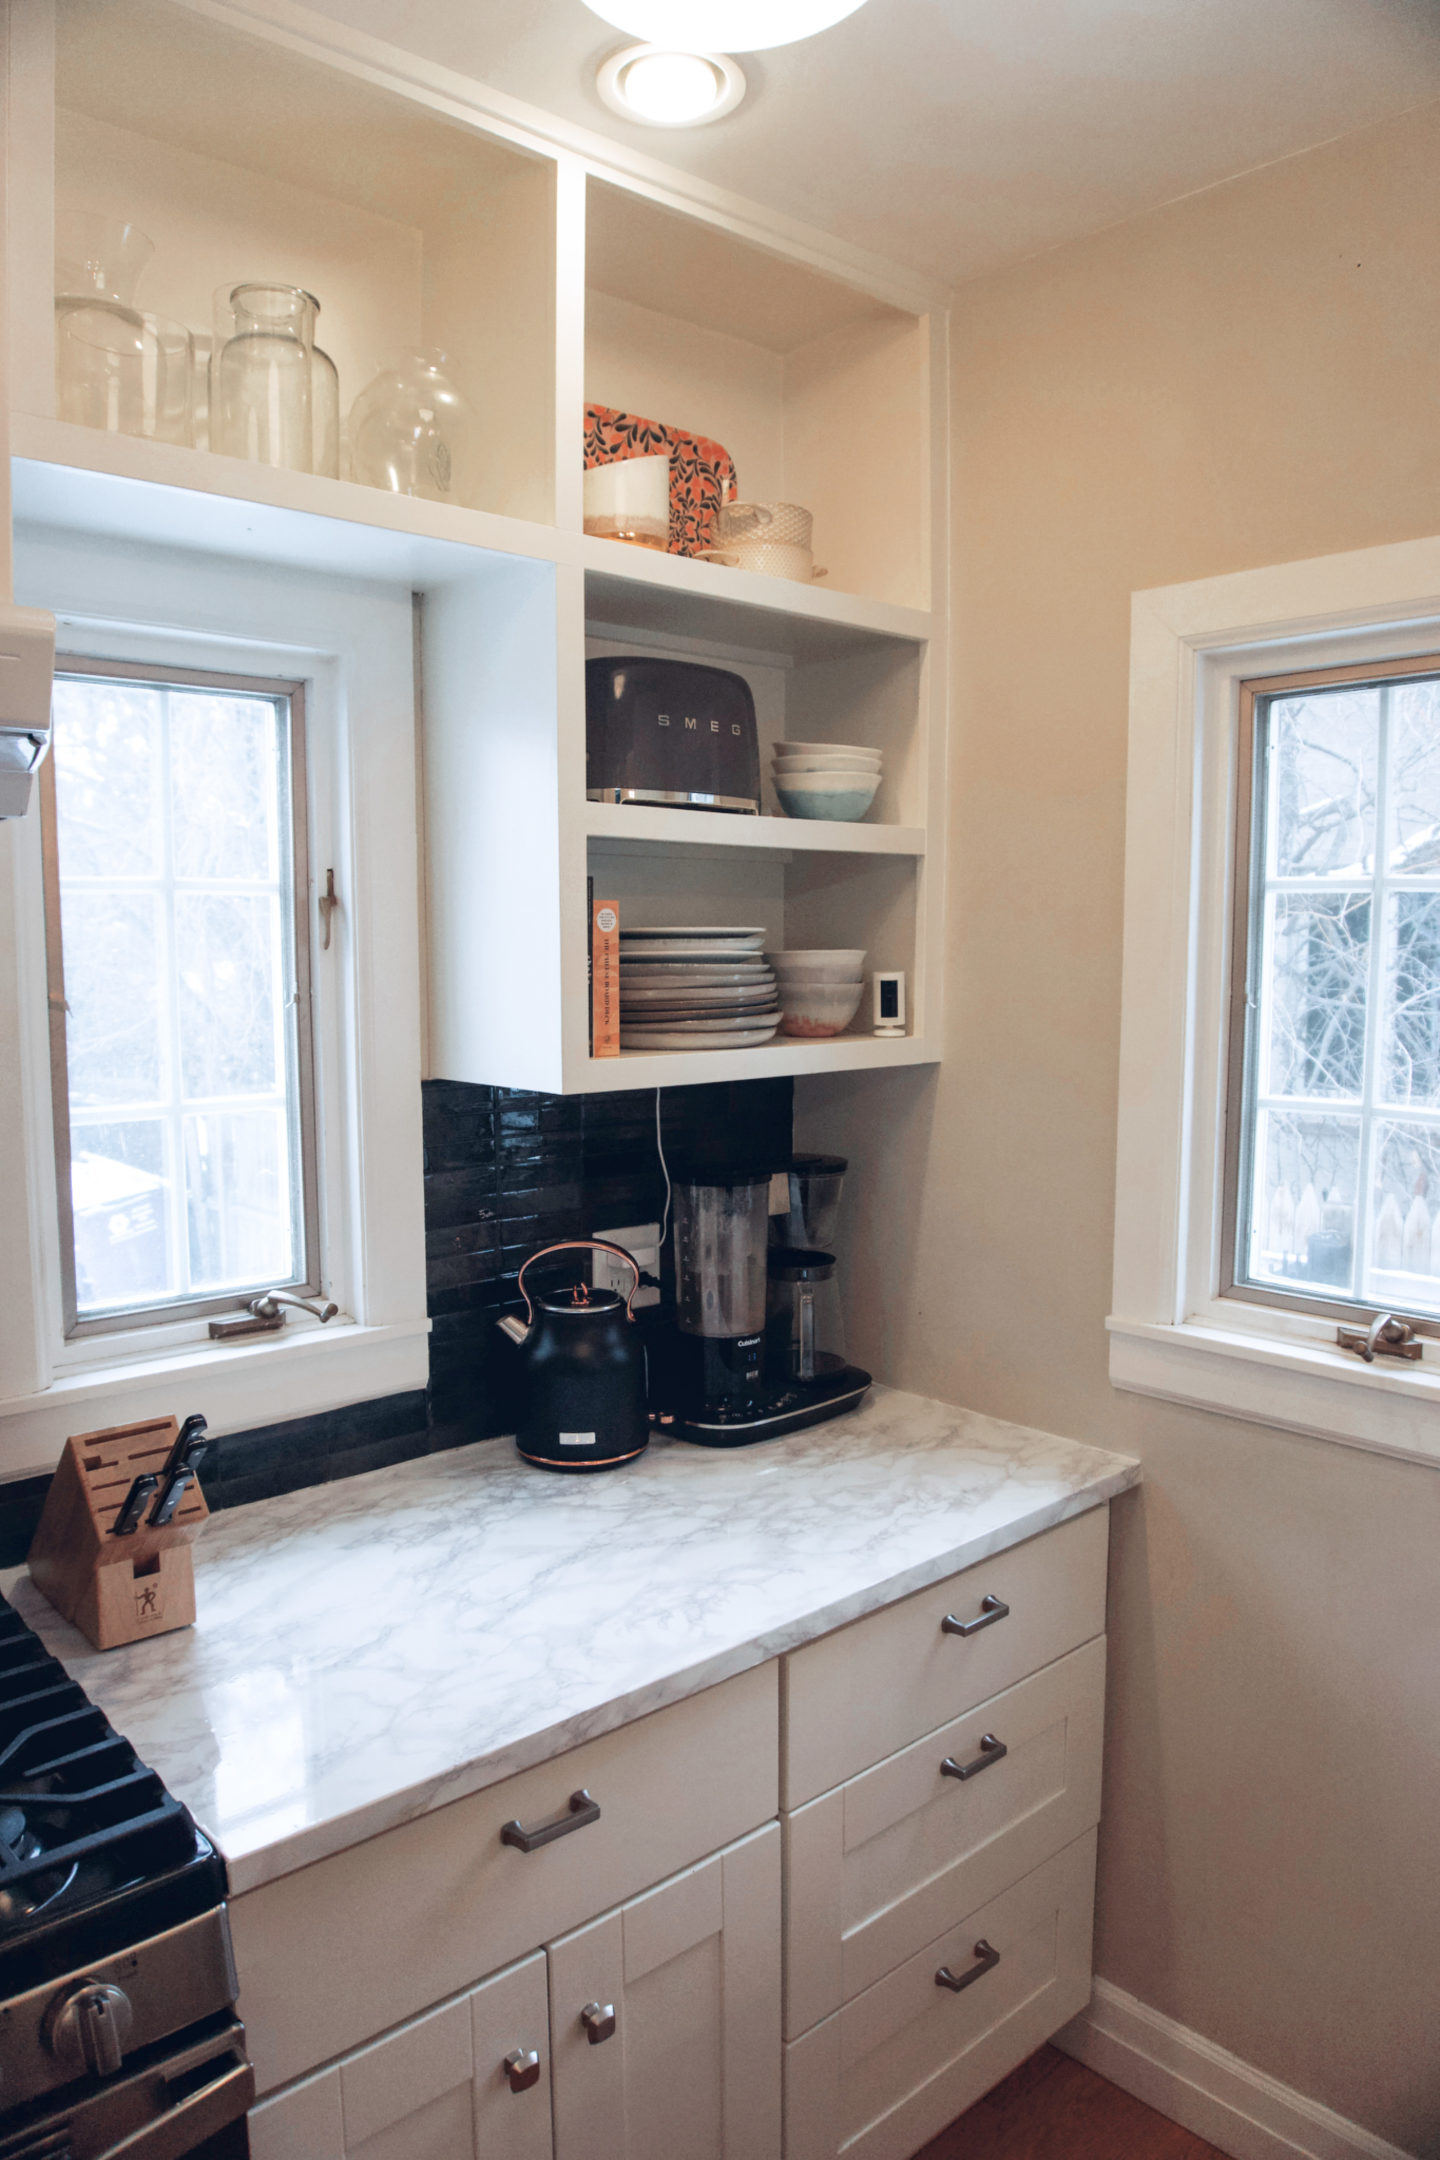
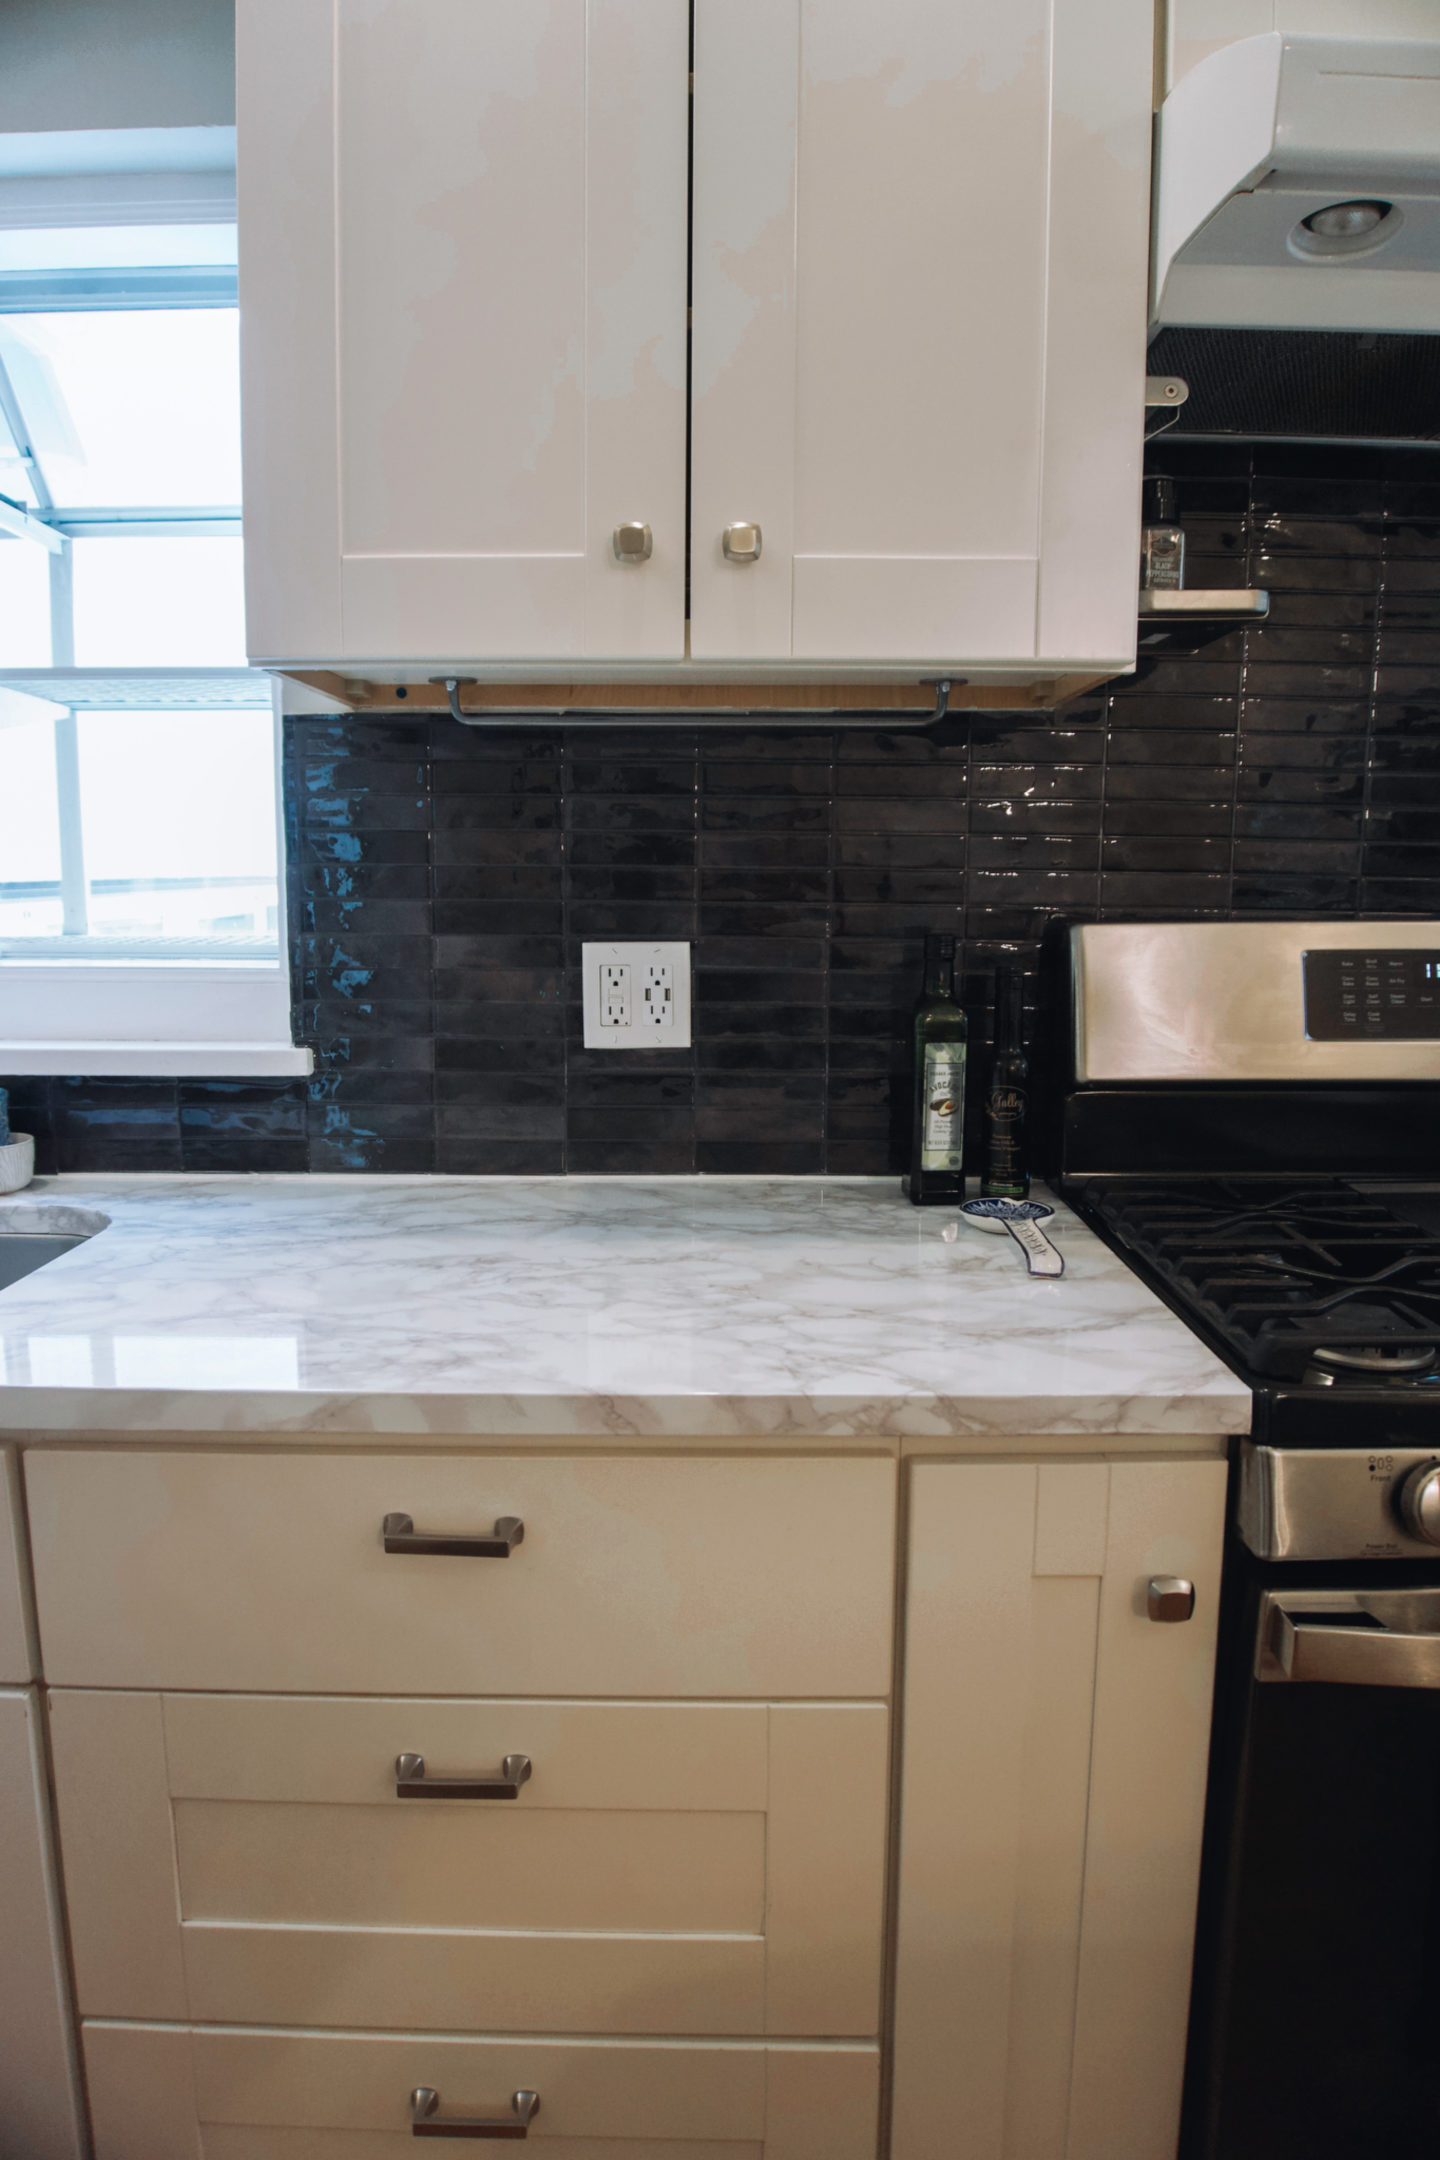
After
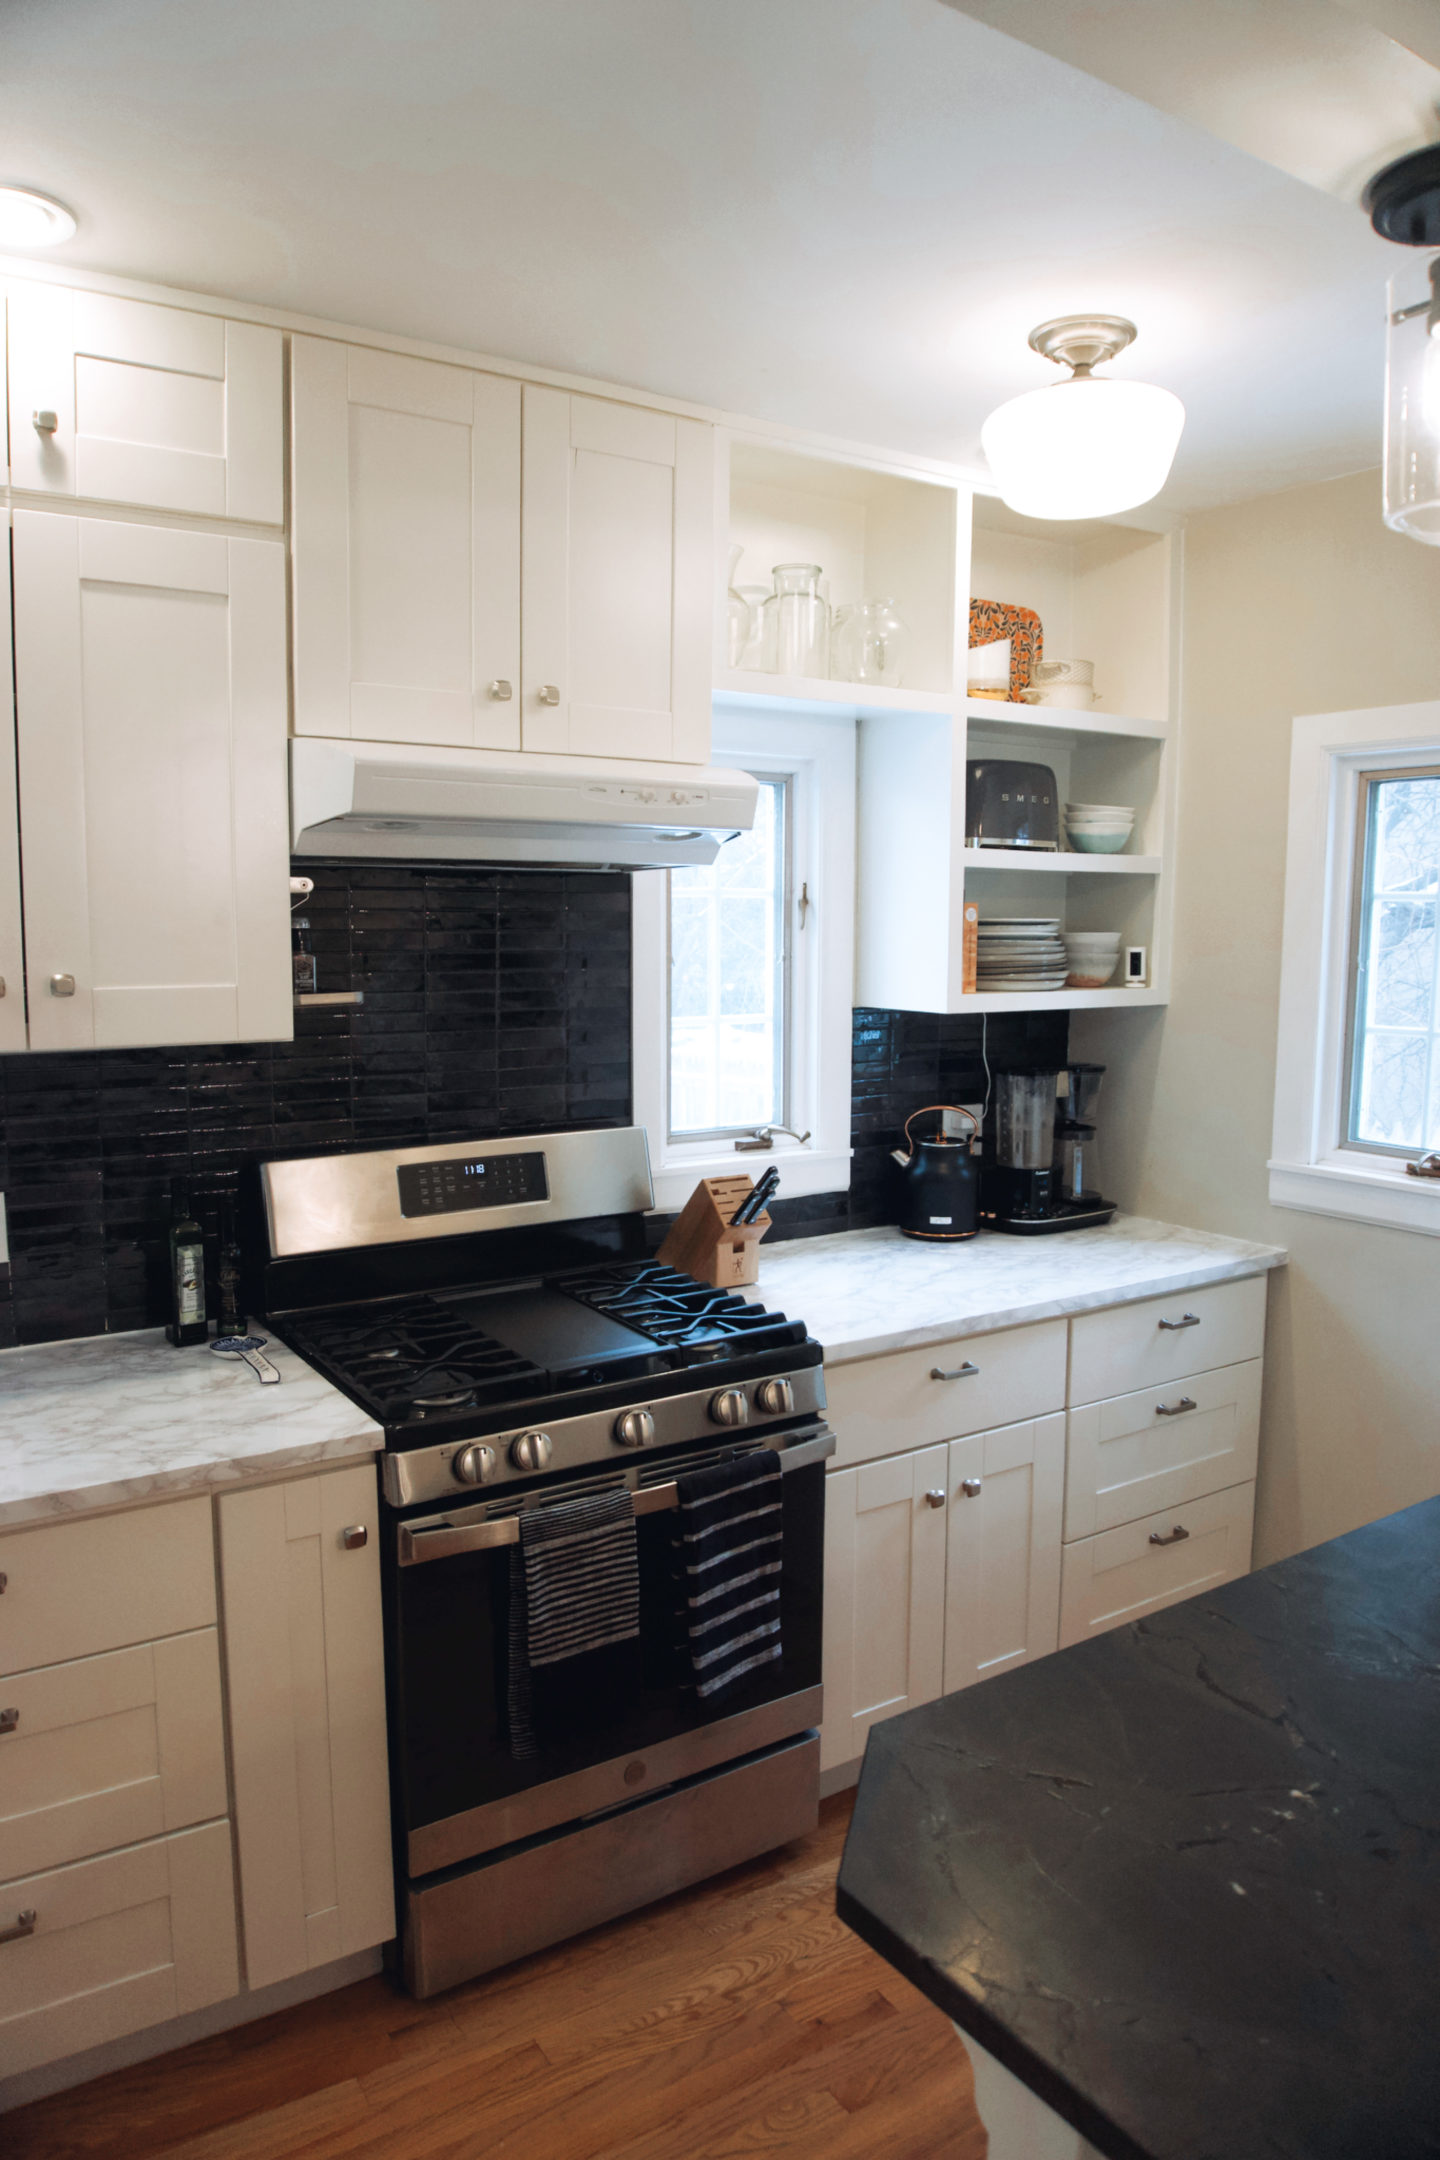


First up, vinyl contact paper.
I did a good amount of research on what kind of contact paper to use – I wanted to make sure it was durable and resistant, especially to water and heat. In the end, I bought this vinyl contact paper from Etsy. It had great reviews, looked very realistic (to marble), and was waterproof, heat, tear and stain resistant. Also, it doesn’t leave any residue when removed. I wasn’t as worried about this since we own our home, but definitely a bonus if we ever decided to remove it, and obviously a must-need for anyone renting!
As far as applying the contact paper goes, here are some tips:
-I recommend using two people if possible. One person rolls out the contact paper little by little and removes the backing to reveal the adhesive, while the second person presses the paper against the countertop. The contact paper we used came with a tool to smooth out the paper (but if you’ve ever applied peel & stick wallpaper, the application process is very similar).
-When you first get the roll of contact paper, roll it out and lay it flat if you can. I say this because when we got towards the end of the roll (where it was rolled tighter), it was harder for it to naturally lay flat on the counter so it was more susceptible to bubbling and creasing. So if possible, lay it flat a day or two before and you can even go ahead and cut it into the major sections/pieces you need ahead of time. (For example, we cut one piece for the far right side of the counter by the coffee maker, another piece to the right of the sink/left of the stove, etc. We didn’t cut these ahead of time, but you can cut ahead of time while the paper is laying flat if it makes it easier).
-For inside the sink, I cut separate longer, thinner pieces of contact paper. Some of the contact paper from the counter folded over into the inner rim of the sink but since the edges of the sink are curved it didn’t lay completely flat. So I cut out some of that contact paper, and then just added separate pieces over the area. I did the same for around the faucet. I actually cut out a circle using a Mrs. Meyers soap bottle and then used that so it was an exact circle around the bottom of the faucet.
-You’ll also want to make sure you have a hair dryer on hand. The heat from the hair dryer will help the contact paper adhere better to the countertop. Once we applied the contact paper, we took a hair dryer on high heat and just ran it back and forth across the countertop. The hair dryer also was super useful when it came to the contact paper adhering to the underside of the counter. We folded the paper over the edge but it wouldn’t really stick underneath but as soon as we put the hair dryer under it, it adhered right away. If you go to my “DEN kitchen” highlight on IG, I share more about it.
Okay, onto the peel-and-stick vinyl backsplash:
This is super easy to apply and only requires one person. There really isn’t any special trick to this (you don’t have to worry about it bubbling or creasing like the contact paper), you literally just peel and stick lol. I would just order a few extras because you’ll need to cut some to fill in random gaps around outlets, etc. You can always return what you don’t use.
In general, I really like the brand we used. It comes in several colors and tile shapes, they offer a lifetime warranty, the sheen looks very realistic, and it’s mildew and heat resistant. Bonus – it’s women founded!
Last but not least, the caulk:
This is optional. I basically just did caulk around the edges of the wall and contact paper and between the contact paper and vinyl tiles. This does help really seal everything together but I wasn’t really worried about the tile or paper peeling up – I did this more so to help it look more “complete” and “finished”. The caulk was a little messy, but after doing a thicker line along the base, I took a damp towel along the edges to clean it up.
If you have any questions, comment below or ask on this reel. You can shop for everything I used in the kitchen here and if you want to see the full kitchen remodel we did in our NC house you can see that here (Ps. Scissors are fine to cut the vinyl paper and tiles)!


")


comments +