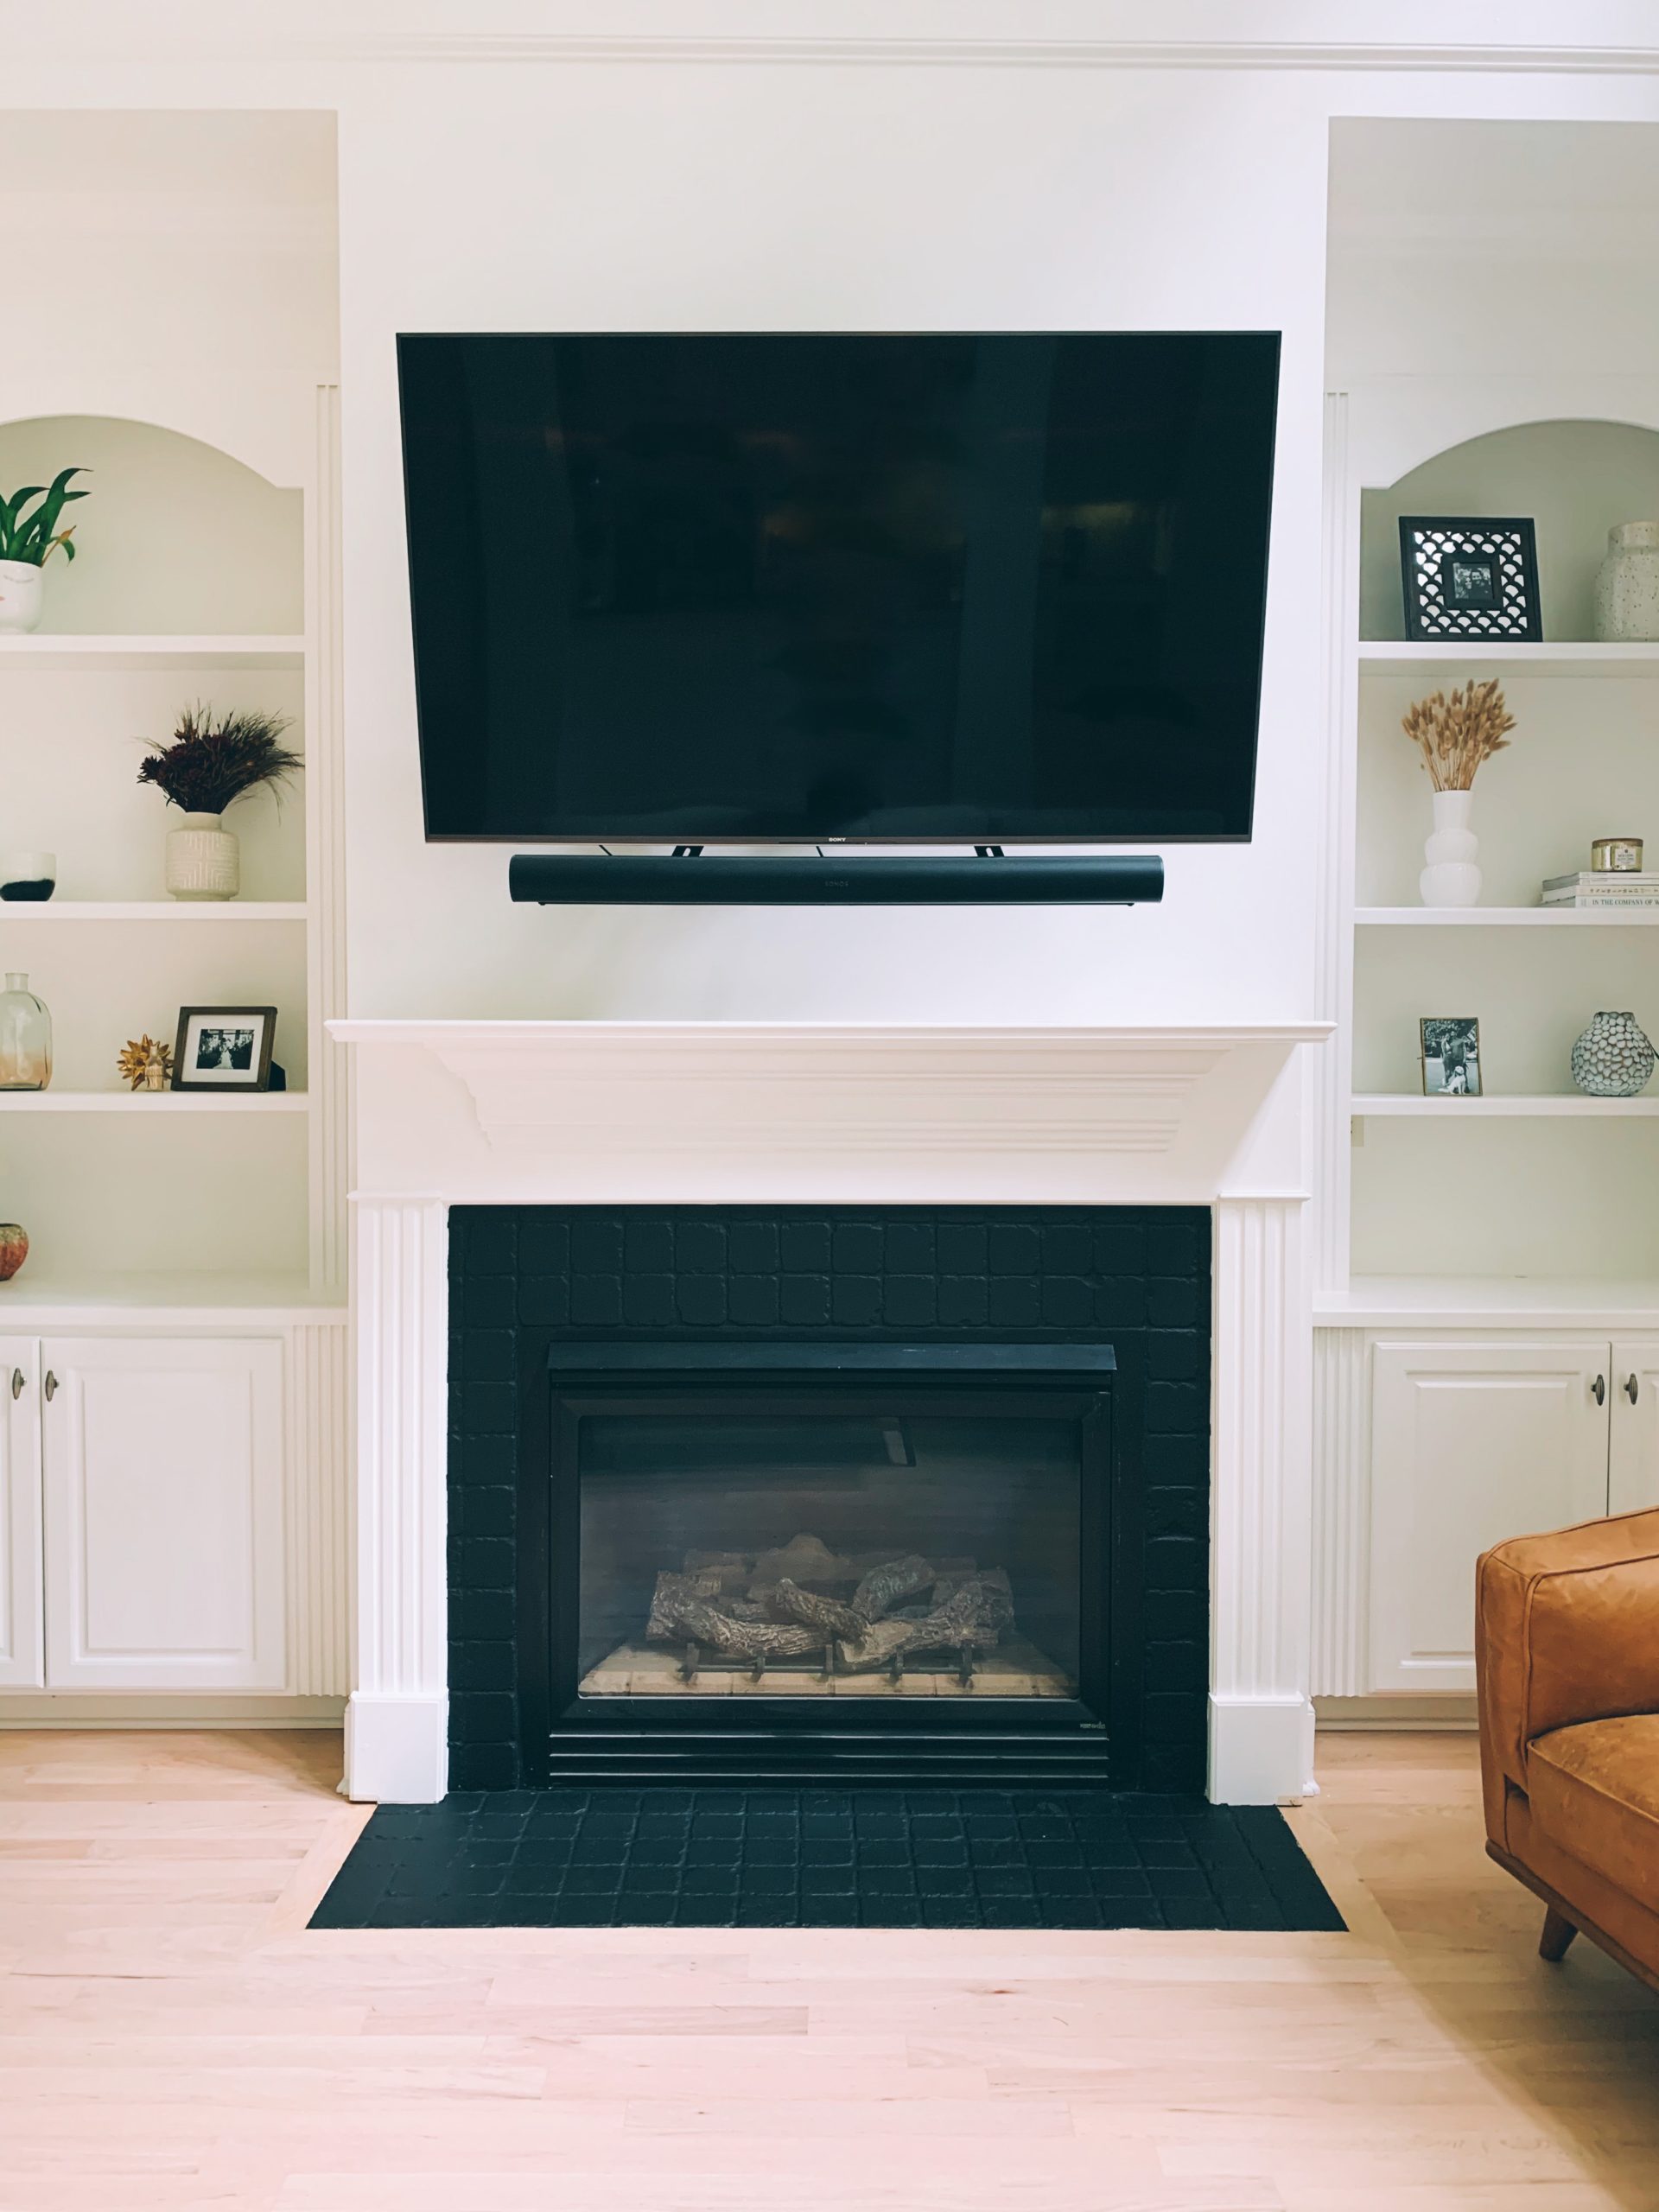
Hi guys! I wanted to go ahead and share the few easy steps it took to transform our fireplace! As a lot of you probably know, I hated the tile we had and once our staircase and floors were refinished (blogs on those projects coming soon), the fireplace just stuck out like a sore thumb. I mean, luckily it was neutral but still! Hated. It. I started doing research on what it would cost to retile the fireplace and it wasn’t too terrible (the quote I got was $750 not including the actual tile). But then, several of you suggested to me over IG stories that I should paint it. That way I could save some money but I could also see what it would look like a darker color in the event that I had it re-tiled with a black tile and hated it. This seemed like a win-win scenario so I started researching how to paint your own fireplace.
As you can imagine there are a lot of blogs and websites out there that share what they went through. After reading through several, TBH I kind of pick and chose what sounded actually necessary LOL. For example, some blogs suggested to sand down the tile first while others totally skipped that step. I figured the less steps the better, so I chose to just skip it haha. So I’m going to go ahead and share the steps that I did, and feel free to read other blogs as well but these steps seemed to have worked just fine for my fireplace and it was so easy!
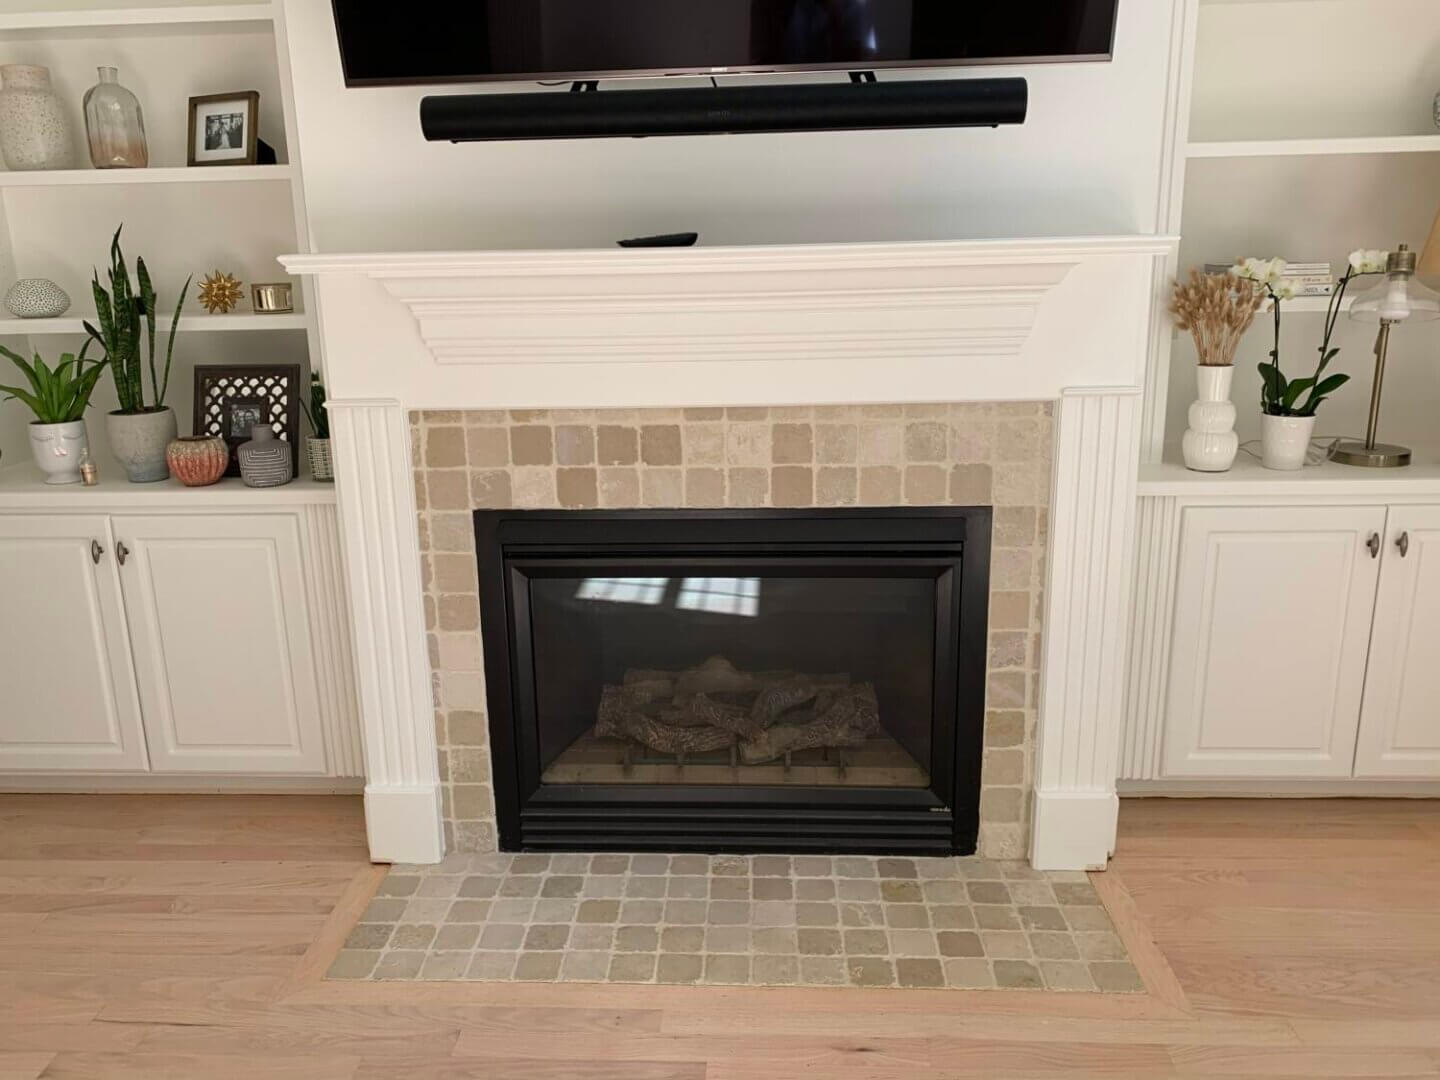
Fireplace before
Okay, so first this is what you’ll need:
-Gloves (Just get some disposable medical vinyl or latex gloves.
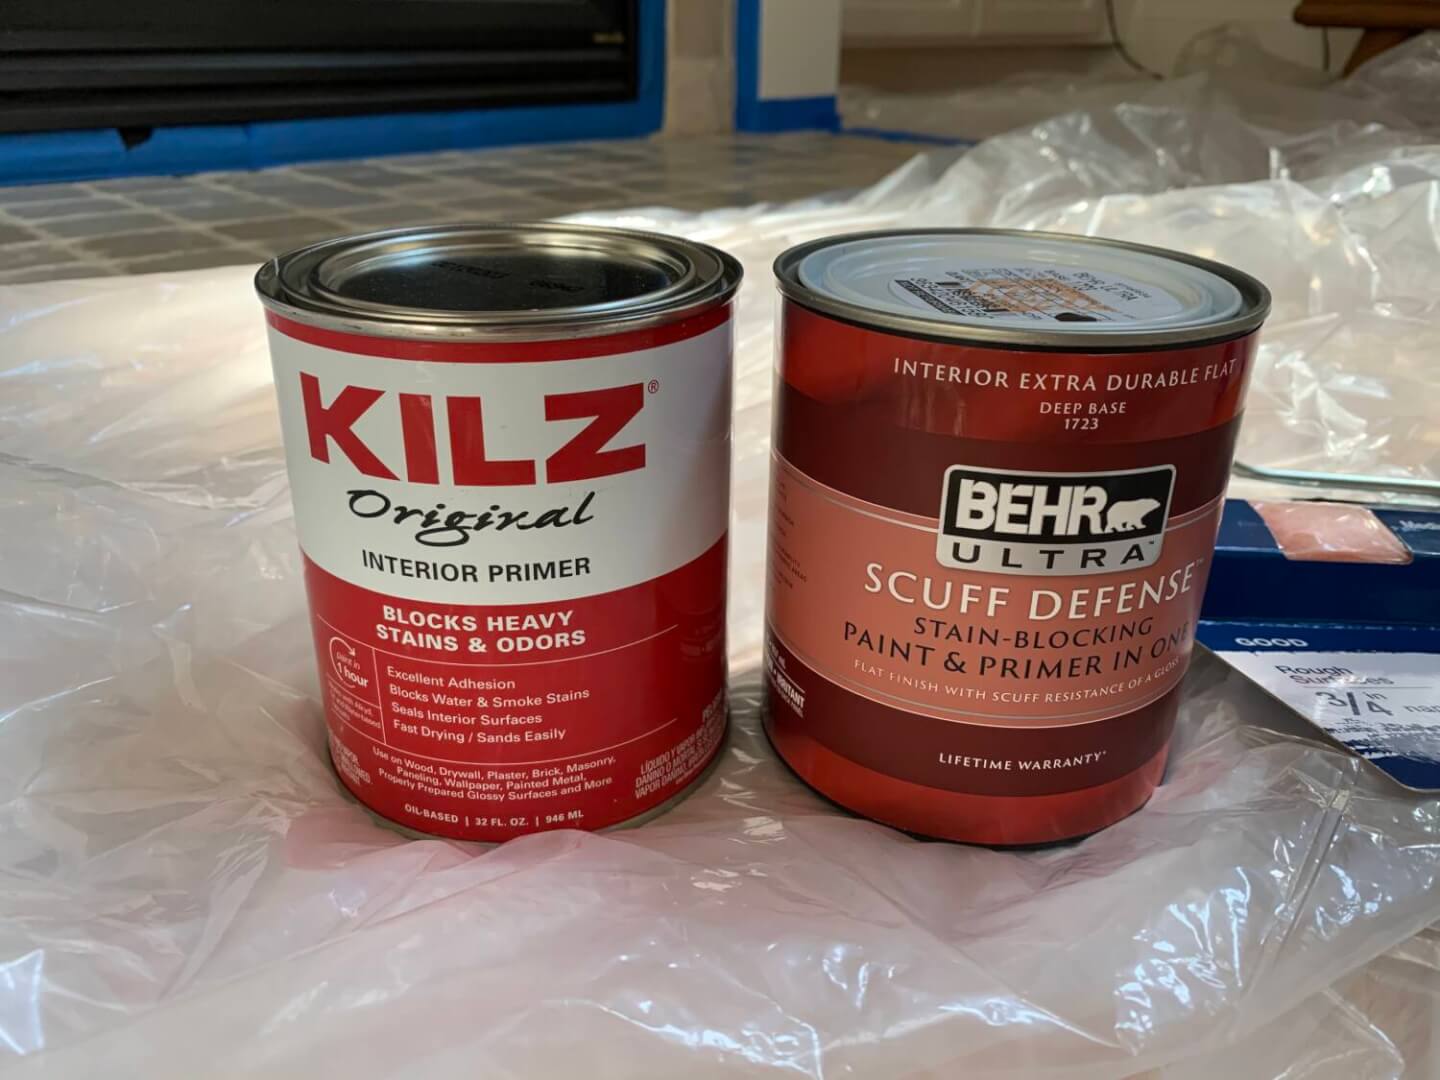
-Interior Primer (I used this one from Home Depot but they also sell it on Amazon).
-Indoor latex paint. For this one, as long as you’re just painting around the outside of the fireplace, an indoor latex paint is fine according to all my research and a phone call with someone as Sherwin Williams LOL. If you’re painting the actual inside of the fireplace that is a different story and I can’t really help you there lol. If you are going to paint yours black though, make sure you get a TRUE black. Don’t try to pick a slightly different shade because it can end up looking more grey or blue once in home home. I went with Behr in Black in a flat/matte finish. The woman at Home Depot said don’t use Behr Marquee because it can show roller stains sometimes.
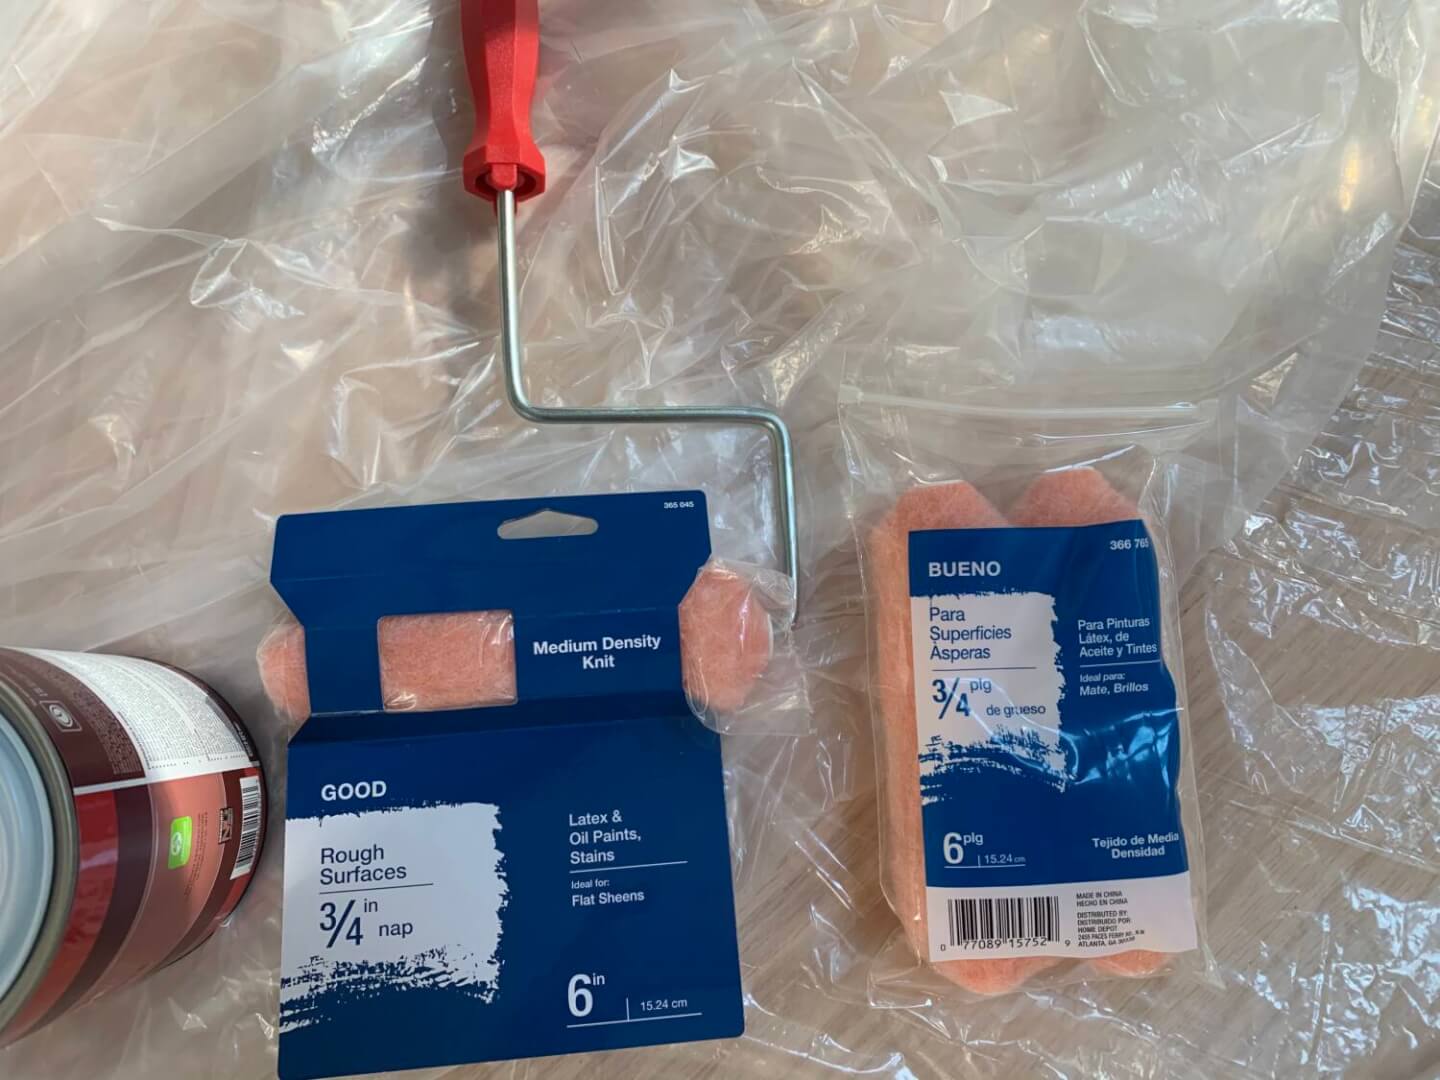
-Paint roller (I got one that said best with matte & flat paint and rough surfaces and then just got an extra roller to swap out after applying the primer).
-2 Paint roller trays (one for primer & one for interior paint)
-Paint tarp
-Painter’s tape
Purchasing all this cost right around $45 –way better than $750!
- Paint used
- Rollers I got
So the first thing you want to do is clean the tiles. I just used a rag and some warm water and dish soap. Nothing fancy. I then just went back over it with a rag with water only. Then let it dry. Once dry you’re ready to tape!
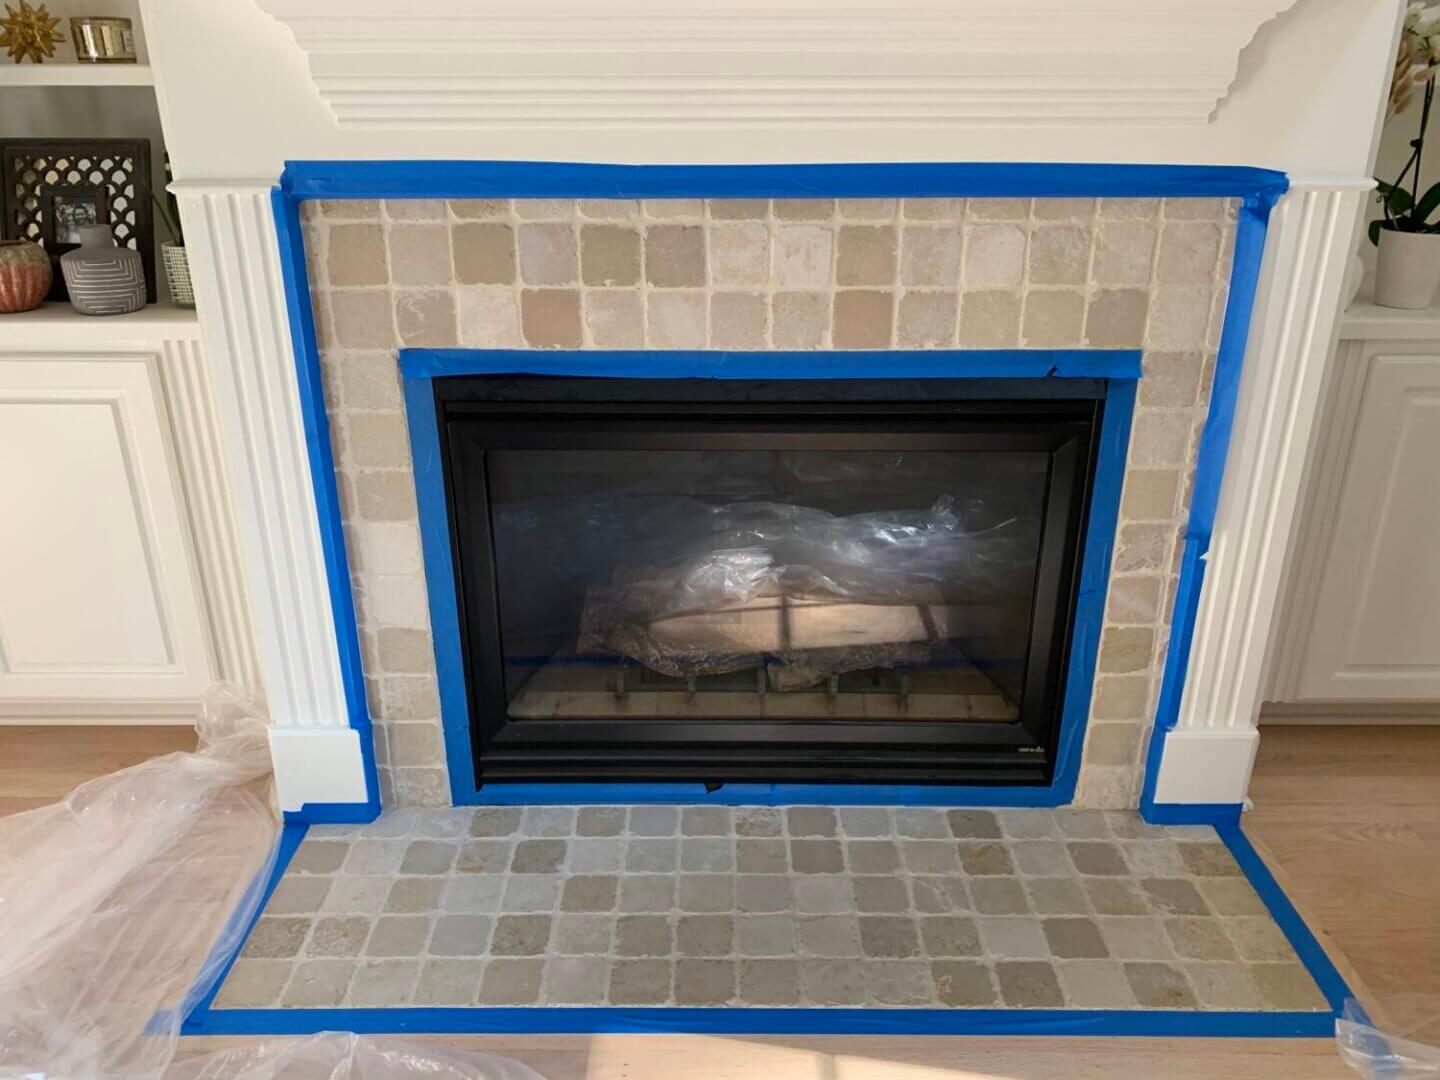
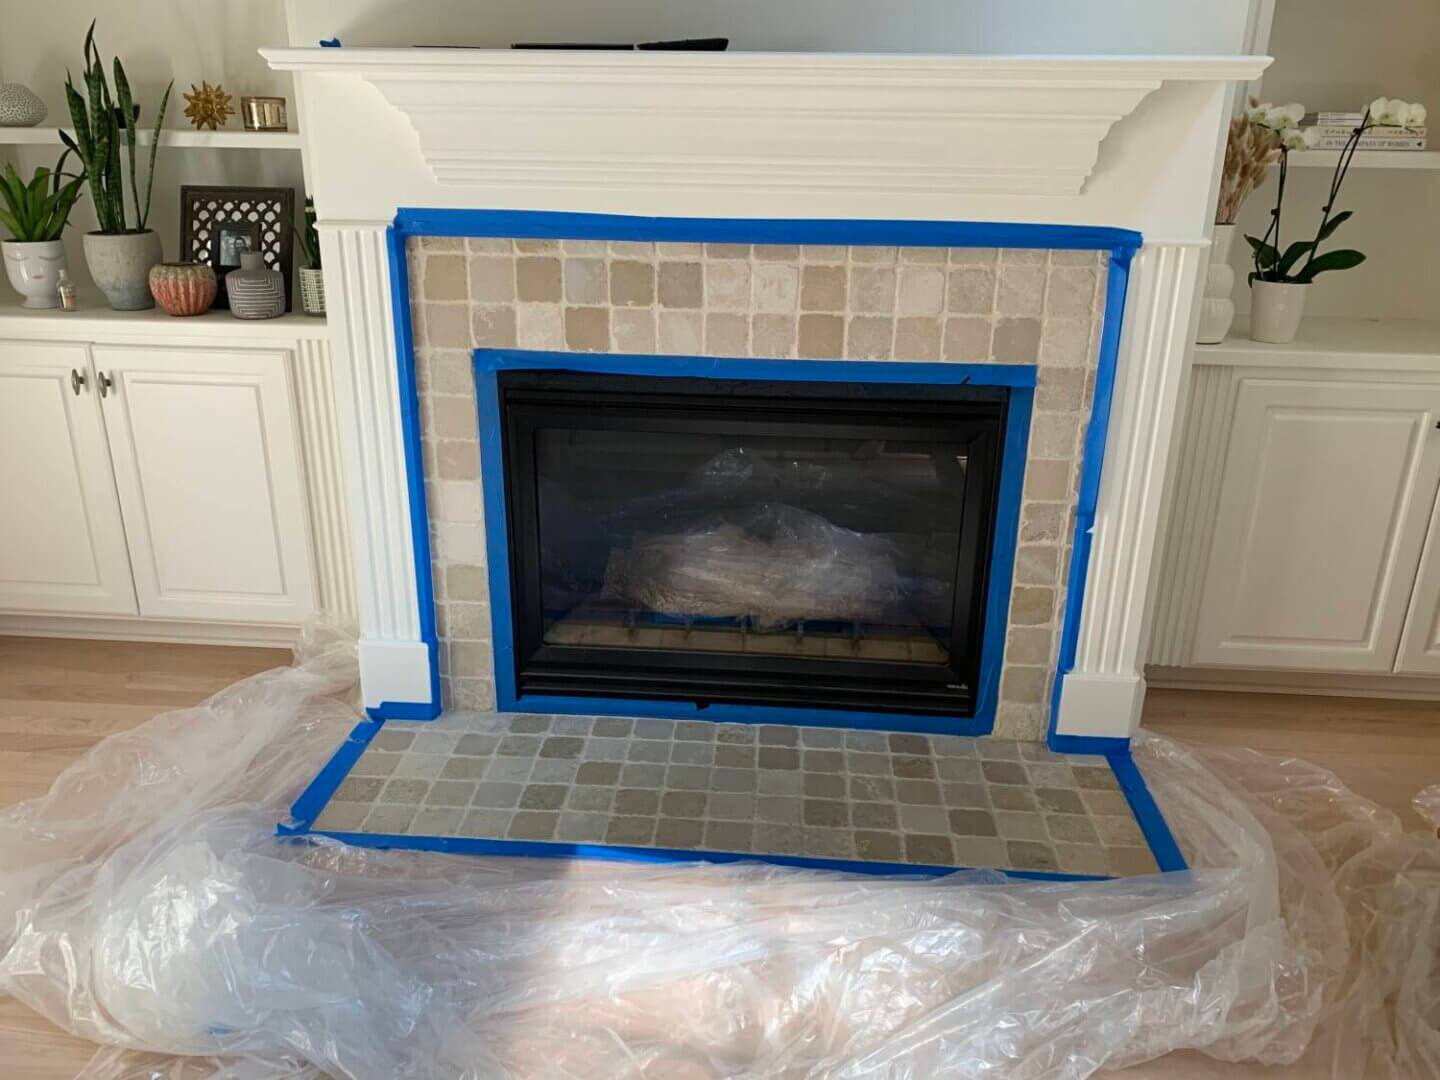
I taped the entire fireplace and then put the tarp along the tape on the hearth, and then taped the tarp down along the edges. I felt like this way there wasn’t any chance of the paint getting on the wood floors.
- First step of taping
- Taping to add tarp
Before moving onto the primer step, there is one thing I should mention about taping. When I started priming the tile that runs along the top of the fireplace, some of it splattered onto the top vents. I ended up adding tape to cover all the vents so if there was any residual primer or paint it wouldn’t get on the actual fireplace. You can see where I added it in the next photo. But moving on. Once you’ve taped you can apply your primer. Just try to coat it evenly and then give it about 30 minutes to dry. I put a fan in front of the place to speed it up but the primer and the interior paint layers dried much quicker in between coats than I thought.
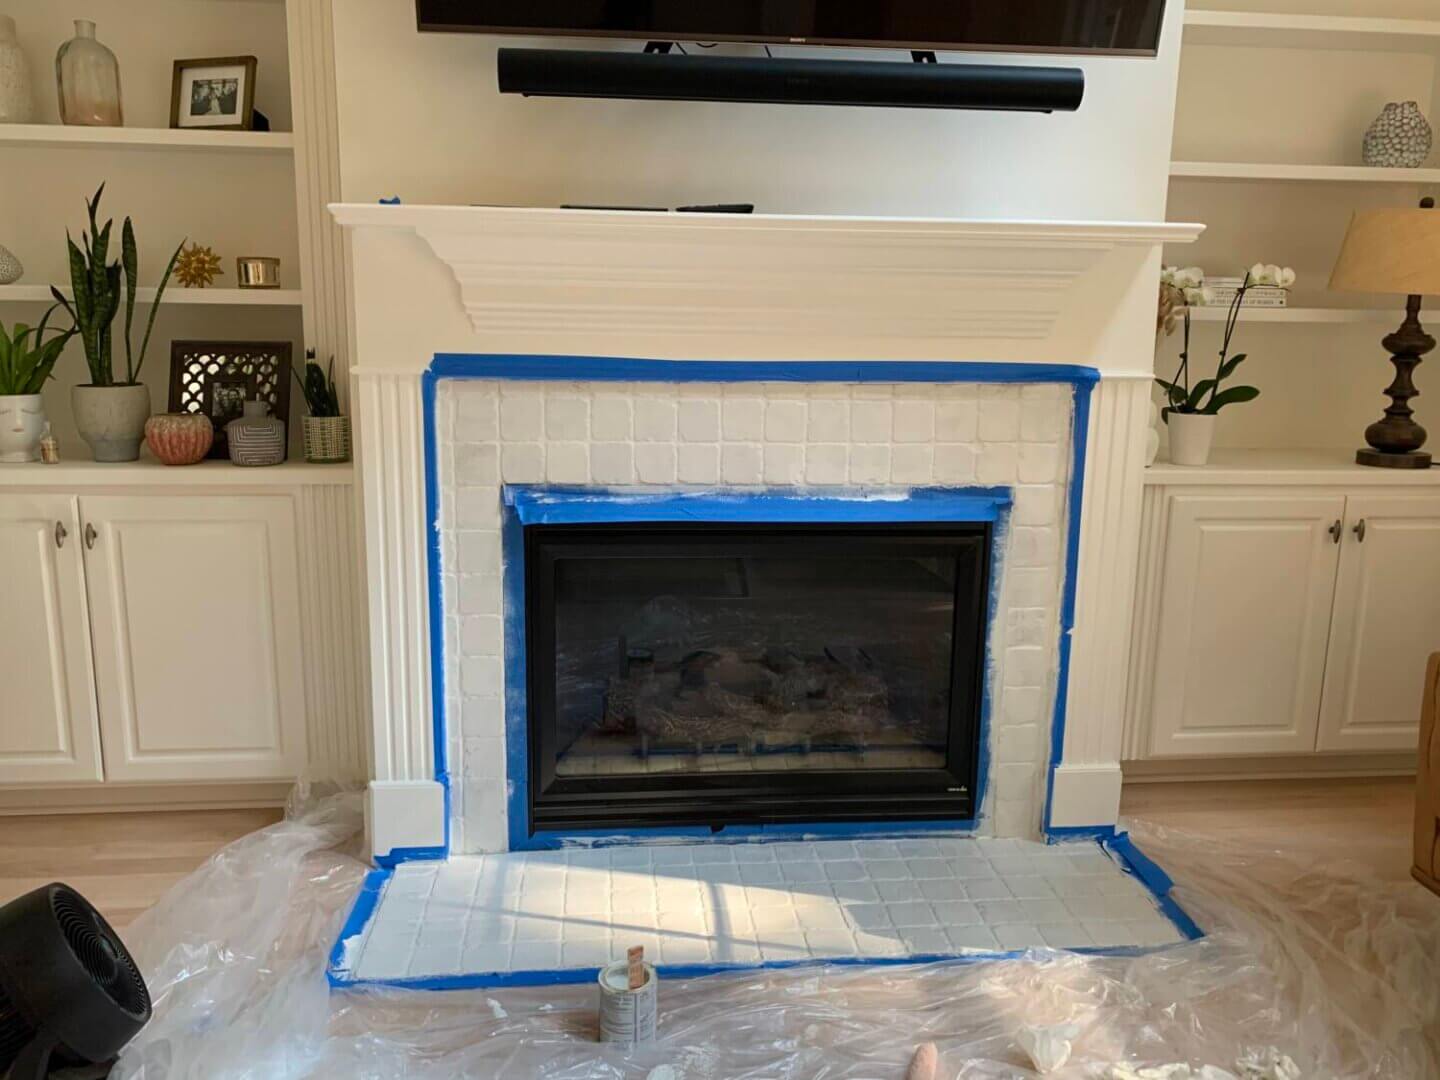
Once the primer is dry, you’re ready to apply the interior paint. I switched out the roller to a fresh one and then did 2 coats of the black (letting it dry in between coats). 2 coats seemed more than adequate but you may want to do a third if you’re using a lighter color. But that is something you can judge after each coat dries!
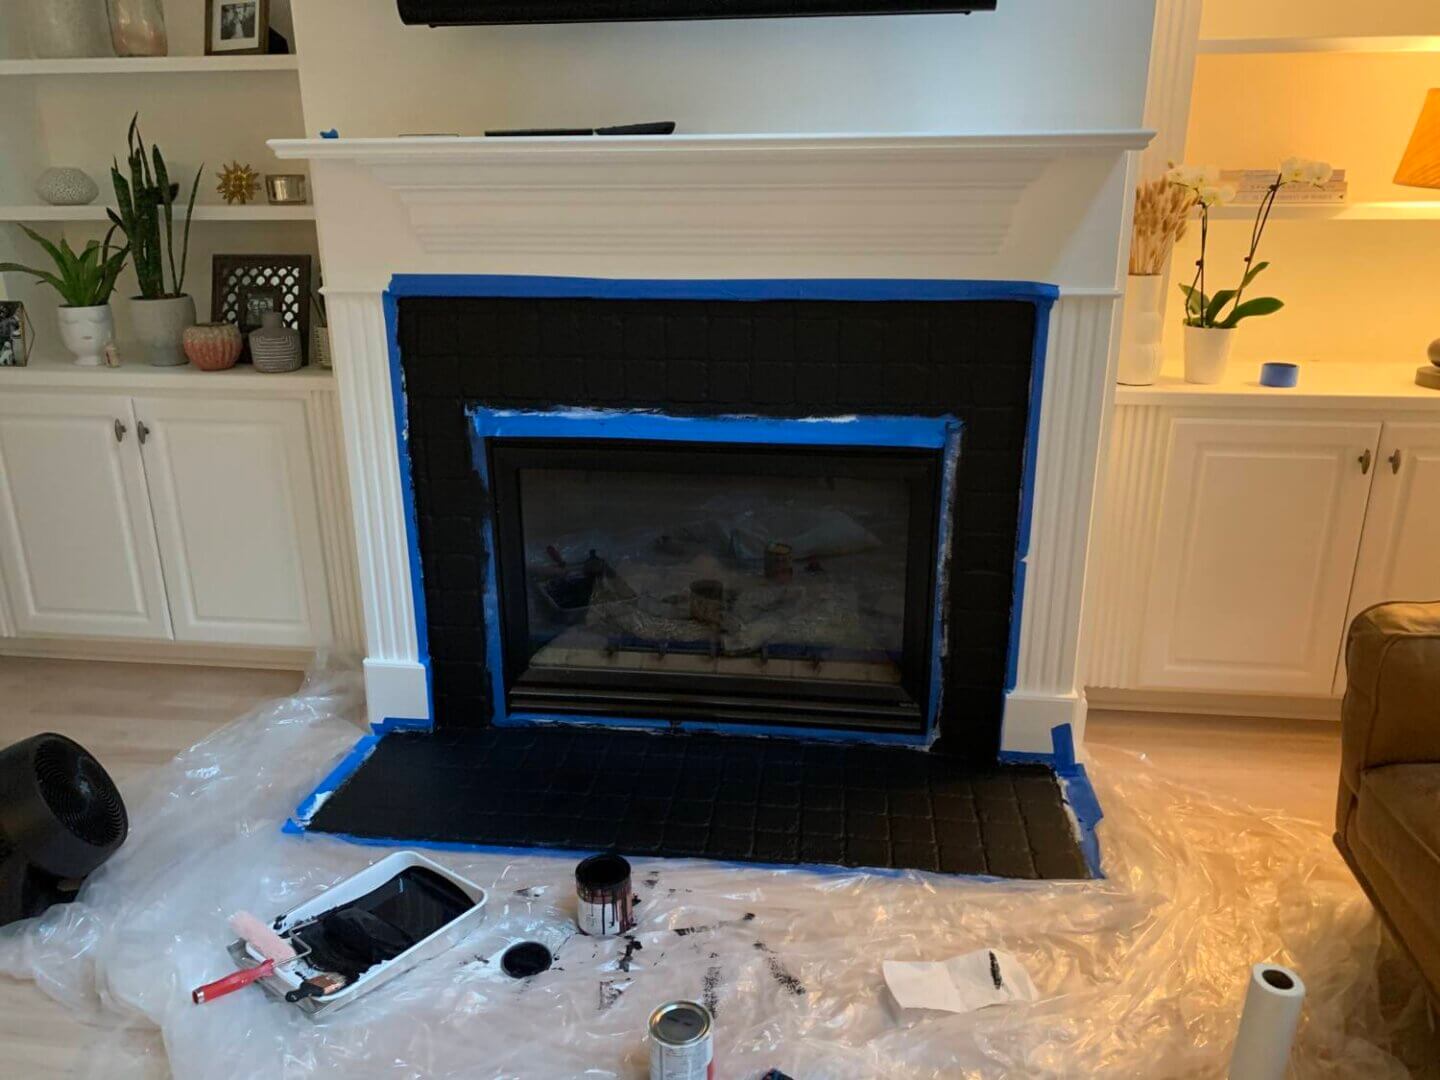
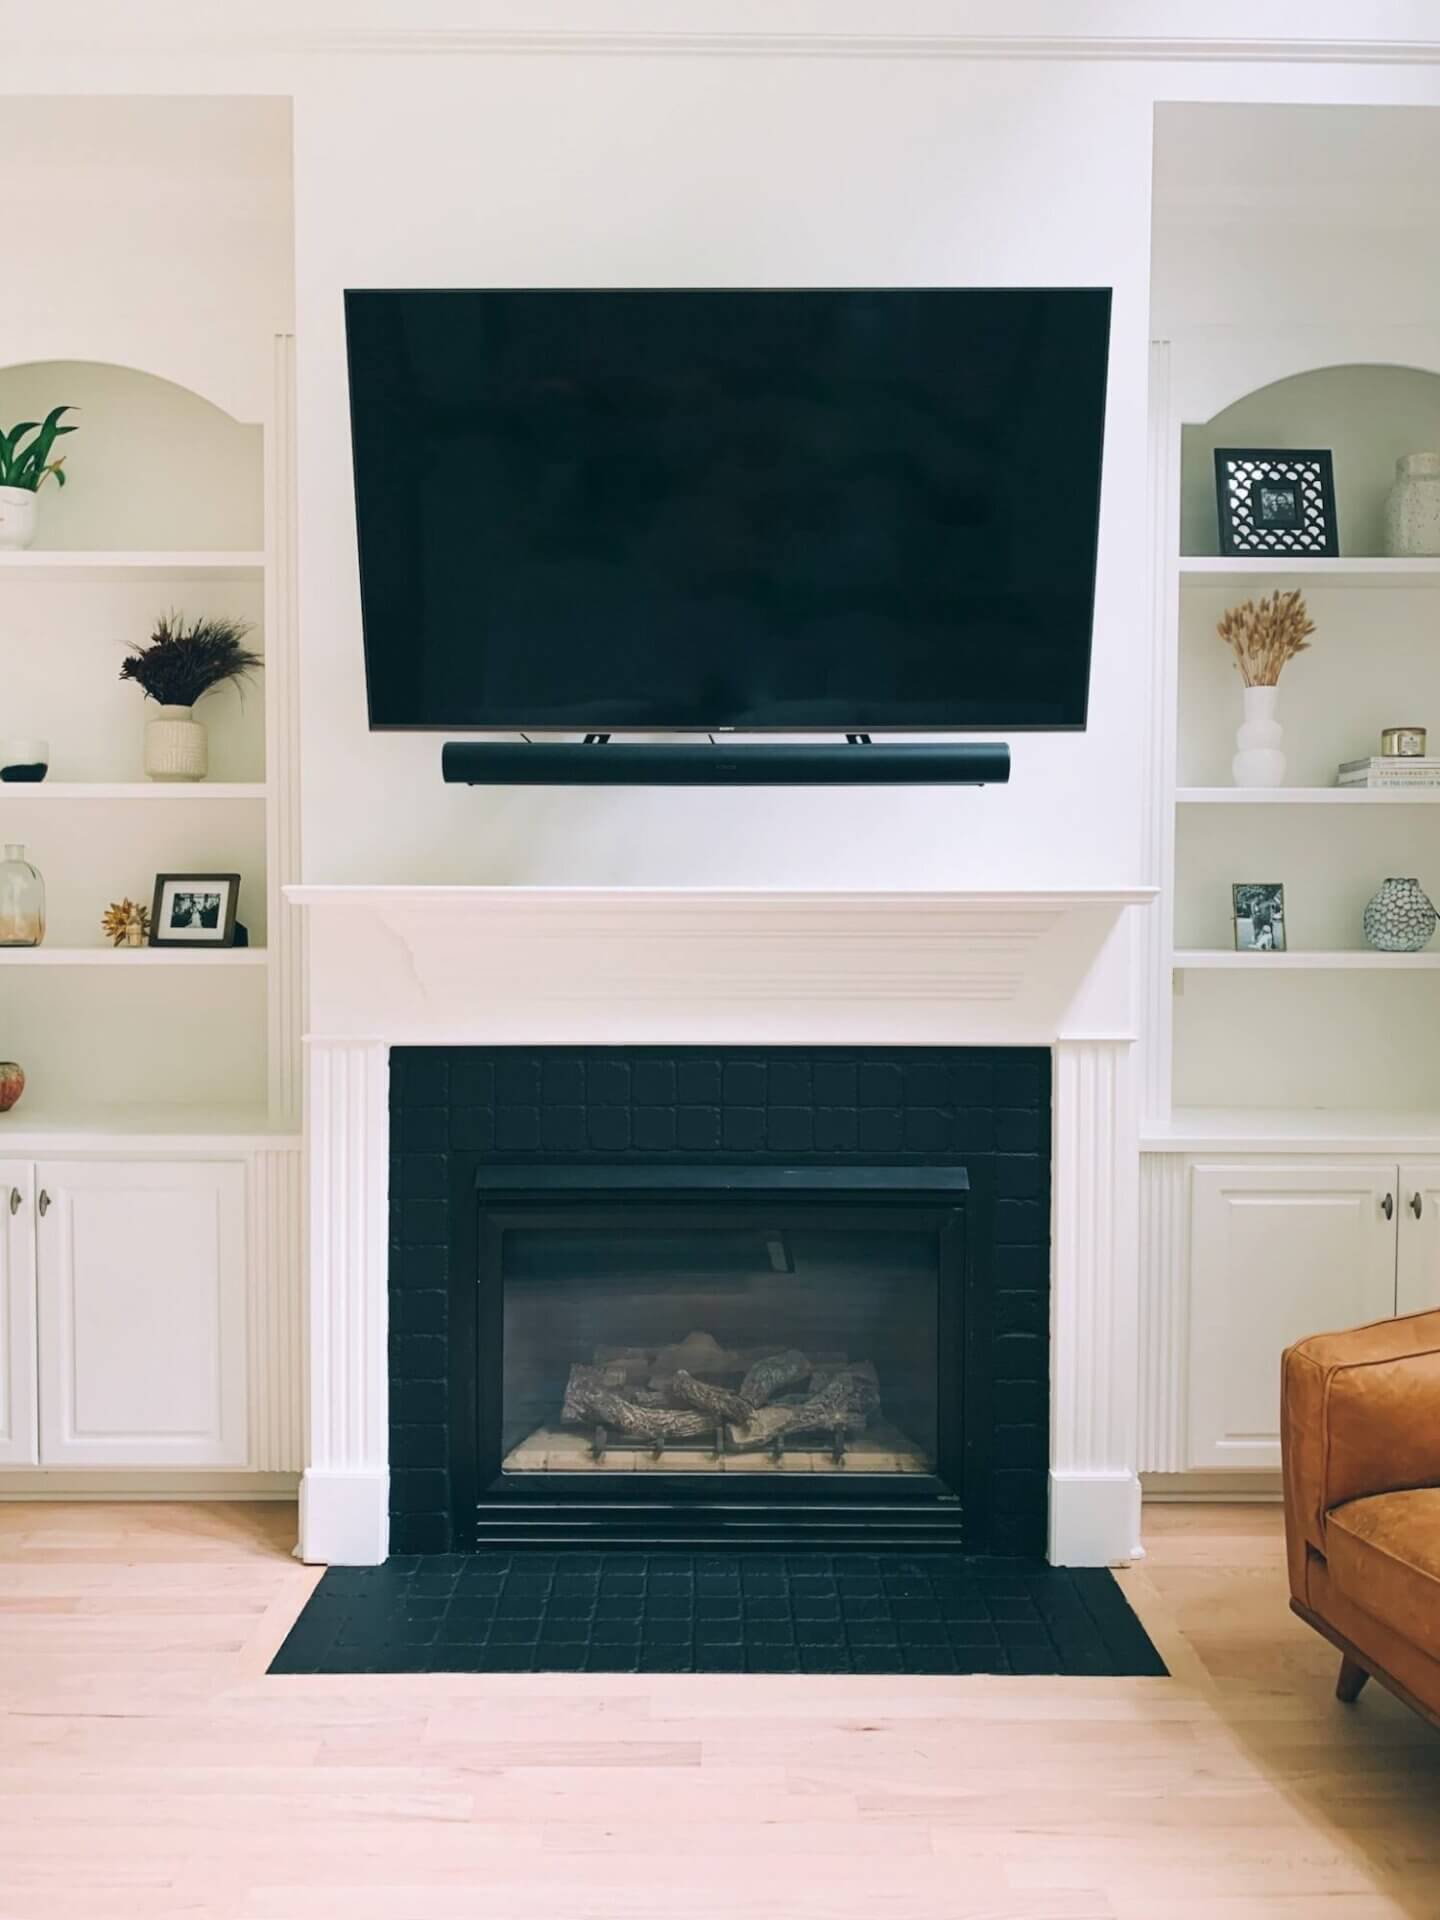
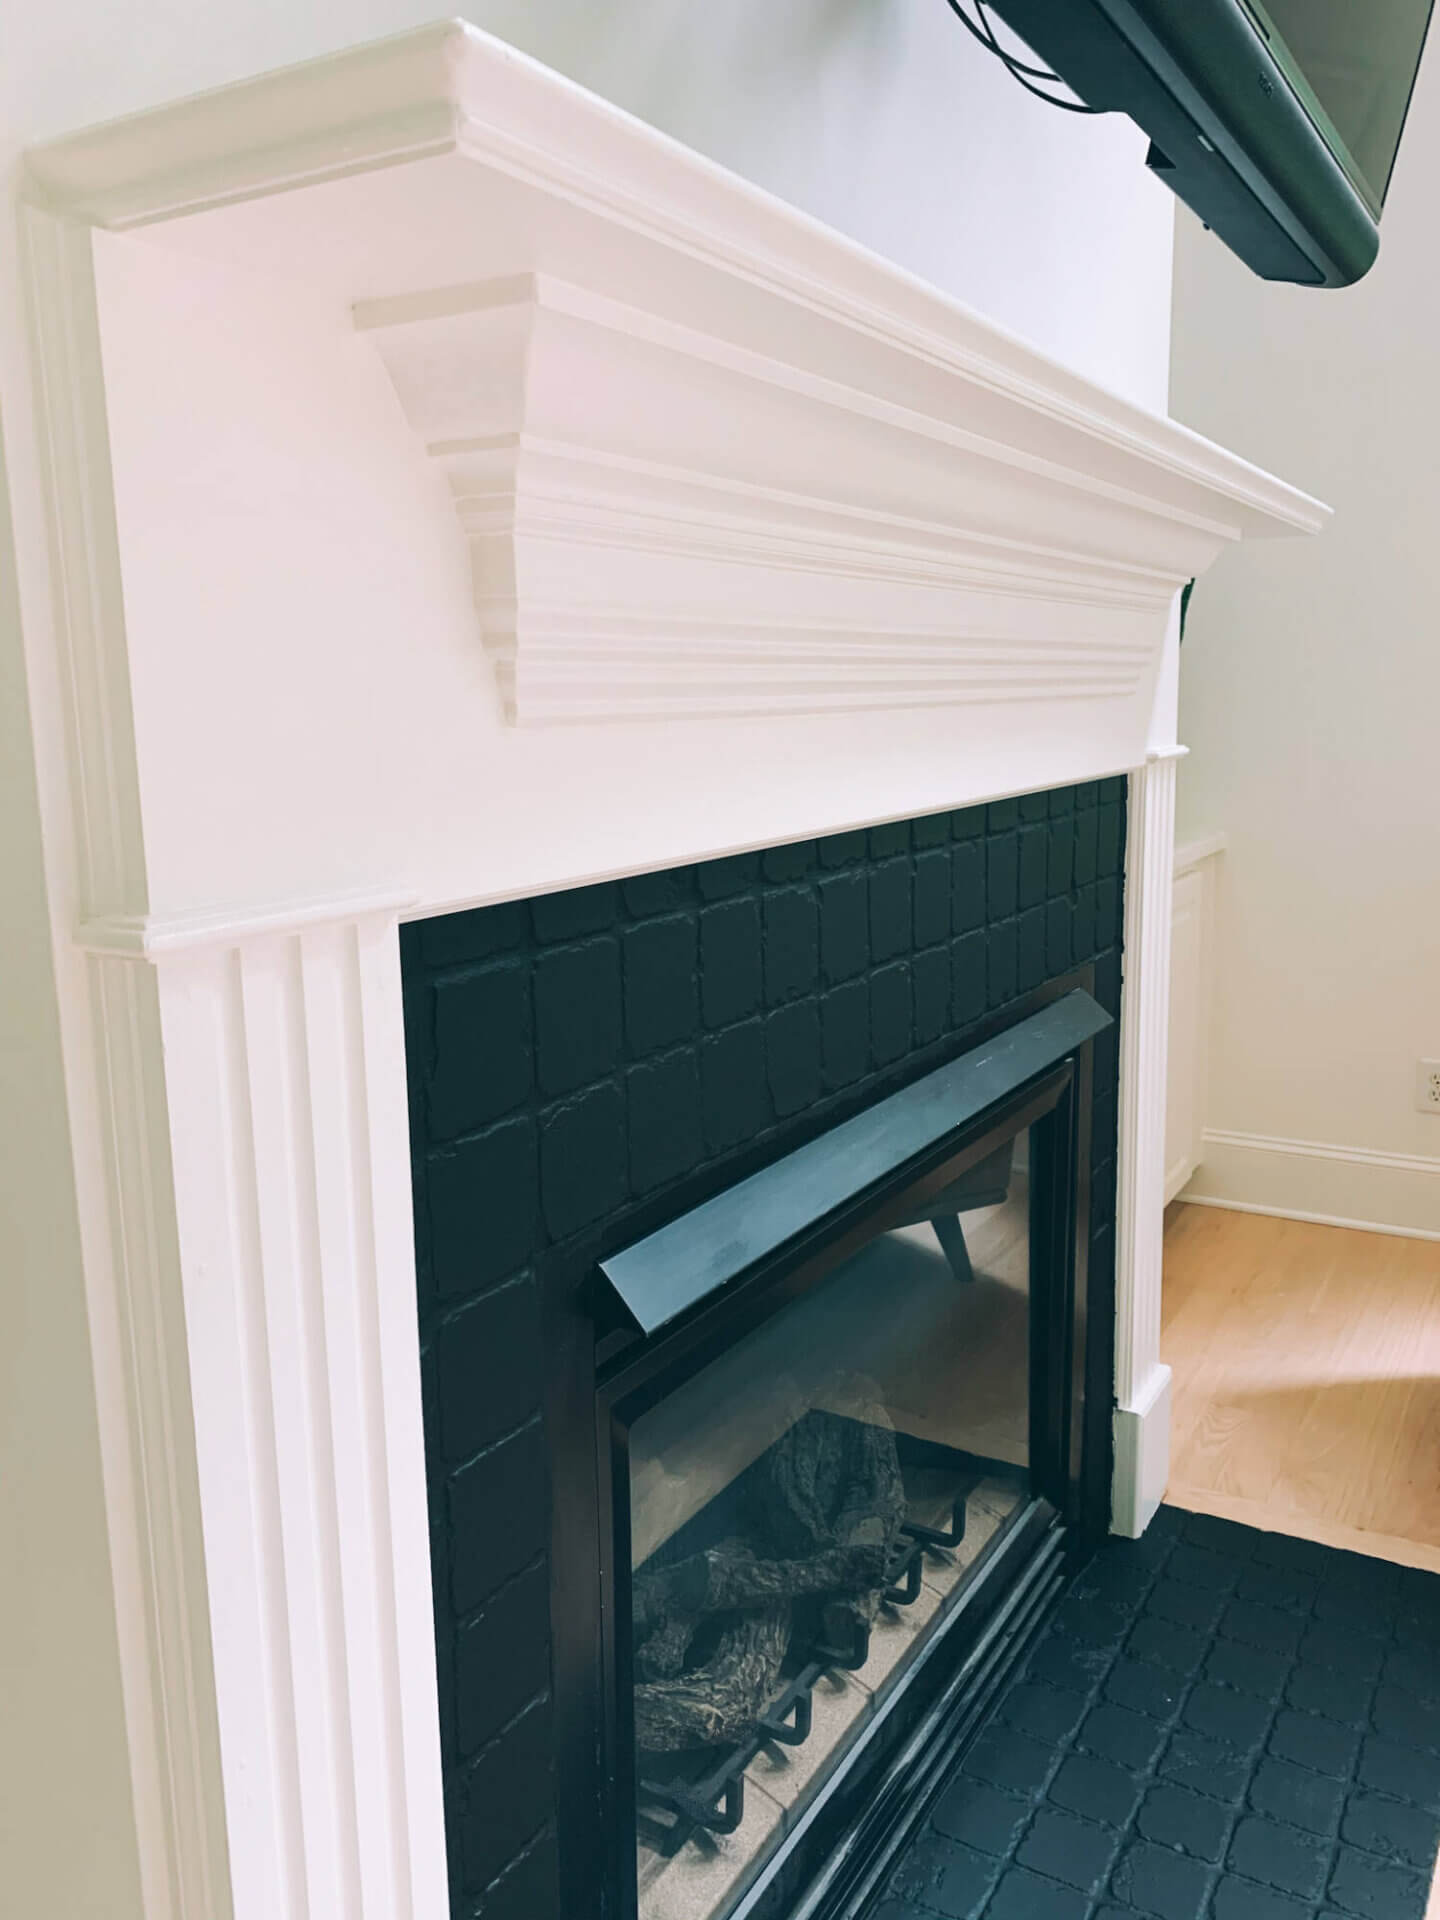
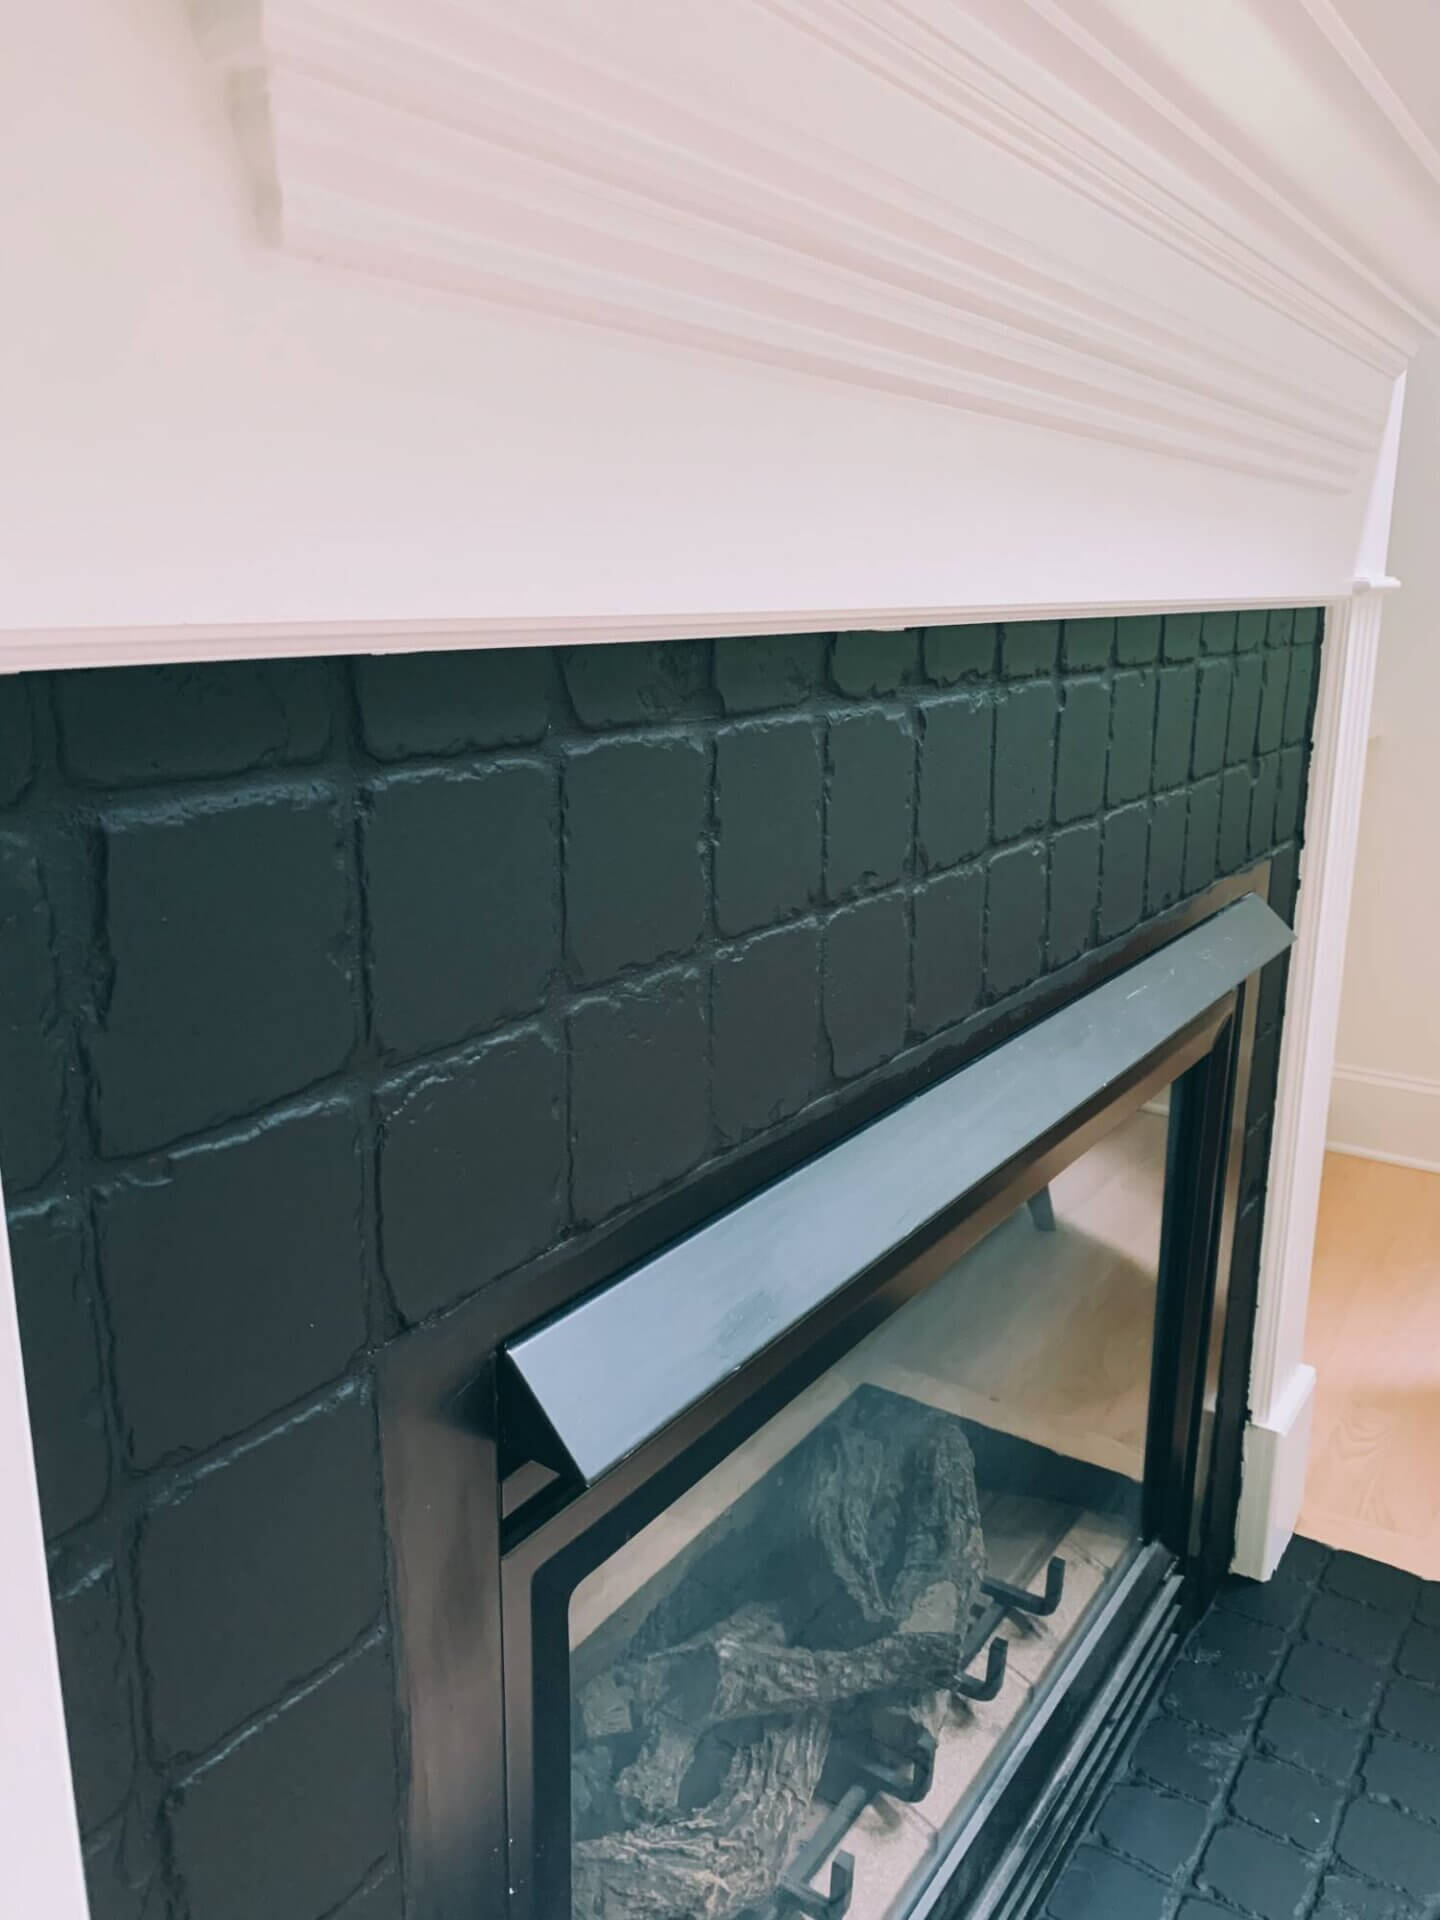
Once it’s dry you can remove the tape and you’re done! I’ll admit I was a little unsure when I painted it black and the tape was still on there (ie. the photo above LOL) but once I took the tape off and cleaned up, it looked amazing and I was super happy with it. The whole project just took me a few hours from start to finish–so easy, inexpensive, and has totally transformed our living room! Any questions feel free to leave them below xxC







Do you think it will scrape/rub off? Considering doing my kitchen backsplash this way….???
I don’t think so! I looked through a ton of DIY blogs and no one mentioned that happening. I think you should be fine!