


Okay guys, this post has been long overdue! Every time I do a Q&A over stories, at least one the questions is inevitably “tell us about your floors!” so now you’ll have a full blog post to refer too 🙂 And this is going to be a long one because (per usual lol), I want to give y’all all the details so buckle up!
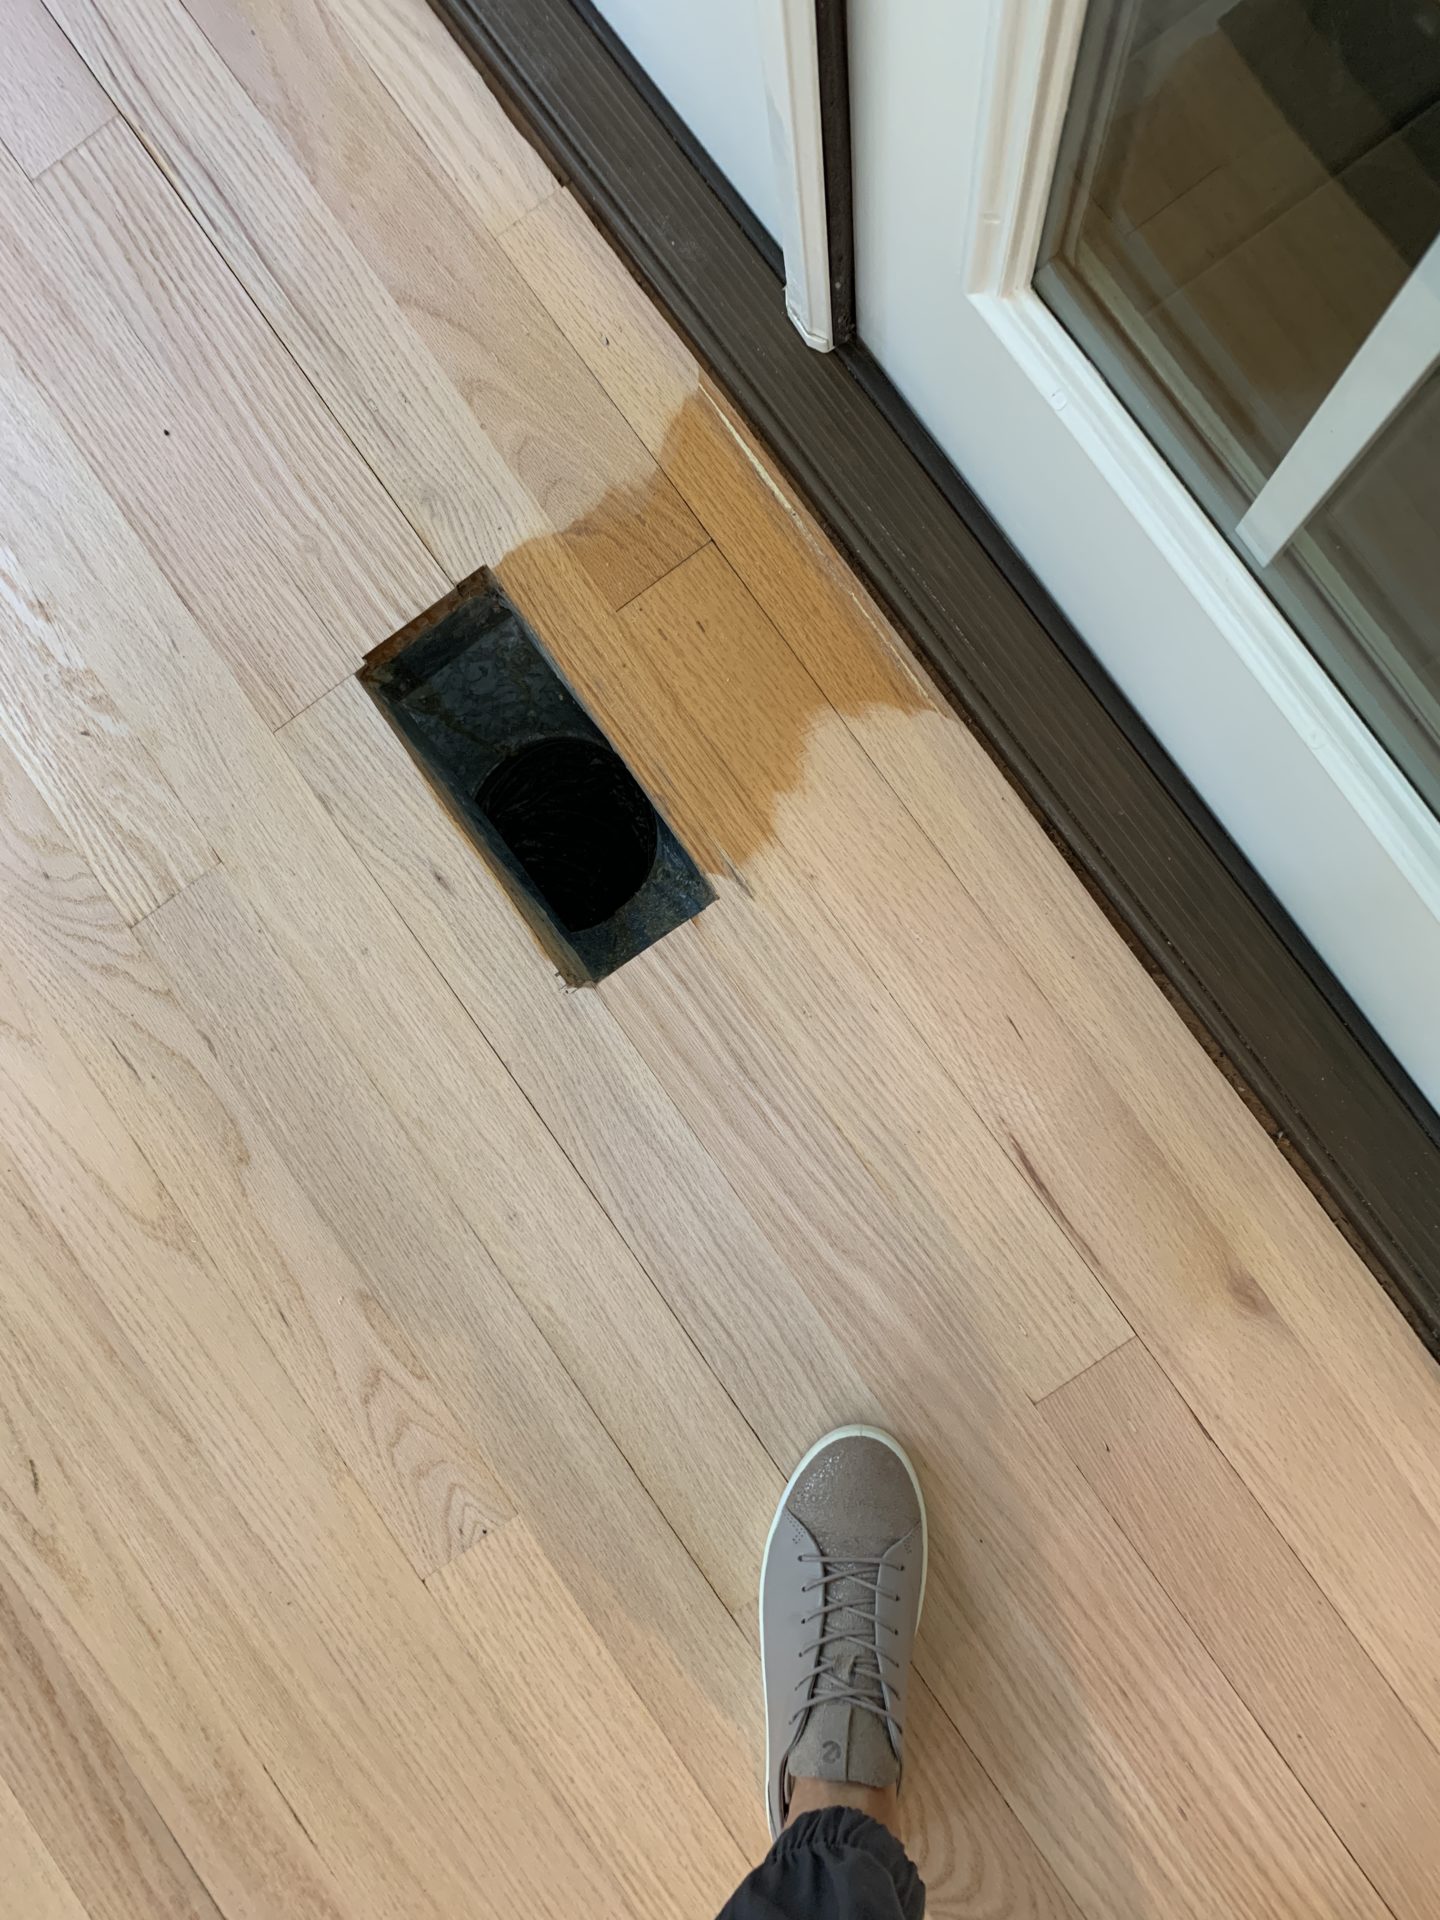
So let’s start with the before. When we first moved in, I knew I wanted to get the floors redone but I didn’t know how much of a priority it was going to be. I mean the floors needed to be redone at some point (I don’t think they had been refinished in 20 years), and they weren’t the ideal color but as most of y’all know, when you first move in you have to figure out your priorities! I went back and forth on the floors for a while. First being like they have to be done to they really aren’t that bad, they can wait. After weighing the pros/cons, and looking into cost (typically anywhere from $2-6 per sq foot), we decided to go ahead and refinish them. And if you’ve ever wondered how much of a difference new flooring (or an updated finish) can make, let me tell you, a lot.
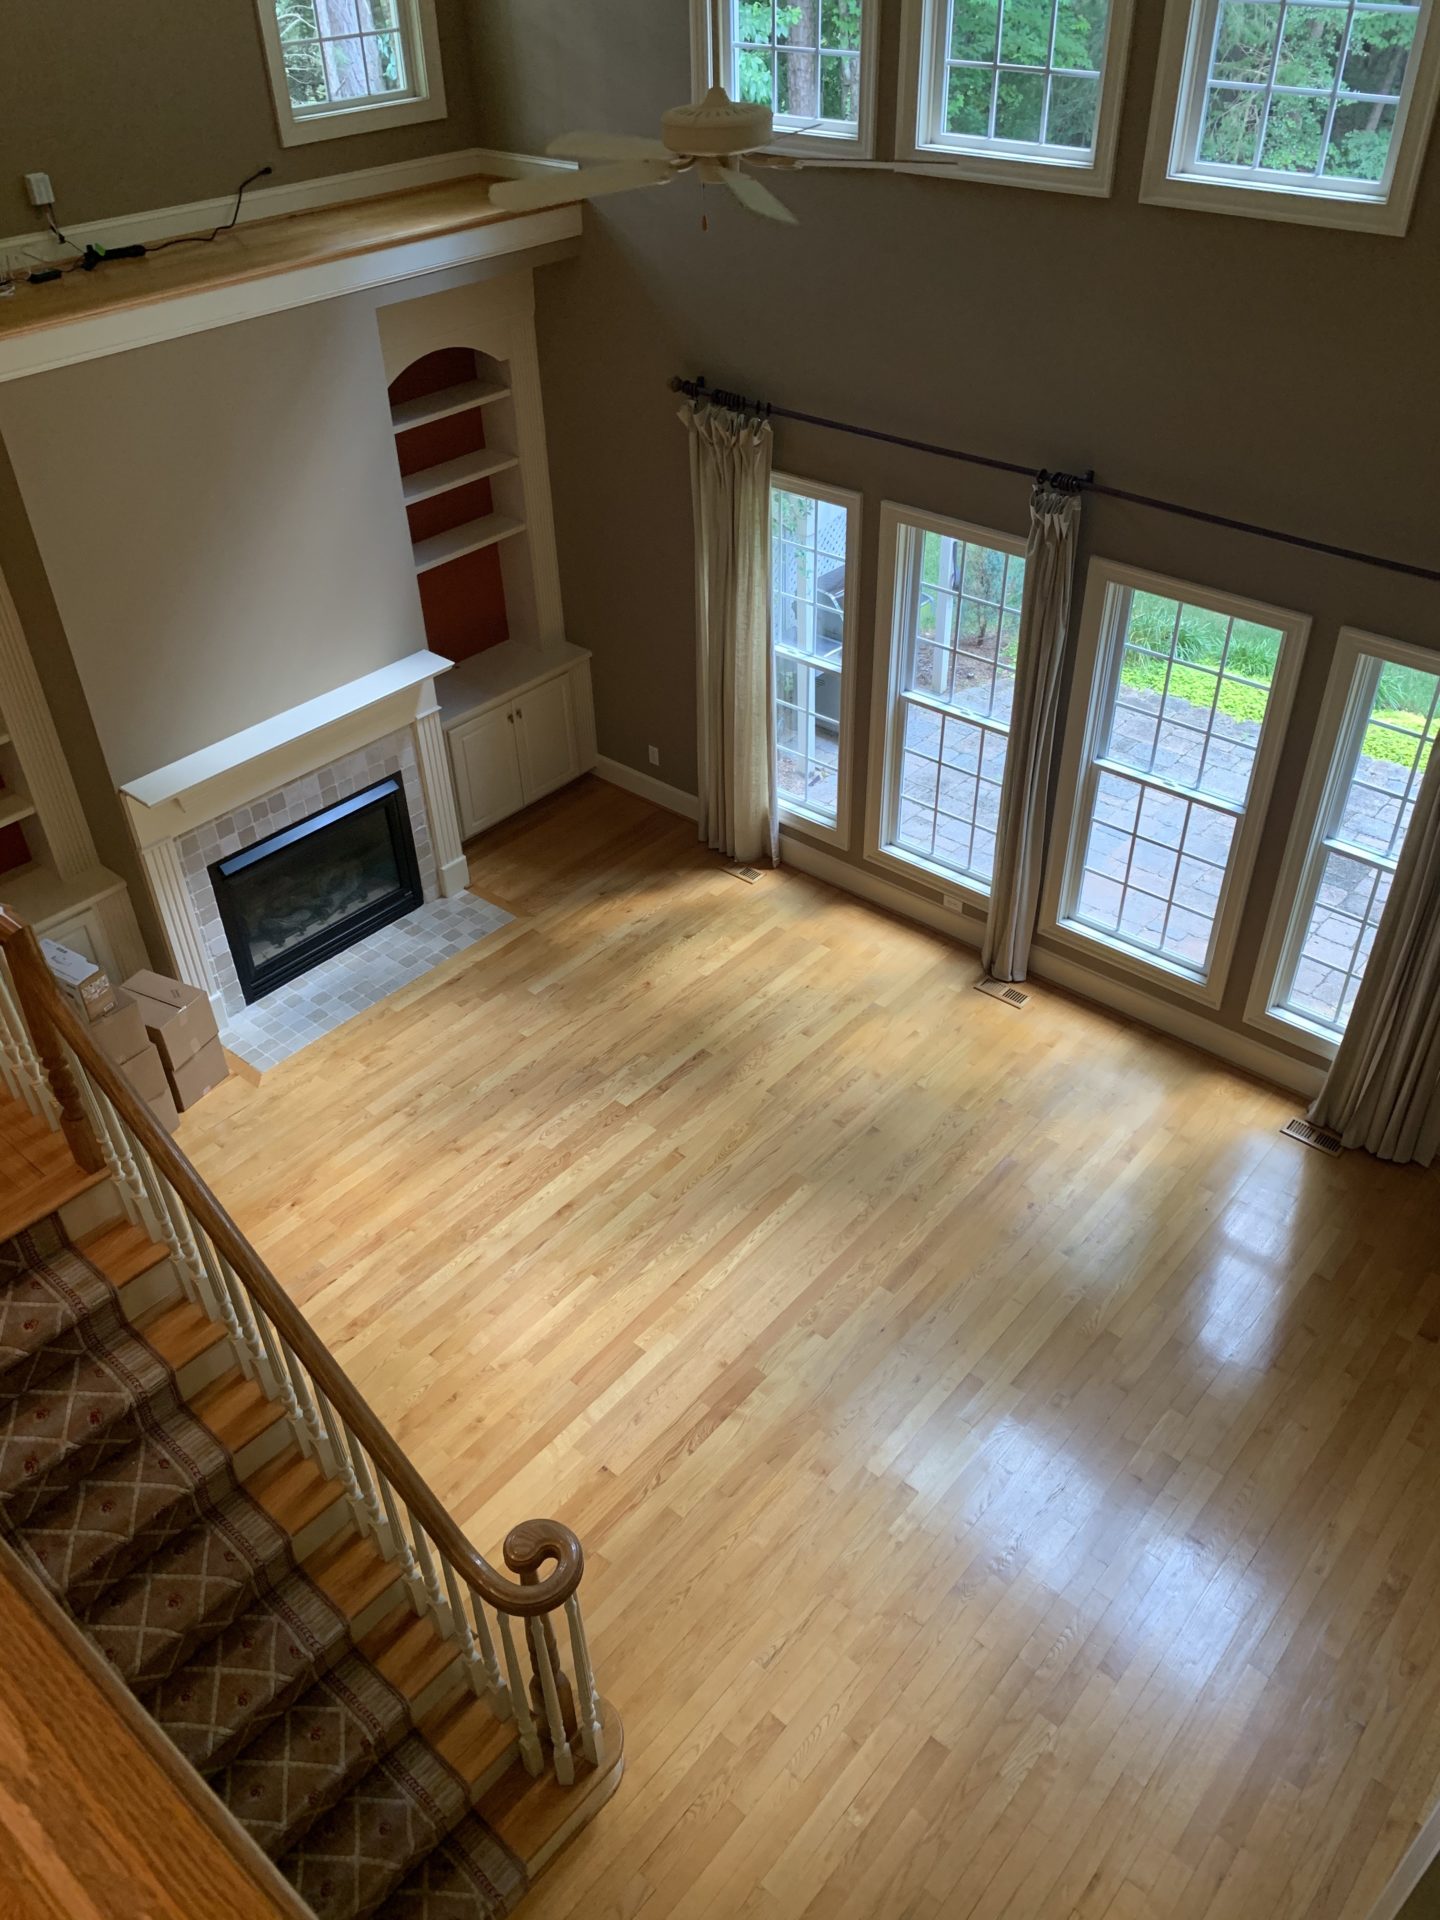
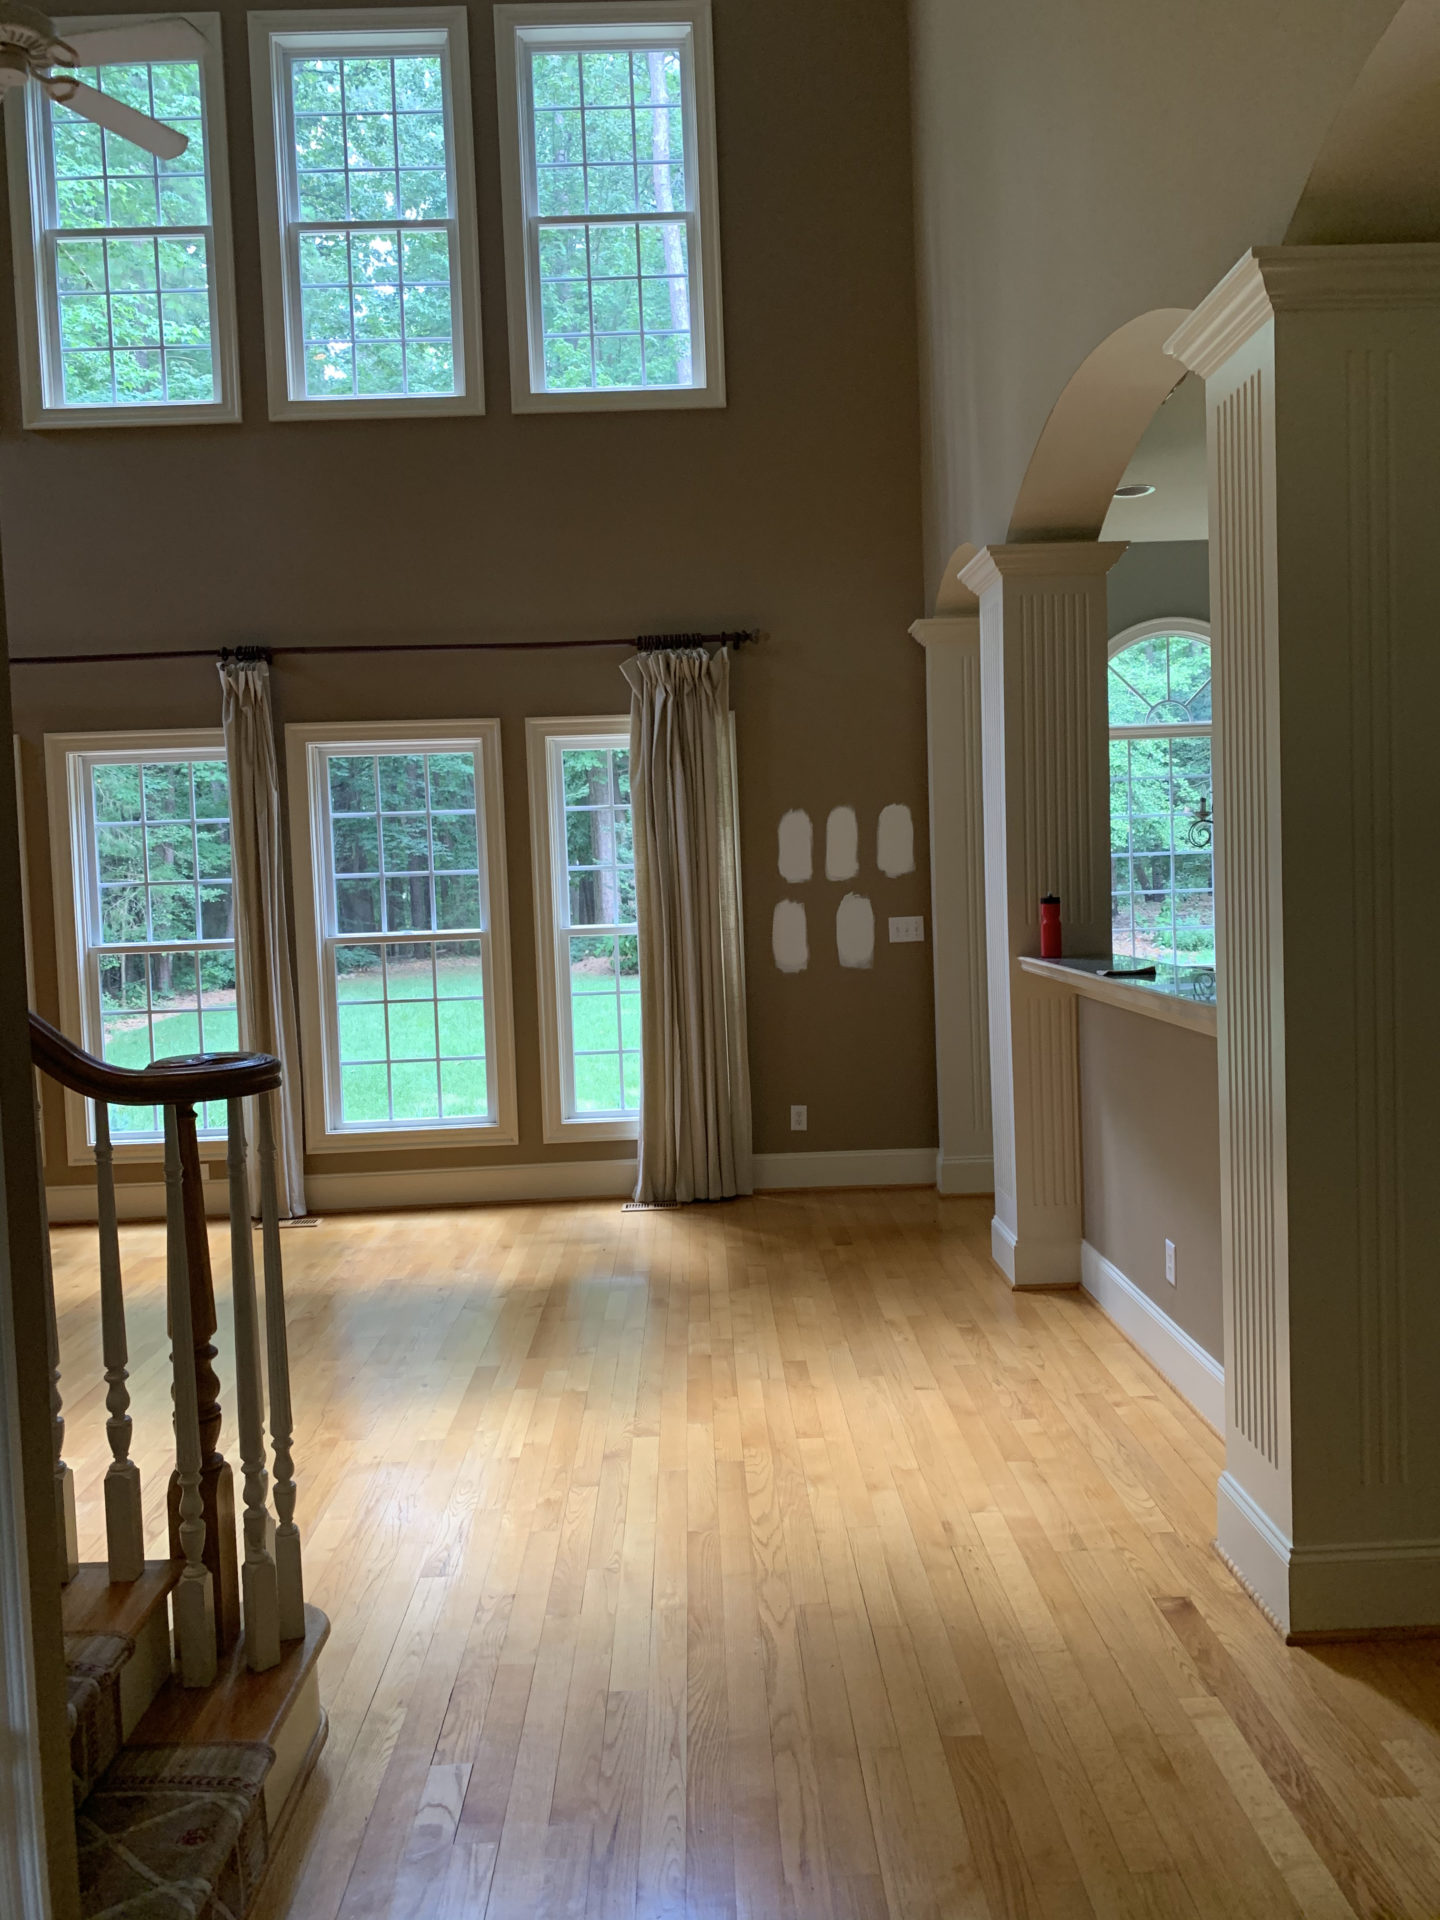
Before
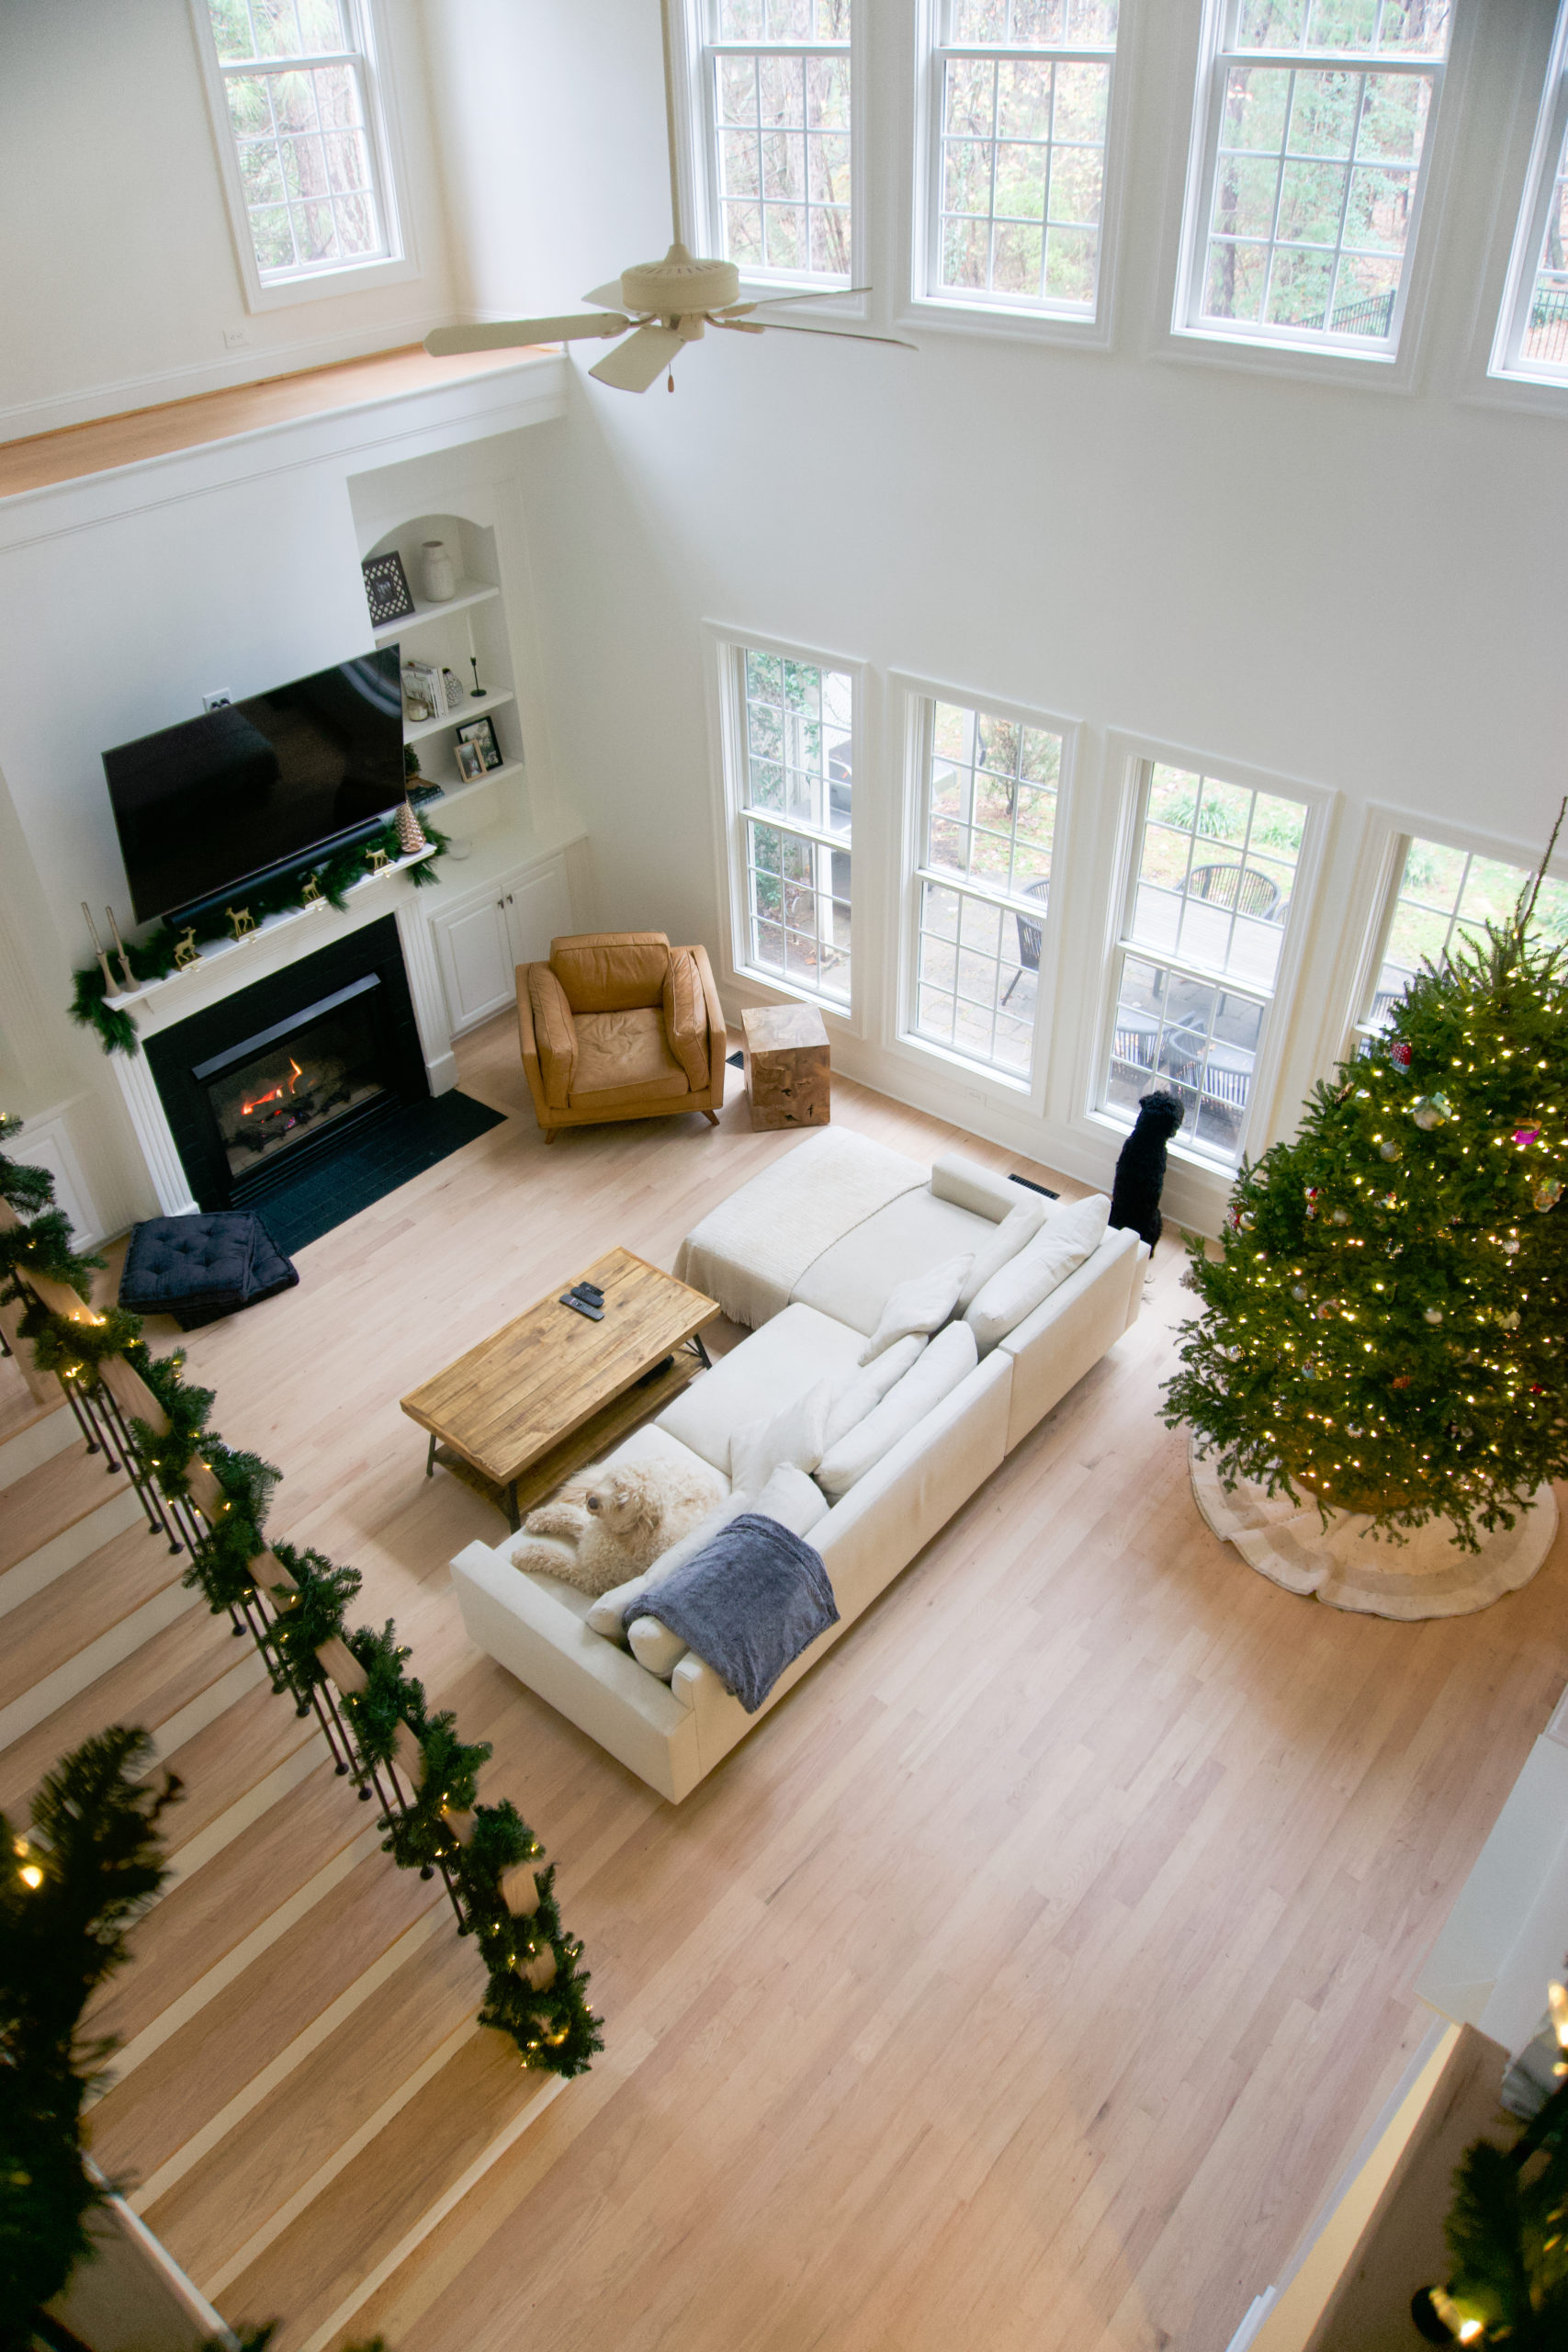
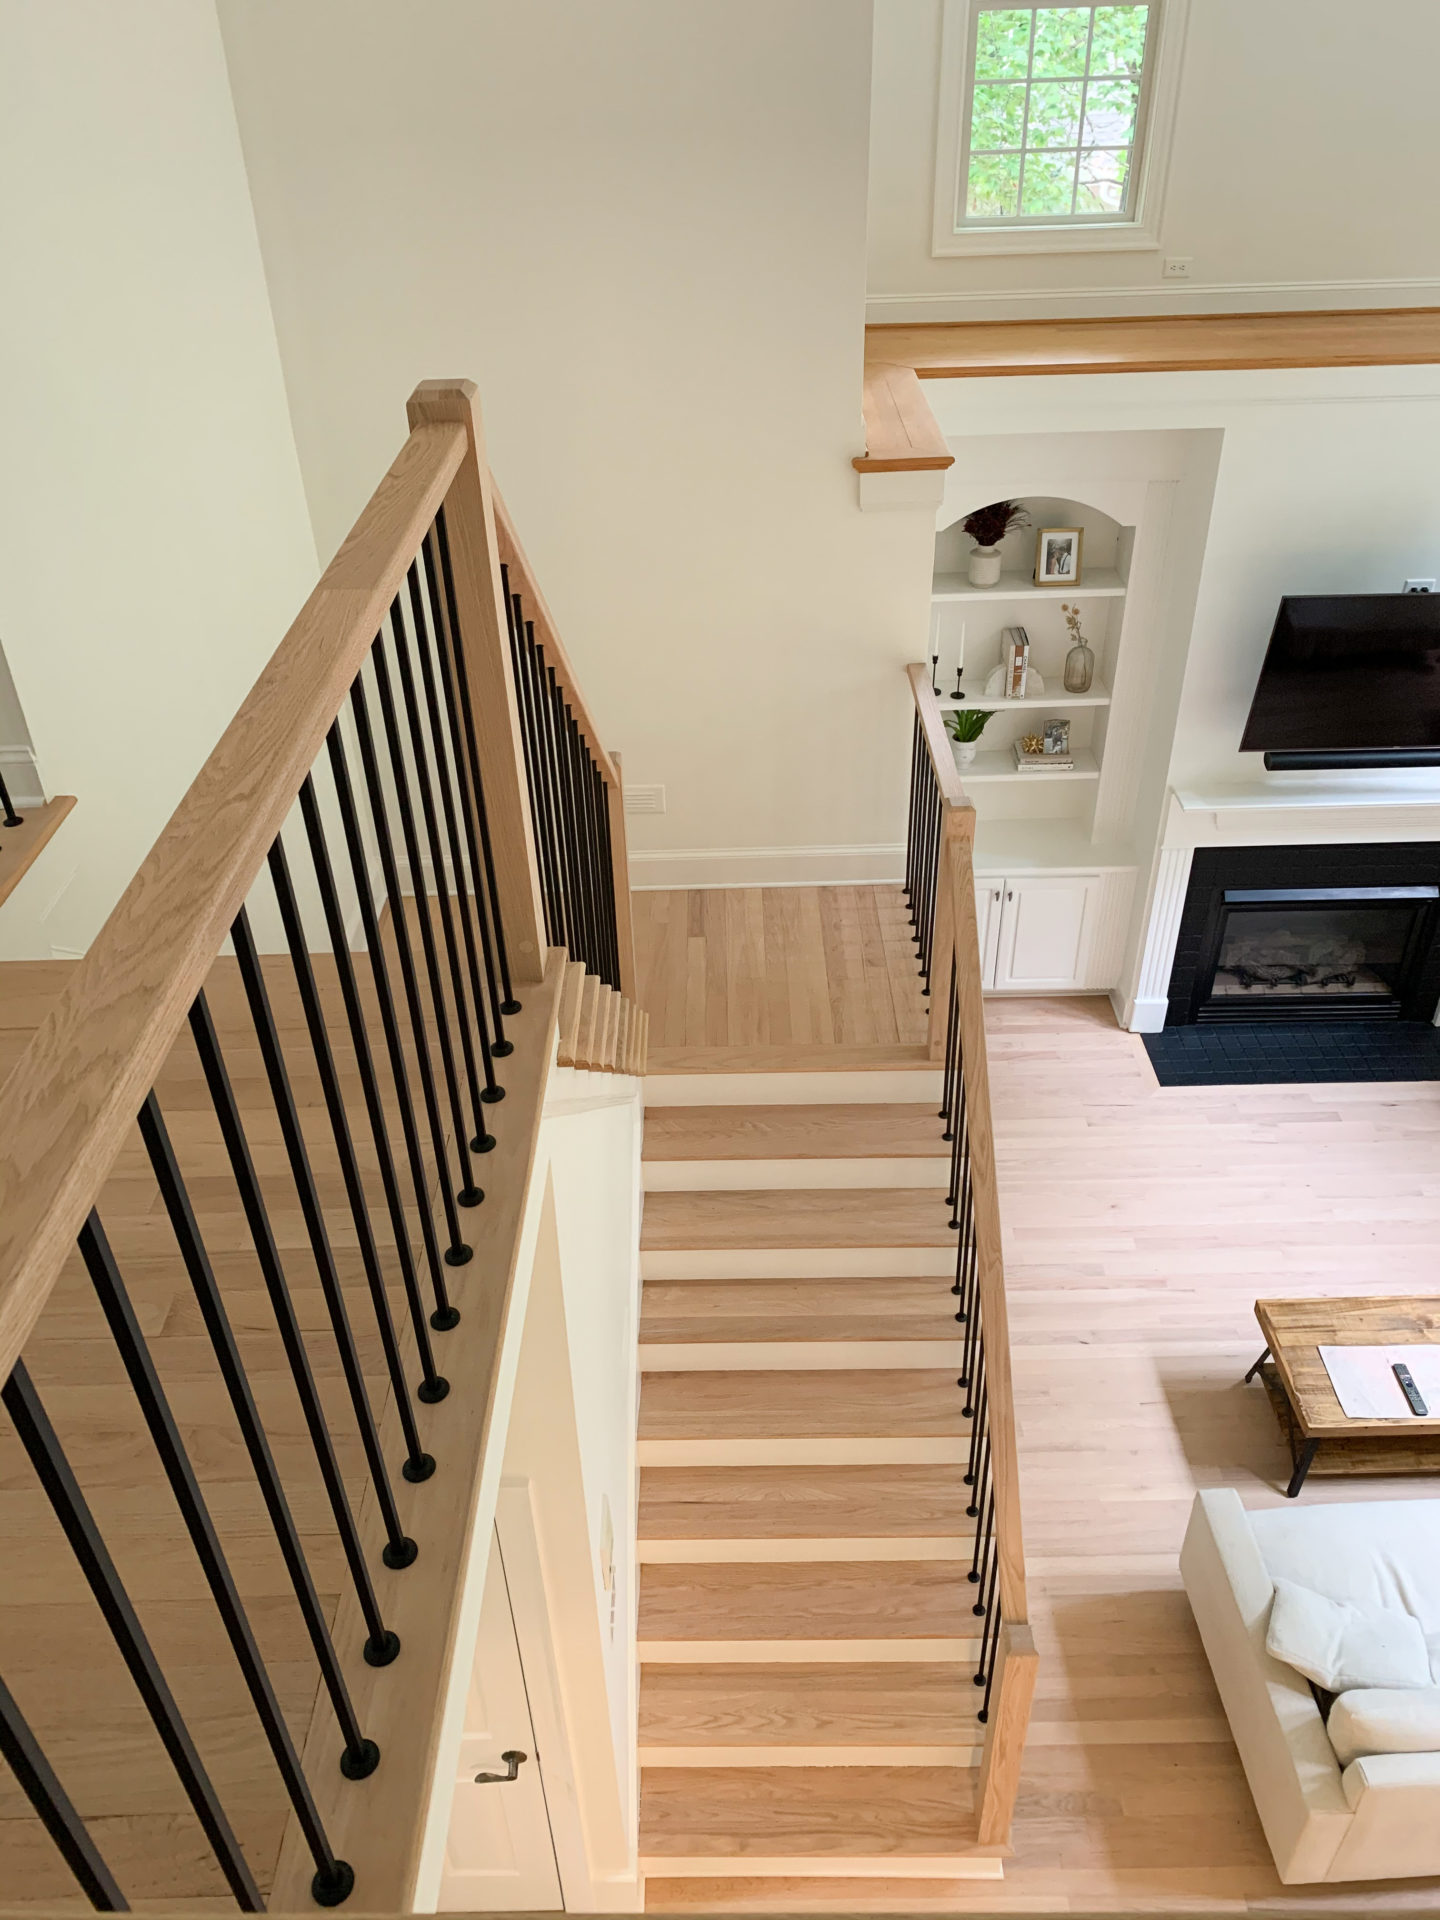
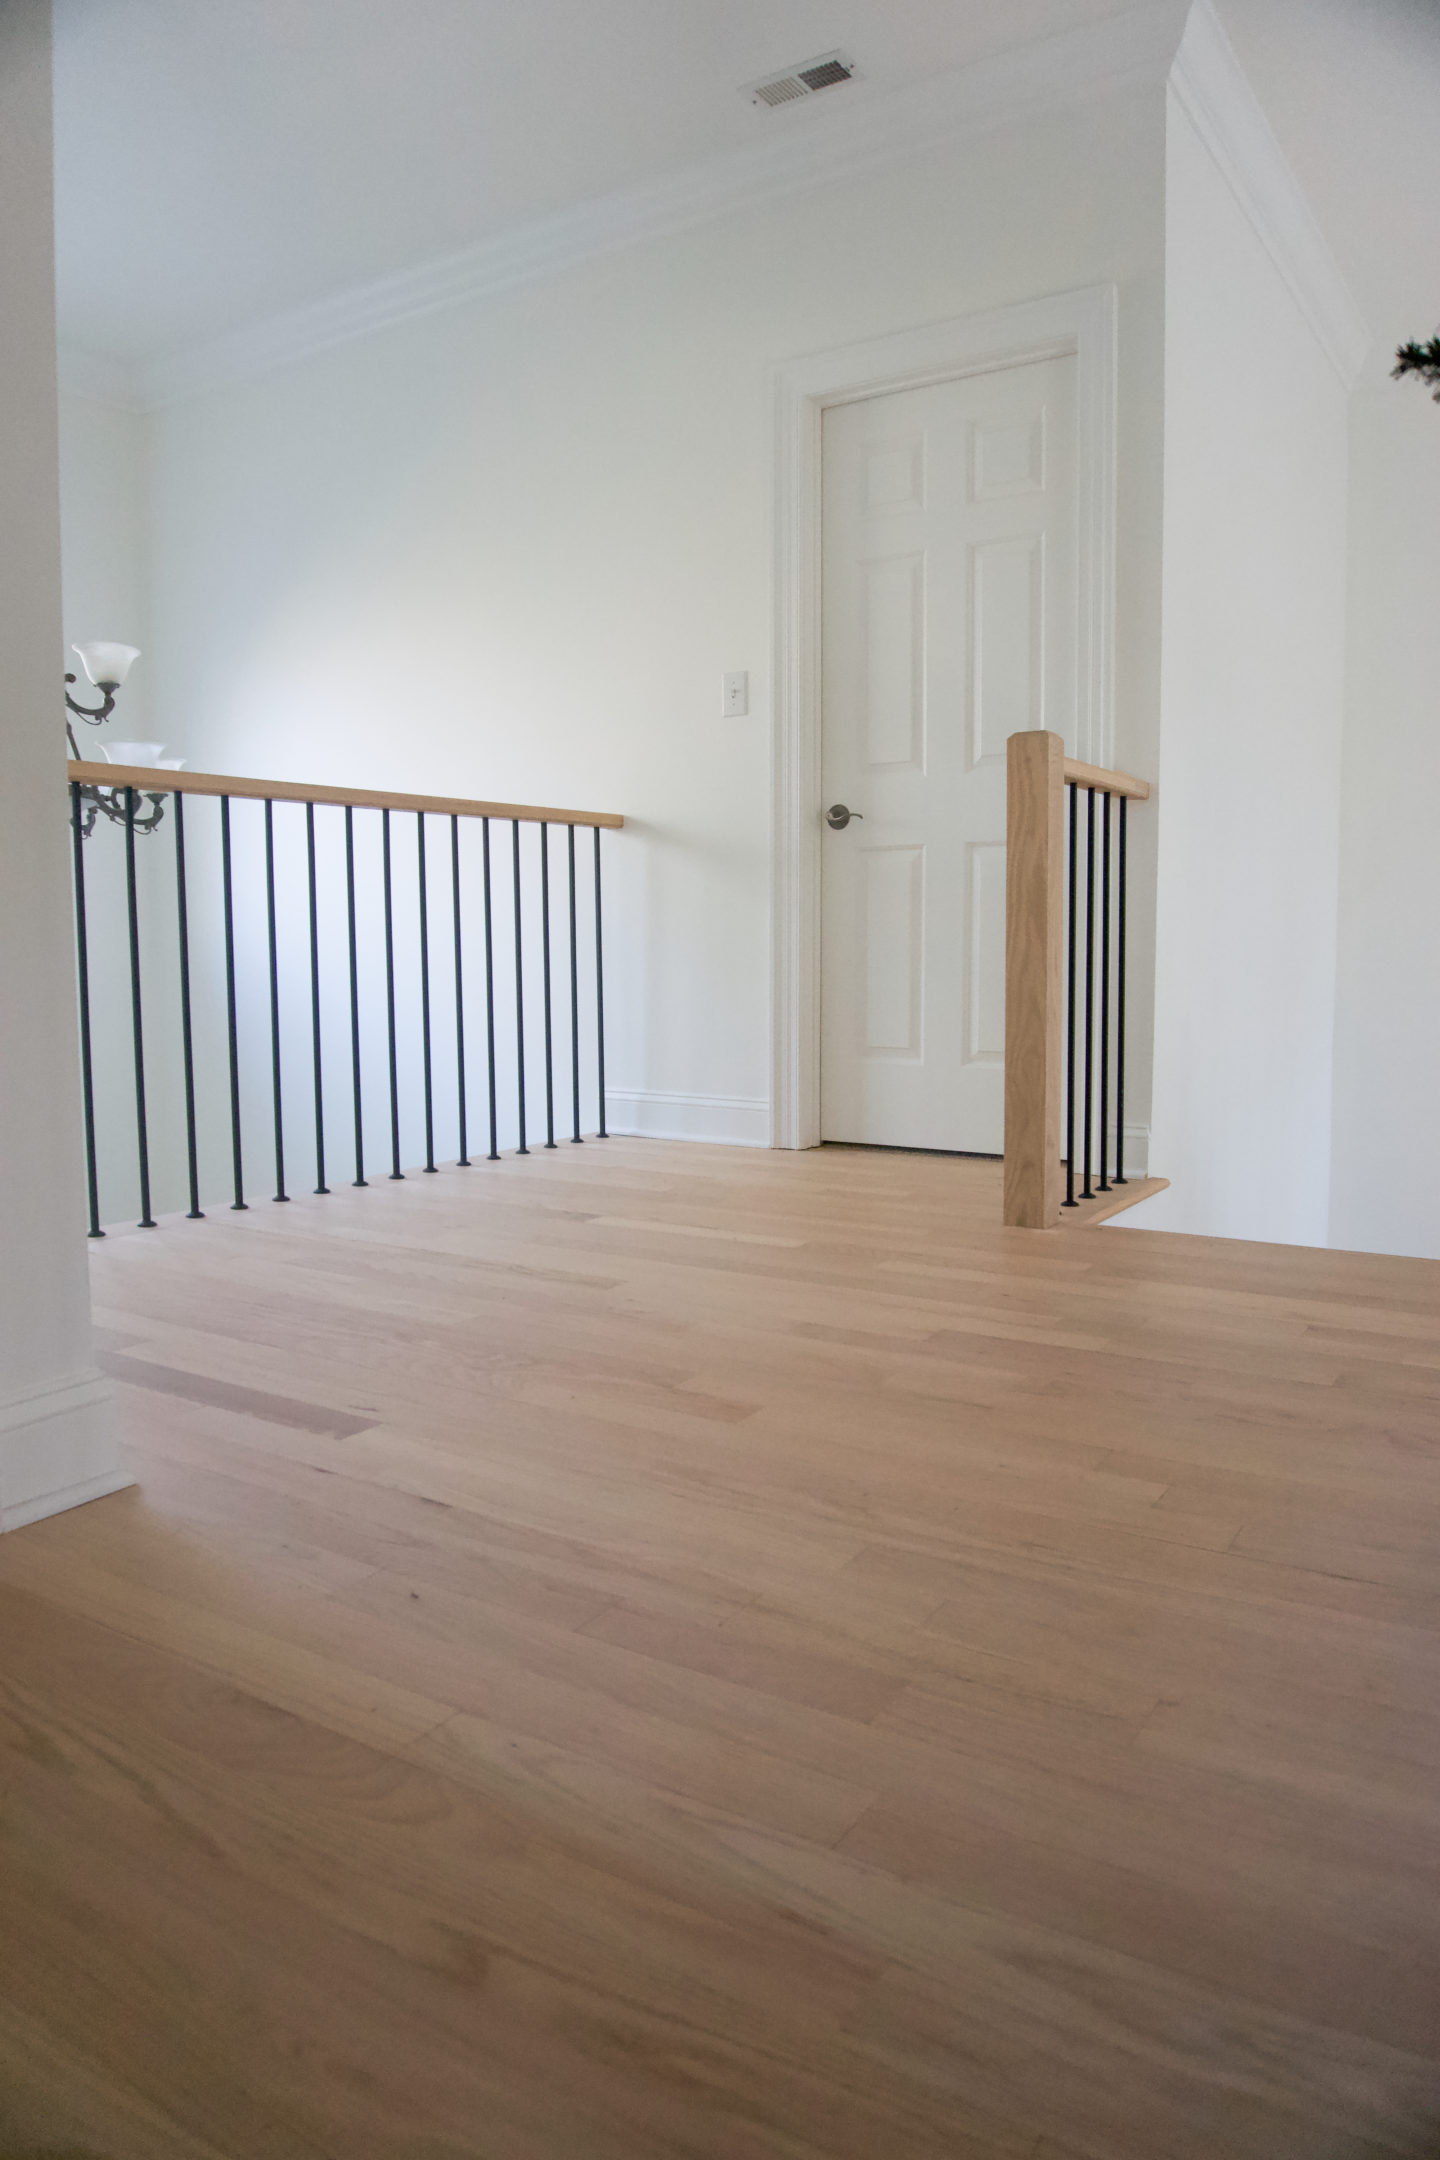
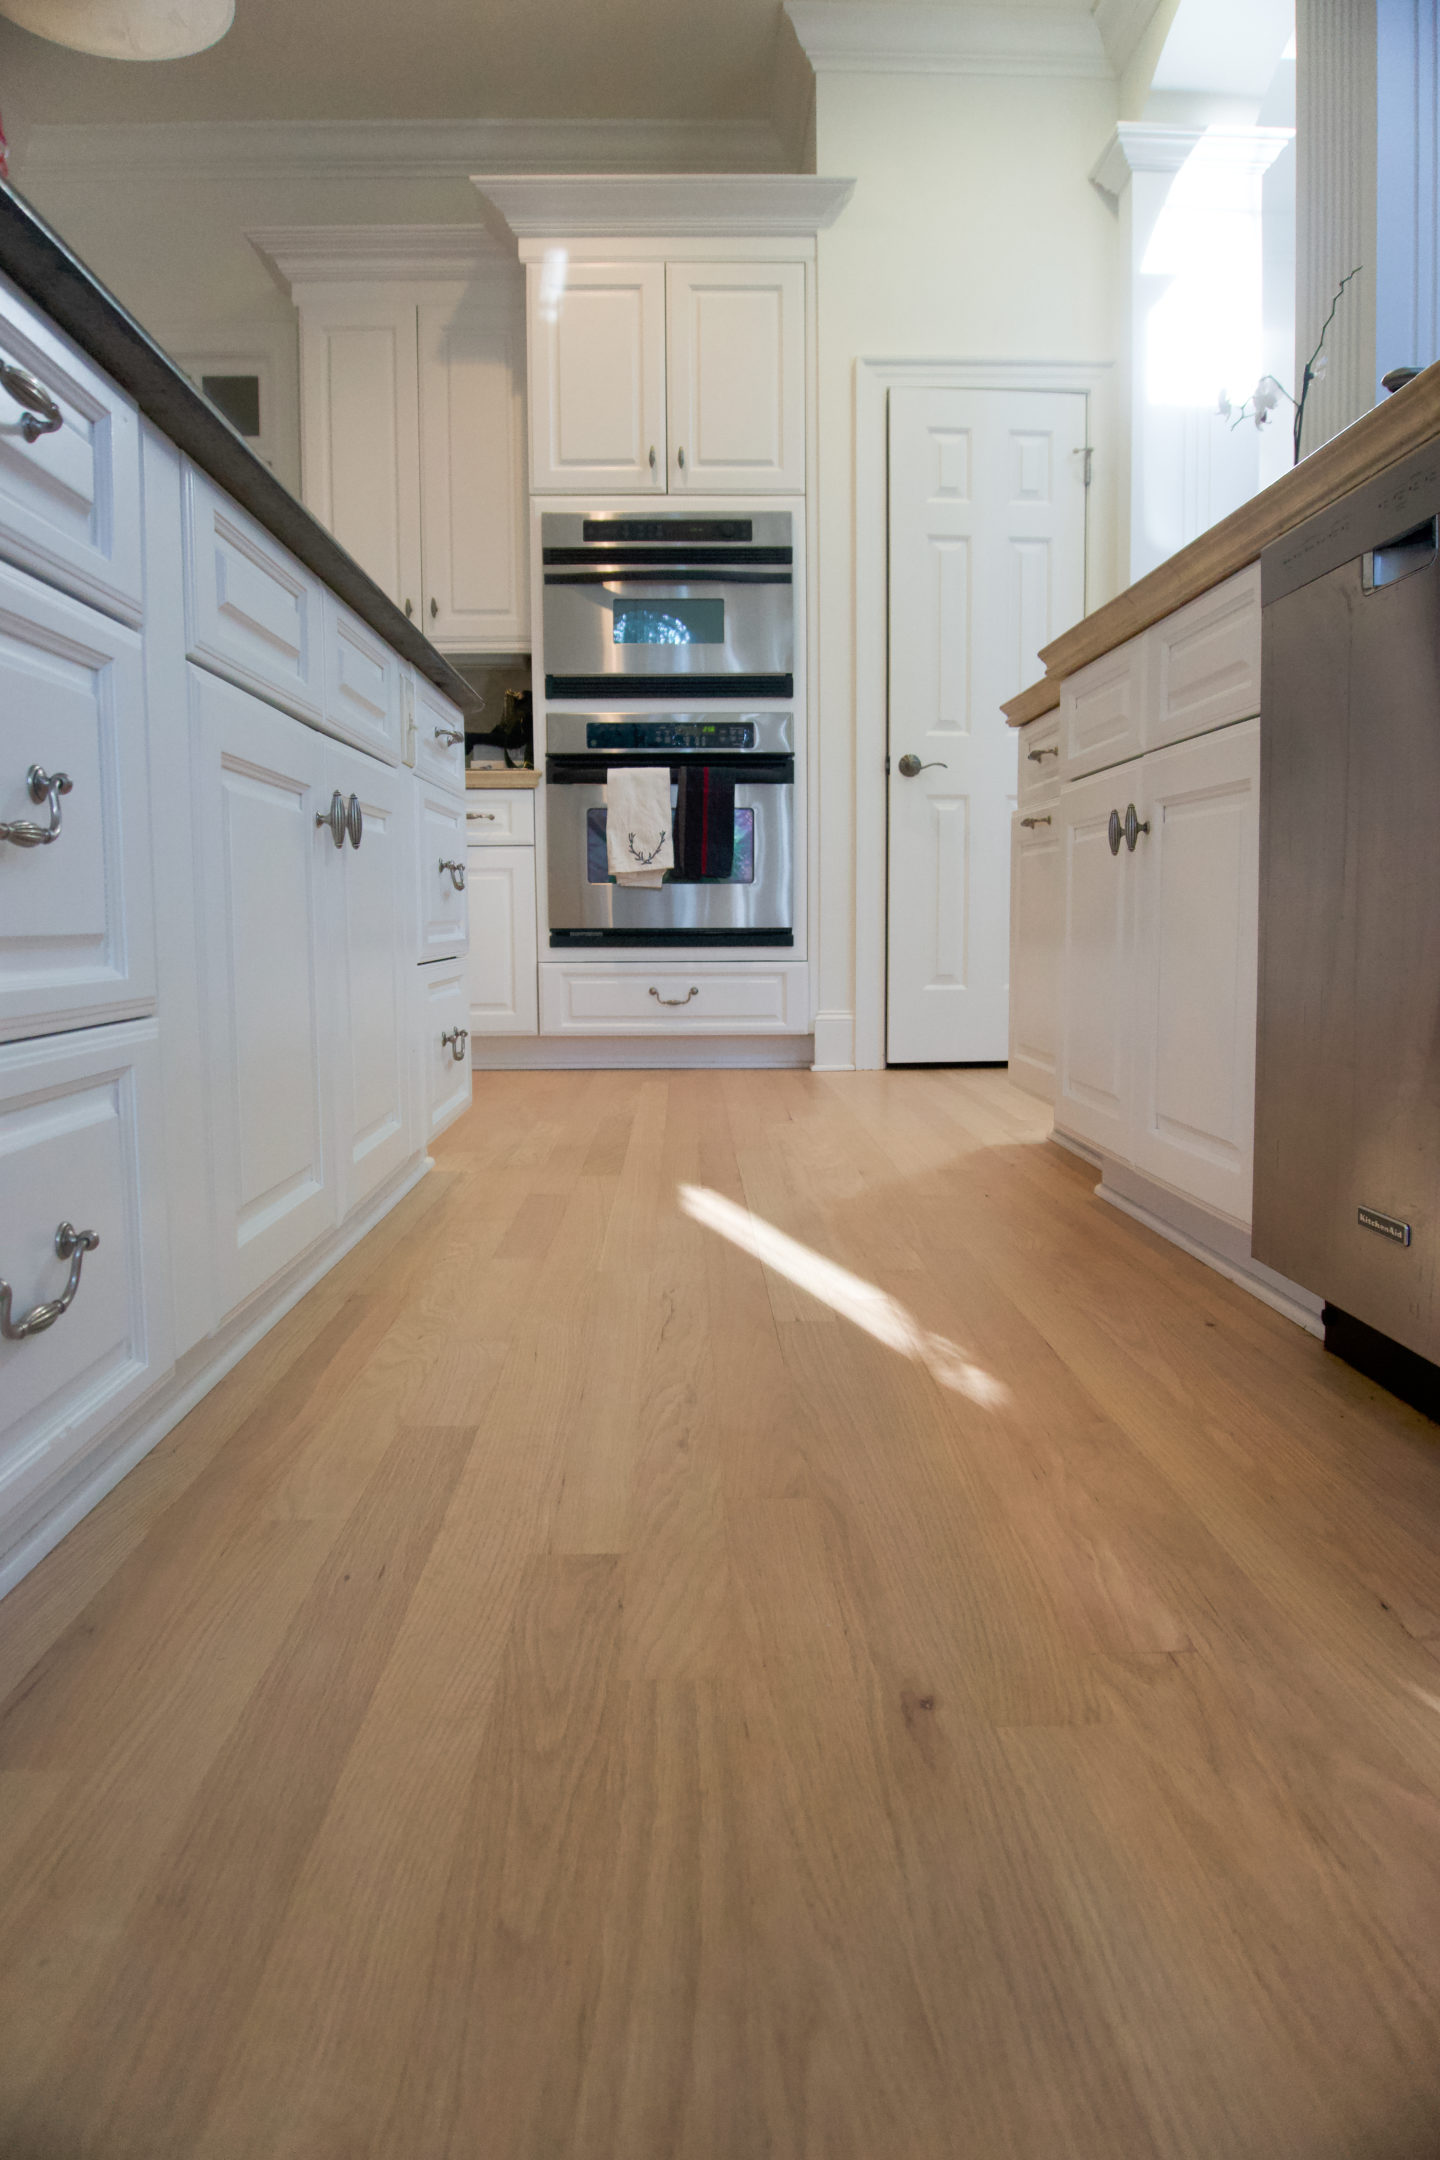
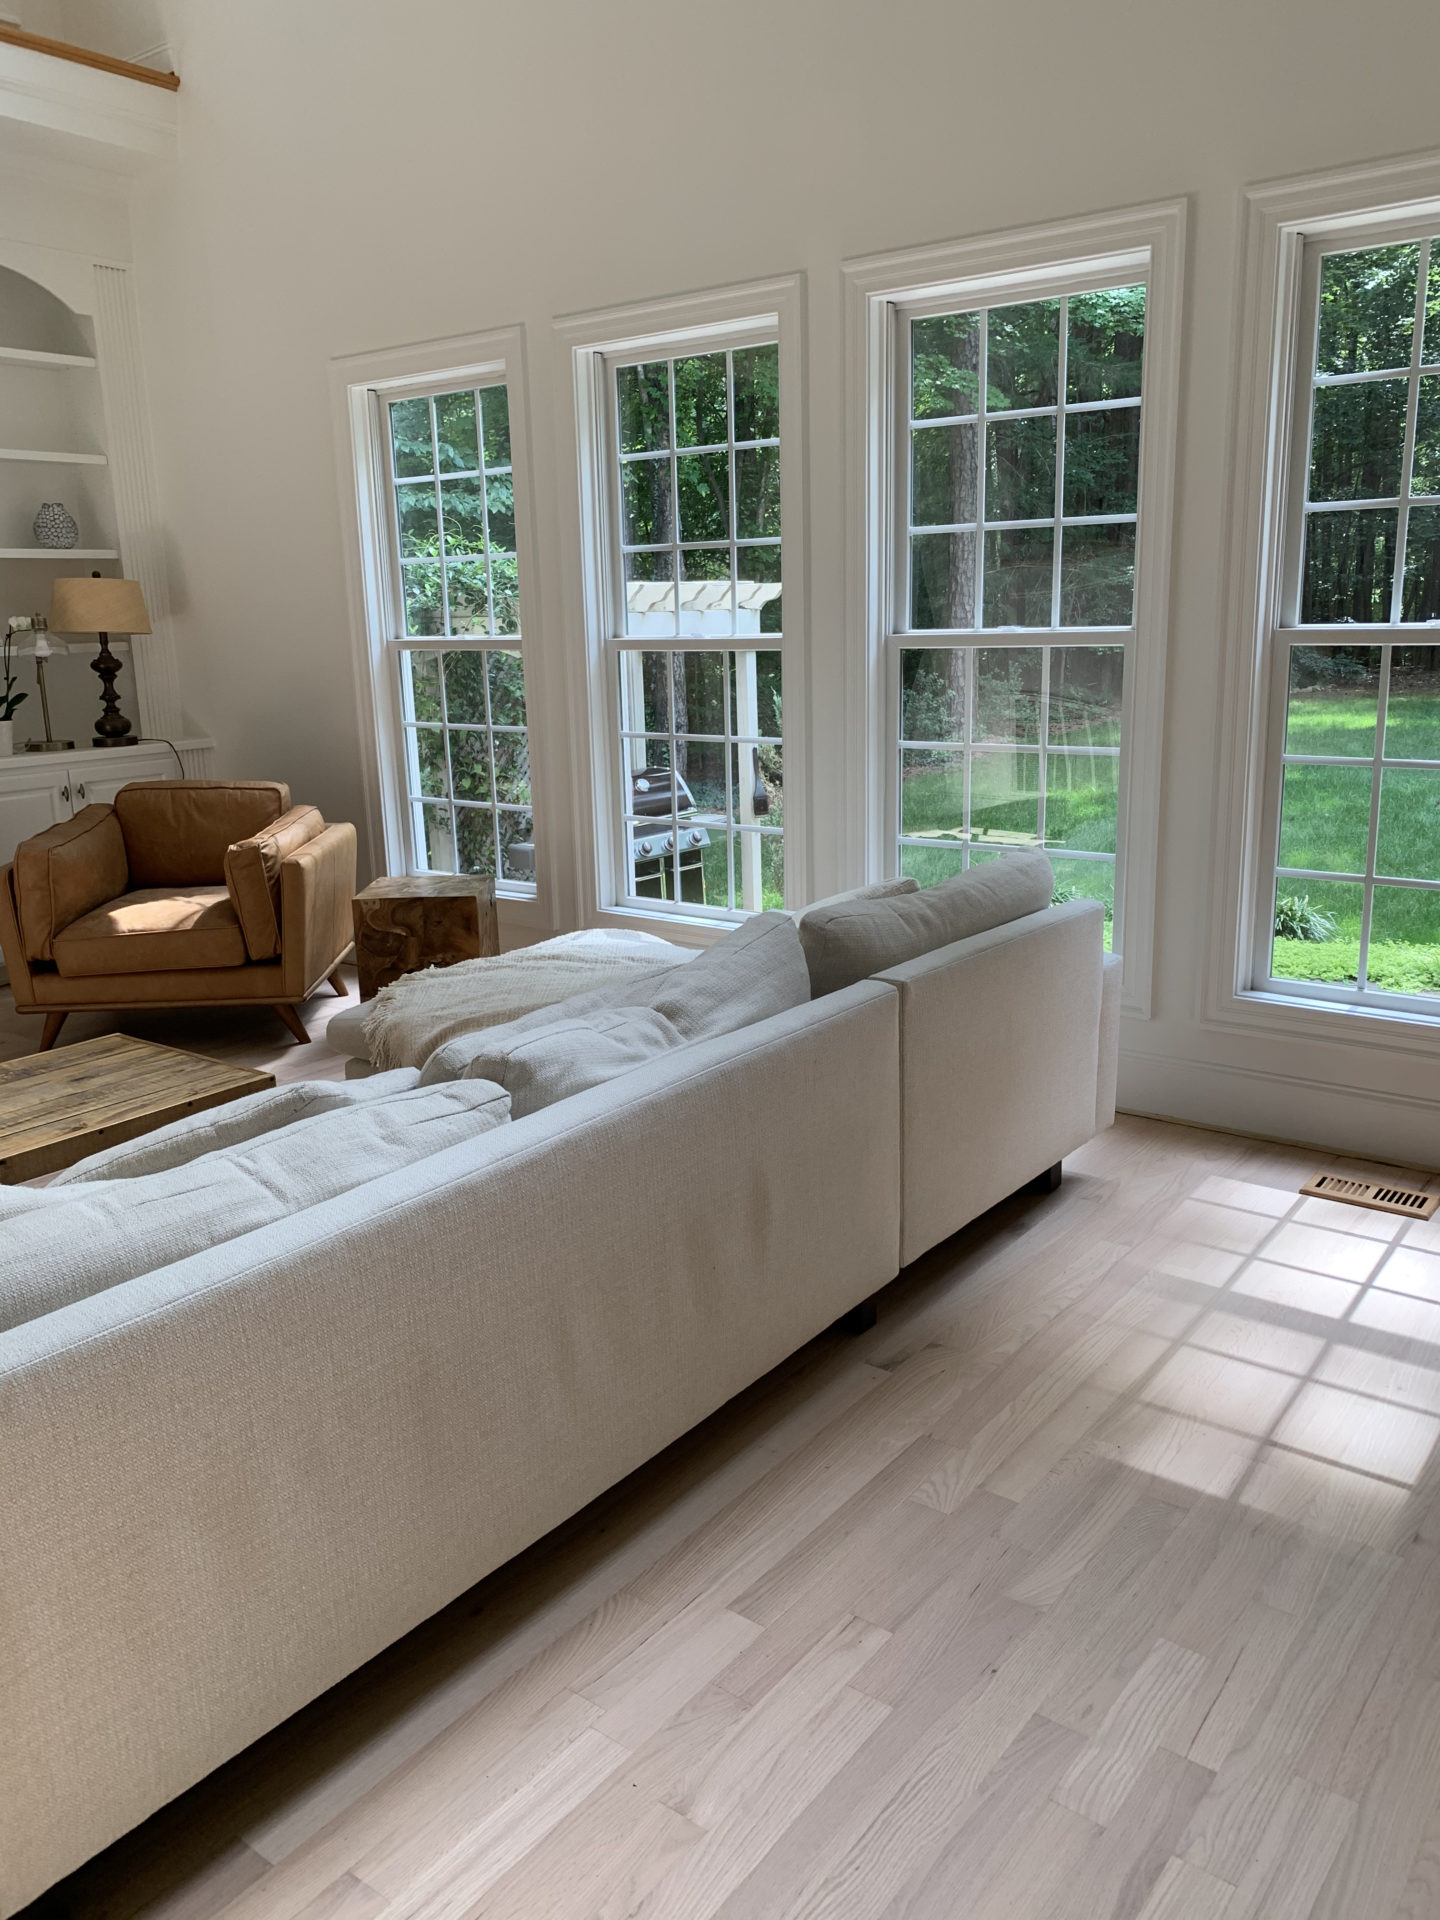
After (all unedited so you can see true finish. varies depending on natural light & time of day).


So the two things that I did first was a) find someone to do the floors and b) look at inspiration photos for the look we wanted. After doing some research and reading a lot of reviews, I reached out to Matt Poole Hardwood Restoration. The first thing that stuck out to me was that every review he had was 5 stars. I feel like this is so rare in the contracting space, so this gave me a ton of confidence. Not to mention that his before and after photos were incredible, and he uses a virtually dustless system. And after meeting with him, it was clear that he was super professional, knowledgable and meticulous at what he does (he also was just named in the top 40 in his profession by National Flooring Association). This is important for any job but especially when you’re investing so much in your floors.
Also something else to be aware of with wood floors in particular, you can only refinish them a certain number of times before you aren’t able to sand them down (and refinish them again). So just something to note if you’re thinking of getting your floors redone. Some companies will come in and sand down your entire floors in just 1 day versus several. What can happen here is that they just take off one large layer at once (because it’s quicker/less work for them to just do it all in one session) but like I mentioned earlier, your floors can only be redone a certain number of times. Point being, you just want to be sure who ever is doing your floors is taking care of them and not just trying to get the job done as quickly as possible (hence just be cautious of some companies that are charging on the lower end per sq. foot and sanding everything down in 1 day–there may be a reason!). Matt did prep work and sanded our floors over 4-5 days and then remaining 2-3 days were for the finish to be applied and dry.
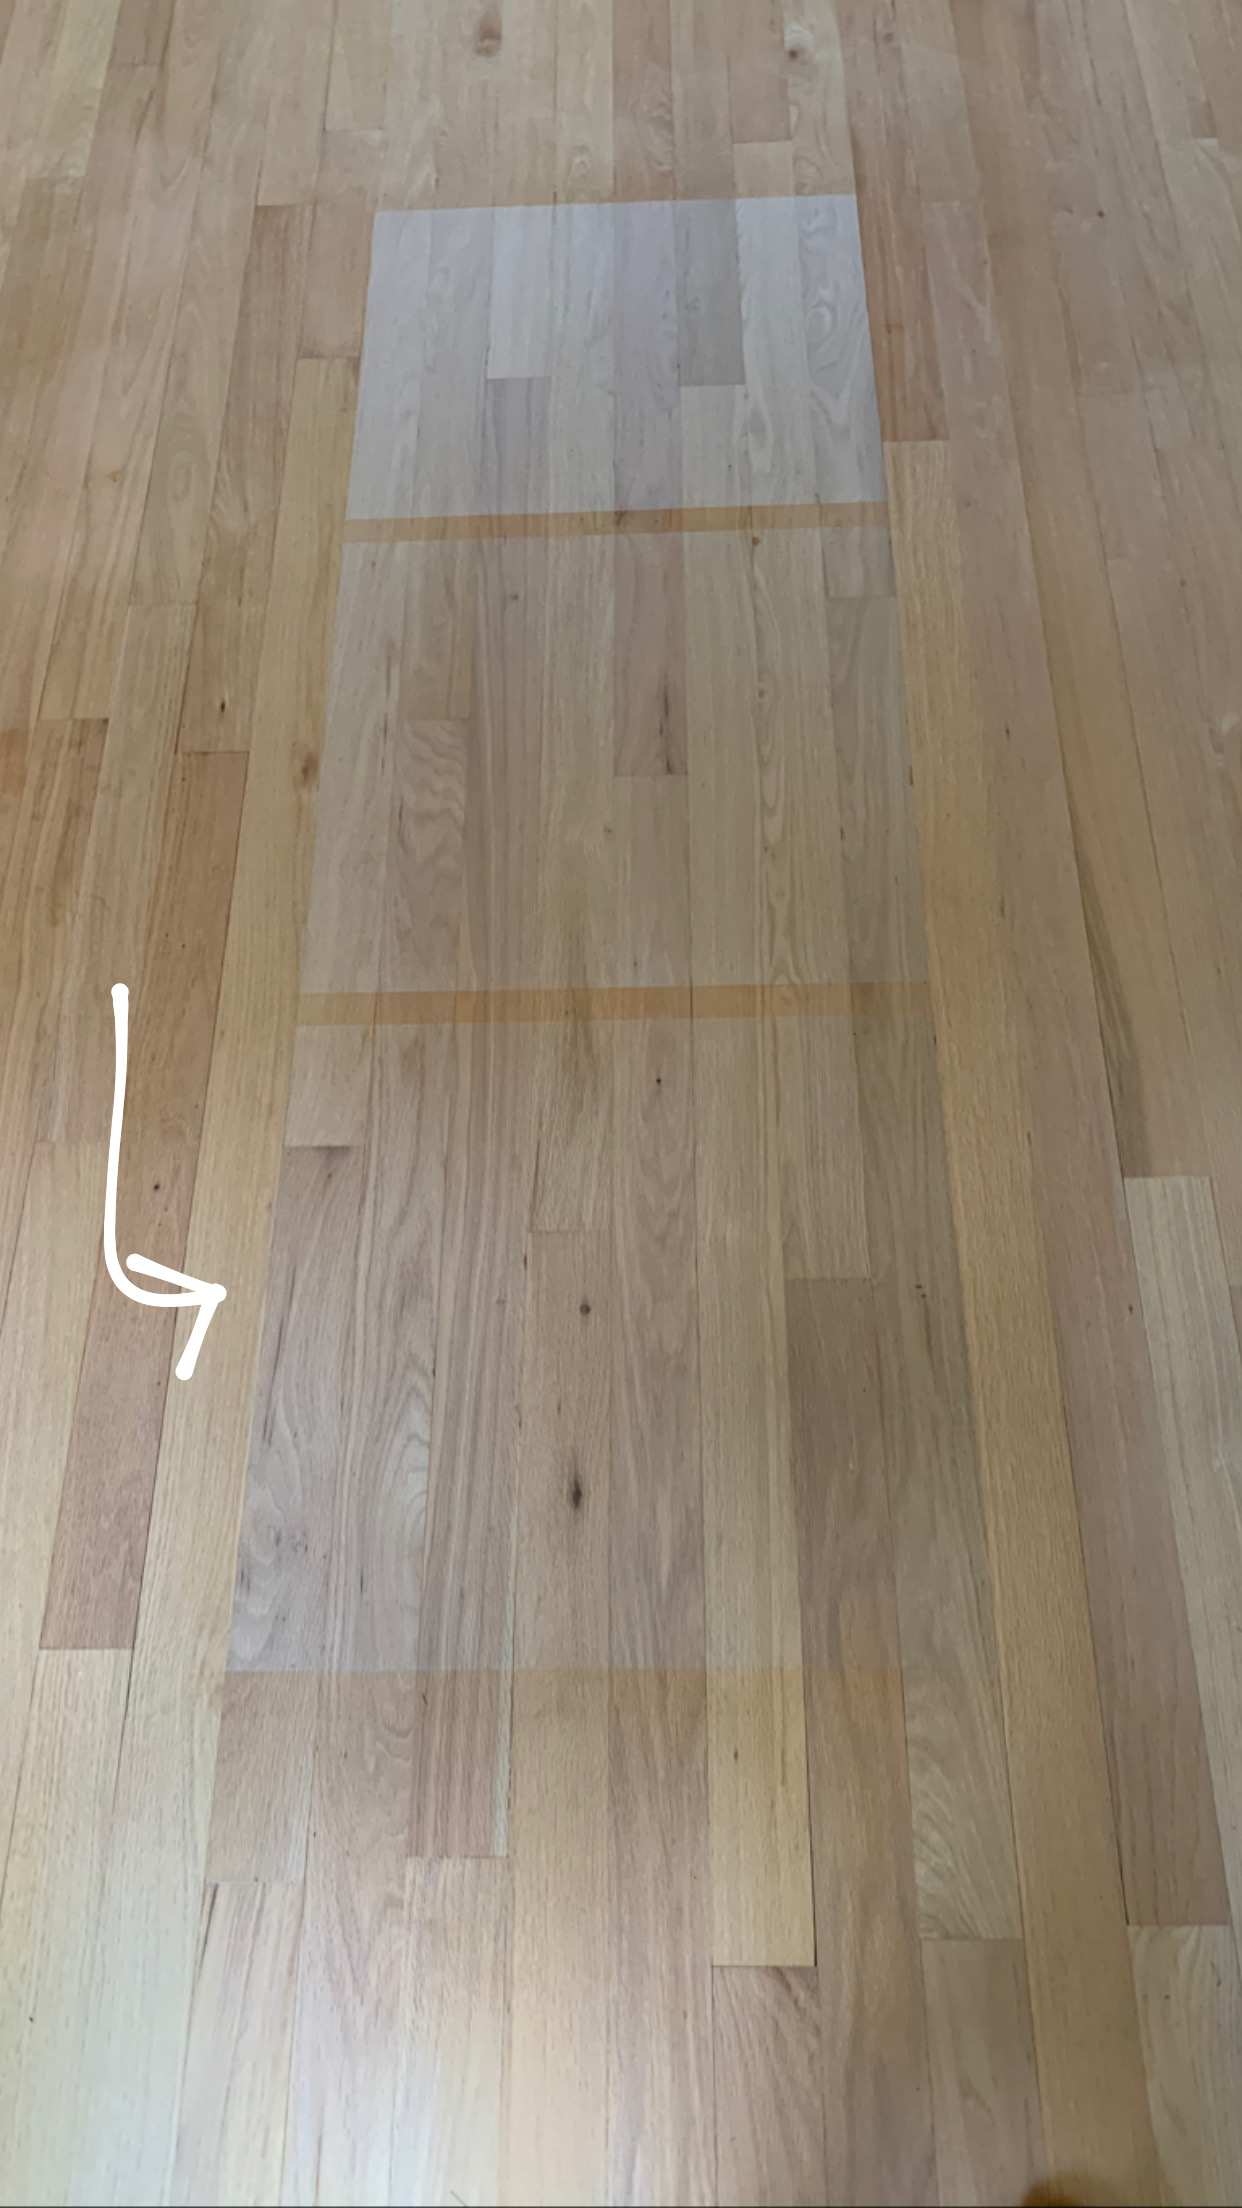
Okay, so moving onto how we chose the finish/final look. As you can see our floors were preeeetty yellow-toned/warm beforehand. The early 2000s polyurethane vibe was not the vibe we were going for lol. I knew I wanted something lighter (I had been using Pinterest to find inspiration photos for the new house), but I didn’t know what was entirely feasible with our floors. We originally thought our floors were white oak, but they were actually red oak upon closer look. So, nothing wrong with that but just know that depending on whether you have white oak vs. red oak that certain stains will show up differently. Inevitably, red oak (even when sanded down) is going to have more of a pink/red hue.
When Matt first came by, he showed us different options/stains, some of which were a natural oil finish and others which were water based. There are pros and cons to oil vs. water based, and it really just comes down to personal preference regarding short term & long term maintenance and the color you can achieve with each. Originally we were going to opt for a natural oil finish (more maintenance “day to day” but don’t ever have to refinish your floors entirely again) but with the natural oil finish, the stains were still showing up much more red/pink since we have red oak. And while it was 100x better than our current floor color, it wasn’t exactly what I was going for. After seeing the water based stain on our (red oak) floor, it was super similar to the inspiration photos I had pulled so we decided to go with the water based. With the water based, there is little maintenance day to day but after 10-20 years, you’re probably going to want your floors redone again since the finish will dull over time.
So we ended up choosing the commercial waterborne finish that mimics the look of an untreated wood floor (it’s also a very low VOC product so safe for your home), with 1 coat of a whitener additive (to add some white tones). We ended up sticking with just the 1 coat of whitener because we felt like more than 1 coat of whitener looked too “trendy” for our space. I wanted something light but natural and neutral. And here is a tip for anyone getting their floors redone– you definitely want to look at the finish samples during various times of day because like paint, they can look slightly different depending on the lighting. When doing this, think of overall vibe you want for your house and something that you won’t get tired of in just a few years. You’re going to have these floors for a long time so you want something that is timeless (IMO). The other thing to remember is that the color you choose is going to look more “drastic” when it’s in your entire house vs. just the small area where the stain sample is. Meaning, when I looked at the other stain samples with more white in them, they didn’t necessarily look super white or too trendy when they were only 1 foot by 1 foot. However, when that stain is everywhere it’s going to be a lot more impactful. So just something to keep in mind when looking at various stains.
Okay, so I also wanted to share a little more about the overall process of the before/after maintenance of having your floors redone. As I mentioned above, one of the other main reasons we went with Matt is that he has virtually a dustless system. So while you have to move your furniture out where the floors are being refinished, the rest of your house stays clean/dustless. You don’t have to worry about your house being like a construction site lol. That being said, you can also stay in your home while he is working. There were times of course that it was somewhat loud, but working from home was still definitely possible. However, if you do decide to get your floors redone and you know you’ll be out of town for several days, you might as well plan them around each other for the sake of convenience!
Another FAQ may be–what do you do with all your furniture? As you may have guessed lol, all your furniture needs to moved out on the area/floors being treated. We ended up putting ours in our screened in porch. Other options are a garage if you have one, or in other areas/rooms of the house where there aren’t hardwoods. You could also rent one of those pods and just have it in your driveway to hold your furniture during the project. I should also mention that once the sanding process was complete, and the stain was applied, we just needed to let it dry for about 48 hours before we were able to move our furniture back (we were able to still walk around on it overall but had to wear socks, etc). Our friends who also worked with Matt, did the natural oil finish (you can see their home/floors here), and they had to wait a few days longer before moving their furniture back. They also had white oak floors, so if you have white oak (and are interested in natural oil) they would be a great resource too –feel free to DM them!
Okay, so I THINK that covers everything. Please let me know if you have any questions and I’m happy to help answer! Also, I know not all of you are in the Raleigh area, but Matt also has a blog that answers his top 10 FAQ so that could be helpful!


")


comments +