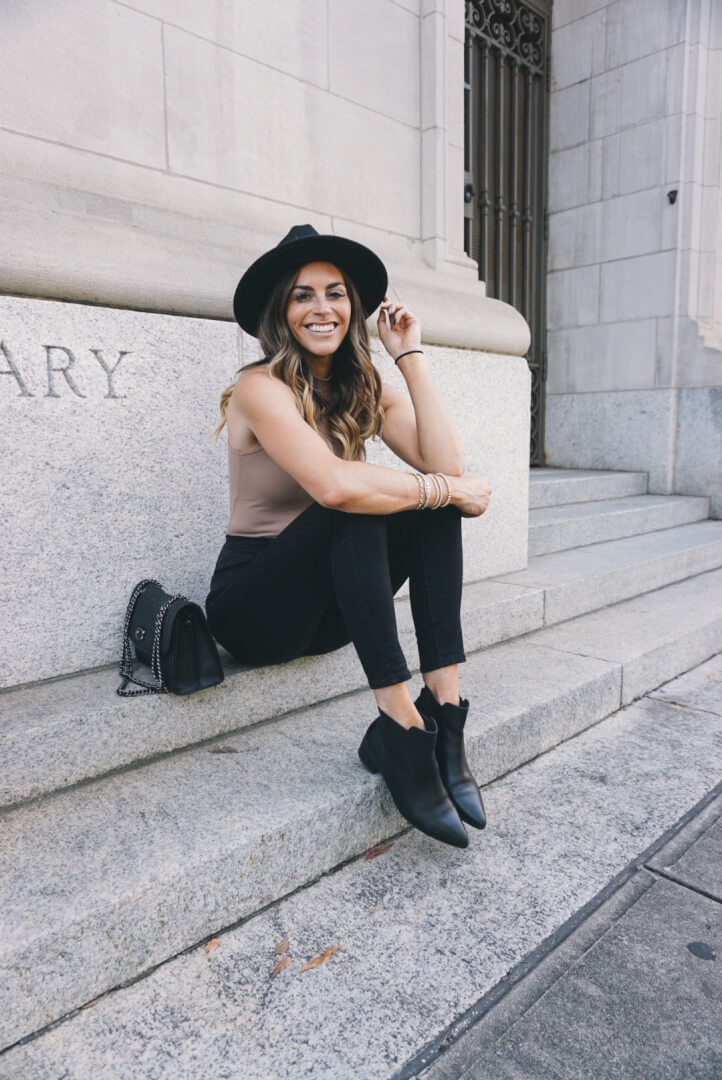
Hey guys! Today I wanted to share the 3 main apps I use to edit my photos. If you missed the process that goes into how I actually edit my photos, you can find all of that in this blog! I know the post is older but my process has stayed the same. Okay, so onto the apps I use to edit each day. I’m going to share these in the order I use them and use a photo as an example so you can actually see each step!
- Facetune. Okay, so if you’re going to use Facetune you always want to use this app first before doing any other edits. FaceTune can do a lot but to be honest, the only feature I really use is the smoothing feature. I basically use this feature for my forehead if it’s looking shadowy or greasy haha. It just helps the photo/my face look a little cleaner if you will. Below is an example of how I use it. You can see there is just the slightest difference on my forehead, but nothing drastic.
The thing you want to be mindful of when using Facetune, whether it’s the smoothing feature or something else, LESS IS MORE. I think people can get really carried away in this app and their face looks overly “done” or they start contorting parts of their body so they look totally different in the photo than IRL. So just remember that a little tweaking can go a long way in helping your photo look more polished without totally photoshopping yourself.
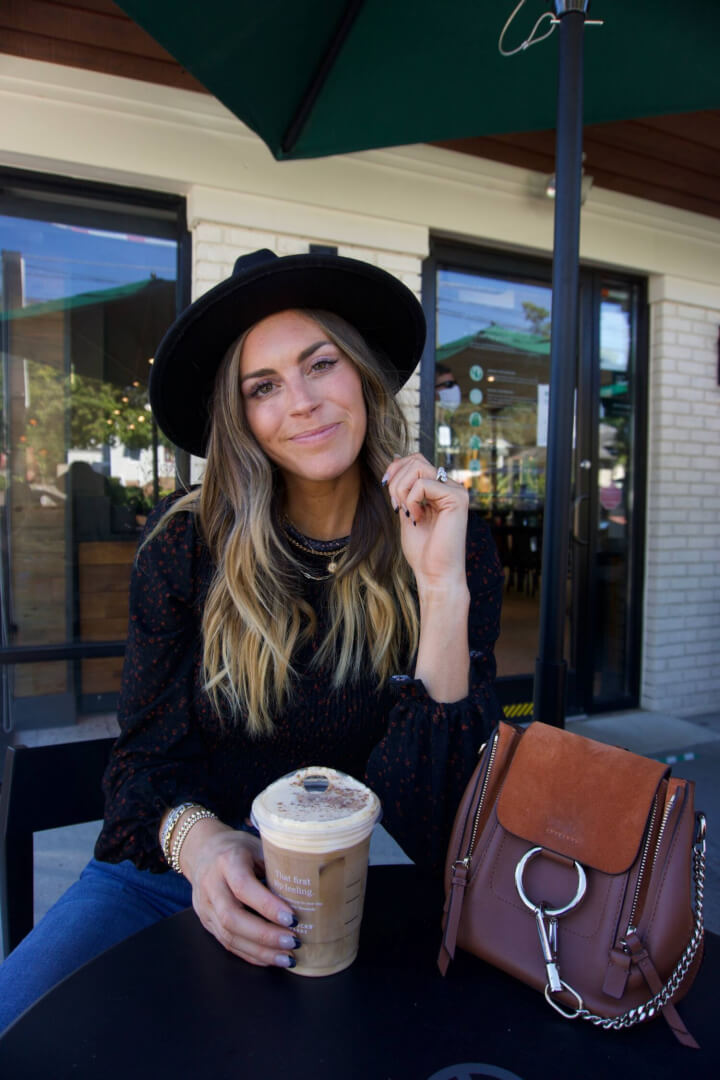
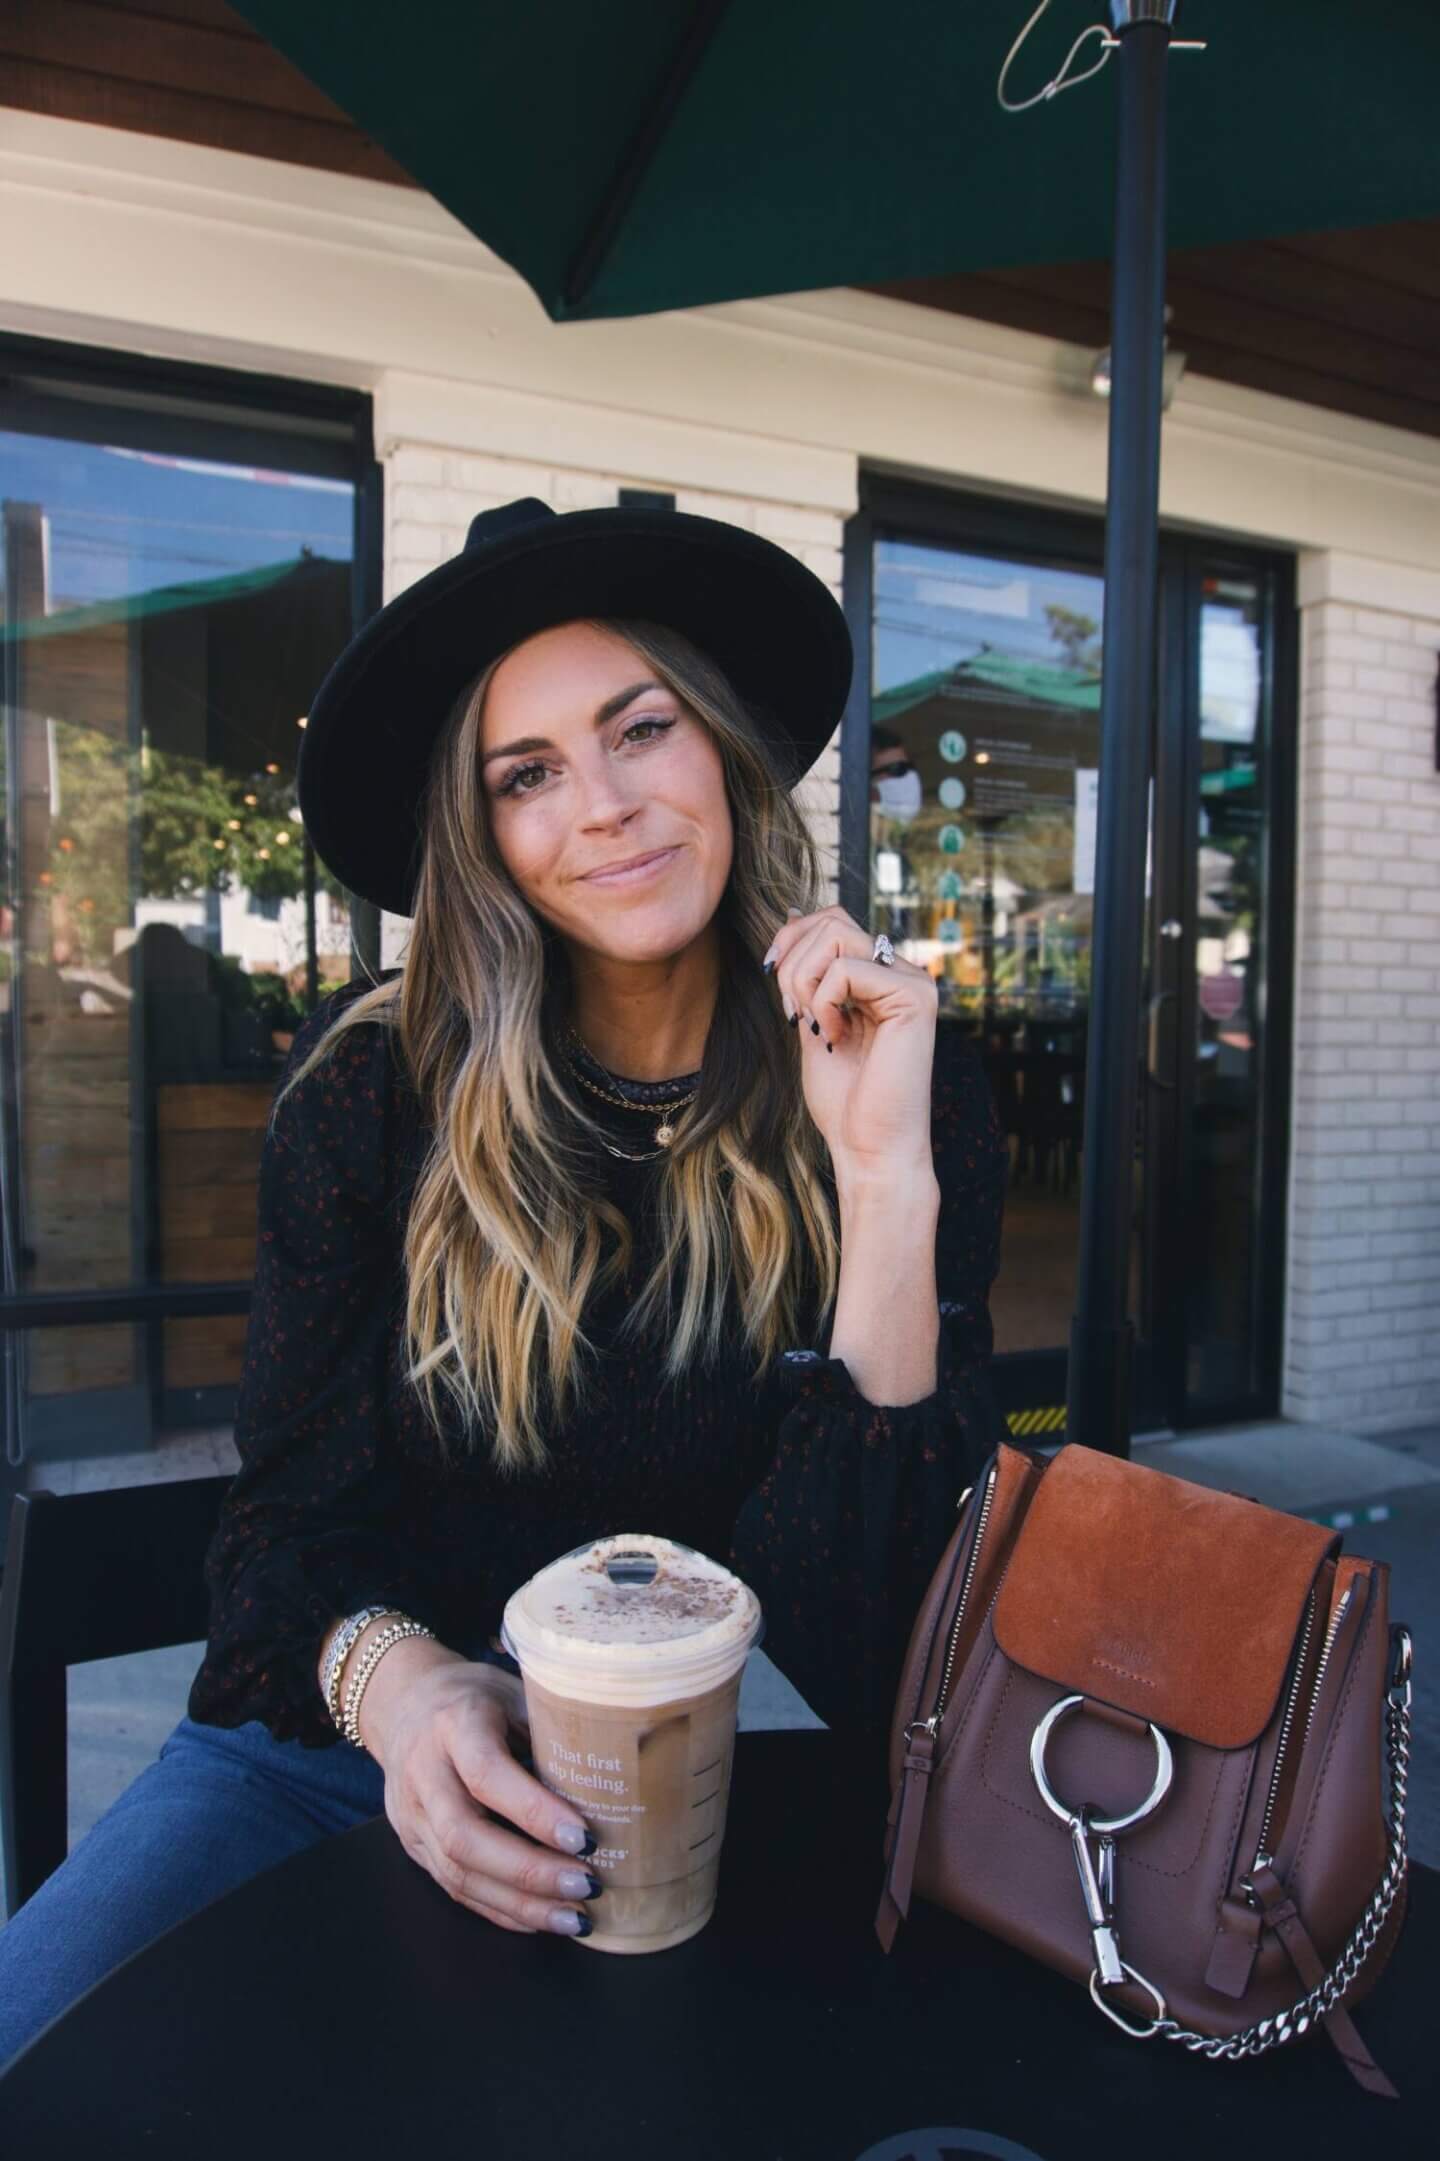
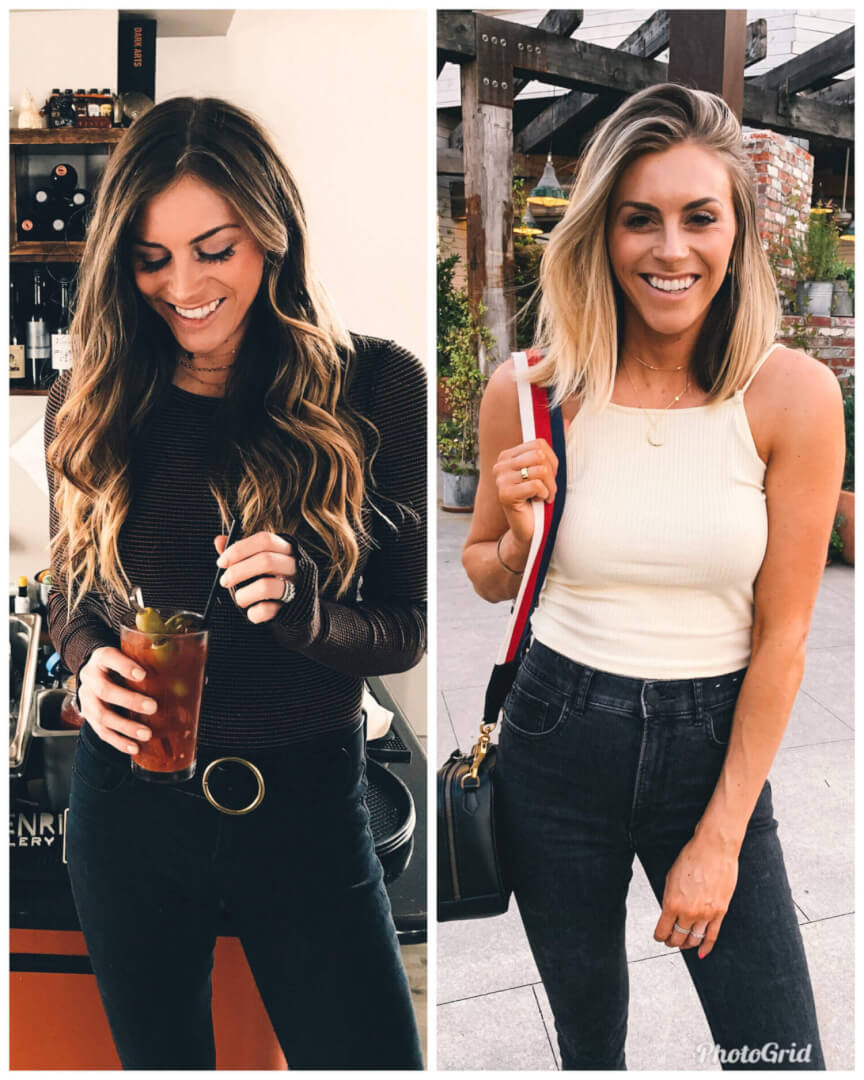
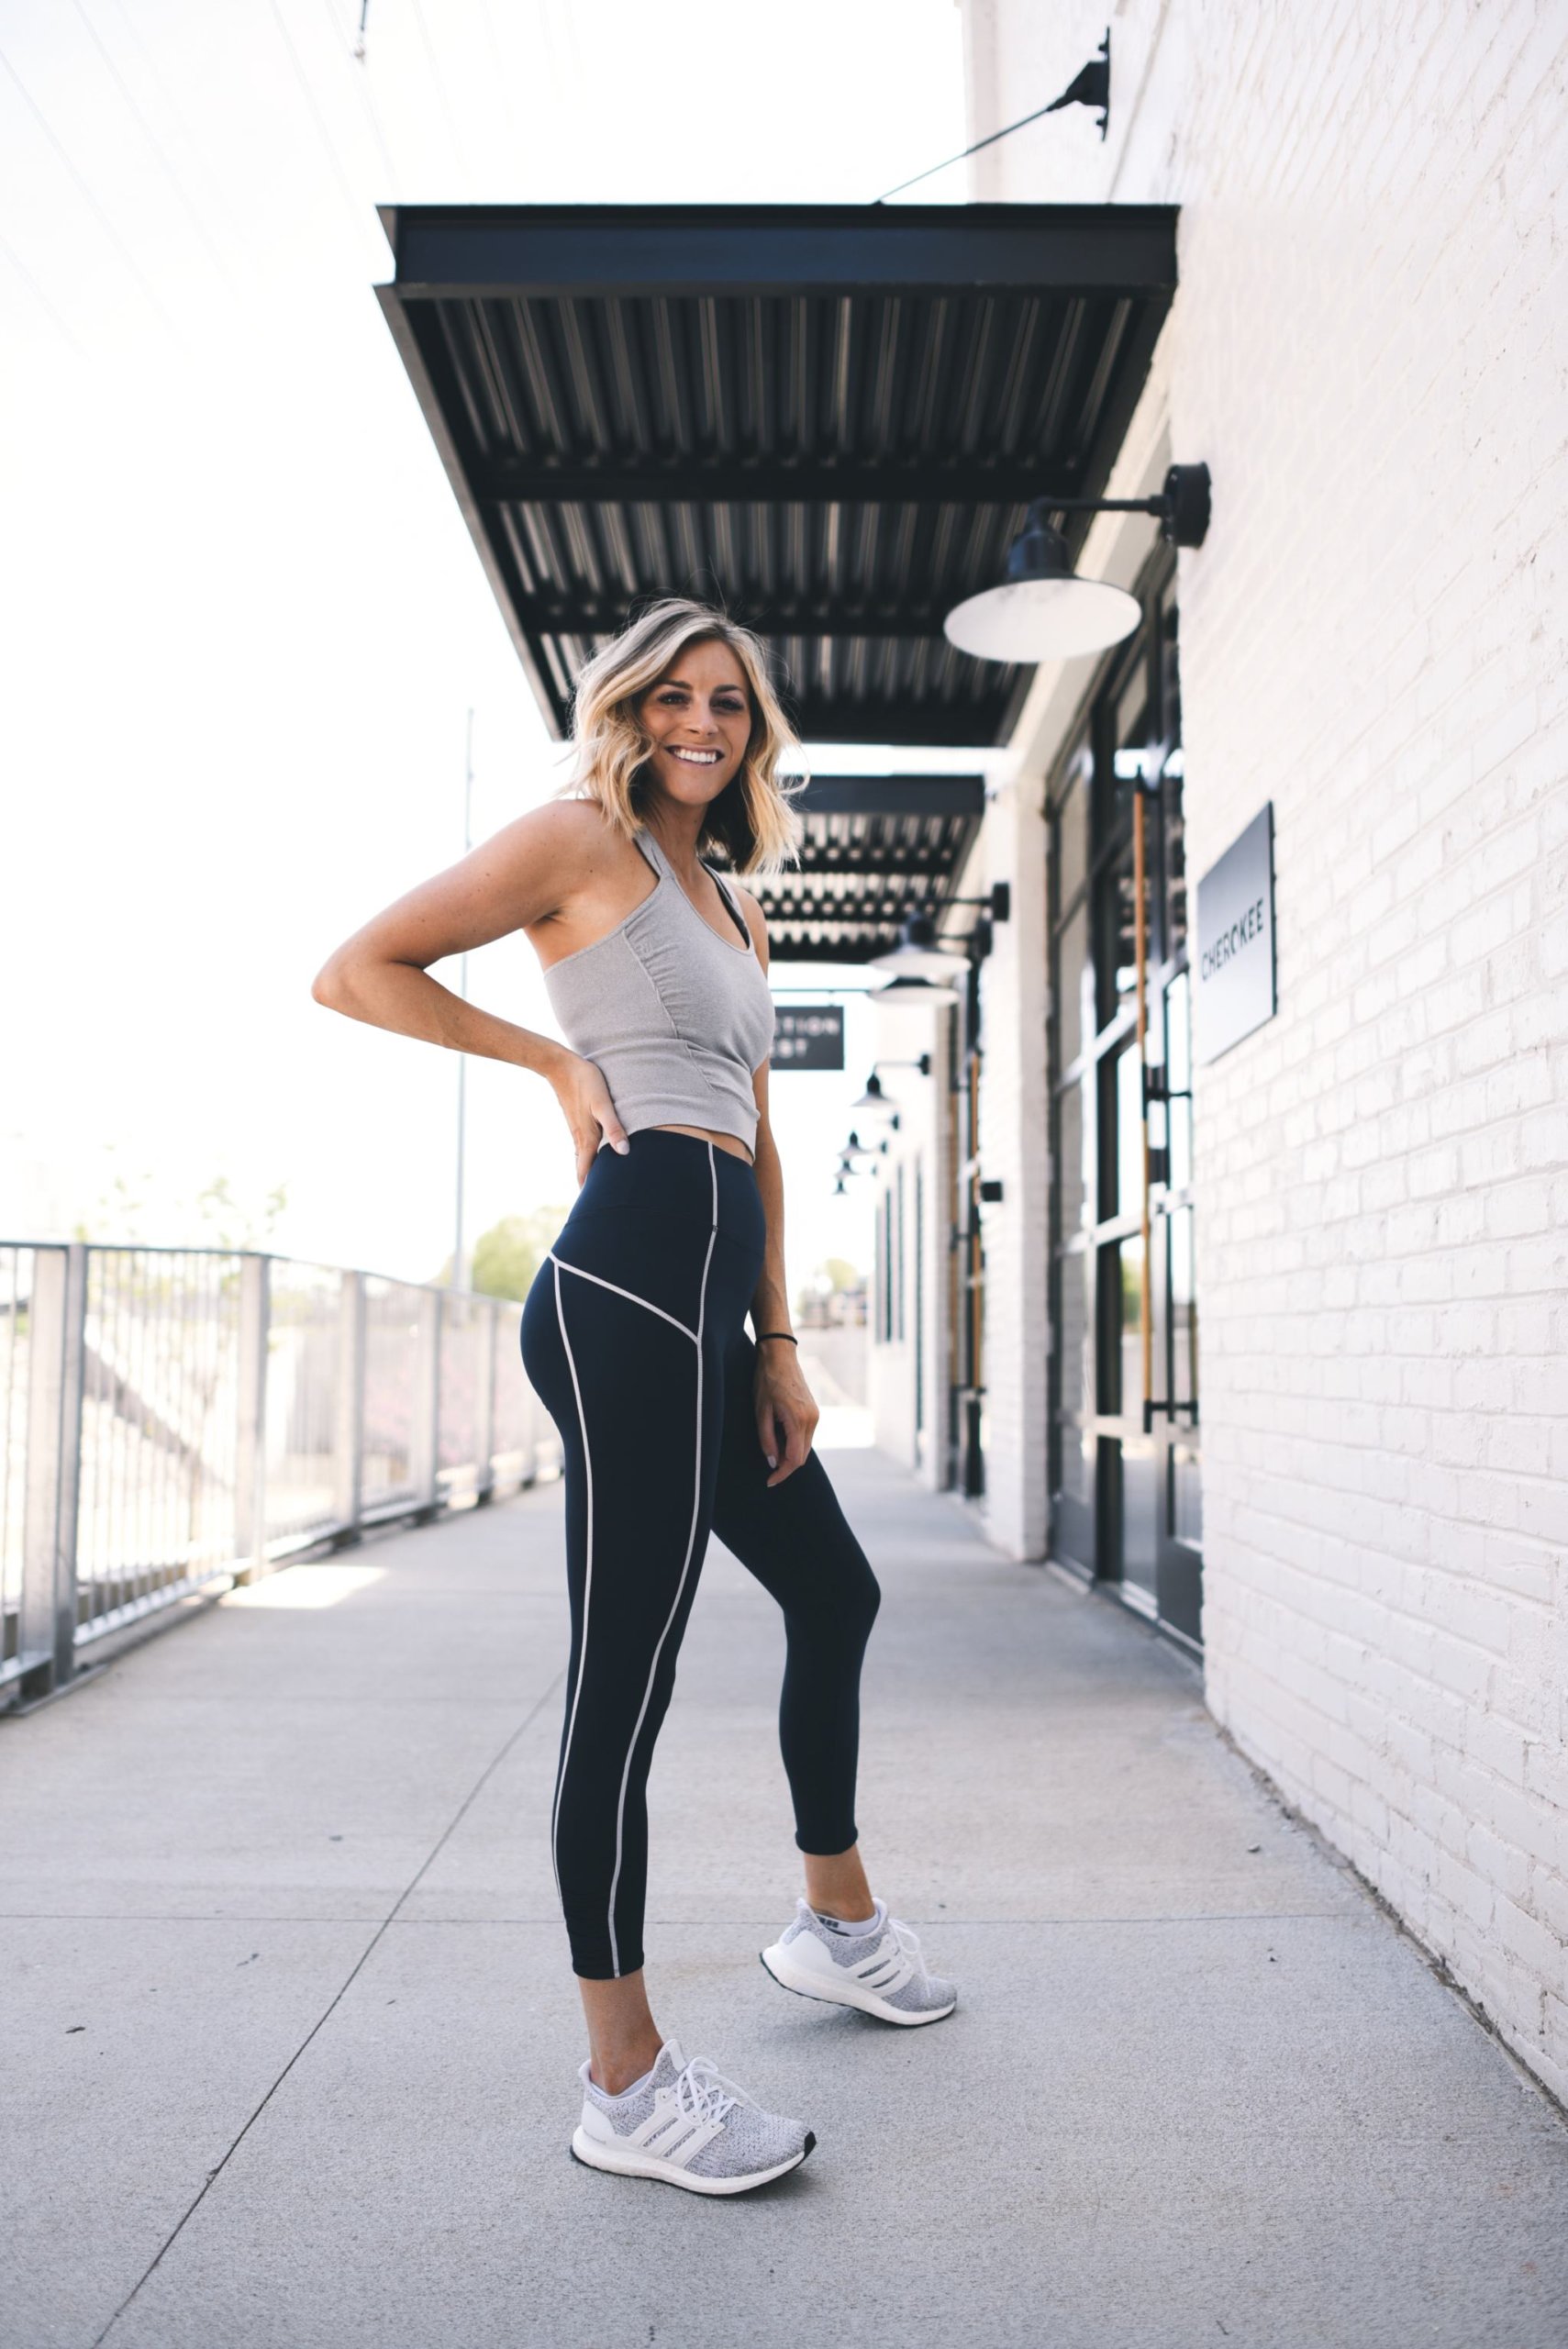
- Before facetune/no edits
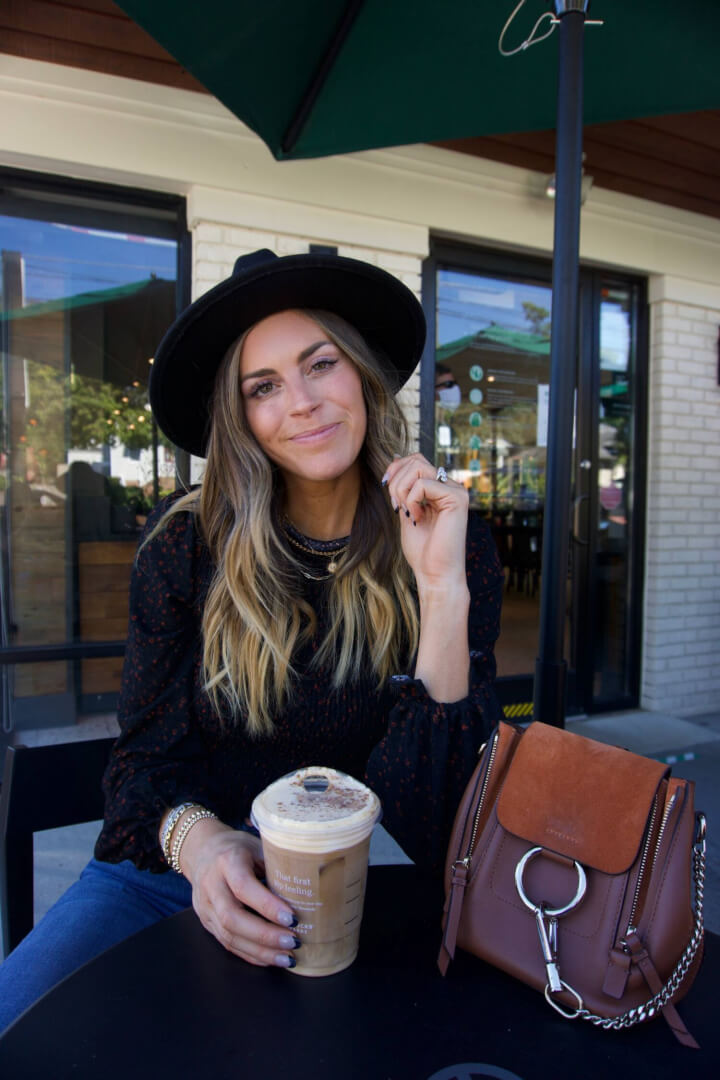
- After facetune
- VSCO. This is the second step/app I use. Even though I know how to edit in Lightroom (which is where a lot of presets you may have downloaded from creators come from), I prefer to use VSCO first because I’ve found a filter I like that universally works with all my photos. So for me, it’s much easier to use a filter from VSCO and then tweak in Lightroom for the last step. I explained in a lot of detail in my photo editing blog post how I decided on what filter(s) I used so if you’re unsure of how to decide on a filter that blog is a great place to start. But basically, I almost always use E5 or E7 (some filters are free but you can purchase all the VSCO filters for like $20) and turn it up a little over halfway to achieve my desired look. Below you can see the photo once it’s been edited in VSCO.
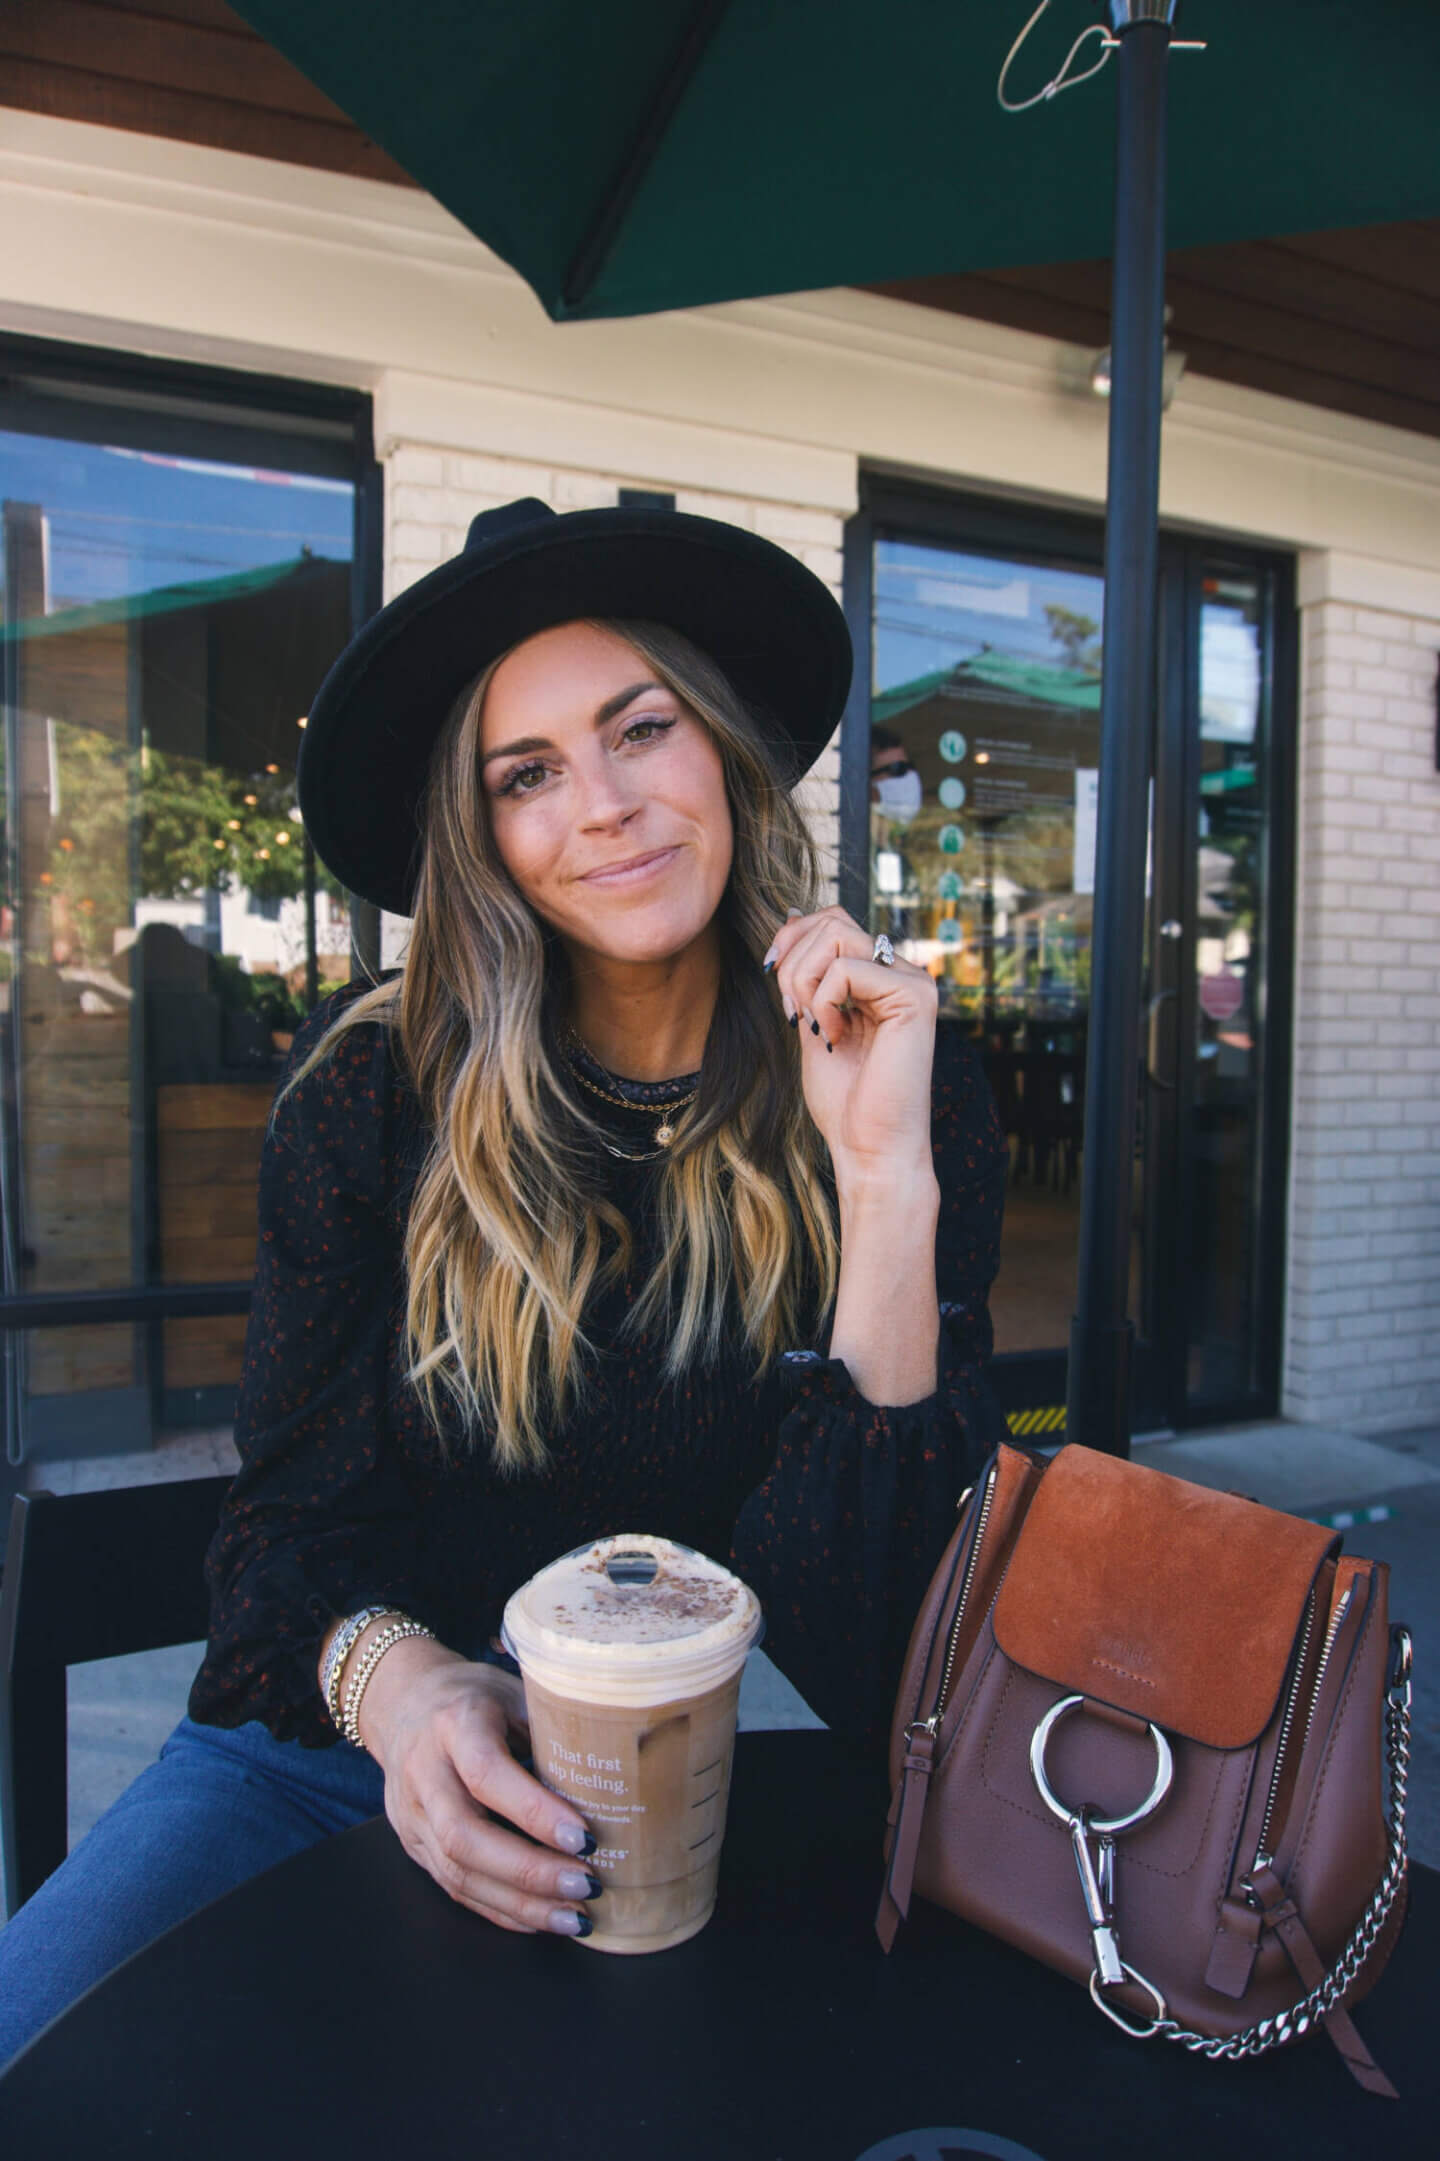
- Before facetune/no edits
- Facetune & VSCO
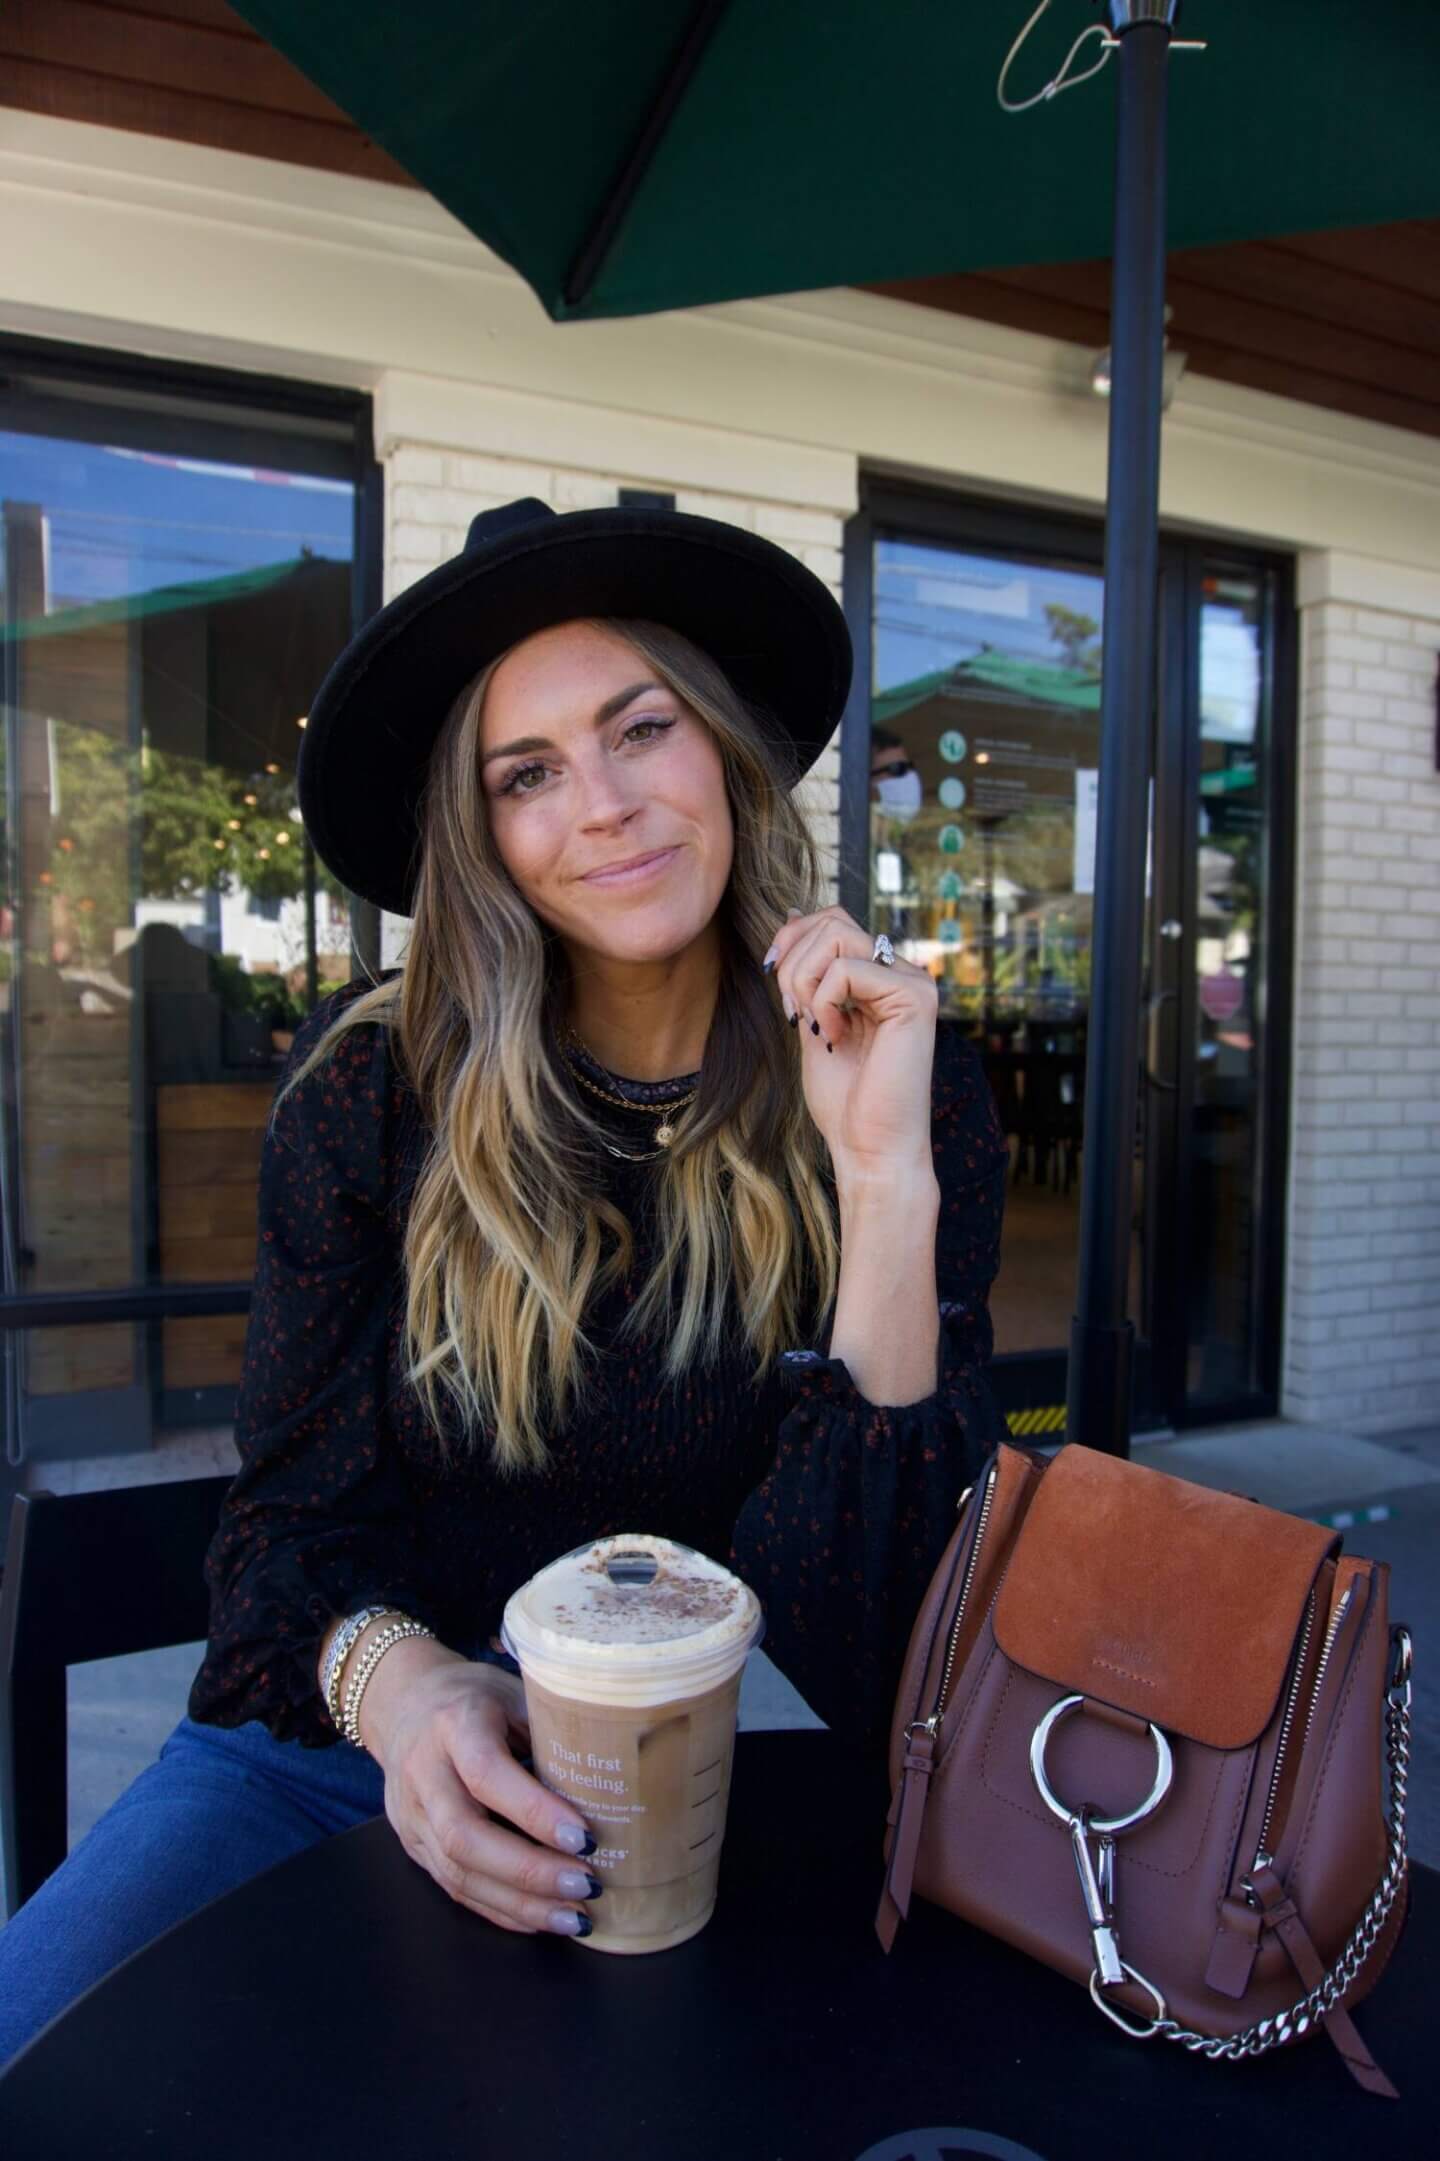
- Lightroom. Last but not least is Lightroom. Lightroom is great if you really want to learn/spend the time editing photos but it’s also really helpful if you want to make tweaks beyond what an editing app like VSCO can do. You can download Lightroom on your desktop, but I almost always just use the app on my phone. The desktop version is great if you need to make some larger edits/changes but if you’re just tweaking things the app works great. So I go ahead and upload my photo from VSCO into Lightroom and then make changes from there. The features I usually use are everything under the light tab, and then sometimes I’ll turn up the vibrance under the color tab to keep my photos a little warmer. If I have a lot of green in my photos, I’ll turn down the saturation, vibrance, etc. with that as well since I like a darker, less intense green. Below you can see the final photo with the Lightroom tweaks.
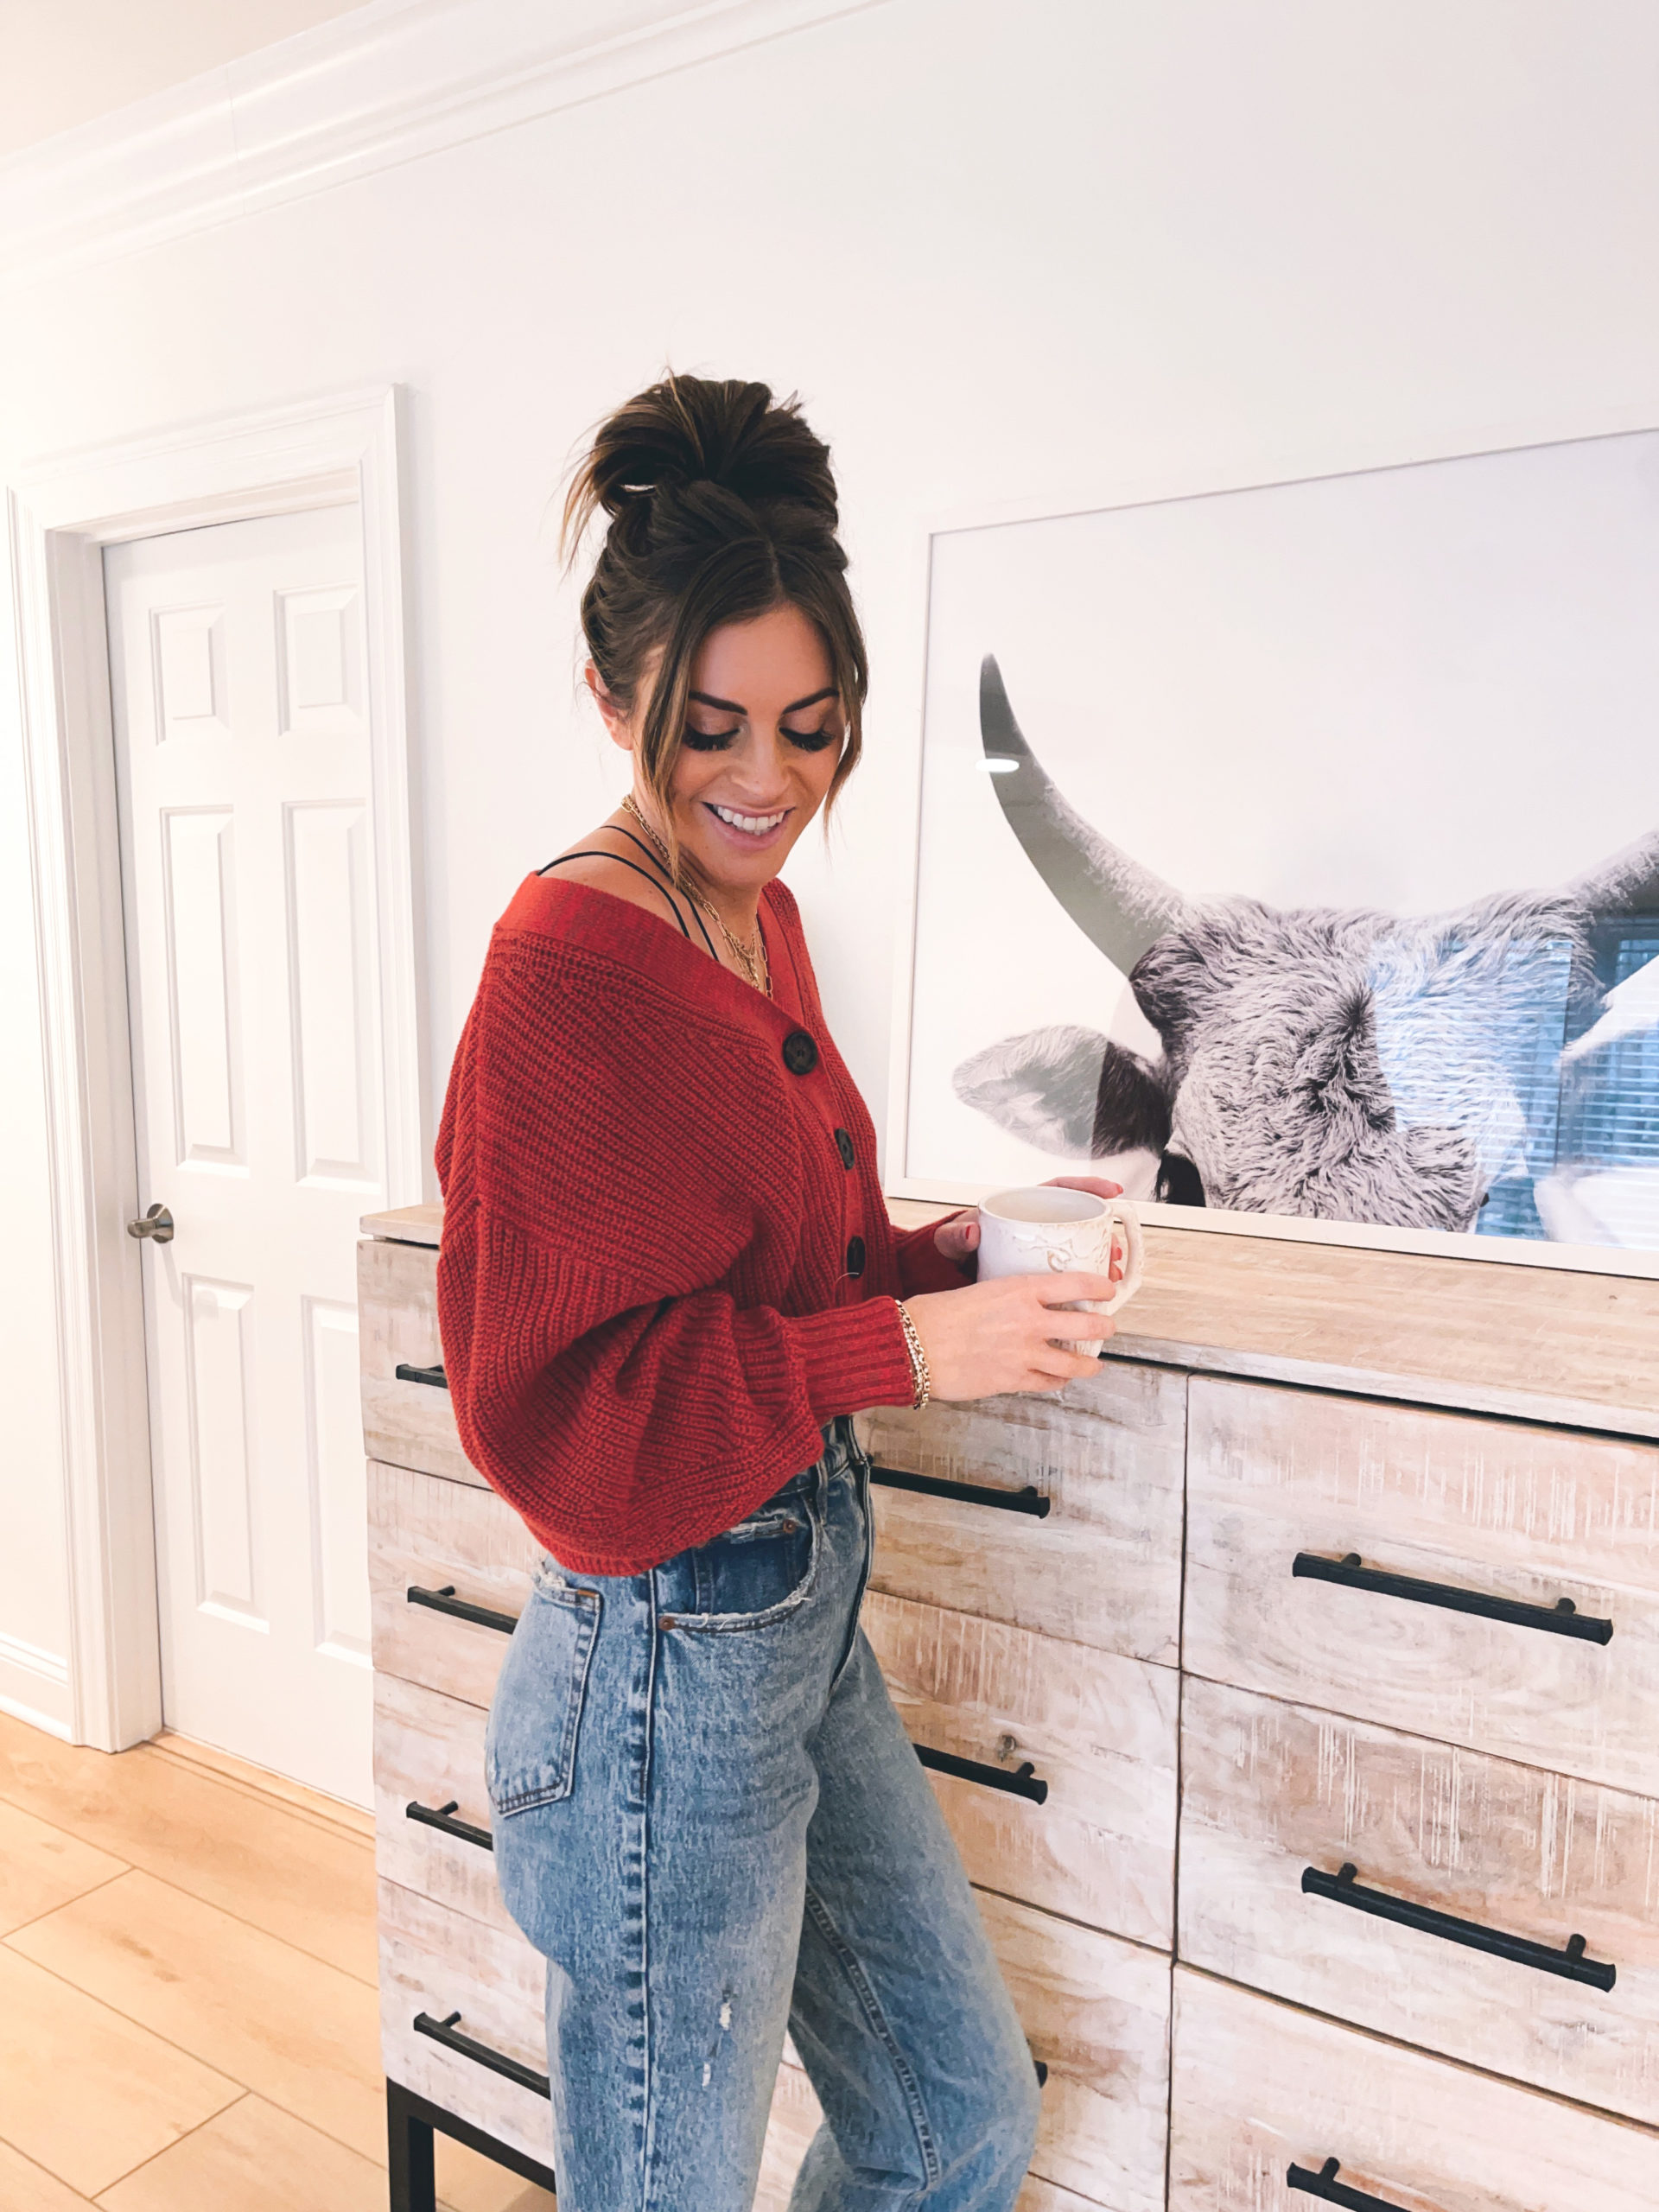
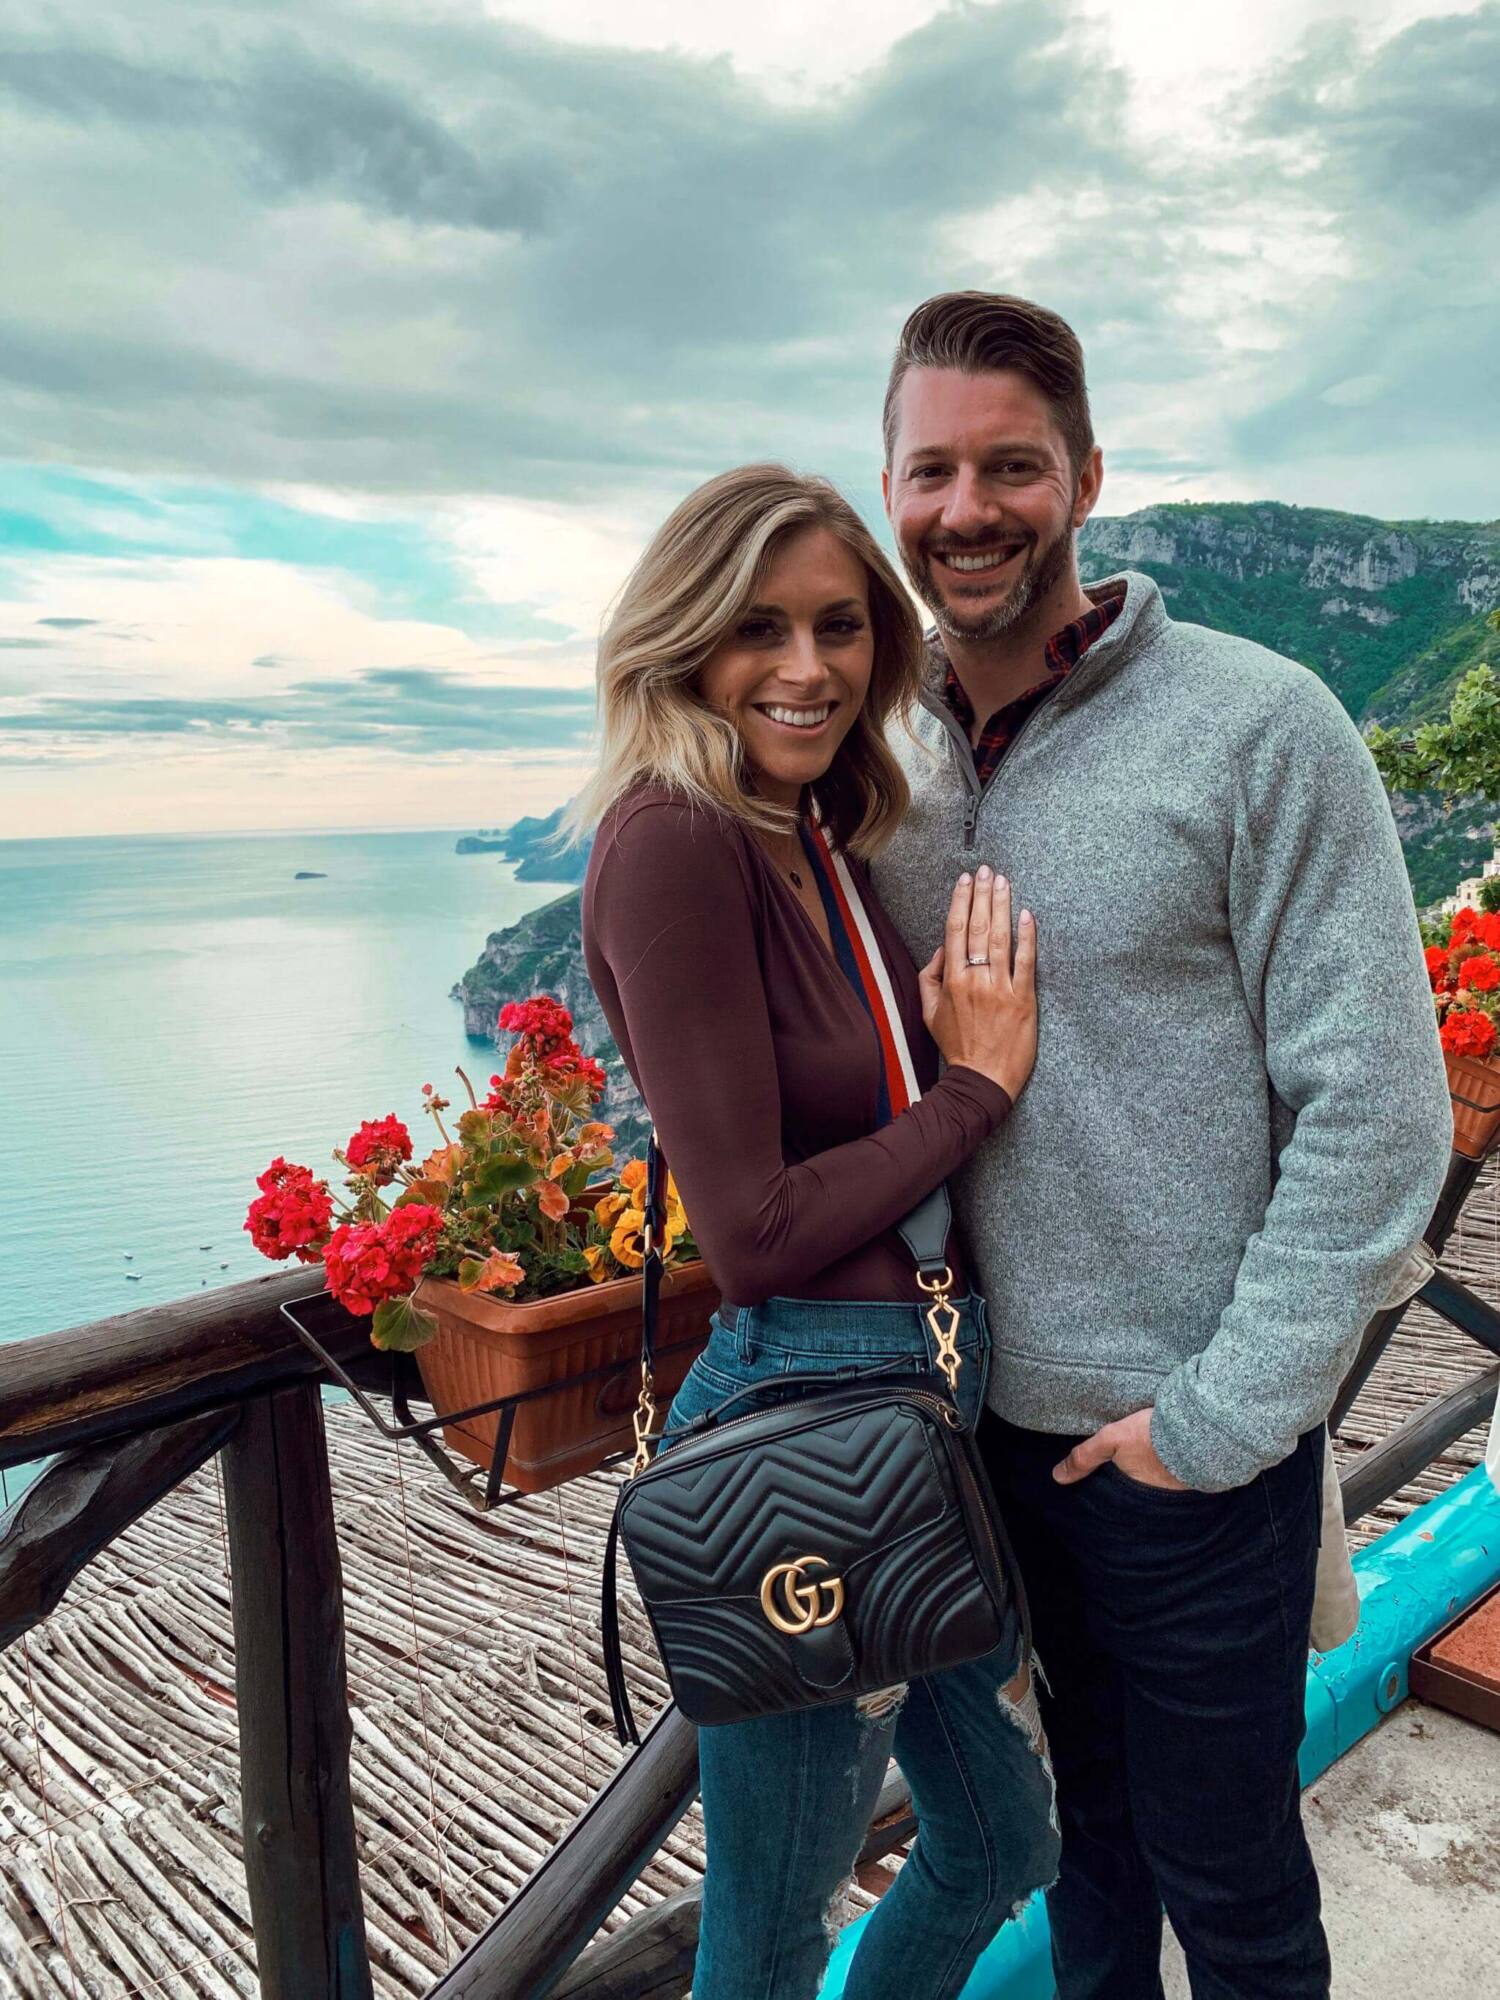
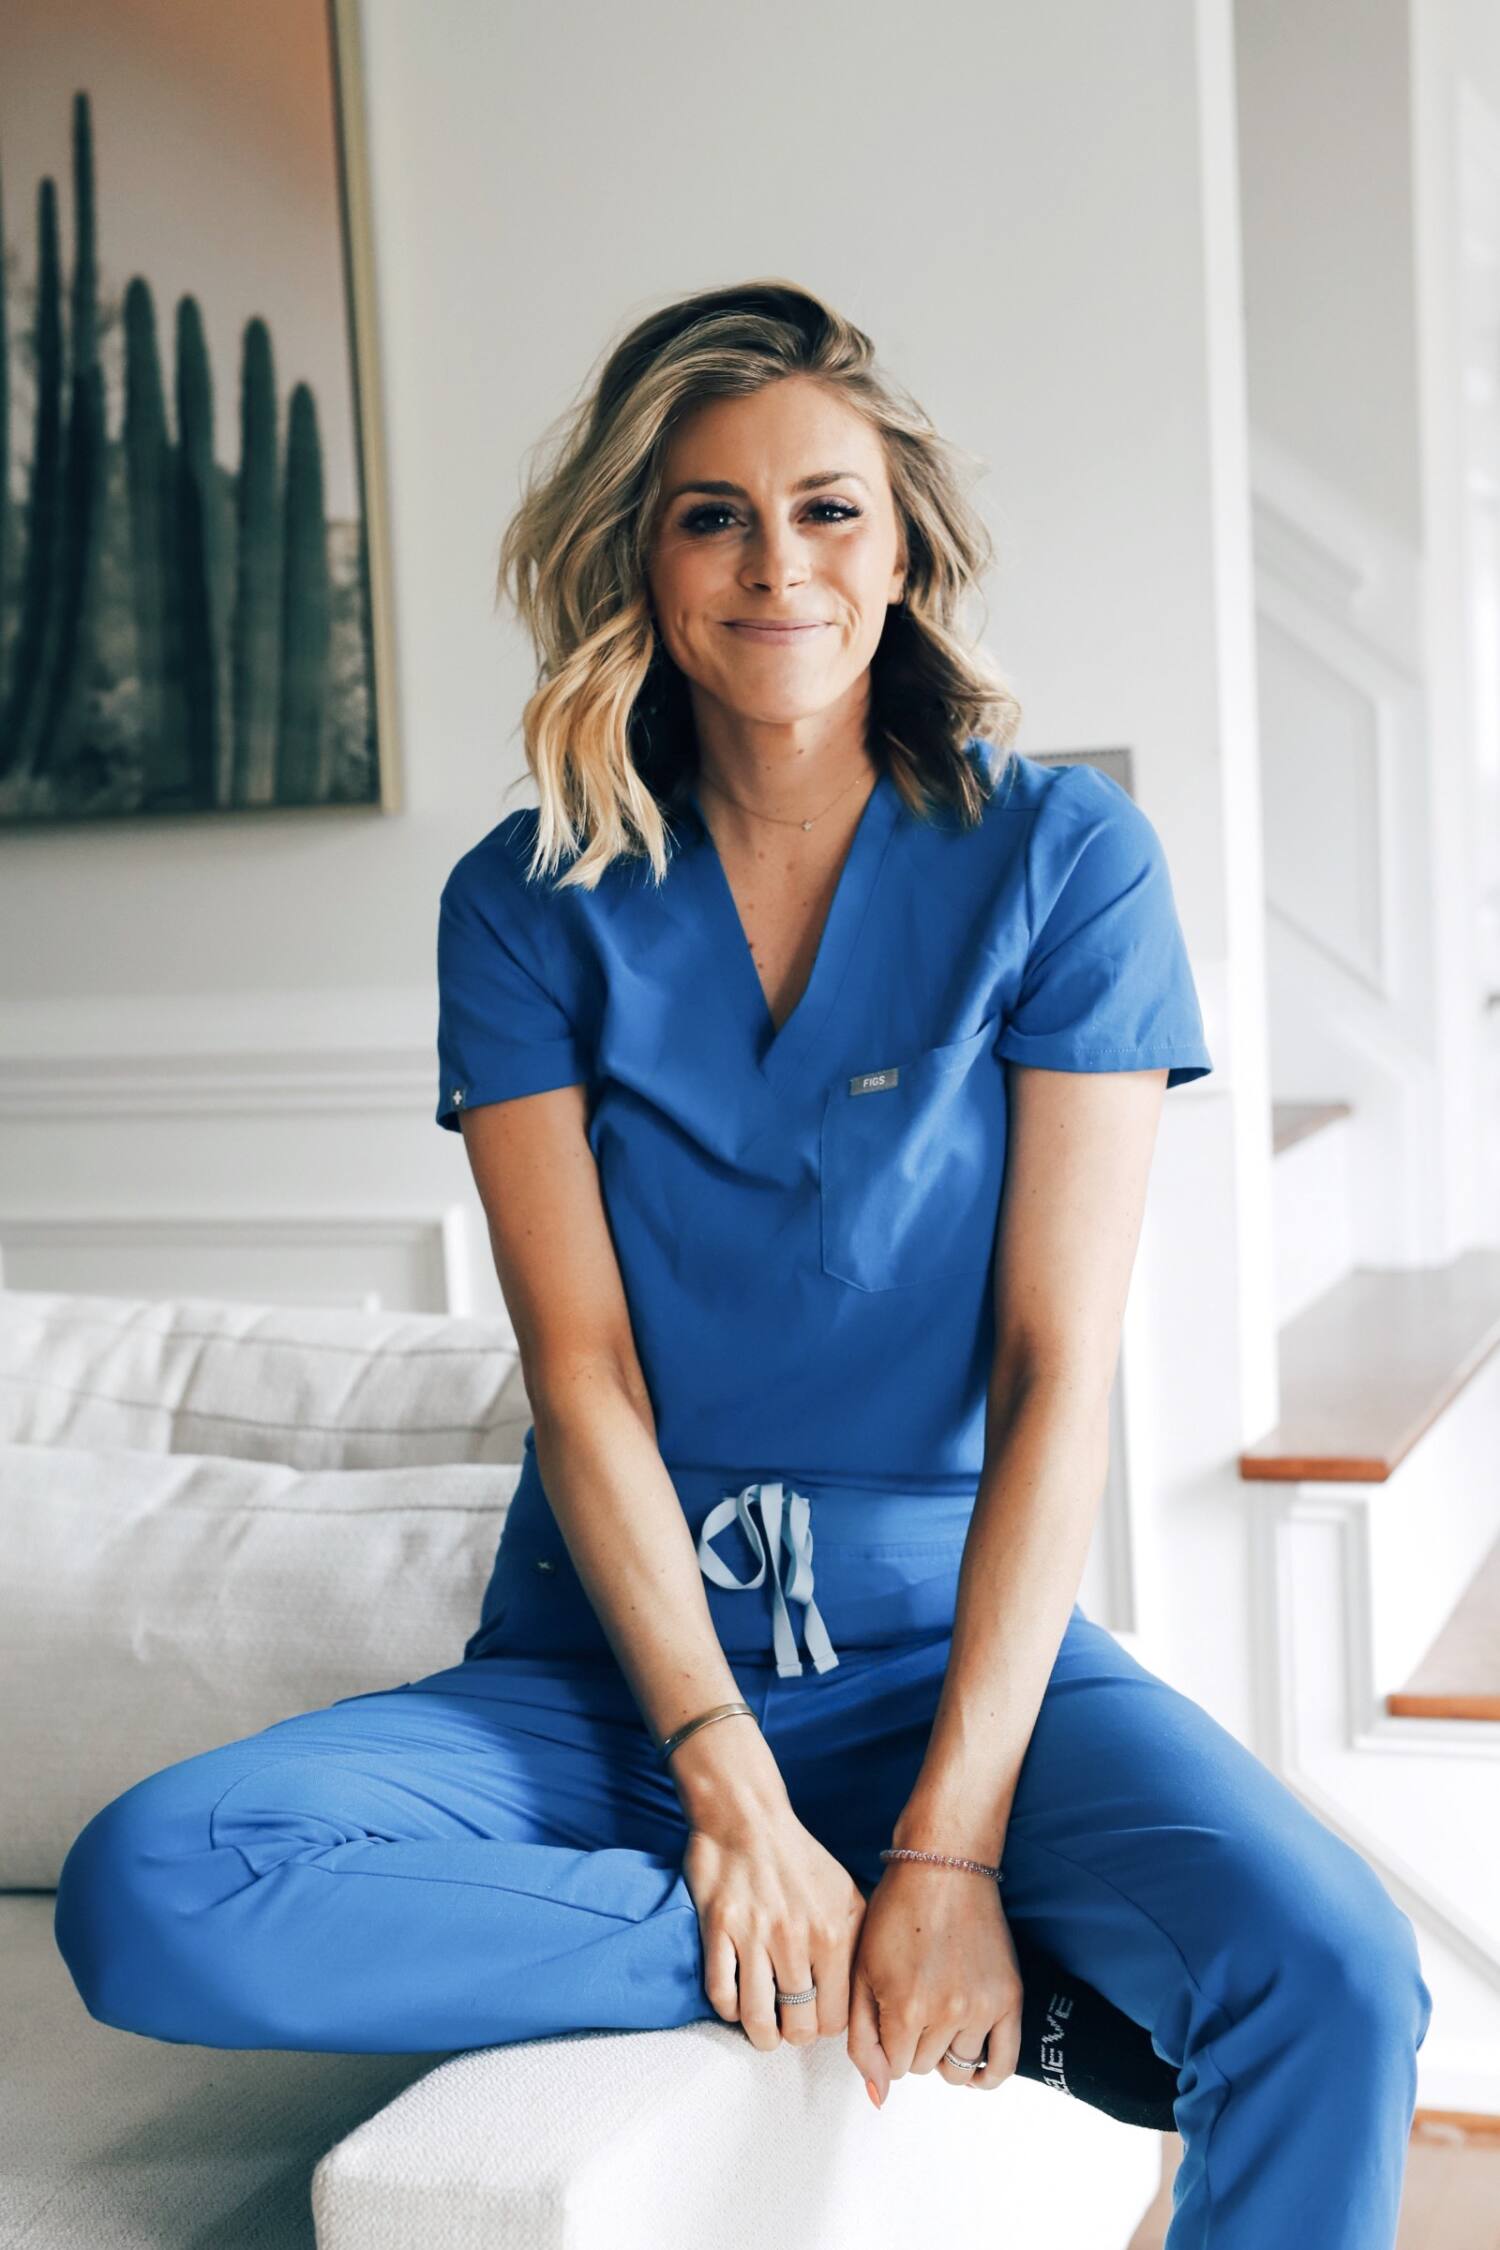
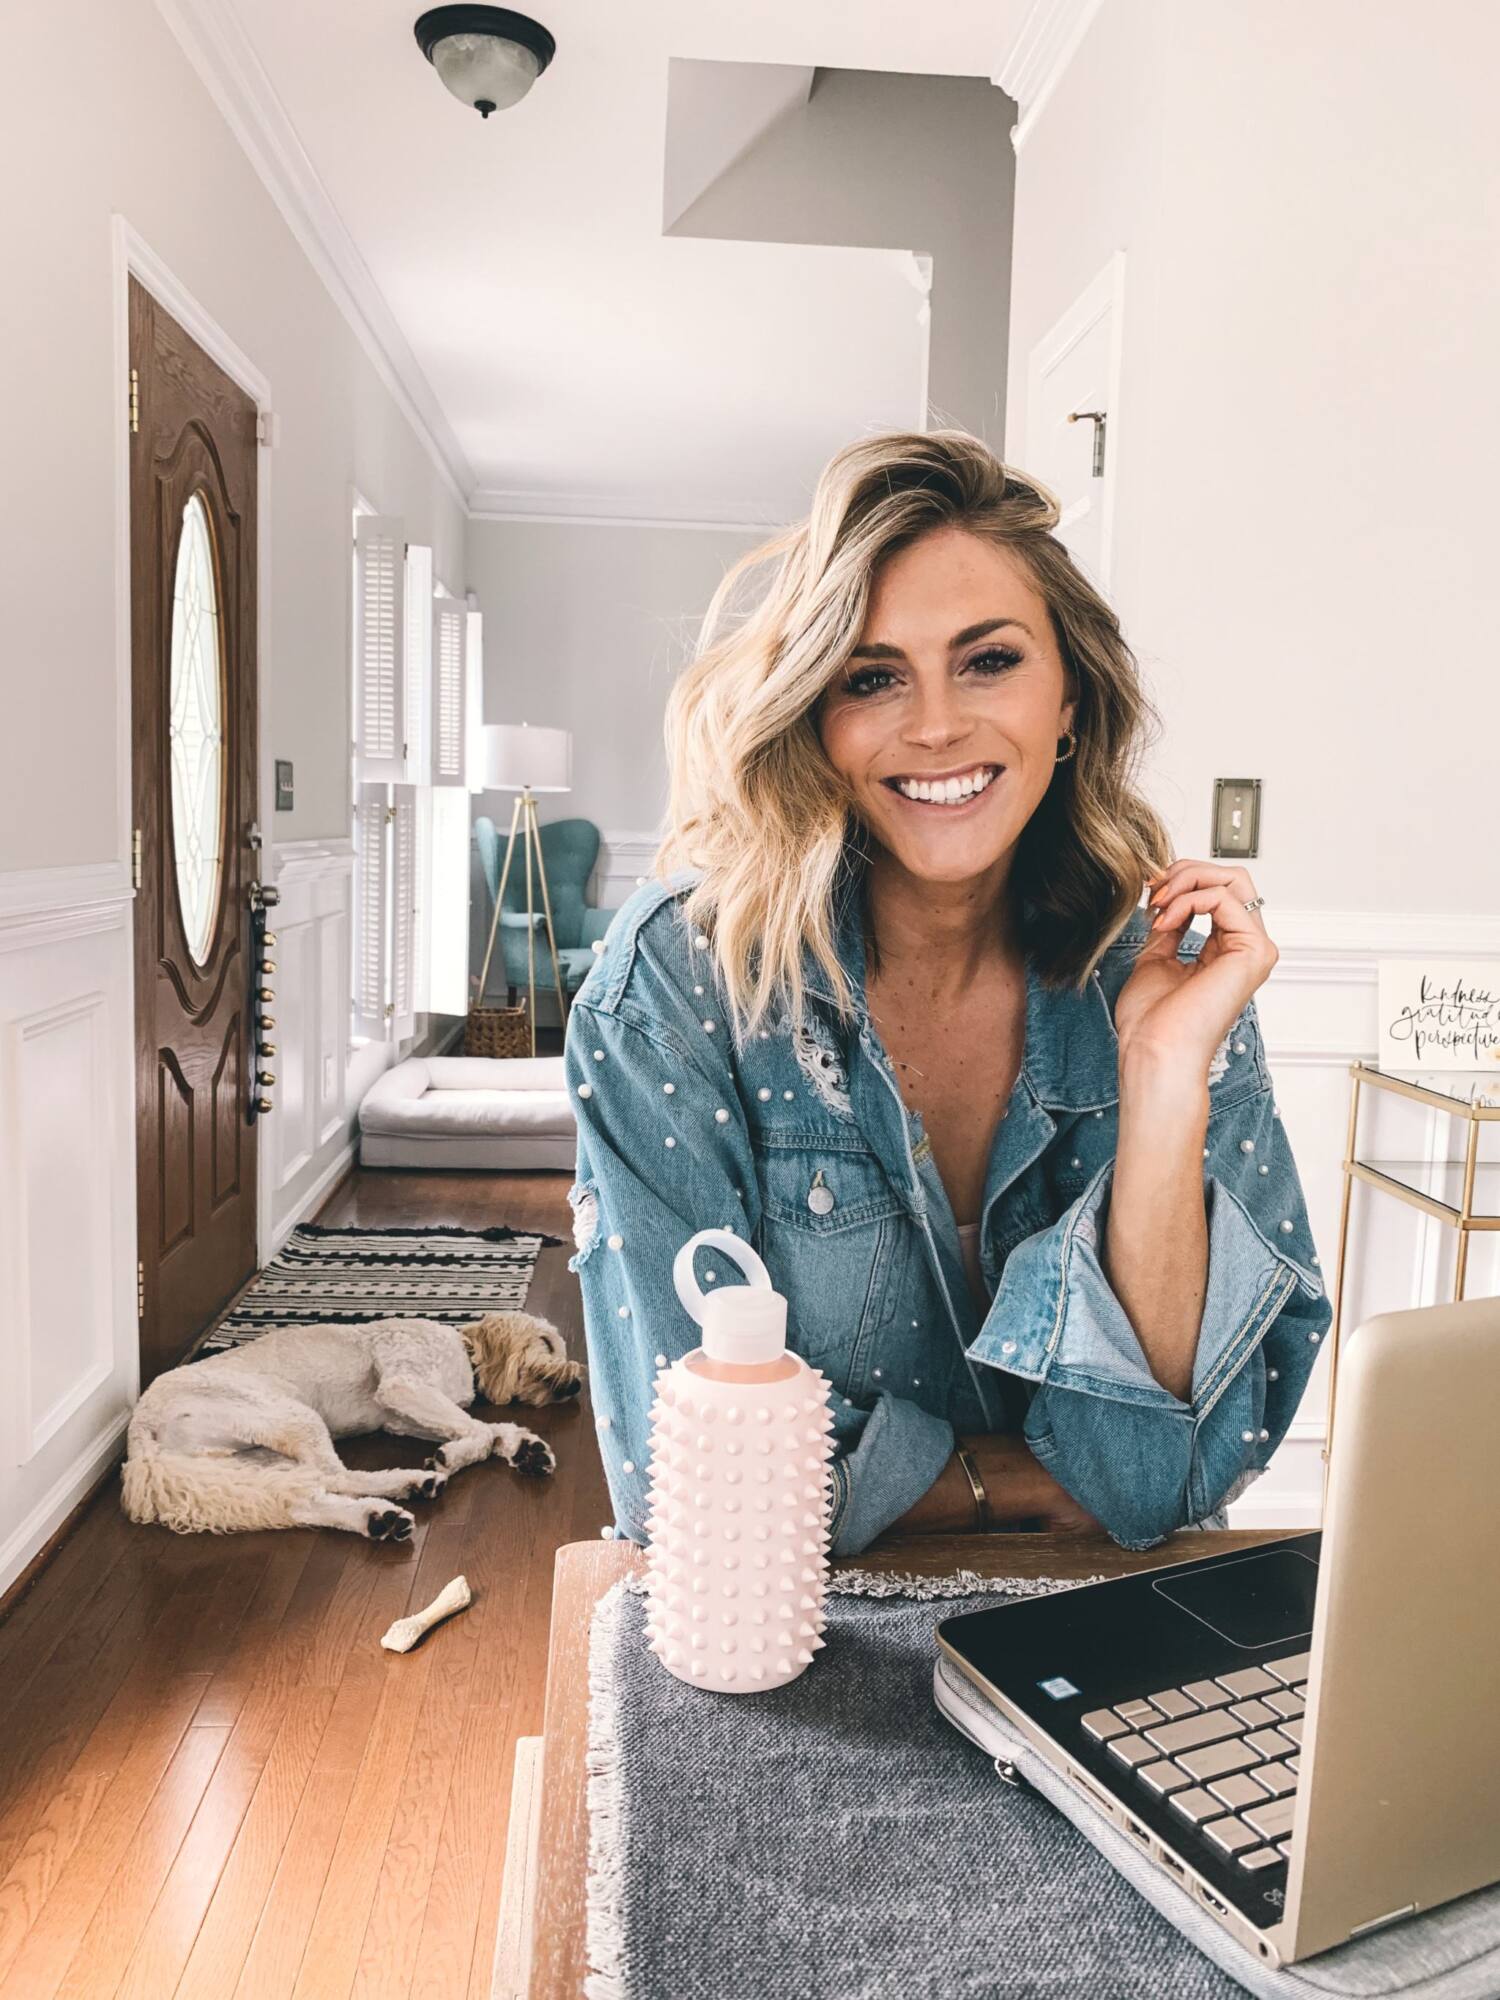
- Before facetune/no edits
- Facetune, VSCO & Lightroom
I know this may seem like a lot (or maybe it doesn’t? lol) but once you get your editing process down and know what works for your photos, it really doesn’t take long. My biggest tip would be less is more (I personally don’t like photos that look overly edited/extreme, but that’s just my personal preference!) and just take the time to play around with different edits/filters to see what works best across all your photos. Let me know if you have any questions! xx C

comments +