


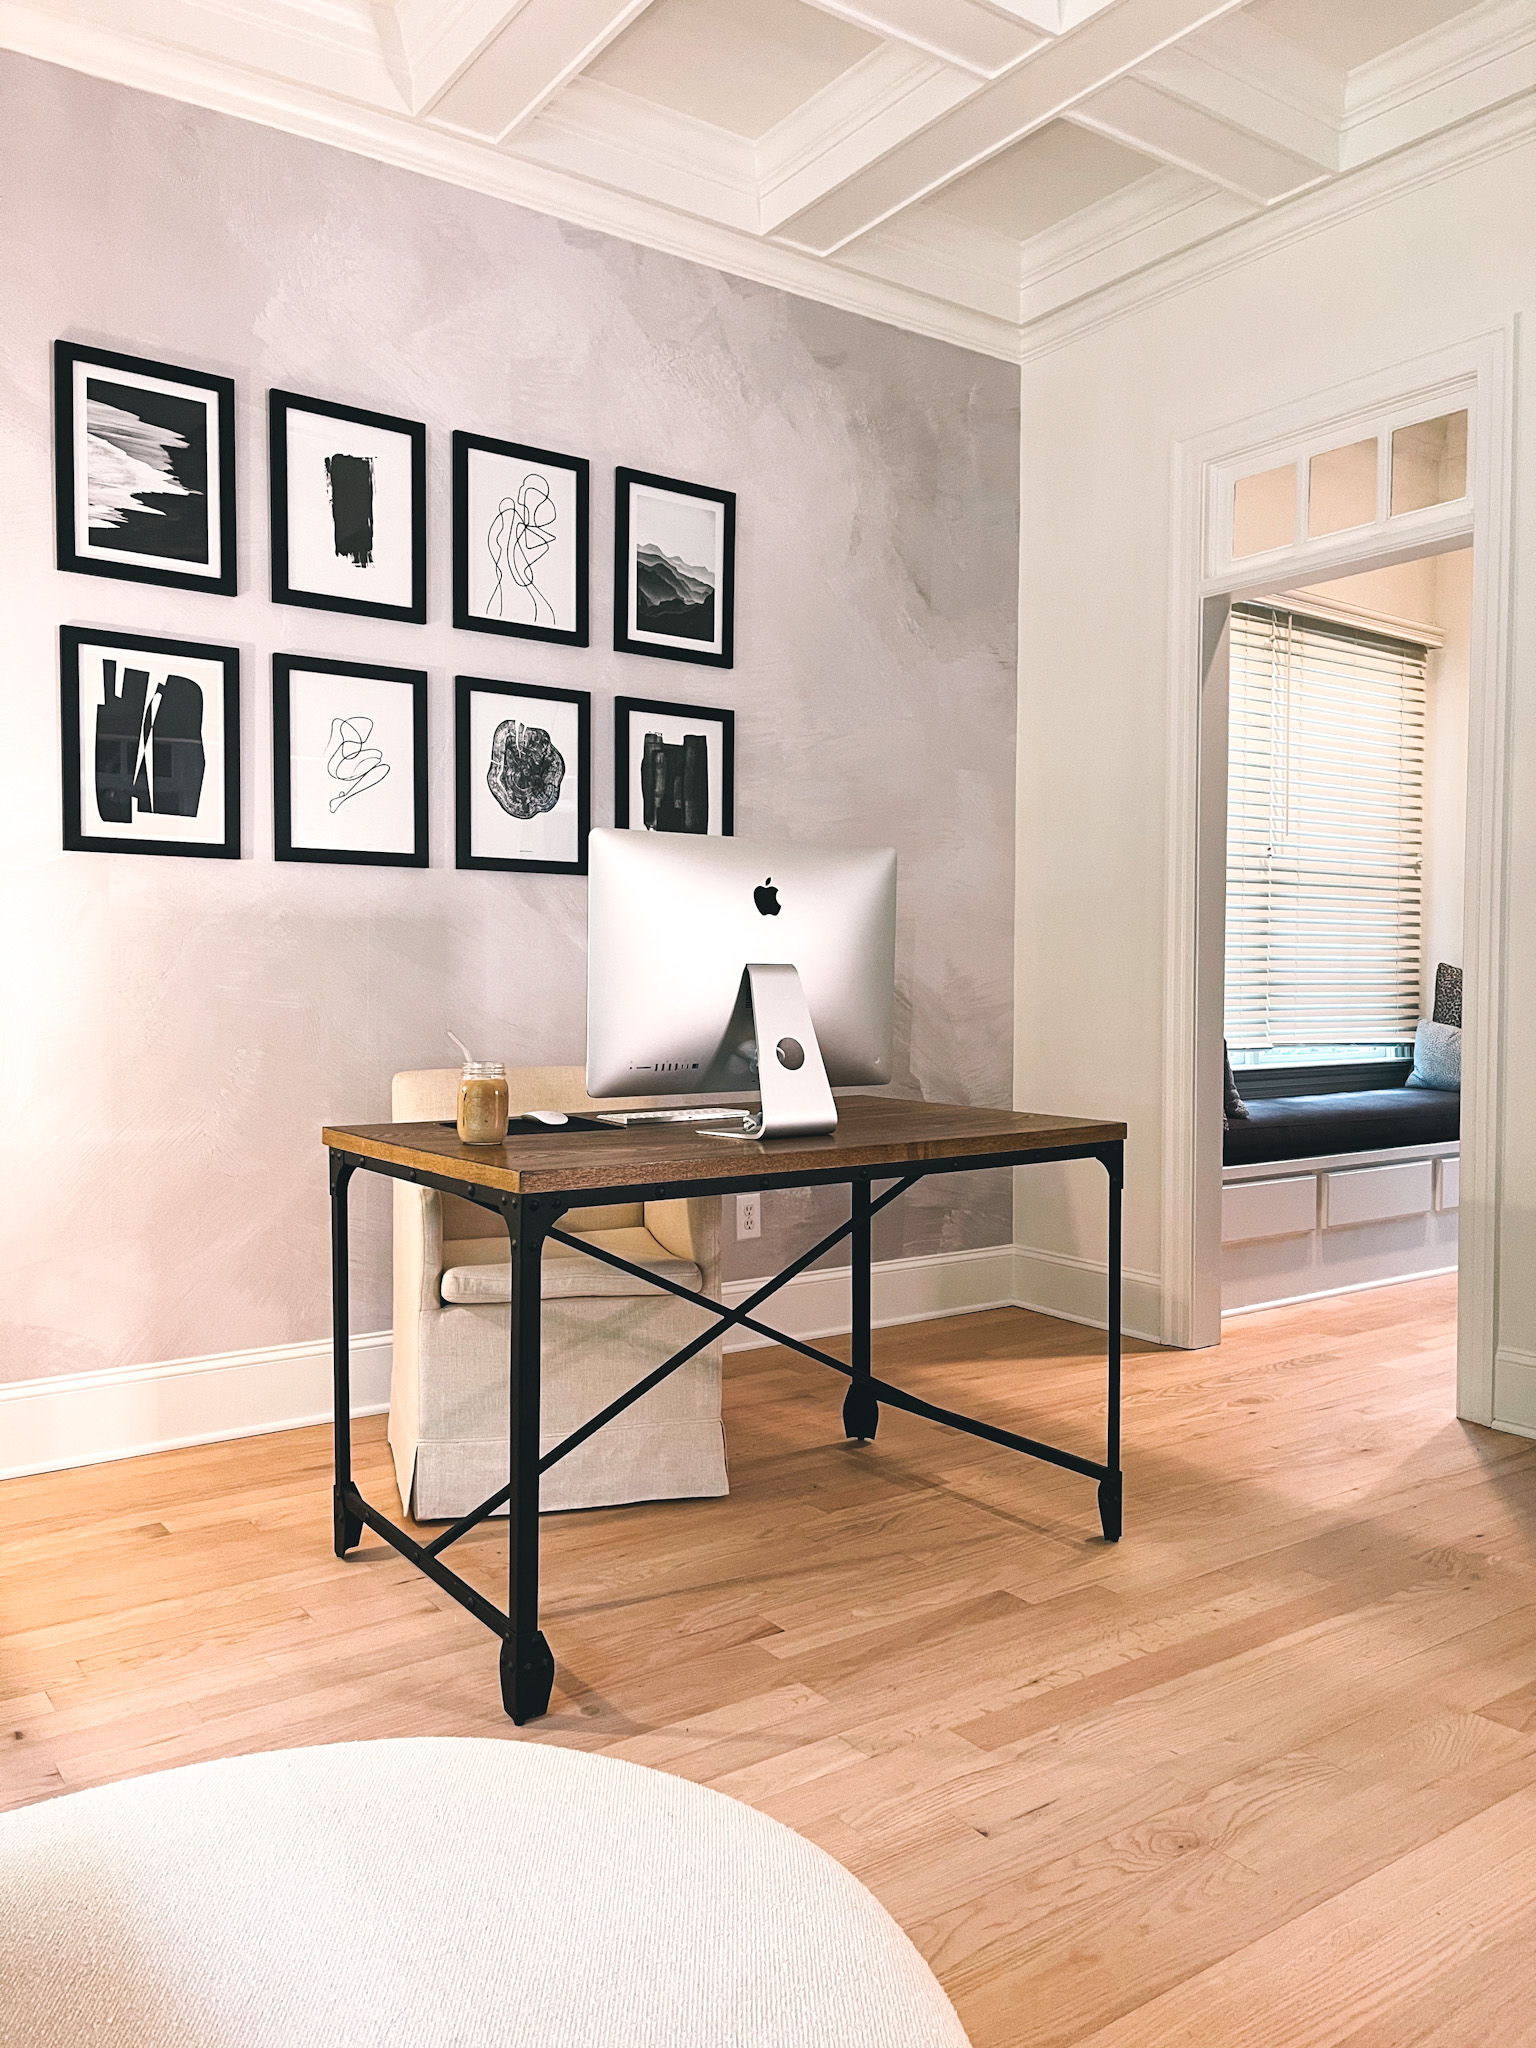
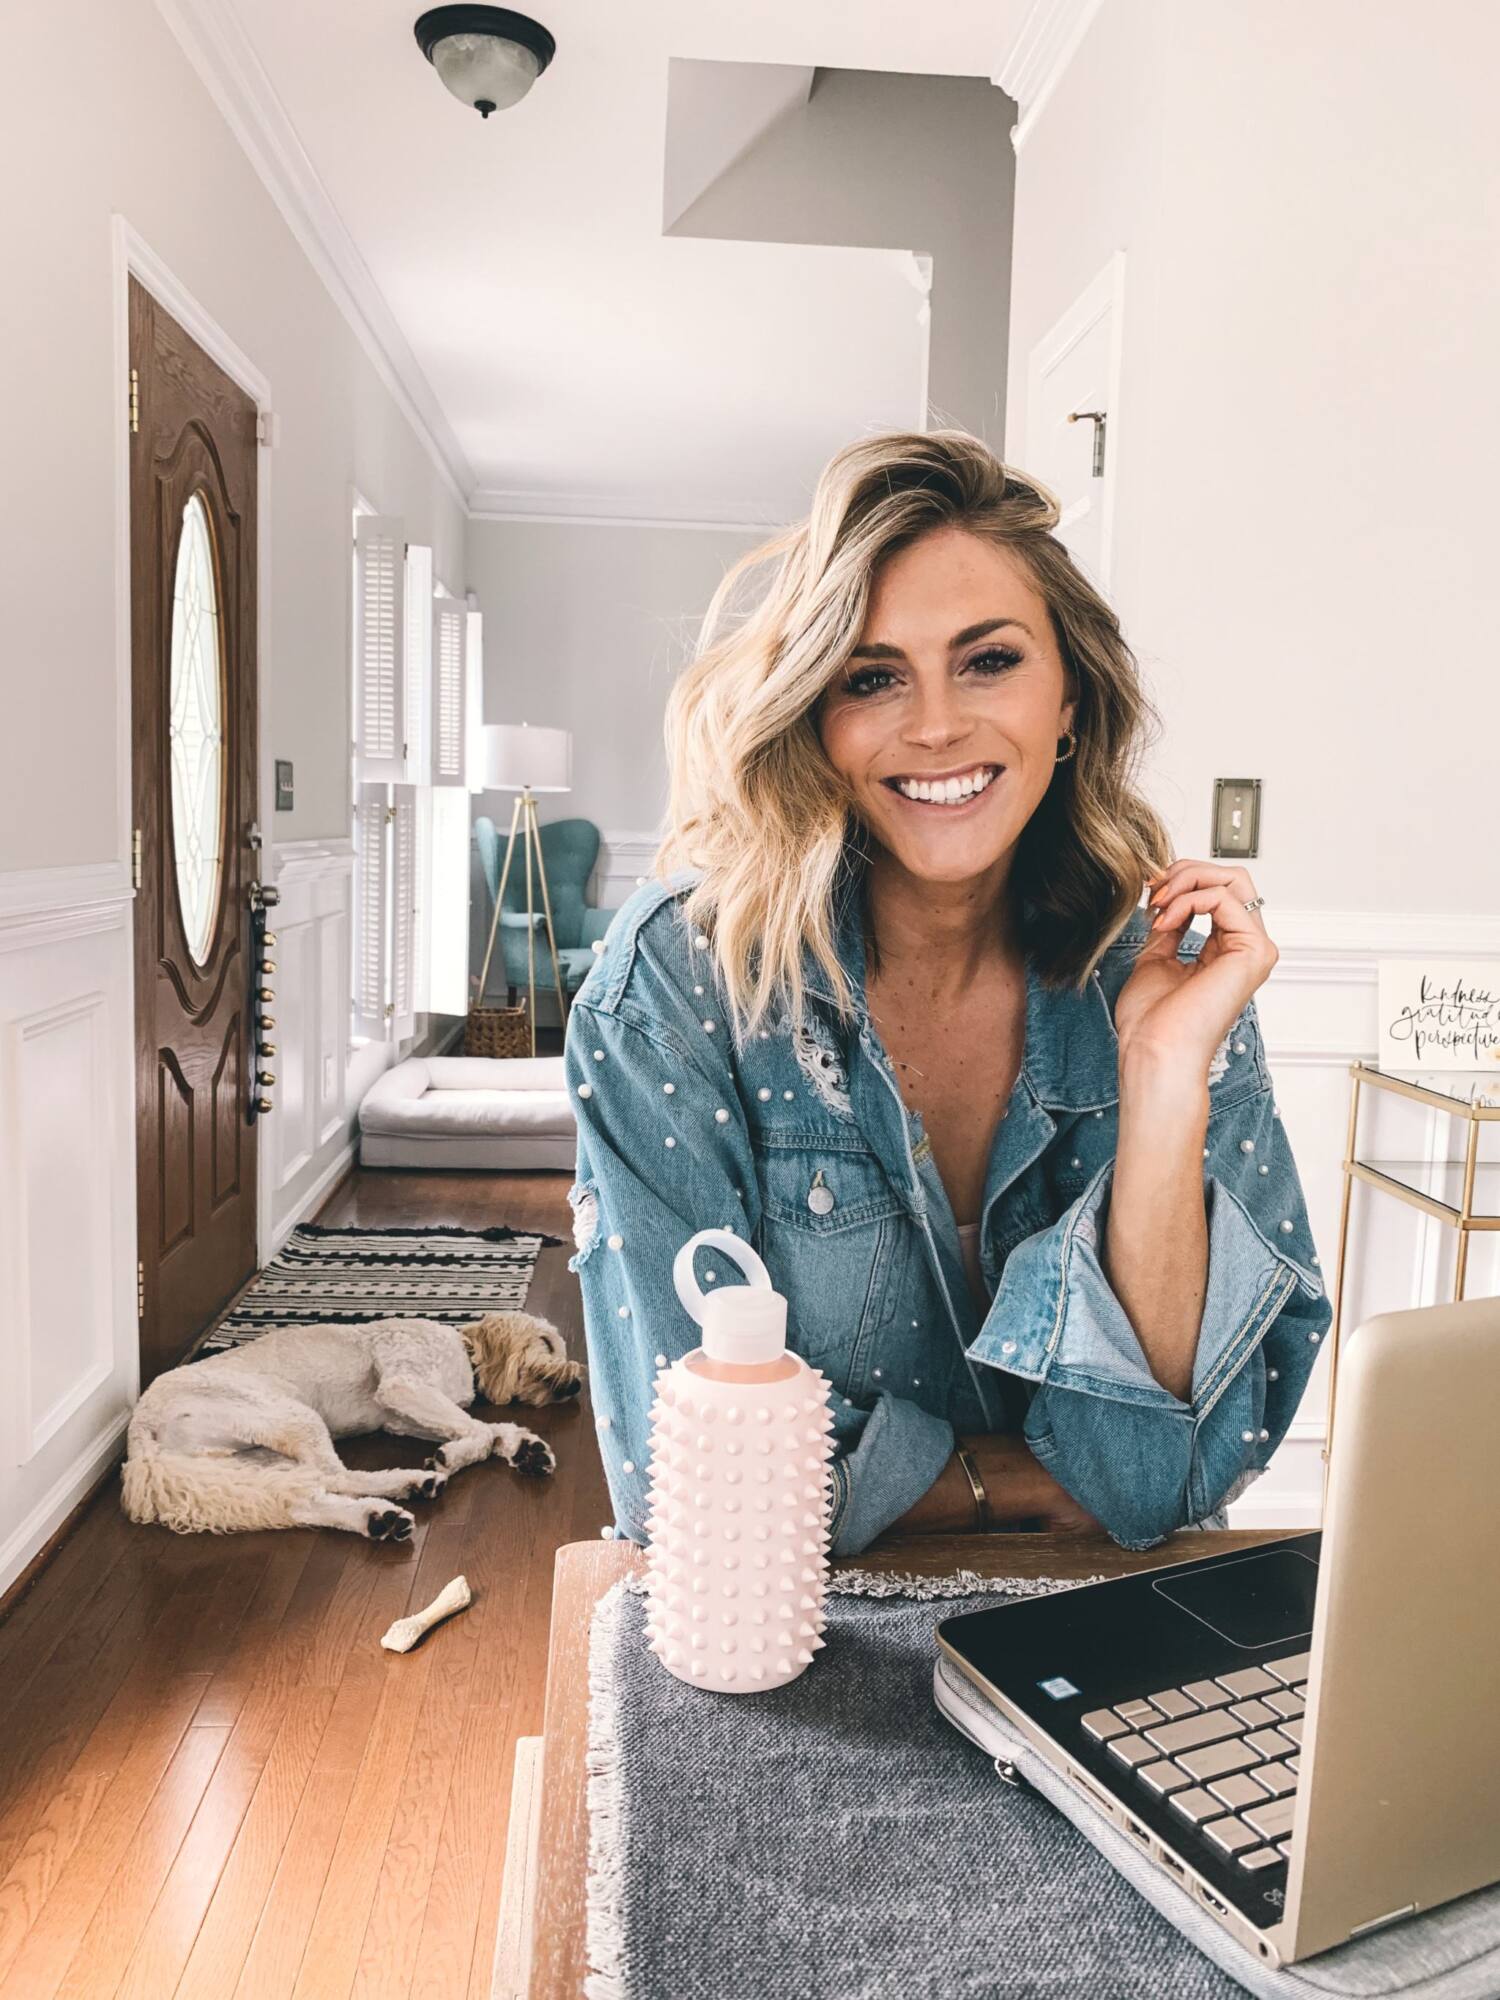
So over the weekend, Stephen and I tackled a home project that I’ve been wanting to do for a while. After a lot of deliberation, a few weeks ago I finally decided on a (peel and stick) wallpaper for a wall in my office. Earlier this year I decided to do a statement wall in my office but went back and forth on a ton of wallpaper options. I really tried to branch out with a wallpaper that wasn’t quite as neutral, but in the end I just had to go with my gut. I knew that I wanted something more simple but that still added something to the space beyond keeping the wall white. I ended up going with the Swirling Sands mural (which is the same application process as peel and stick wallpaper) and am so happy with how it turned out. Now that we’ve gone through the process though of selecting it, and applying it, I thought I’d share about our experience.
I’ll first say that I think peel and stick wallpaper is a great option to refresh or enhance your space without doing anything too permanent or too time consuming. Especially if you are renting, it can be fairly inexpensive and temporary way to help make your rented space feel more like “yours.” Once you decide and receive your wallpaper, the overall application process was actually pretty easy! This is what we did/learned:
For starters, wherever you’re buying your wallpaper from, they should have videos or instructions to follow in terms of applying it. We didn’t watch a video, but just read over the instructions provided. I feel like it was one of those things where you get the hang of it as you went. For starters though, it’s definitely a two person job. One person will need to press down and smooth out the wallpaper, while the other simultaneously peels off the backing. After the first panel, Stephen and I found out he was better at pulling off the backing and I was better at smoothing haha. In terms of what to use to press down the wallpaper with, it recommended either a credit card or squeegee. We used a credit card and while we didn’t attempt to use the squeegee, we thought the credit card worked really well and was the best route. It took a fair about of pressure so I felt like the credit card was sturdier. If you have a metal credit card, I’d use that! The trick is though to peel the backing at a 45 degree angle, while also smoothing with the credit card at the same angle but a downward motion. Once you get the hang of it, it was really pretty easy.
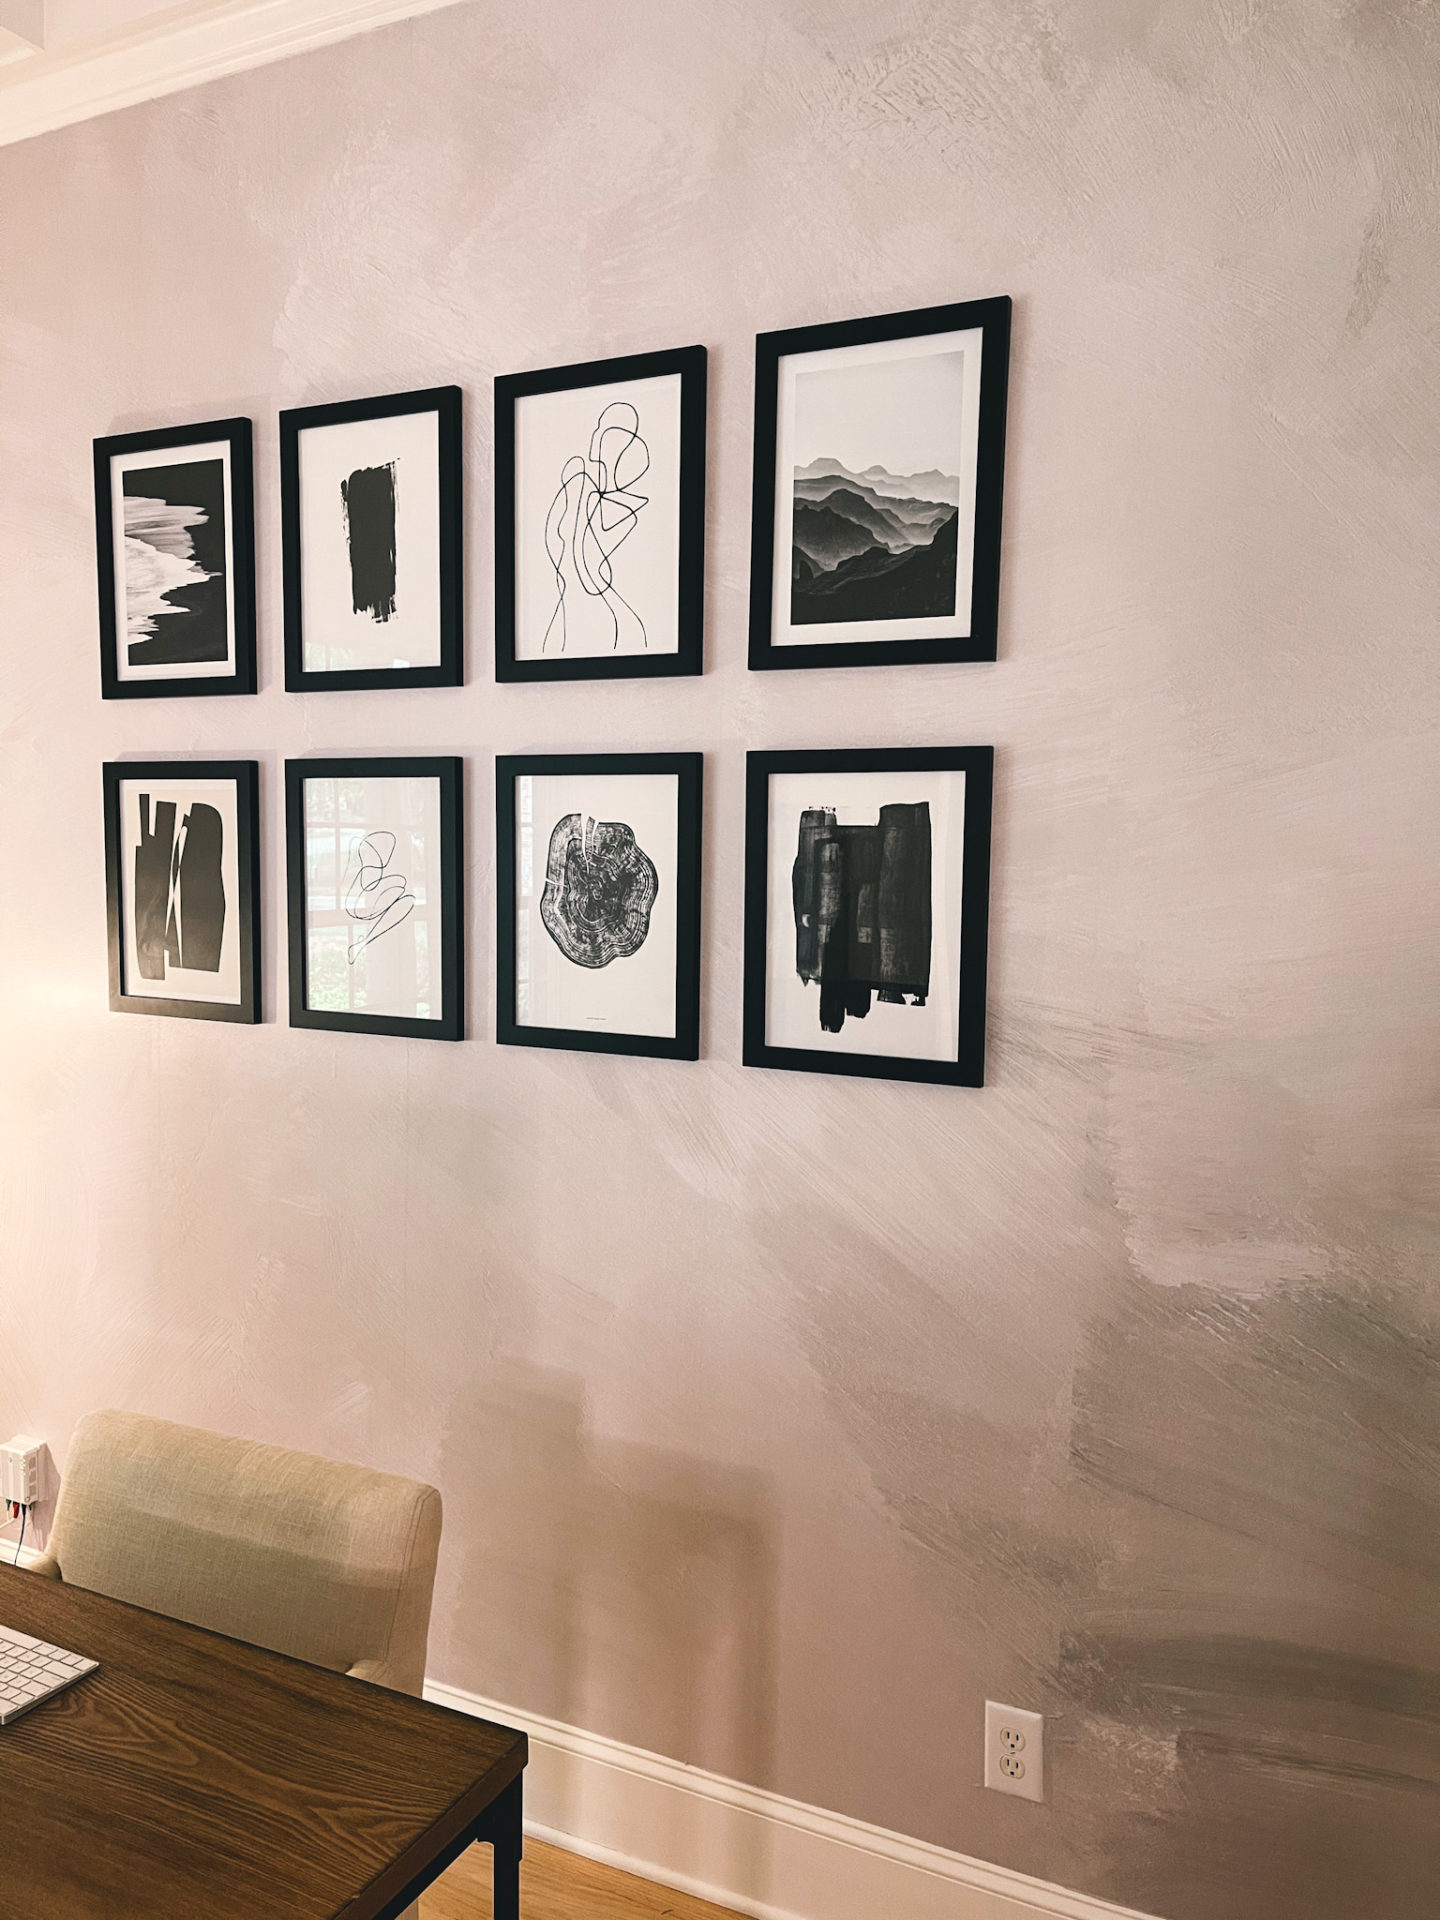
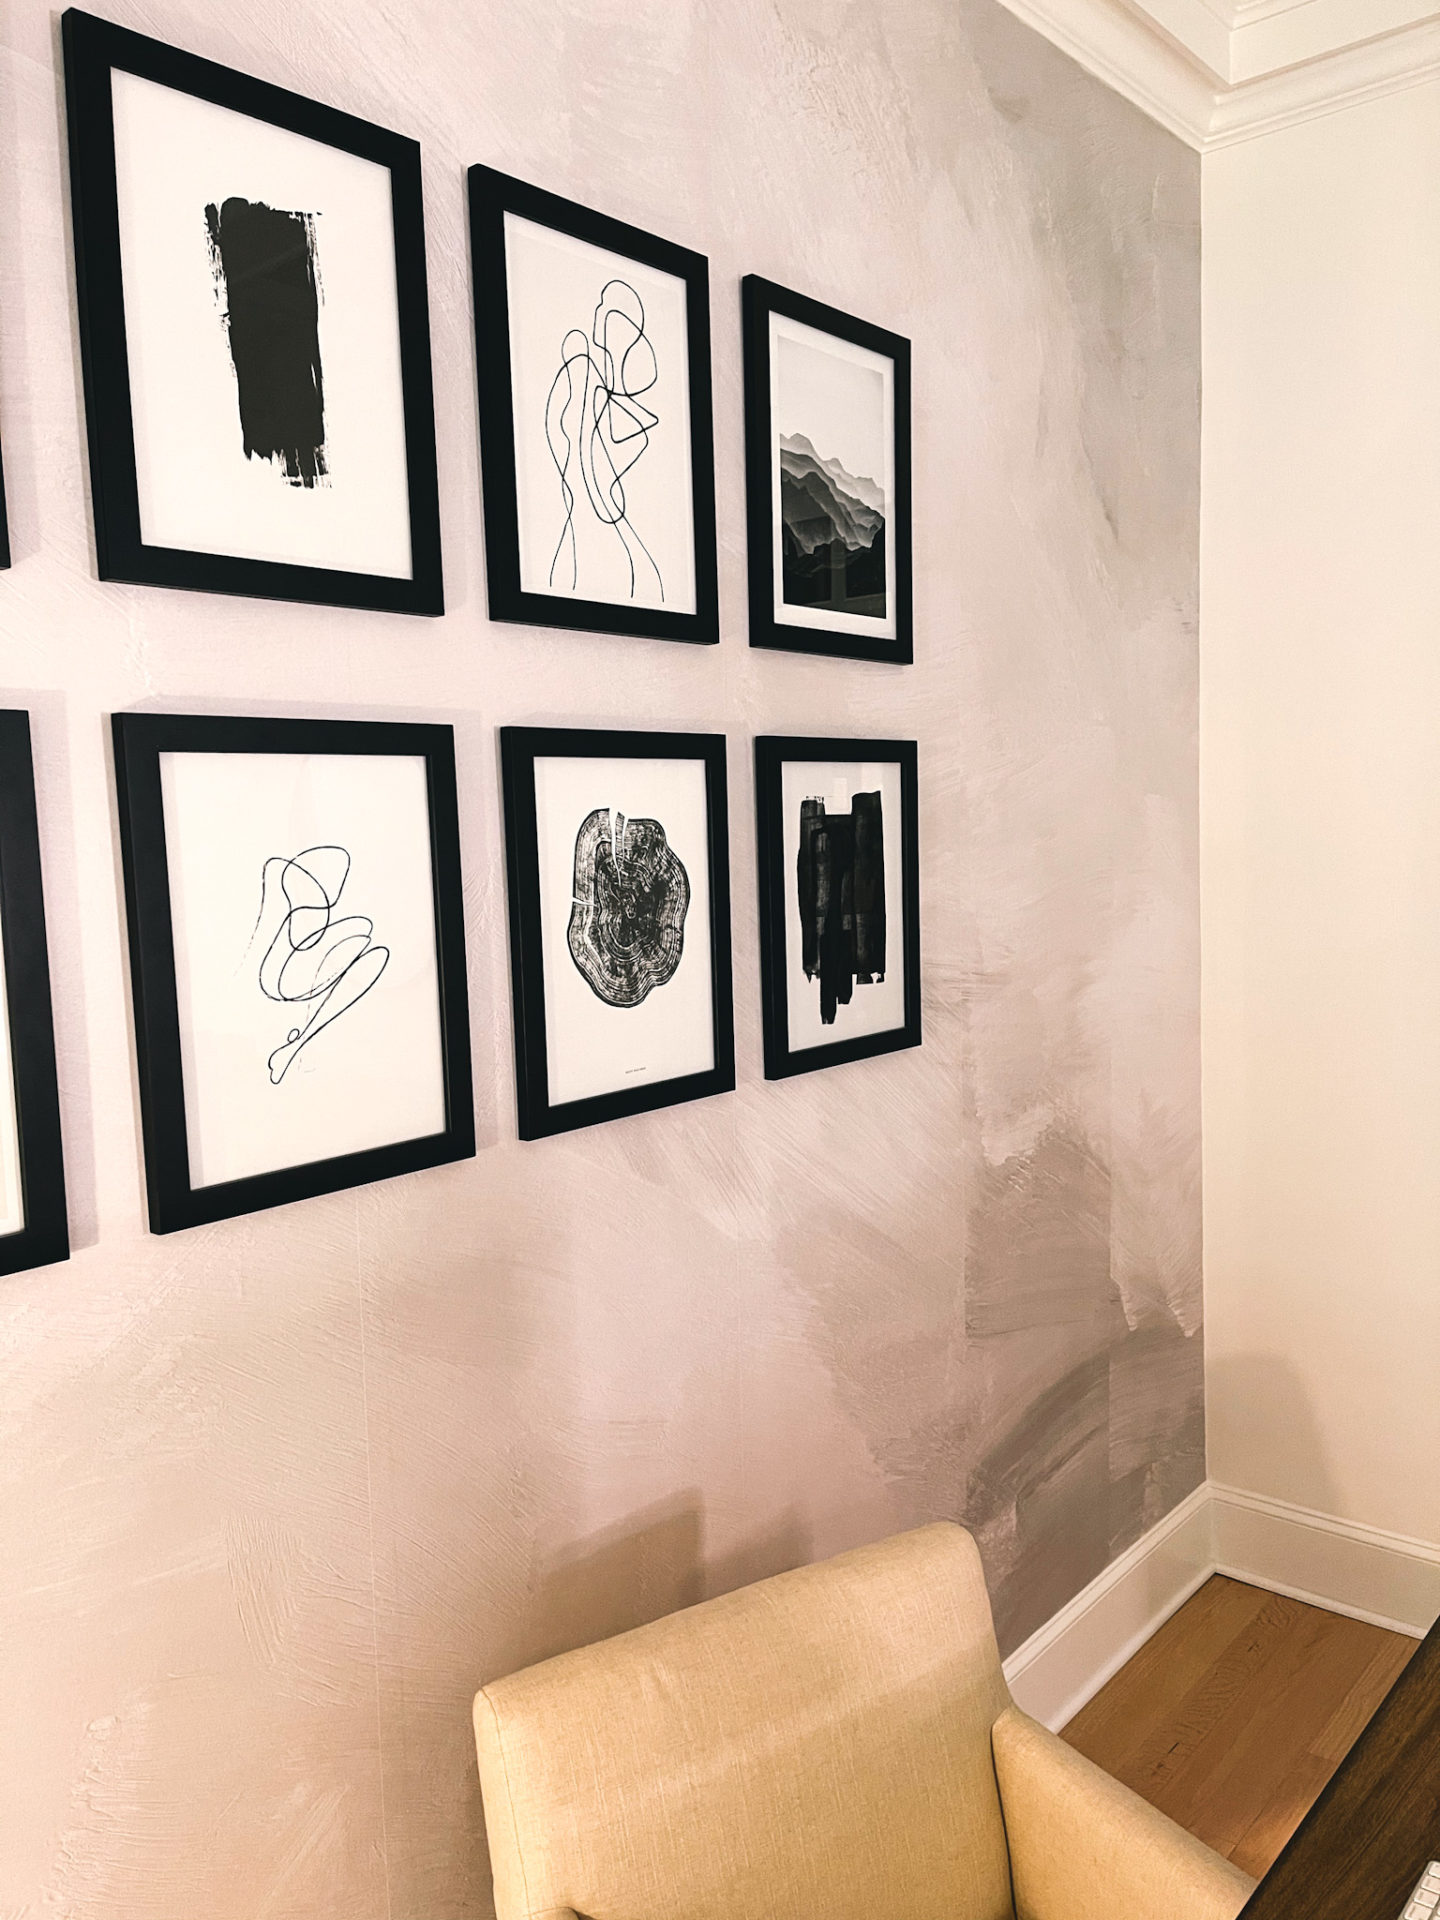
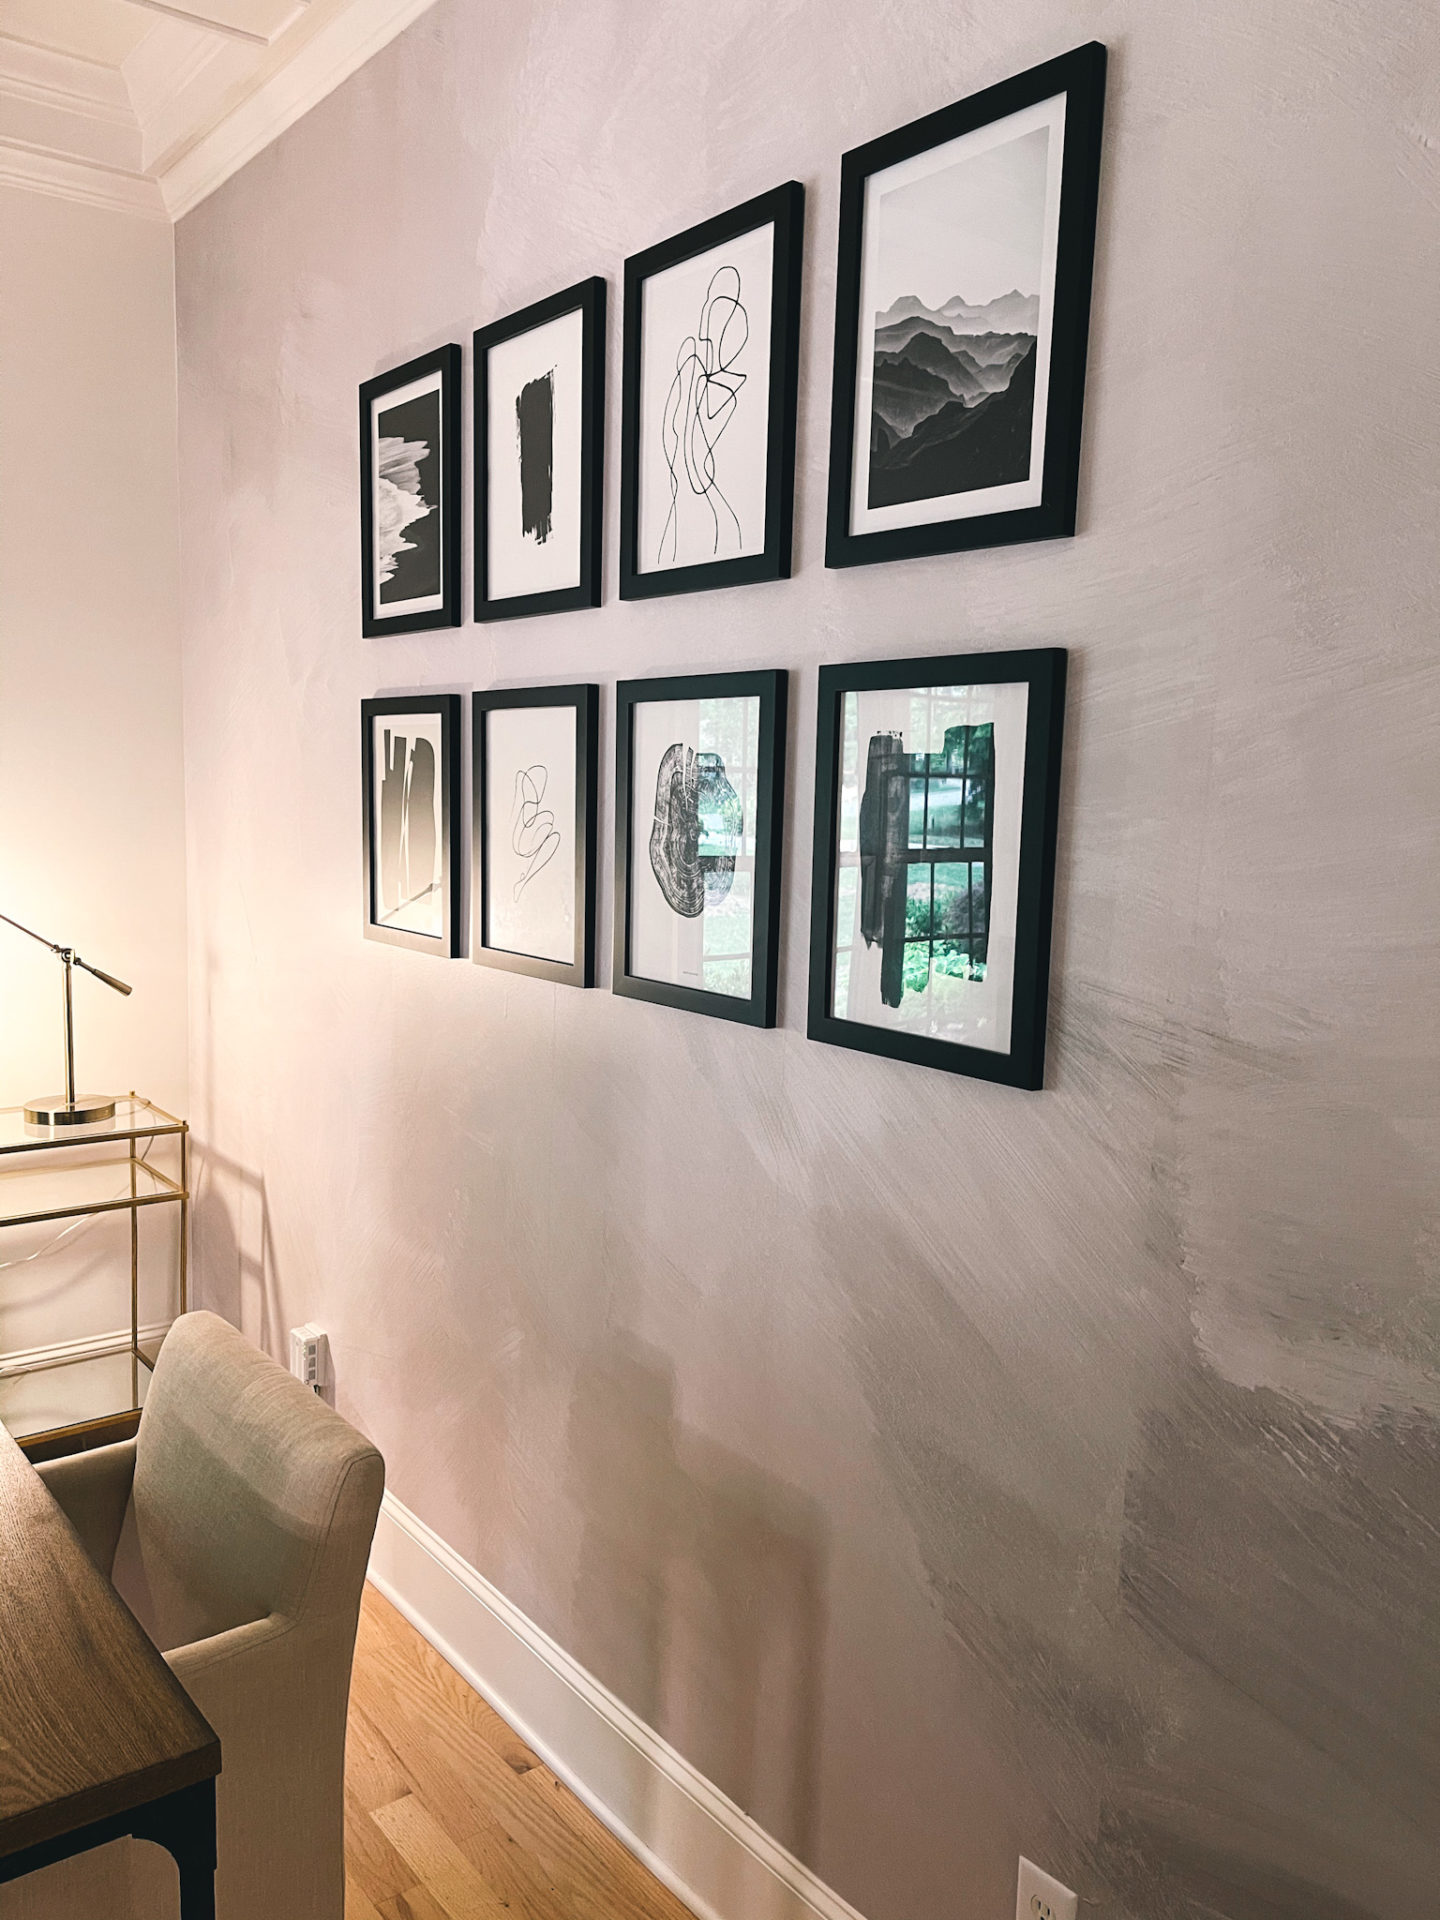
One thing I will say though, is I think ours turned out really well (at least I think so lol) partly because we had an easier print in the sense that since it has texture/movement to it and is more abstract, so mistakes were not nearly as noticeable. While it was pretty easy to apply, there was one part on the first panel where we made a crease that we couldn’t really undo. For the most part, bubbles can be smoothed out with the credit card, or you can just peel the wallpaper back some and lay it down to try again but until we got the hang of it, it took a little trial and error. So having a wallpaper with a design like the one we chose helped mask some of those imperfections. The other thing is, depending on what wallpaper you get, you’ll need to match up the panels so the design looks how it’s intended. We were able to match up the panels pretty well, but because you have to allow overlap at the top of the trim/ceiling, it wasn’t an exact match at some points. But again, since we had more of an abstract print, if the alignment with the panels was slightly off you couldn’t tell. The last thing is that when you are cutting the excess paper off the top and the bottom, it can be a little tricky getting a straight/clean line. We used a box cutter and I’d say 90% of where we cut was a clean, straight line. However, there were two spots along the top of the ceiling and one spot around the outlet where the white paint (under the wallpaper) was exposed, so I just cut a small amount of wallpaper from the scraps leftover and pasted it over. Since we had an abstract print, it was really easy to this and you would never know. But depending in the wallpaper print, it could be more noticeable.
Overall, for the time commitment (took us about 2.5 hours), cost (this depends on how many walls you do, etc. but feel like it’s overall not a huge purchase compared to some other home projects), and difficulty (or lack there of), I would definitely do this project again. It was pretty inexpensive, not stressful (Stephen and I didn’t argue once ha) and didn’t take a lot of time but has a big impact. Any other questions, feel free to ask below! PS. For tips on how to hang and style a gallery wall like the one above, you can find my blog on that here!


")


comments +